
Last updated: September 16, 2026. Product directions and surface-safety guidance were rechecked for this revision.
Road tar can stick hard to Toyota Tacoma paint, especially after fresh asphalt, road repairs, or construction-zone driving. The safest way to remove it is to soften the tar first, not scrub or scrape it off. Start with a clean, cool panel, use a paint-safe tar remover, wipe gently with microfiber, then wash the treated area and restore protection with wax or sealant.
Quick Answer
To remove road tar from Tacoma paint, wash and dry the area, test your remover on a hidden spot, apply a dedicated automotive bug-and-tar remover, let it dwell according to the product directions, and wipe with a clean microfiber towel. Rinse or wash the area, repeat for stubborn spots instead of scrubbing, then reapply wax or sealant because tar-removal chemicals can weaken or remove existing protection.
Key Takeaways
- Never scrape or scrub dry tar from paint; soften it first with an automotive-safe remover.
- Work on a cool surface in the shade and test the exact product on a hidden area first.
- A dedicated automotive bug-and-tar remover is the preferred first-line option; WD-40 is a backup, and Goo Gone Automotive is another option for compatible surfaces and asphalt-type residue.
- Use microfiber towels, light pressure, and repeat applications instead of aggressive rubbing.
- Do not assume a product that is safe for factory paint is automatically safe for PPF, vinyl wrap, matte finishes, decals, or ceramic coatings.
- Wash the treated area and restore wax, sealant, or another compatible protectant after the tar is gone.
At a Glance
| Time Required | Varies with the amount and age of the tar; stubborn deposits may require repeated applications |
| Difficulty | Easy for light contamination; use extra caution on damaged or specialty finishes |
| Tools Needed | Car shampoo, water, microfiber towels, painter’s tape, automotive tar remover, optional clay bar or clay mitt with proper lubricant, wax or sealant |
| Cost | Depends on the remover, towels, and protection products you already have |
Quick Fix: Remove Fresh Tar From Tacoma Paint
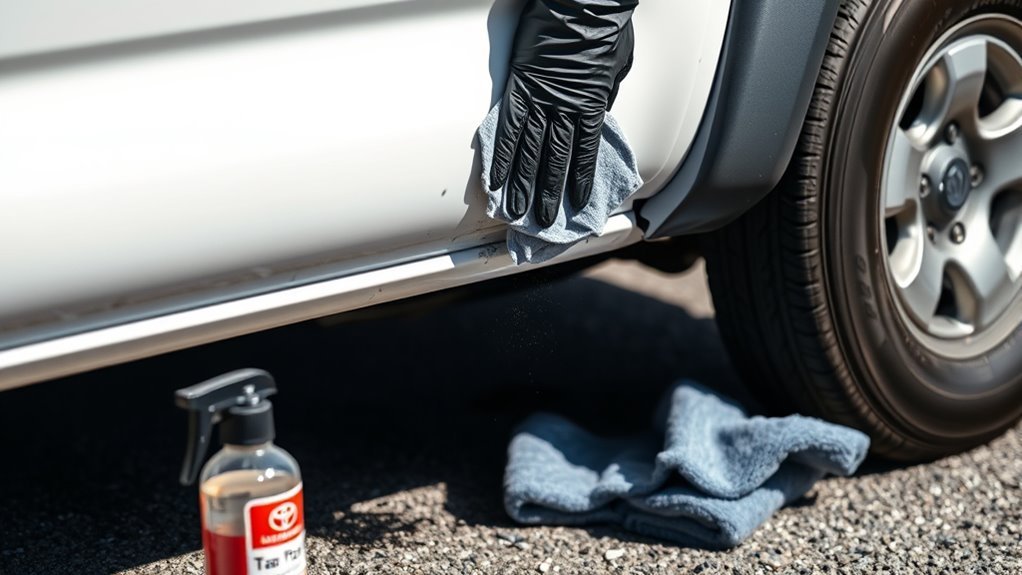
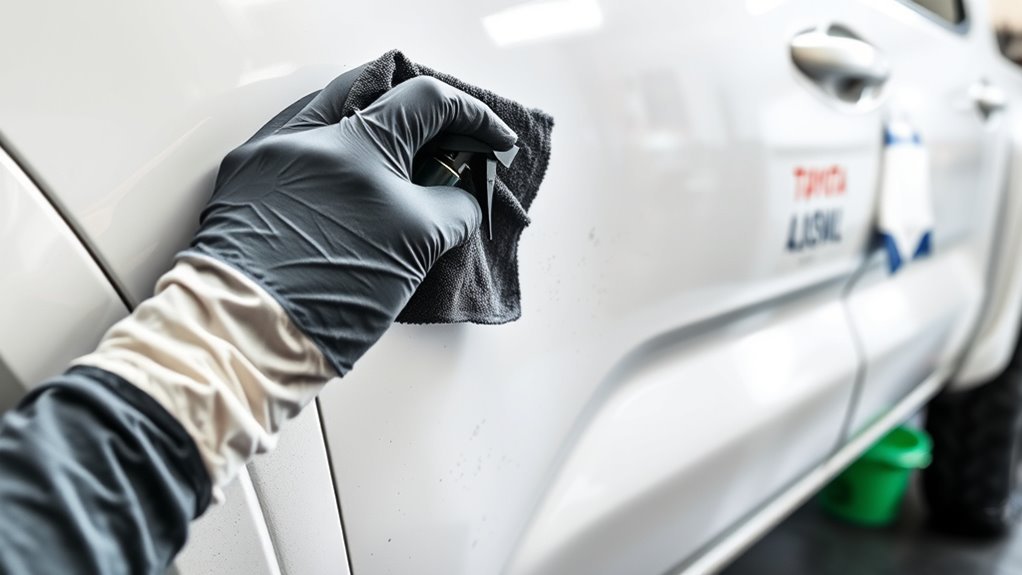
If the tar is fresh, you can often remove it before it becomes more difficult to clean. Wash the panel first, dry it, then apply a product such as Turtle Wax Bug & Tar Remover according to its label. Turtle Wax directs users to saturate the stain, allow the product to penetrate, and wipe it away with microfiber.
Use light pressure. The goal is to loosen the tar chemically, not grind tar and road grit across the clear coat. If you do not have a dedicated automotive remover, WD-40 Multi-Use Product can loosen tar, but its published guidance warns that it may soften or remove wax or polish. Treat it as a backup and wash the area afterward.
After the tar lifts, rinse or wash the panel with car shampoo and dry it with a soft microfiber towel. Finish with wax, sealant, or another compatible protectant if the treatment reduced the existing protection.
Warning: Do not use gasoline, acetone, lacquer thinner, abrasive pads, steel wool, metal razor blades, plastic scrapers, old credit cards, or fingernails to force tar from painted Tacoma panels. Chemical softening plus a gentle microfiber wipe is safer than scraping.
Confirm the Contaminant and Surface Before You Start
Before reaching for a stronger cleaner, make sure the contamination behaves like road tar. Tar commonly appears as dark bonded specks, dots, or streaks on lower doors, rocker areas, wheel arches, mud flaps, and other surfaces exposed to fresh asphalt and road spray. If the material looks or behaves more like tree sap, adhesive, paint transfer, or another contaminant, use a method intended for that material instead.
For tree sap specifically, see the Toyota Tacoma tree-sap removal guide. Do not test an unknown contaminant by escalating immediately to a stronger solvent.
Prep First: Wash, Mask, and Test a Small Area
Good prep keeps a small tar spot from becoming a scratched panel. Tacoma clear coat can still develop swirls or marring if dirt, sand, or tar grit is dragged across it.
Wash Thoroughly First
Start by washing the affected area with a car shampoo, clean water, and a soft wash mitt or sponge. This removes loose grit that could scratch the finish while you work. Rinse well, then follow the tar-remover label regarding whether the surface should be dry before application.
Inspect lower doors, rocker areas, fender flares, wheel arches, mud flaps, and the lower tailgate area first. These exposed lower sections are common places for road spray and asphalt contamination to collect.
Mask Surrounding Areas
If the tar is close to black plastic trim, decals, rubber seals, unpainted fender flares, or a matte accessory, control where the remover goes. Painter’s tape can help protect nearby edges when appropriate, but always follow the cleaner label because solvent compatibility varies by material.
Use only enough tape to protect nearby edges. Press it down gently, and do not leave tape sitting on hot paint in direct sun.
Test Product on Paint
Before treating visible tar, test the exact product on a hidden painted spot, such as a lower door edge. Apply it according to the label, remove it as directed, then inspect for dulling, discoloration, softening, staining, or another unwanted change.
If the test area looks normal, continue. If it reacts badly, stop. Use a different product approved for the surface or ask a professional detailer for help, especially with older paint, recent bodywork, vinyl graphics, paint protection film, ceramic coatings, wraps, or matte finishes.
Note: Always follow the label on the exact product in your hand. Dwell time, ventilation, protective-equipment requirements, surface compatibility, and rinsing directions vary by formula.
Choose the Right Tar Remover for the Job
Not every sticky spot or exterior surface should be treated the same way. Match the method to both the contamination and the material underneath it.
| Method | Best Use | Caution |
|---|---|---|
| Dedicated automotive bug-and-tar remover | Normal fresh or set-in road tar on compatible painted panels | Test first, follow the label, and restore protection if needed |
| WD-40 | Backup option for tar when a dedicated remover is unavailable | May soften or remove wax or polish and leaves residue that should be washed away |
| Goo Gone Automotive | Compatible automotive surfaces with asphalt or sticky residue | Use the automotive formula, pretest, and clean the area with soap and water afterward |
| Clay bar or clay mitt | Tiny bonded contaminants that remain after chemical tar removal | Use only with the lubricant specified for the clay product; claying can remove wax and may cause marring if used incorrectly |
[Products Worth Considering]

Turtle Wax Hybrid Solutions Ceramic Spray Wax Coating delivers long-lasting ceramic protection, a deep glossy shine, and strong water repellency for easier maintenance. Its spray-and-buff formula is simple to apply on exterior surfaces, helping protect paint from dirt, UV rays, and road contaminants while keeping your vehicle looking cleaner between washes.

Meguiar's Ultimate Ceramic Coating Kit delivers durable paint protection with enhanced gloss, slickness, and impressive water beading for easier washing and drying. Its spray-on, wipe-off application makes it simple to use, while helping conceal light defects and adding protection to glossy paint, trim, decals, paint protection film, and wheels.

This spray wax is designed to restore and protect black and dark-colored vehicle finishes in one easy step, helping fill light scratches, swirl marks, and paint imperfections while creating a deep, high-gloss shine. Infused with black pigments, ceramic polymers, and UV defense, it boosts color depth, repels water and contaminants, and helps keep your vehicle looking cleaner between washes.
Match the Method to the Surface
| Surface | Recommended Approach |
|---|---|
| Healthy, cured factory paint | Use an automotive tar remover that lists painted automotive surfaces as compatible; pretest and follow its directions |
| Textured plastic, rubber, decals, or exterior accessories | Check the product label before contact and control overspray; paint-safe does not automatically mean trim-safe |
| PPF, vinyl wrap, matte finish, or ceramic coating | Confirm compatibility with the remover manufacturer and the film, wrap, coating manufacturer, or installer before treatment |
| Fresh bodywork, peeling clear coat, damaged paint, or unknown refinishing | Stop and get professional advice rather than experimenting with stronger solvent or mechanical force |
Use Turtle Wax Bug & Tar Remover: Step-by-Step
Turtle Wax Bug & Tar Remover is one verified example of a dedicated automotive remover. Its manufacturer directions say to wash and dry the vehicle, saturate the stain, let the product penetrate, wipe with microfiber, and follow with wax to protect the finish.
- Wash and dry the panel. Remove dust, mud, and loose road film before applying the remover.
- Follow any preparation directions on the bottle. Use the product exactly as labeled.
- Saturate the tar spot. Wet the contamination while avoiding unnecessary exposure to nearby sensitive materials.
- Allow the product to penetrate. Use the label-directed dwell time and do not let the product dry contrary to its instructions.
- Wipe with microfiber. Use gentle controlled passes and a clean section of towel.
- Repeat if needed. Resistant tar should get another chemical treatment rather than more wiping pressure.
- Clean the treated area. Remove loosened contamination and any remaining cleaner as directed.
- Restore protection. Apply wax, sealant, or another compatible protectant if the treatment removed or weakened the previous protection.
If the tar smears instead of lifting cleanly, stop wiping and give the chemical more time to work within the product’s directions. A tar-loaded towel should also be turned to a clean side before the next pass.
Pro Tip: Fold your microfiber towel into quarters. As tar transfers to the towel, flip to a clean side so sticky contamination is not dragged back across the paint.
[Products Worth Considering]

Fortify Ceramic Coating Spray delivers a mirror-like gloss while helping clean, protect, and enhance your vehicle’s paint in one easy application. Its nano-ceramic formula bonds to the surface for hydrophobic water beading, reduced water spots, and a freshly detailed look with minimal effort. Simply spray, wipe, and enjoy a slick protective finish without complicated tools or rinsing.

This Titan Series cargo net is designed to help secure gear in the short bed of compatible Toyota Tacoma trucks with factory deck rails. It features a tighter grid, oversized premium bungee, upgraded carabiners, and patented bed rail integration for a strong, reliable hold. Built for heavy-duty use and backed by a lifetime warranty, it offers a no-hardware solution for organizing cargo with confidence.

CERAKOTE Ceramic Trim Coat Kit restores faded plastic trim with a true ceramic coating that bonds to the surface for long-lasting protection. It helps defend against UV damage, is quick to apply with pre-saturated wipes, and leaves trim looking refreshed without greasy residue or messy sprays.
Use WD-40 Safely When You Have No Specialty Product
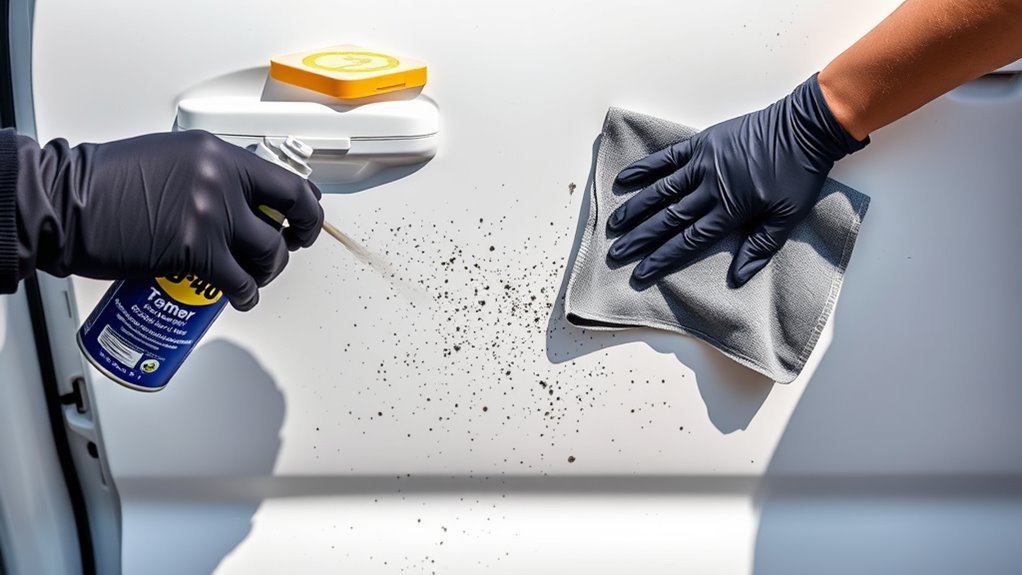
WD-40 publishes a tar-removal guide describing washing first, working in the shade, applying WD-40 to the tar, waiting a few minutes, wiping gently, and cleaning the treated area afterward. The page also warns that WD-40 may soften or remove wax or polish.
The same WD-40 page states that the described uses were user-provided, have not been tested by WD-40 Company, and do not constitute a company recommendation. For that reason, treat WD-40 as a practical backup rather than your default paint-care product.
- Wash and dry the tarred area.
- Park in the shade and make sure the paint is cool.
- Test WD-40 on a hidden area first.
- Apply a small amount to the tar or to a clean cloth as described in the published guide.
- Wait a few minutes.
- Wipe gently with a clean cloth, turning it frequently.
- Wash the treated area to remove oily residue.
- Dry the panel and restore wax or sealant if needed.
Do not leave oily residue on the panel. It can attract dust and can interfere with subsequent wax or sealant application.
Use Goo Gone Automotive for Sticky Residue and Asphalt Specks
Goo Gone Automotive Spray Gel lists asphalt among its automotive uses and states that it is safe on automotive clear coat. Its directions also tell users to pretest an inconspicuous area.
For a compatible surface, apply it to the stain, allow a few minutes for it to begin working, wipe with a clean cloth, then clean the area with soap and water. Do not substitute a different Goo Gone formula without checking that product’s label and surface compatibility.
[Products Worth Considering]

Lifeproof Ceramic Coating Spray Kit helps protect kitchen and bath surfaces with an ultra-slick, hydrophobic finish that repels stains, grime, water spots, soap scum, and fingerprints. It is designed for easy spray-and-buff application on many hard surfaces, leaving a clean, invisible layer that makes routine cleanup simpler and helps surfaces stay protected for months.
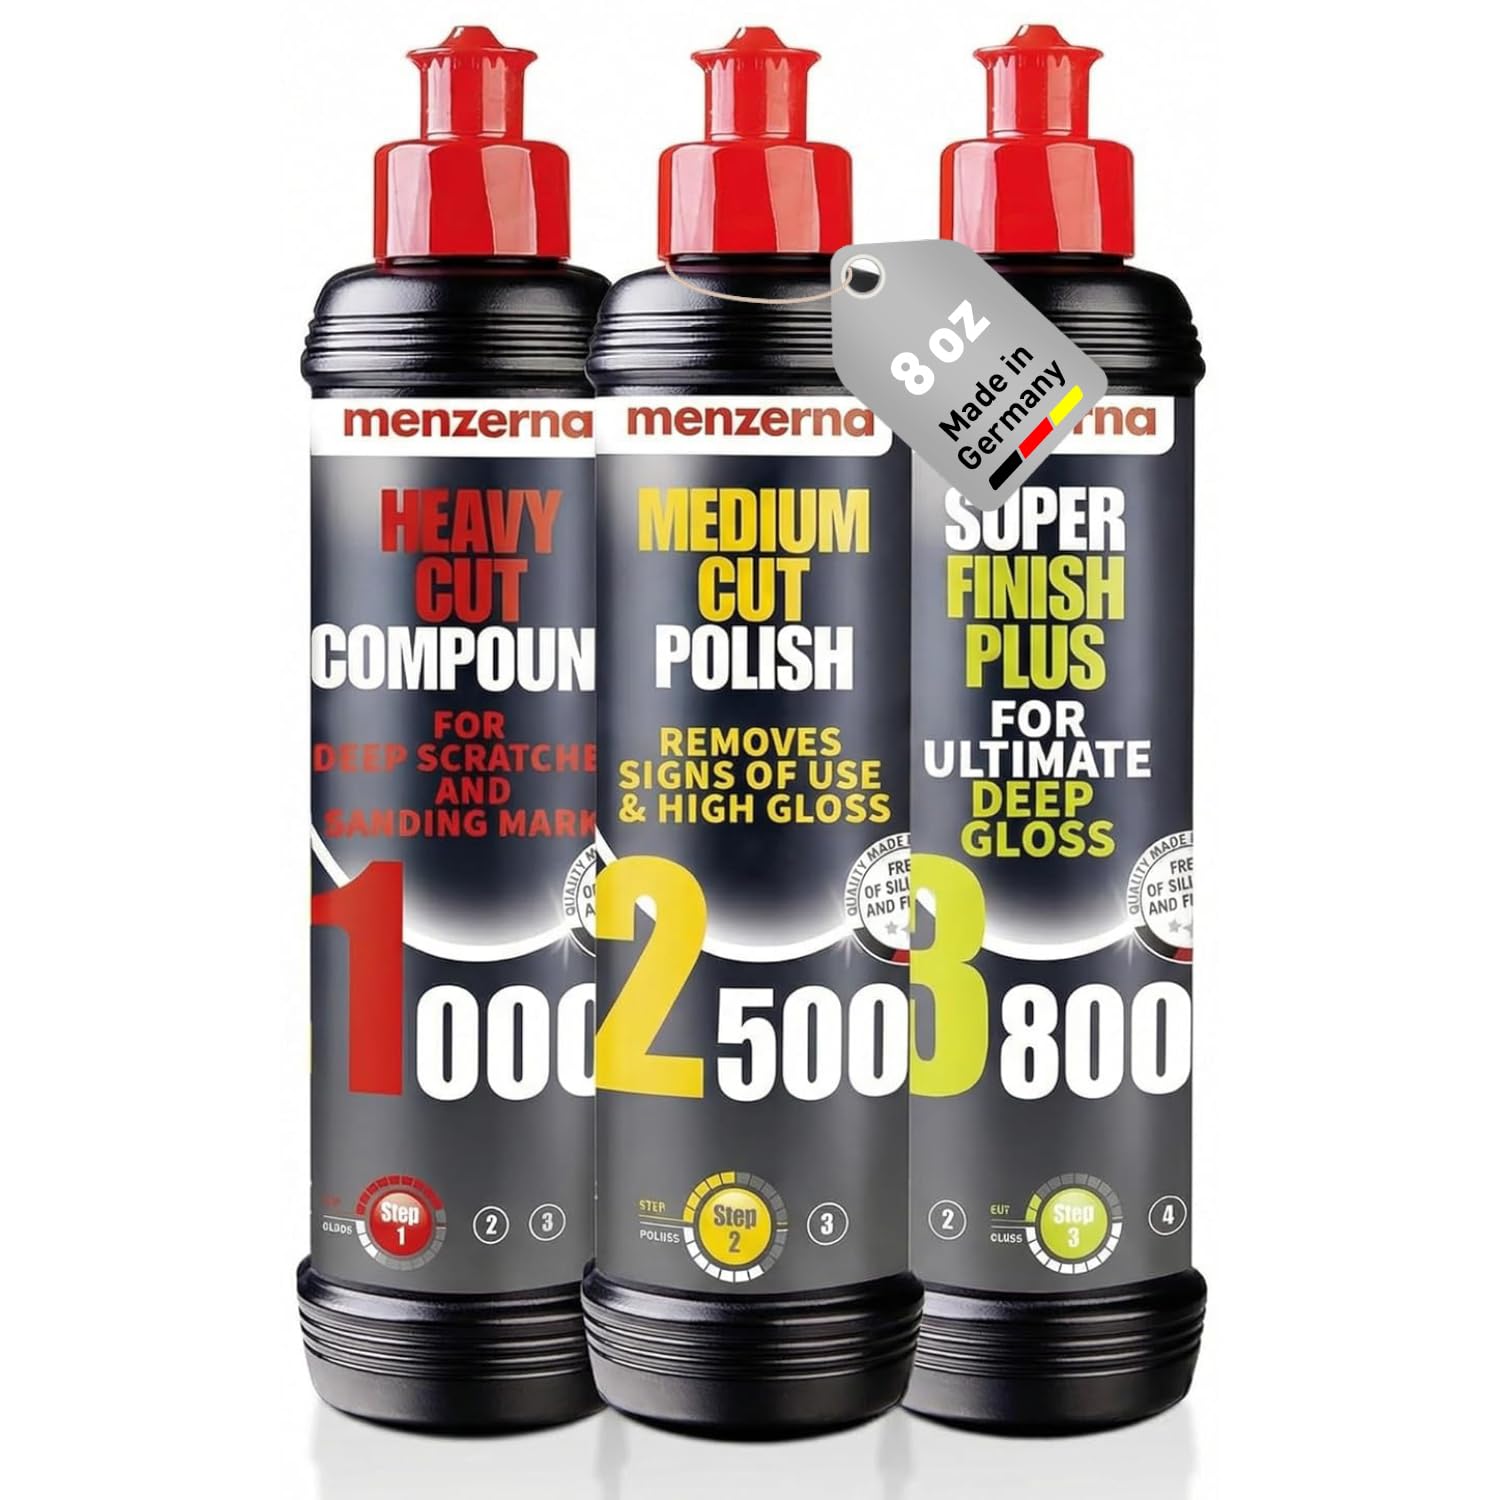
This Menzerna polishing set delivers a complete three-step paint correction process for removing scratches, refining surface defects, and producing a deep, mirror-like gloss. It combines heavy cut, medium cut, and super finish compounds to help restore clarity and create professional-quality results for detailing projects. Ideal for enthusiasts and professionals, it simplifies achieving a smooth, showroom-worthy finish.

These A-Premium mud flaps are designed to help protect compatible Toyota RAV4 models from mud, snow, road salt, gravel, and other road debris. Built from durable composite material and supplied with a complete installation kit, they offer dependable coverage for everyday driving without requiring drilling. They are intended for select model years and do not fit versions with side skirts or the Adventure trim.
Which Tar-Removal Method Fits the Situation?
Choose by surface and contamination rather than treating these products as a performance ranking. A dedicated automotive bug-and-tar remover is the most direct first-line category for normal road tar. WD-40 is a backup with extra cleanup and protection considerations. Goo Gone Automotive can be useful on compatible surfaces for asphalt and other sticky residue.
Use-Case Comparison
| Situation | Method to Consider | Reason |
|---|---|---|
| Fresh or normal road-tar spots on compatible paint | Dedicated automotive bug-and-tar remover | Purpose-made category with label directions for bonded tar and exterior contaminants |
| No dedicated remover available | WD-40 as a backup | Can loosen tar but may affect wax or polish and requires cleanup |
| Asphalt or compatible sticky residue | Goo Gone Automotive | Automotive formula specifically lists asphalt among its uses |
| Tiny rough contamination remaining after chemical removal | Clay bar or clay mitt with proper lubricant | Mechanical decontamination can remove bonded material left after washing and chemical treatment |
Surface Safety & Prep
Use tar-removal chemicals only on surfaces the product label identifies as compatible. Work on cool paint and follow label guidance about shade, dwell time, ventilation, ignition sources, cleanup, and personal protective equipment.
Take extra care around aftermarket paint, recent body-shop repairs, matte finishes, vinyl decals, wraps, paint protection film, ceramic coatings, clear plastics, rubber, and textured trim. A cleaner that is acceptable on healthy factory clear coat is not automatically approved for every other exterior material.
Stubborn Tar: Repeat the Chemistry, Not the Force
Stubborn tar needs patience, not harder rubbing. Apply the compatible remover, give it the label-directed dwell time, and wipe gently with a clean microfiber towel. If the tar remains, repeat the chemical treatment instead of increasing mechanical pressure.
| Task | Purpose |
|---|---|
| Product dwell | Loosen the tar bond chemically |
| Microfiber wipe | Lift softened tar with minimal pressure |
| Targeted reapplication | Treat resistant tar without scraping the clear coat |
| Clean-towel rotation | Avoid dragging transferred tar and grit over the paint |
Do not use a plastic scraper, expired credit card, razor, fingernail, or other hard edge on painted panels. If a raised tar deposit still will not release after repeated label-compliant treatments, stop rather than adding force. A professional detailer is safer than turning a removable contaminant into a paint defect.
The safest tar-removal rule is simple: soften first, wipe second. More resistance calls for another controlled treatment, not harder scrubbing.
Aftercare: Wash, Clay If Needed, and Reapply Wax/Sealant
Once the tar is gone, clean the treated area according to the remover directions. This removes leftover solvent, oily film, and loosened contamination. Rinse thoroughly when appropriate and dry the panel with a clean microfiber towel.
Next, lightly check the clean paint for remaining roughness. If bonded specks remain, use an automotive clay bar or clay mitt only with the lubricant specified for that product. Mothers’ paint-preparation guidance explains that clay removes bonded contaminants, requires adequate lubrication, and can remove wax from the treated area.
- If the paint feels smooth after cleaning, skip clay and go straight to protection.
- If rough specks remain, clay only the affected area with light pressure and proper lubricant.
- Frequently expose a clean clay surface so contamination is not dragged across the paint.
- After claying, wipe the panel clean and inspect it under good light.
- Apply wax, sealant, or another surface-compatible protectant as needed.
Protection can make later cleaning easier, but wax, sealant, ceramic products, and PPF do not make the truck immune to road tar. Continue removing contamination promptly and with surface-compatible products.
What Not to Do When Removing Road Tar
Avoid these common mistakes when cleaning Tacoma paint:
- Do not scrub with paper towels. Use a clean automotive microfiber towel instead of a comparatively rough disposable paper product.
- Do not scrape painted panels. Plastic scrapers, cards, blades, and fingernails can trap grit or mar clear coat.
- Do not use a pressure washer up close. Follow the vehicle and pressure-washer guidance for distance and sensitive edges.
- Do not let a cleaner exceed its label directions. Remove or reapply it as instructed rather than letting an incompatible solvent dry on the panel.
- Do not skip cleanup afterward. Cleaner or oily residue can interfere with subsequent paint protection.
- Do not assume wax or sealant survived the treatment. Inspect water behavior and restore compatible protection when needed.
- Do not use gasoline, acetone, lacquer thinner, steel wool, or abrasive household pads on painted panels. Use an automotive product intended for the surface.
When to Stop and Call a Detailer
Most light road tar can be handled as a DIY job, but some situations deserve professional help. Stop if the contamination is on recent bodywork, peeling or failing clear coat, an unknown refinished panel, a delicate matte surface, or a film/coating whose chemical compatibility you cannot confirm.
Also stop if the spot remains after repeated label-compliant applications or if you see staining, haze, marring, softening, or another finish change. A detailer can choose surface-specific decontamination, polishing, and protection methods without escalating blindly to a stronger solvent or scraping tool.
Prevent Future Tar and Simple Maintenance Tips
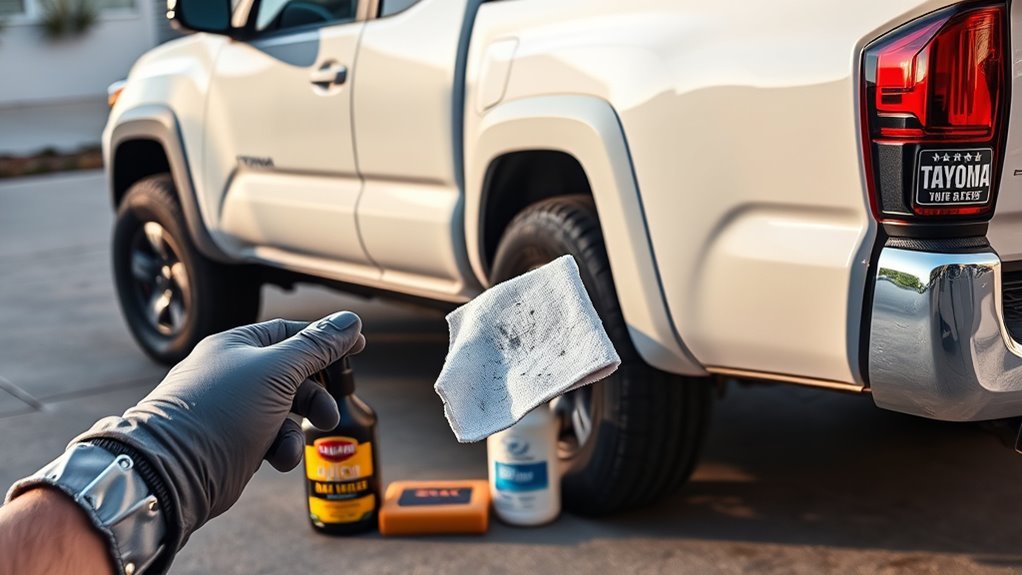
Wash your Tacoma after driving through fresh paving, road construction, or heavy asphalt contamination. Prompt removal reduces the chance that tar becomes harder to clean later.
Maintain whatever paint-protection system you already use according to its manufacturer directions. Wax, sealant, or a compatible ceramic product can make routine cleaning easier. Paint protection film can provide a sacrificial film over painted areas, but solvent compatibility varies, so use only cleaners approved for the specific PPF.
Keep a small cleanup kit in the garage: car shampoo, clean microfiber towels, a dedicated automotive bug-and-tar remover, and your normal compatible paint protectant. Add clay and its proper lubricant only when you actually need mechanical decontamination after the bulk tar has been removed.
Frequently Asked Questions
Will WD-40 remove tar from car paint?
WD-40 can loosen road tar, and WD-40 publishes a tar-removal procedure using a short dwell followed by gentle wiping and cleanup. However, its page warns that WD-40 may soften or remove wax or polish and says the described use was user-provided rather than tested by WD-40 Company. A dedicated automotive tar remover is the more direct first-line option.
How do you remove road grime from Tacoma paint?
Wash the Tacoma first with car shampoo and a soft wash mitt. If tar or another bonded contaminant remains, use a cleaner specifically approved for that contaminant and surface. Remove the bulk contamination chemically before considering a properly lubricated clay product, then restore compatible paint protection as needed.
Will tar remover damage Toyota Tacoma clear coat?
A dedicated automotive tar remover that lists cured automotive paint or clear coat as compatible should be used according to its label, on a cool surface, after a hidden-area test. Do not assume the same product is safe for damaged paint, recent refinishing, matte surfaces, wraps, decals, plastics, PPF, or ceramic coatings.
Can a clay bar remove tar?
Clay can remove small bonded contaminants left after washing, but it should not be the first tool for a thick tar deposit. Remove the bulk tar chemically, then use clay only if the clean paint still feels rough. Follow the clay manufacturer’s lubrication instructions and reapply protection afterward if needed.
Do tar removers damage wax or sealant?
They can weaken or remove existing wax, polish, and some sealants. WD-40 specifically warns that it may soften or remove wax or polish, while dedicated tar-remover instructions commonly call for fresh protection after treatment. Clean the panel and restore a compatible protectant when needed.
Can I use tar remover on PPF, vinyl wrap, or a ceramic coating?
Only if the exact cleaner is approved for that surface. A chemical that is safe on healthy factory clear coat may affect a film, wrap, matte finish, coating, adhesive, or topper differently. Check both the cleaner directions and the film, wrap, or coating manufacturer’s guidance before application.
Conclusion
You can remove road tar from Tacoma paint safely by letting the cleaner do the work. Wash away loose grit, test the exact remover, soften the tar, and wipe gently with clean microfiber instead of scraping or scrubbing. Start with an automotive bug-and-tar remover approved for the surface, treat WD-40 as a backup rather than a default paint product, and follow the label for any other cleaner. Clean the area afterward, clay only if bonded roughness remains, and restore compatible paint protection before the next drive.
Sources
- Turtle Wax Bug & Tar Remover — wash/dry preparation, stain saturation, dwell, microfiber wiping, and follow-up wax protection
- WD-40: How to Remove Tar From a Car — published tar-removal steps, shade guidance, wax/polish caution, and WD-40’s user-submitted-use disclaimer
- Goo Gone Automotive Spray Gel — automotive clear-coat claim, asphalt use, pretesting, directions, and soap-and-water cleanup
- Mothers: Paint Preparation & Waxing — clay use for bonded contamination, lubrication requirements, and wax-removal guidance
- Toyota Tacoma Owner’s Manual: Cleaning and Protecting the Vehicle Exterior — exterior-care guidance by vehicle component and material

[…] contaminant is black petroleum-based road tar rather than tree sap, use a tar-specific process. See how to remove road tar from Toyota Tacoma paint for that separate […]