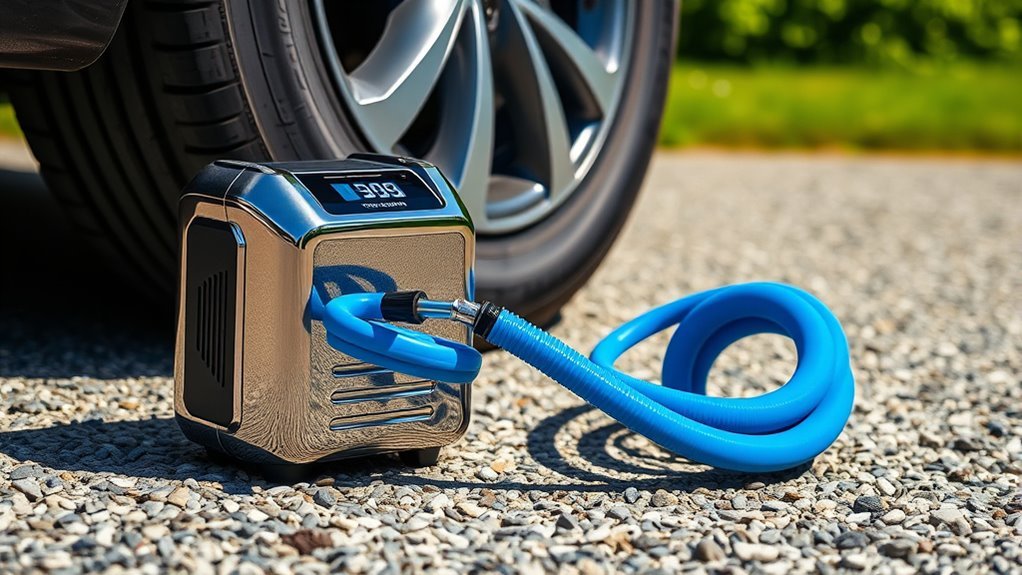
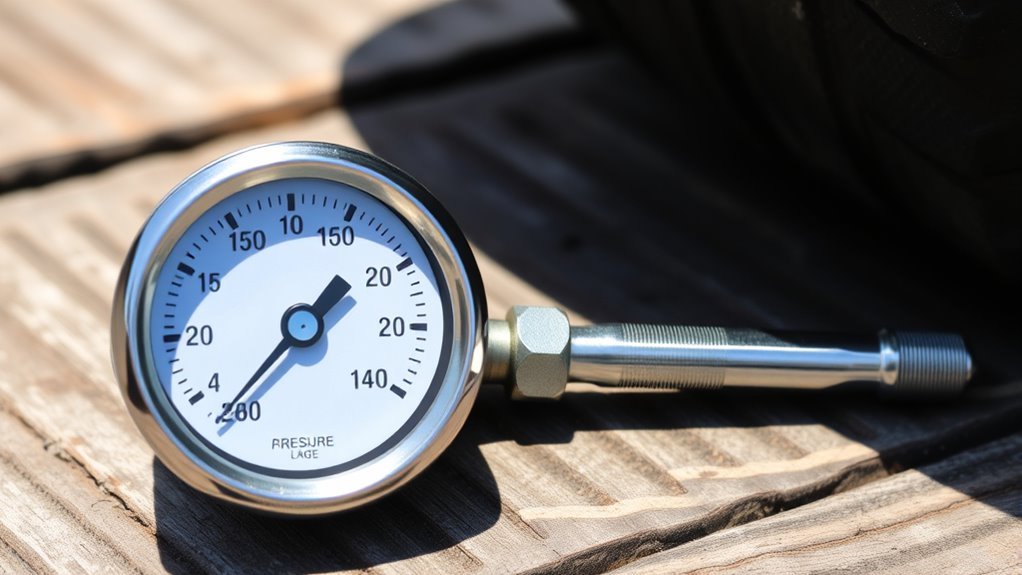
Reading a tire inflator gauge is simple once you know two things: the pressure unit on the gauge and the correct cold tire pressure for your vehicle. Most U.S. vehicles list pressure in PSI, while some gauges and manuals also show BAR or kPa. The safest target is the pressure printed on your vehicle’s tire information placard or owner’s manual, not the number molded into the tire sidewall.
Quick Answer
To read a tire inflator gauge, press the chuck firmly onto the valve stem until the hissing stops, then read the needle, sliding stick, or digital display in the unit your vehicle uses. Compare that number with the cold tire pressure listed on the driver-side placard or owner’s manual.
Key Takeaways
- Use the vehicle’s recommended cold tire pressure, usually found on the driver-side door jamb placard or in the owner’s manual.
- Read the gauge in the same unit as the placard: PSI, BAR, or kPa. If the units differ, convert before adding or releasing air.
- Check tires when they are cold whenever possible: before driving, or after the vehicle has been parked for at least three hours.
- Do not use the tire sidewall pressure as your normal target; that number is usually the tire’s maximum pressure, not the vehicle recommendation.
At a Glance
| Time Required | 3–5 minutes for all four tires |
| Difficulty | Easy |
| Tools Needed | Tire inflator gauge or tire pressure gauge, air compressor if pressure is low |
| Cost | Free if you already have a gauge; usually low-cost at home or at many service stations |
Understanding Tire Pressure Units: PSI, BAR, and kPa
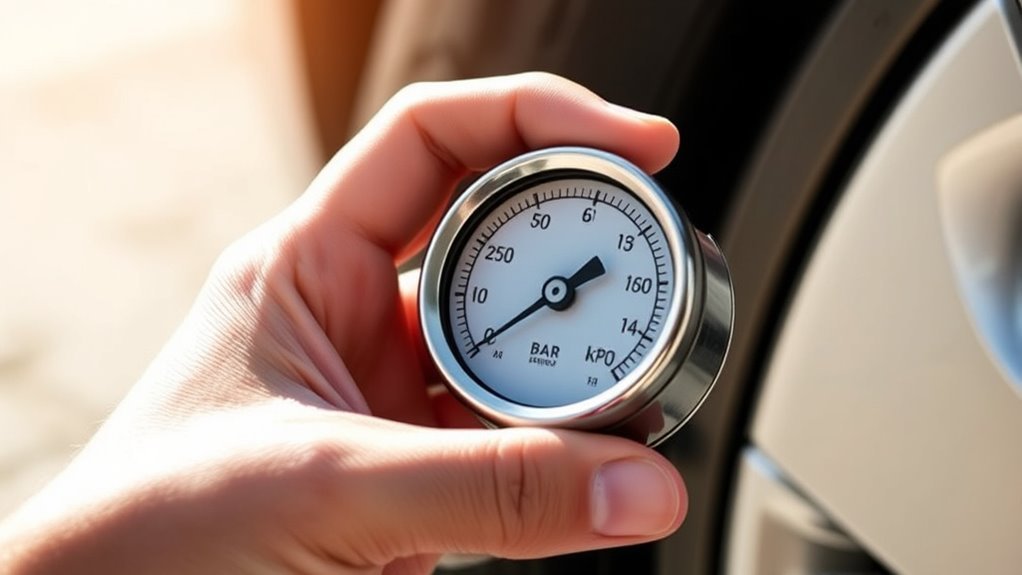
Tire inflator gauges usually display one or more of these pressure units:
- PSI means pounds per square inch. It is the most common tire-pressure unit on vehicles sold in the United States.
- BAR is a metric pressure unit commonly shown on European-style gauges and some owner’s manuals.
- kPa means kilopascal, another metric pressure unit used on many vehicle placards and digital gauges.
The unit matters because you must compare the gauge reading to the same unit shown on your vehicle’s recommended pressure label. According to NHTSA tire-safety guidance, the correct pressure is the vehicle manufacturer’s recommended cold inflation pressure listed on the tire information placard or certification label.
Warning: Do not inflate normal driving pressure to the number on the tire sidewall unless your owner’s manual specifically tells you to. The sidewall number is usually the tire’s maximum cold pressure, while your vehicle’s correct pressure comes from the door placard or owner’s manual.
Where to Find the Correct Tire Pressure
Before you read or adjust a tire inflator gauge, find your vehicle’s target pressure. Look for a tire information placard in one of these places:
- Driver-side door jamb or door edge
- Driver-side doorpost
- Glove box door
- Fuel door or trunk area on some vehicles
- Owner’s manual
The placard may list different pressures for the front tires, rear tires, spare tire, or fully loaded driving. Use the number that matches your tire position and driving condition. The Tire Industry Association also recommends keeping an accurate gauge in your vehicle and checking tires when they are cold.
How to Read Your Tire Inflator Gauge Easily
Use this process for a handheld tire pressure gauge, a tire inflator with a built-in gauge, or a gas-station air hose with a gauge.
- Check the tires cold if possible. A cold tire is one that has not been driven on for at least three hours. If you must check after driving, treat the reading as temporary and recheck later when the tires are cold.
- Remove the valve cap. Put the cap in your pocket or somewhere clean so it does not roll away.
- Press the chuck straight onto the valve stem. Push firmly until the air hissing stops. Hissing usually means the chuck is not sealed, which can give a low or unstable reading.
- Read the number on the gauge. On a digital gauge, read the display. On a dial gauge, read where the needle points. On a stick gauge, read the number on the sliding bar where it extends from the body.
- Compare the reading with the placard pressure. Make sure the unit matches. For example, do not compare 220 kPa with 32 PSI until you convert one of them.
- Add or release air in small amounts. If the pressure is low, add air for a few seconds, then recheck. If it is high, press the valve pin briefly to bleed air, then recheck.
- Replace the valve cap. Repeat the process for every tire, including the spare if your vehicle has one.
Pro Tip: If the gauge reading jumps around, remove the chuck and reconnect it squarely. A clean, straight seal on the valve stem is the key to an accurate reading.
[Products Worth Considering]
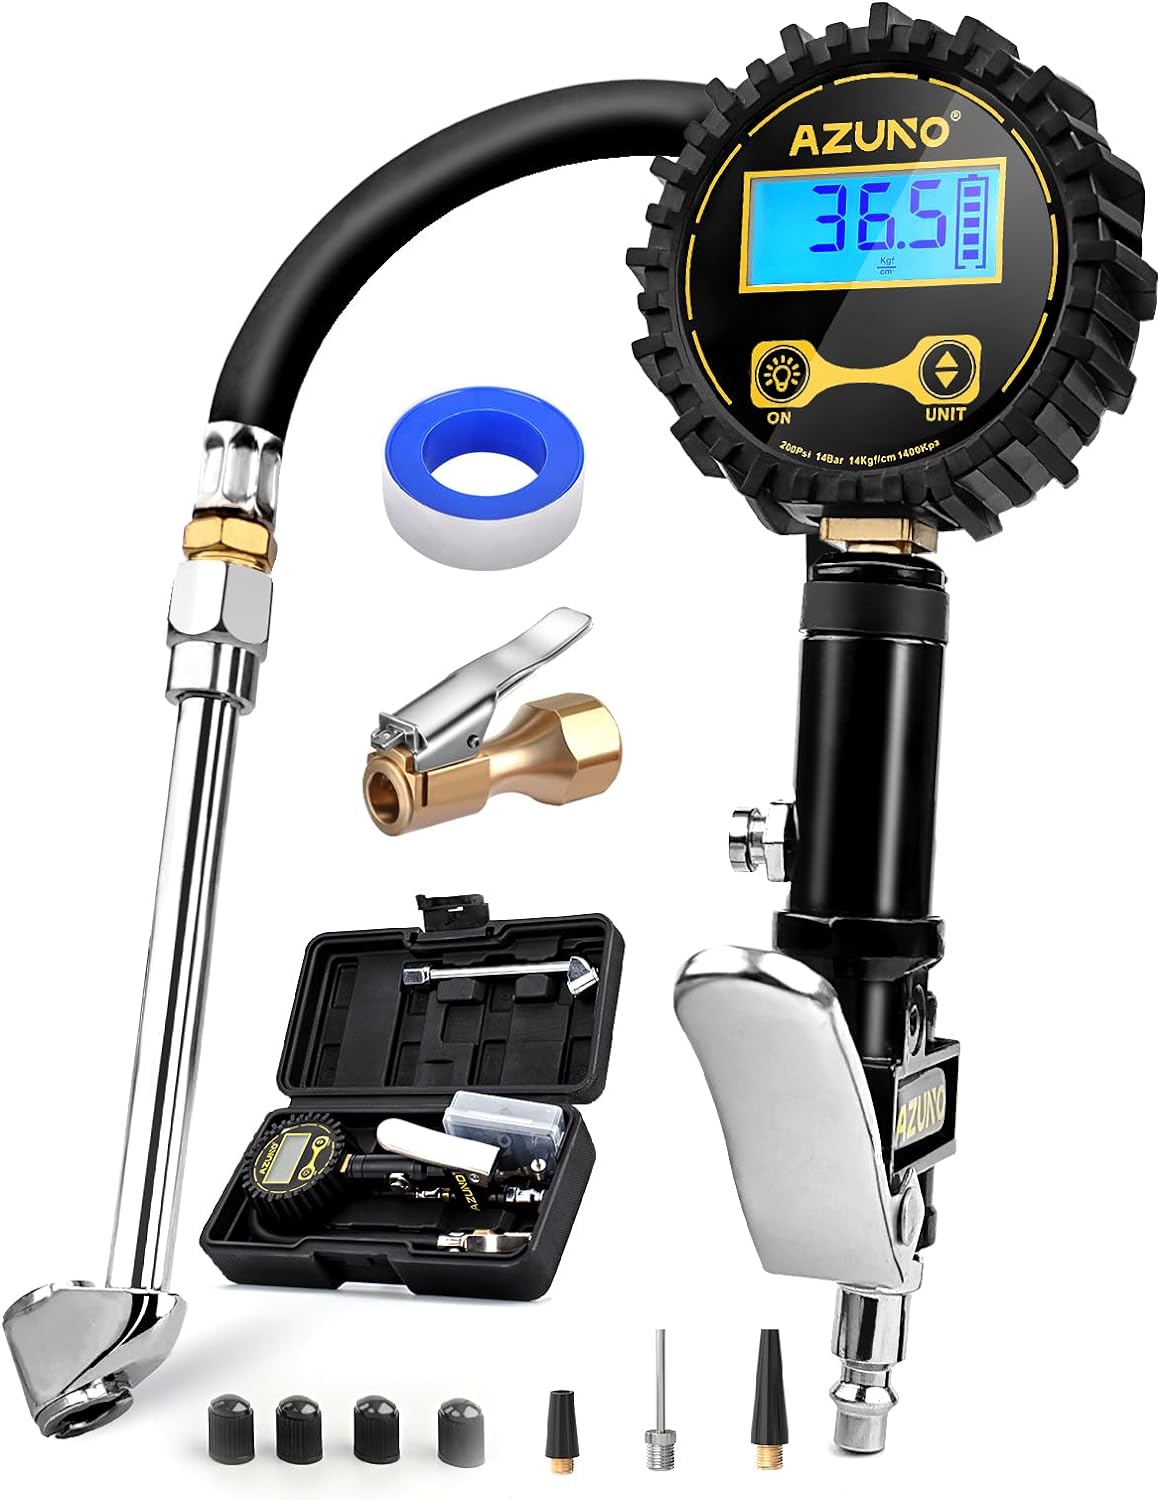
This digital tire inflator delivers accurate, easy-to-read pressure measurements with a bright backlit LCD and precise 0.1 resolution for confident inflation. Designed for single-handed use, it makes it simple to inflate or deflate tires while staying organized in the included portable carrying box. Built for a wide range of vehicles, it is a practical air compressor accessory for cars, trucks, SUVs, motorcycles, and more.

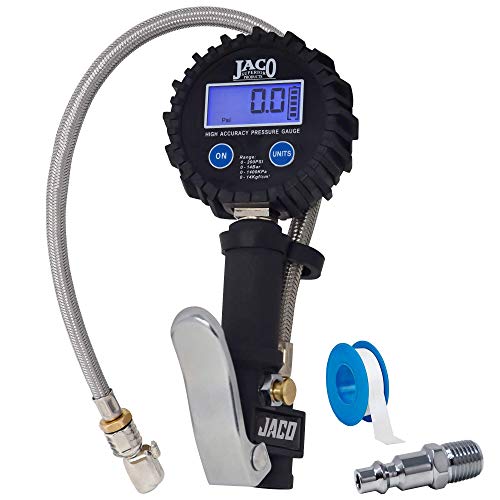
The JACO ElitePro Digital Tire Pressure Gauge delivers shop-grade accuracy with a clear digital readout, making it easy to maintain proper tire pressure for safer driving and better performance. Built with rugged brass and steel components, a protective guard, and a flexible air hose, it is designed for reliable use across cars, trucks, motorcycles, bikes, RVs, and trailers. The lock-on display, built-in bleeder valve, and bright backlit screen add convenience in any lighting condition.
The NOCO Boost GB40 is a compact lithium jump starter designed to safely revive dead 12V batteries in seconds, with enough power for cars, trucks, motorcycles, boats, and more. It also functions as a portable power bank and includes a built-in LED flashlight with multiple modes, making it a versatile emergency tool for roadside use and everyday preparedness.
How to Read Different Types of Tire Pressure Gauges
[Products Worth Considering]

This mud flaps kit helps protect your Toyota Camry’s lower body panels from snow, salt, sand, rocks, and road debris thrown up by the wheels. Designed for SE and XSE Sport models, it offers a direct-fit install with included mounting hardware for a cleaner, more finished look. Built from durable ABS thermoplastic, it is made to handle harsh driving conditions while helping keep your vehicle cleaner.
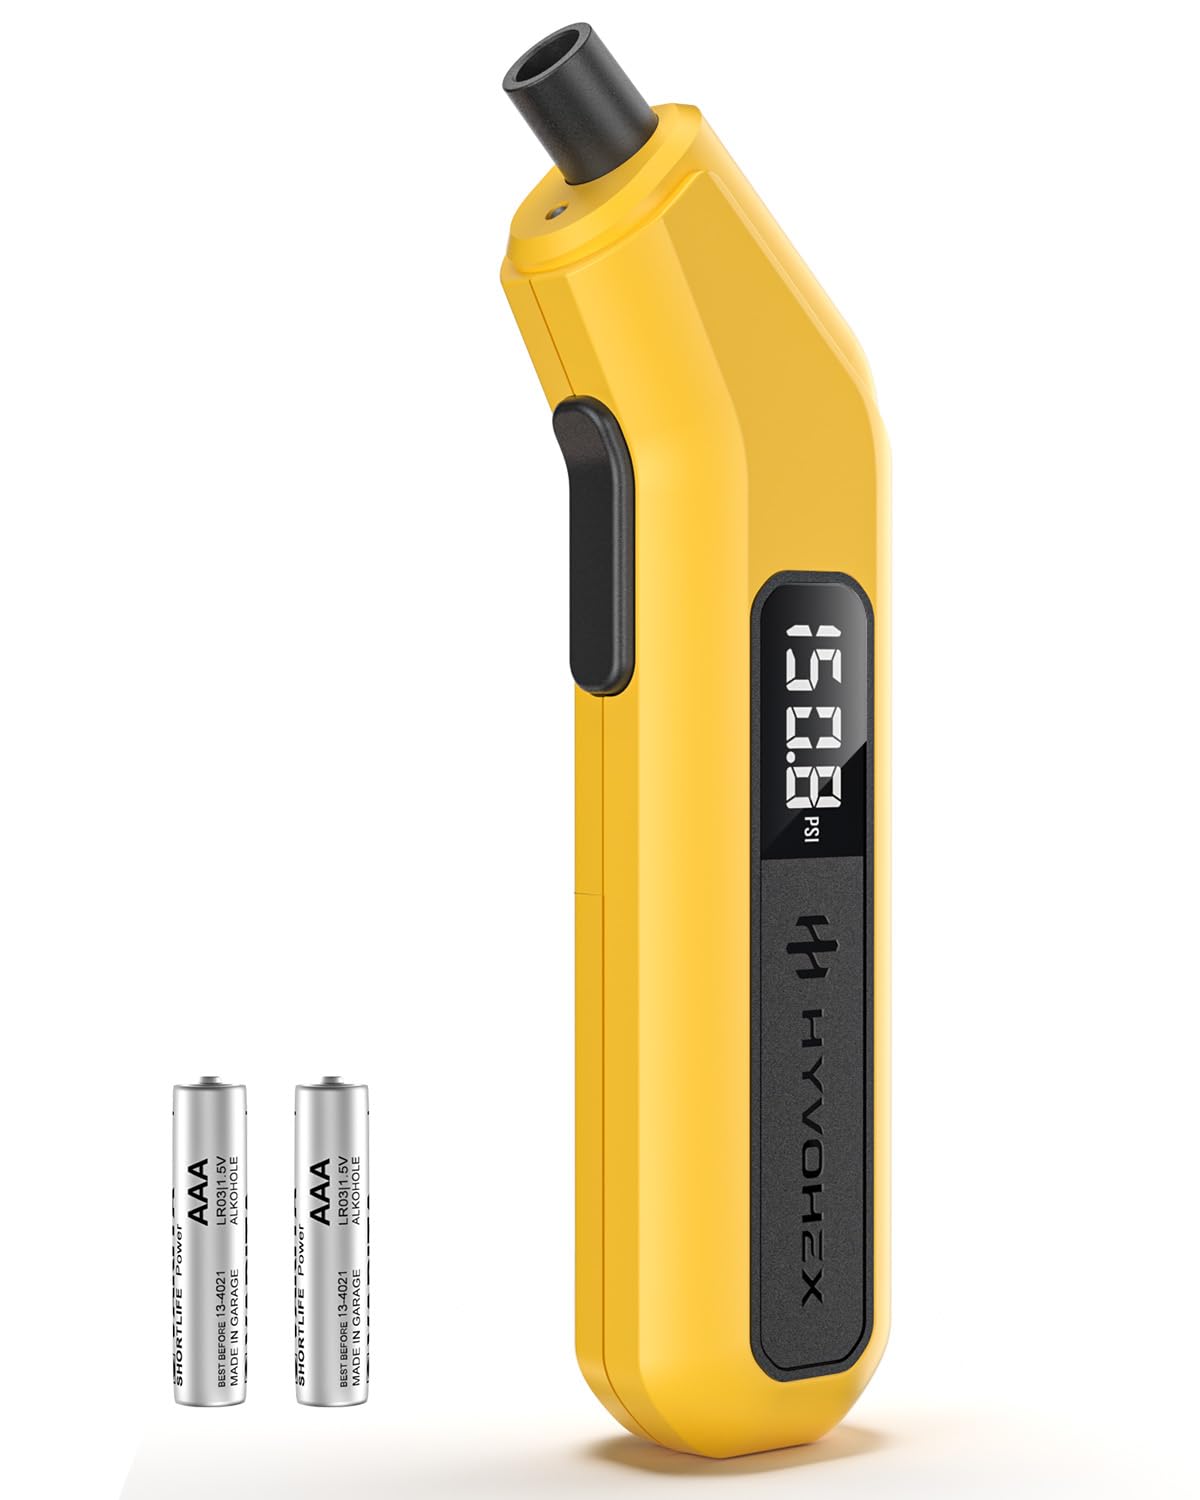
HYVOHEX digital tire pressure gauge delivers fast, accurate readings with an easy-to-read LED backlit display and a high-sensitivity sensor for reliable tire checks. Its valveless one-click operation, rotating valve head, and broad compatibility make it a practical tool for cars, bikes, and trucks. Built with a durable rubber shell and aluminum nozzle, it is compact enough to keep in your glove box or tool bag.

Heavy duty construction and rugged design for long lasting use
Digital Tire Inflator Gauge
A digital gauge gives the easiest reading because it shows the pressure as a number, such as 32.5 PSI or 224 kPa. Turn it on, select the correct unit if it has a unit button, press it onto the valve stem, and wait for the number to stabilize.
Dial or Analog Tire Gauge
A dial gauge uses a needle. First, identify the scale you need because many dials show PSI on one ring and BAR or kPa on another. Hold the gauge straight in front of you to avoid reading the needle from an angle. If the needle lands between two marks, estimate the value based on the smaller tick marks.
Stick or Pencil Tire Gauge
A stick gauge pushes out a marked bar when air pressure enters the gauge. Read the number at the point where the bar exits the gauge body. Make sure the bar is not stuck, dirty, or damaged before trusting the reading.
Air Compressor or Gas-Station Inflator Gauge
Some inflator gauges read pressure only when the trigger is released, while others display pressure as air flows. For the most reliable result, add air in short bursts, pause, and let the gauge settle before reading. If the station gauge looks damaged, use your own handheld gauge to verify the final pressure.
Step-by-Step Guide to Checking and Maintaining Tire Pressure
Maintaining proper tire pressure supports vehicle handling, tire life, braking performance, and fuel economy. The basic routine is simple:
- Find the recommended pressure. Use the tire placard or owner’s manual.
- Check all tires cold. Include front, rear, and spare tire pressures if listed.
- Read each tire with the same gauge. This helps keep measurements consistent from tire to tire.
- Inflate low tires gradually. Add air, pause, and recheck until you reach the recommended pressure.
- Release air if needed. Press the center valve pin briefly, then recheck.
- Inspect while you work. Look for nails, cuts, cracks, bulges, or uneven wear.
- Check again monthly. Also check before road trips and after major temperature changes.
FuelEconomy.gov says keeping tires properly inflated can improve gas mileage by 0.6% on average and up to 3% in some cases.
Converting Between Tire Pressure Units: A Simple Guide

If your gauge and vehicle placard use different units, convert the pressure before adjusting the tire. The common tire-pressure conversions are based on pascal pressure units described in NIST guidance on SI units.
- BAR to PSI: multiply BAR by 14.504.
- PSI to kPa: multiply PSI by 6.895.
- kPa to PSI: divide kPa by 6.895.
- PSI to BAR: divide PSI by 14.504.
| PSI | kPa | BAR |
| 30 PSI | 207 kPa | 2.07 BAR |
| 32 PSI | 221 kPa | 2.21 BAR |
| 35 PSI | 241 kPa | 2.41 BAR |
| 40 PSI | 276 kPa | 2.76 BAR |
What to Do If the Reading Is Too Low or Too High
If the reading is too low, add air in short bursts and recheck after each burst. Stop when the gauge matches the recommended cold pressure for that tire position.
If the reading is too high, press the small pin in the center of the valve stem for a second, then recheck. Let air out slowly so you do not overshoot the target.
If one tire keeps losing pressure, drops much faster than the others, or needs air repeatedly, have it inspected for a puncture, leaking valve stem, damaged wheel, or bead leak.
Note: Tire pressure rises after driving because the tire warms up. If a hot tire reads above the placard pressure, do not automatically bleed it down to the cold-pressure number. Let the tire cool and recheck it later.
[Products Worth Considering]

Accurate: Spurtar tire inflator air pressure gauges with rubber hose are performance-tested and calibrated to the ANSI B40.1 Grade B (2%) international accuracy standard. This device allows you to measure your tire pressure accurately and inflate your tires without the need to drive to a gas station or garage. Easily use the tire pressure gauge with an air pump or compressor to inflate your tires efficiently
ANSI 1A ACCURACY: Performance tested & calibrated accurate to ±1% full scale with 0.5 PSI resolution for precise tire inflation. Bright 200 PSI LCD display & auto-off feature conserve battery life.
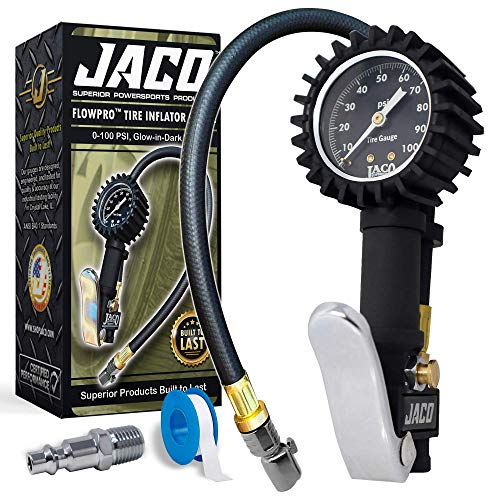
MECHANIC RECOMMENDED: Performance tested & calibrated to ±2% accuracy, this tire inflation tool measures, inflates, & airs down tires up to 100 PSI without batteries. The 100 PSI gauge dial glows in the dark for visibility at night.
Tips for Accurate Tire Pressure Monitoring for Safety and Efficiency
- Check pressure monthly. Tires can lose air gradually even when there is no visible puncture.
- Check before long trips. This is especially important when the vehicle is loaded with passengers or cargo.
- Watch temperature swings. Bridgestone notes that tire pressure changes by about 1 PSI for every 10°F change in ambient temperature.
- Use your own gauge when possible. Public air-station gauges can be worn, dropped, or inaccurate.
- Do not rely only on TPMS. Under federal TPMS rules, tire pressure monitoring systems are designed to warn of significant under-inflation; they are not a replacement for regular gauge checks.
- Check the spare. Temporary spare tires often require much higher pressure than regular tires, so follow the placard or owner’s manual.
Frequently Asked Questions
How do you read the gauge on a tire inflator?
Press the inflator chuck firmly onto the tire valve stem until the hissing stops, then read the gauge display. A digital gauge shows a number, a dial gauge uses a needle, and a stick gauge pushes out a marked bar. Compare the reading with your vehicle’s recommended cold pressure.
What does kPa mean on a tire inflator?
kPa means kilopascal, a metric pressure unit. Some vehicle placards and digital gauges list tire pressure in kPa instead of PSI. For quick tire-pressure conversion, 1 PSI is about 6.895 kPa.
What is 30 to 35 PSI in kPa?
30 PSI is about 207 kPa, and 35 PSI is about 241 kPa. If your vehicle placard gives a specific number, use that exact target rather than assuming every passenger car should be in this range.
How many kPa is 40 PSI?
40 PSI is about 276 kPa. The exact calculation is 40 × 6.895 = 275.8 kPa, which is usually rounded to 276 kPa on tire-pressure charts.
Should I use the PSI on the tire or the door sticker?
Use the door sticker, tire information placard, or owner’s manual. The pressure molded into the tire sidewall is usually the tire’s maximum cold pressure, not the recommended pressure for your specific vehicle.
Is 2.2 BAR the same as 32 PSI?
Yes, 2.2 BAR is about 31.9 PSI, so it is commonly rounded to 32 PSI. Always match the converted number to your vehicle’s placard pressure before inflating.
Why does my tire pressure change after driving?
Driving warms the tires, and warmer air increases pressure. That is why cold-tire readings are more reliable. If you check pressure after driving, recheck later when the tires have cooled.
How often should I check tire pressure?
Check tire pressure at least once a month, before long trips, and when outdoor temperatures change sharply. A quick gauge check can catch underinflation before it affects handling, tire wear, or fuel economy.
Conclusion
Learning how to read a tire inflator gauge comes down to a simple routine: find the correct cold pressure, seal the gauge firmly on the valve stem, read the display or scale, and adjust in small steps. Use PSI, BAR, or kPa only after matching the gauge unit to your vehicle’s placard. With a reliable gauge and a monthly check, you can keep your tires safer, more efficient, and more consistent on every drive.
Sources
- NHTSA TireWise: Tire Safety Ratings and Awareness — supports cold-tire pressure guidance, placard pressure, and tire-safety recommendations.
- Tire Industry Association: Tire Inflation Pressure — supports checking pressure cold, using an accurate gauge, and finding pressure on the driver-side doorjamb or owner’s manual.
- FuelEconomy.gov: Keeping Your Vehicle in Shape — supports fuel-economy claims related to proper tire inflation.
- NIST SP 811: Guide for the Use of the International System of Units — supports SI pressure-unit context and pascal-based conversion accuracy.
- eCFR 49 CFR § 571.138: Tire Pressure Monitoring Systems — supports TPMS purpose and significant under-inflation warning context.
- Bridgestone Americas: Tire Inflation — supports temperature-change guidance for tire pressure.