Reading an analog tire pressure gauge is simple once you know what part of the gauge to watch and when to check the tire. The key is to measure pressure when the tires are cold, press the gauge squarely onto the valve stem, read the PSI, and compare it with the vehicle manufacturer’s recommended pressure on the driver-door placard or in the owner’s manual.
Quick Answer
To read an analog tire pressure gauge, remove the valve cap, press the gauge straight onto the valve stem until the hiss stops, and read the PSI. On a dial gauge, wait for the needle to stop. On a stick gauge, read the number where the sliding bar meets the gauge body.
Key Takeaways
- Check tire pressure when the tires are cold, ideally before driving or after the vehicle has been parked for at least three hours.
- Use the vehicle’s tire placard or owner’s manual for the target PSI, not the maximum PSI printed on the tire sidewall.
- A short hiss is normal when attaching the gauge, but a long hiss usually means the gauge is crooked or not sealed.
- After adding or releasing air, check the tire again with the same gauge before replacing the valve cap.
At a Glance
| Time Required | 2–5 minutes for all four tires |
| Difficulty | Easy |
| Tools Needed | Analog dial or stick tire pressure gauge; air compressor if the tire is low |
| Cost | Free if you already own a gauge; basic analog gauges are usually inexpensive |
Before You Start: Find the Correct PSI
Before you read the gauge, find the correct tire pressure for your vehicle. Look for the tire information placard on the driver-side door jamb, the certification label, or your owner’s manual. The National Highway Traffic Safety Administration explains that the vehicle manufacturer determines the recommended cold inflation pressure based on the vehicle’s load limit and tire size.
Do not use the PSI number molded into the tire sidewall as your target pressure. That sidewall number is the tire’s maximum permissible pressure under normal conditions, not the recommended pressure for your specific vehicle.
Warning: Always compare your reading with the vehicle manufacturer’s recommended cold PSI. Overinflation and underinflation can affect handling, braking, tire wear, and tire safety.
How Do Analog Tire Pressure Gauges Work?
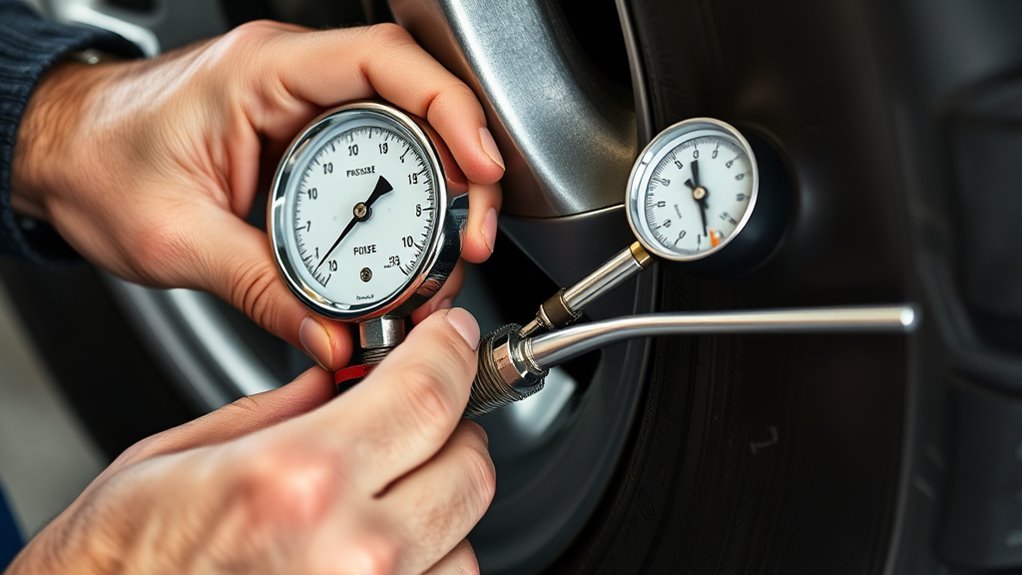
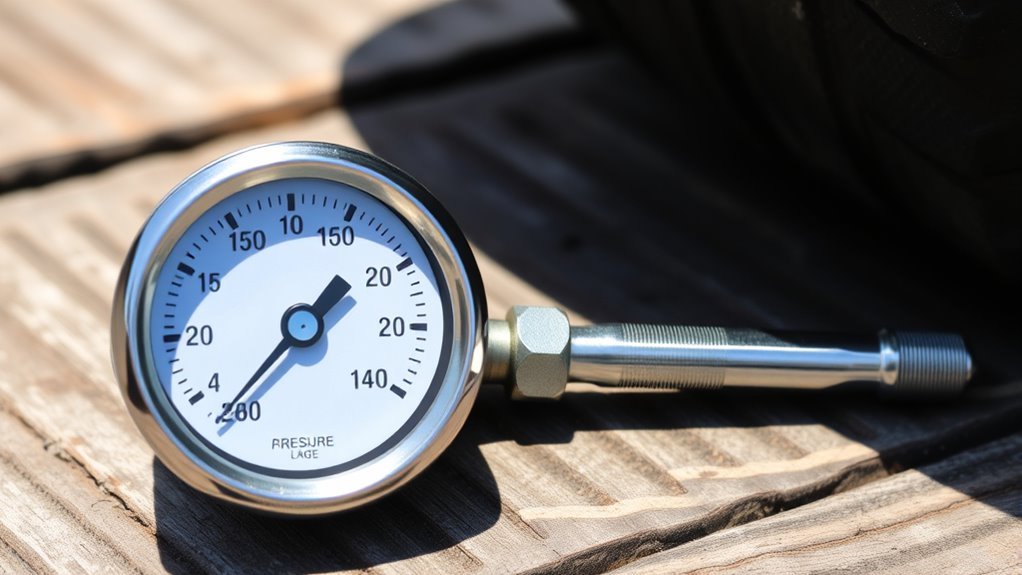
Analog tire pressure gauges use air pressure from the tire to move a mechanical part. In many dial gauges, a curved Bourdon tube or diaphragm moves when pressure enters the gauge, and that movement turns the needle across a calibrated PSI scale. A technical reference from Tameson describes how a Bourdon tube straightens under pressure and moves an indicator needle.
Stick gauges work differently. When you press the gauge onto the valve stem, tire pressure pushes out a small calibrated sliding bar. You read the PSI on that bar at the point where it exits the gauge body. Both dial and stick gauges can work well, but only if the gauge seals tightly and is read correctly.
Check Tires Cold for the Best Reading
For the most accurate reading, check tire pressure before driving or after the vehicle has been parked for at least three hours. NHTSA defines a cold tire as one that has not been driven on for at least three hours, because driving warms the tire and increases the air pressure inside it.
If you must inflate a warm tire because it looks low, fill it to the recommended cold pressure as a temporary safety step, then recheck and adjust it when the tire is cold. Tire pressure also changes with weather; Bridgestone notes that tire pressure changes by about 1 PSI for every 10°F change in ambient temperature.
Note: A tire can be low even if it does not look flat. With radial tires, visual inspection is not a reliable way to spot underinflation.
How to Read a Dial Tire Pressure Gauge
- Park safely and let the tires cool. Check pressure before driving or after the vehicle has been parked for at least three hours.
- Find the target PSI. Use the driver-door placard, certification label, or owner’s manual.
- Remove the valve cap. Put it in your pocket or another safe spot so it does not roll away.
- Press the gauge straight onto the valve stem. Push firmly enough to stop the hiss of escaping air. Do not tilt or rock the gauge.
- Wait for the needle to settle. On most dial gauges, the needle moves to the tire’s pressure reading in PSI.
- Read the needle at eye level. Looking from an angle can make the reading seem higher or lower than it is.
- Compare the reading with the recommended PSI. Add air if the tire is low, or release air if it is high.
- Check again. Reattach the gauge after any adjustment to confirm the final pressure.
- Replace the valve cap. The cap helps keep dirt and moisture out of the valve.
Pro Tip: Use the same gauge each time when possible. Consistent readings from one gauge make it easier to spot slow leaks or seasonal pressure drops.
How to Read a Stick Tire Pressure Gauge
- Push the sliding bar back in. Start with the stick fully reset inside the gauge.
- Remove the valve cap. Keep the cap clean and close by.
- Press the gauge straight onto the valve stem. Use one quick, firm motion. A brief hiss is normal; a steady hiss means the seal is not square.
- Let the stick pop out. Tire pressure will push the calibrated bar outward.
- Read the PSI at the gauge body. The correct number is the mark on the sliding bar that lines up with the edge of the gauge body, not the number at the far end of the stick.
- Repeat if the reading looks wrong. If the stick jumps only partway, comes out crooked, or gives a very different result from the other tires, reset it and try again.
- Add or release air as needed. Recheck after every adjustment.
What the PSI Reading Means
PSI means pounds per square inch. It tells you how much air pressure is inside the tire. If your placard says 35 PSI cold and your gauge reads 32 PSI cold, the tire is about 3 PSI low. Add air, then check again. If the gauge reads 40 PSI cold and the placard says 35 PSI, release air until the tire is back to 35 PSI unless your owner’s manual gives a different pressure for a loaded vehicle, towing, or a special tire setup.
Underinflated tires can reduce fuel economy, increase heat buildup, and contribute to tire failure. NHTSA research also links improper inflation with handling, stopping-distance, and tire-wear concerns.
How to Add or Release Air After Checking
If the tire is low, attach an air hose and add air in short bursts. Remove the hose and check the pressure again with your gauge. Keep adding small amounts until the tire reaches the recommended PSI.
If the tire is too high, press the small pin inside the valve stem with the back edge of the gauge or another safe valve tool. Release air in short bursts, then recheck. Avoid letting out too much air at once.
[Products Worth Considering]

This precision straight edge is designed for accurate engine block and cylinder head inspections, helping machinists and mechanics check flatness with confidence. Made from thick cold rolled steel and finished with a protective powder coat, it offers durability, rigidity, and long-term reliability in demanding shop environments. A reusable edge cover and hang hole add convenience for storage and care.
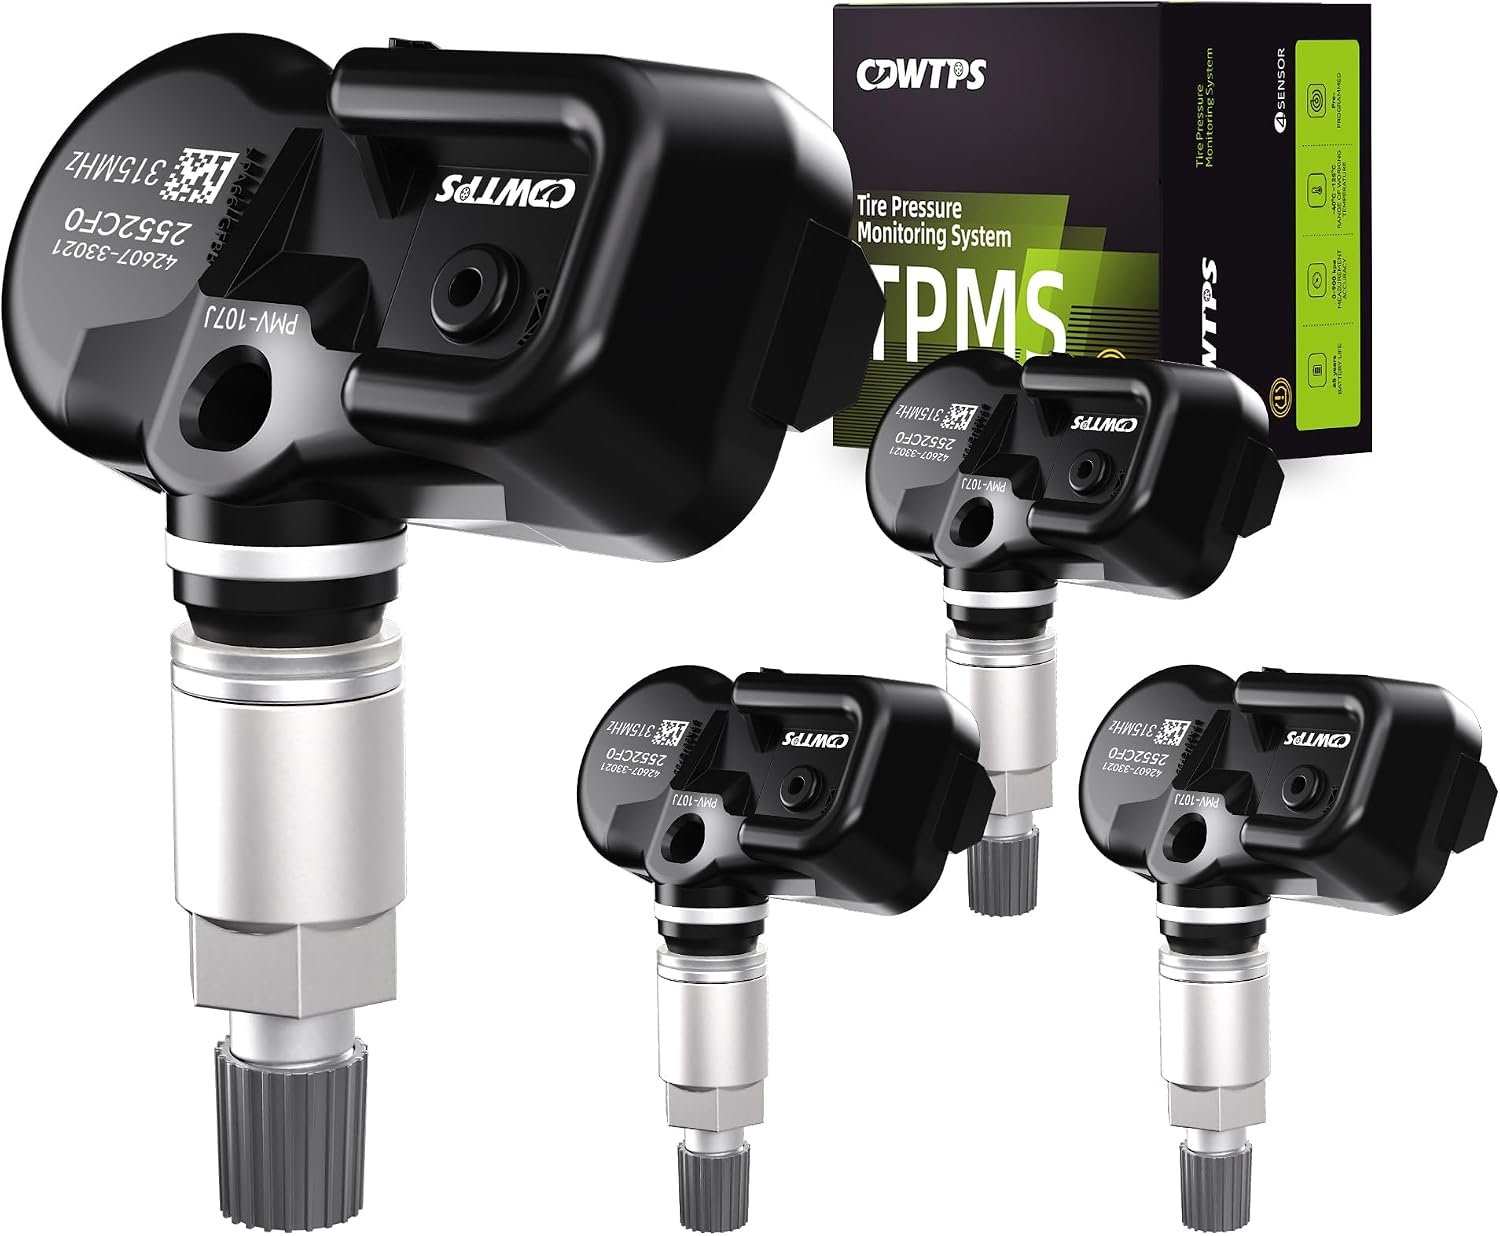
This set of four pre-programmed TPMS sensors is designed as a direct-fit replacement for compatible Toyota, Lexus, and Scion vehicles. It helps restore accurate tire pressure monitoring without sensor programming, and each unit is factory-tested for dependable performance. Built for long service life, these sensors offer a convenient solution for replacing worn or failed tire pressure monitors.

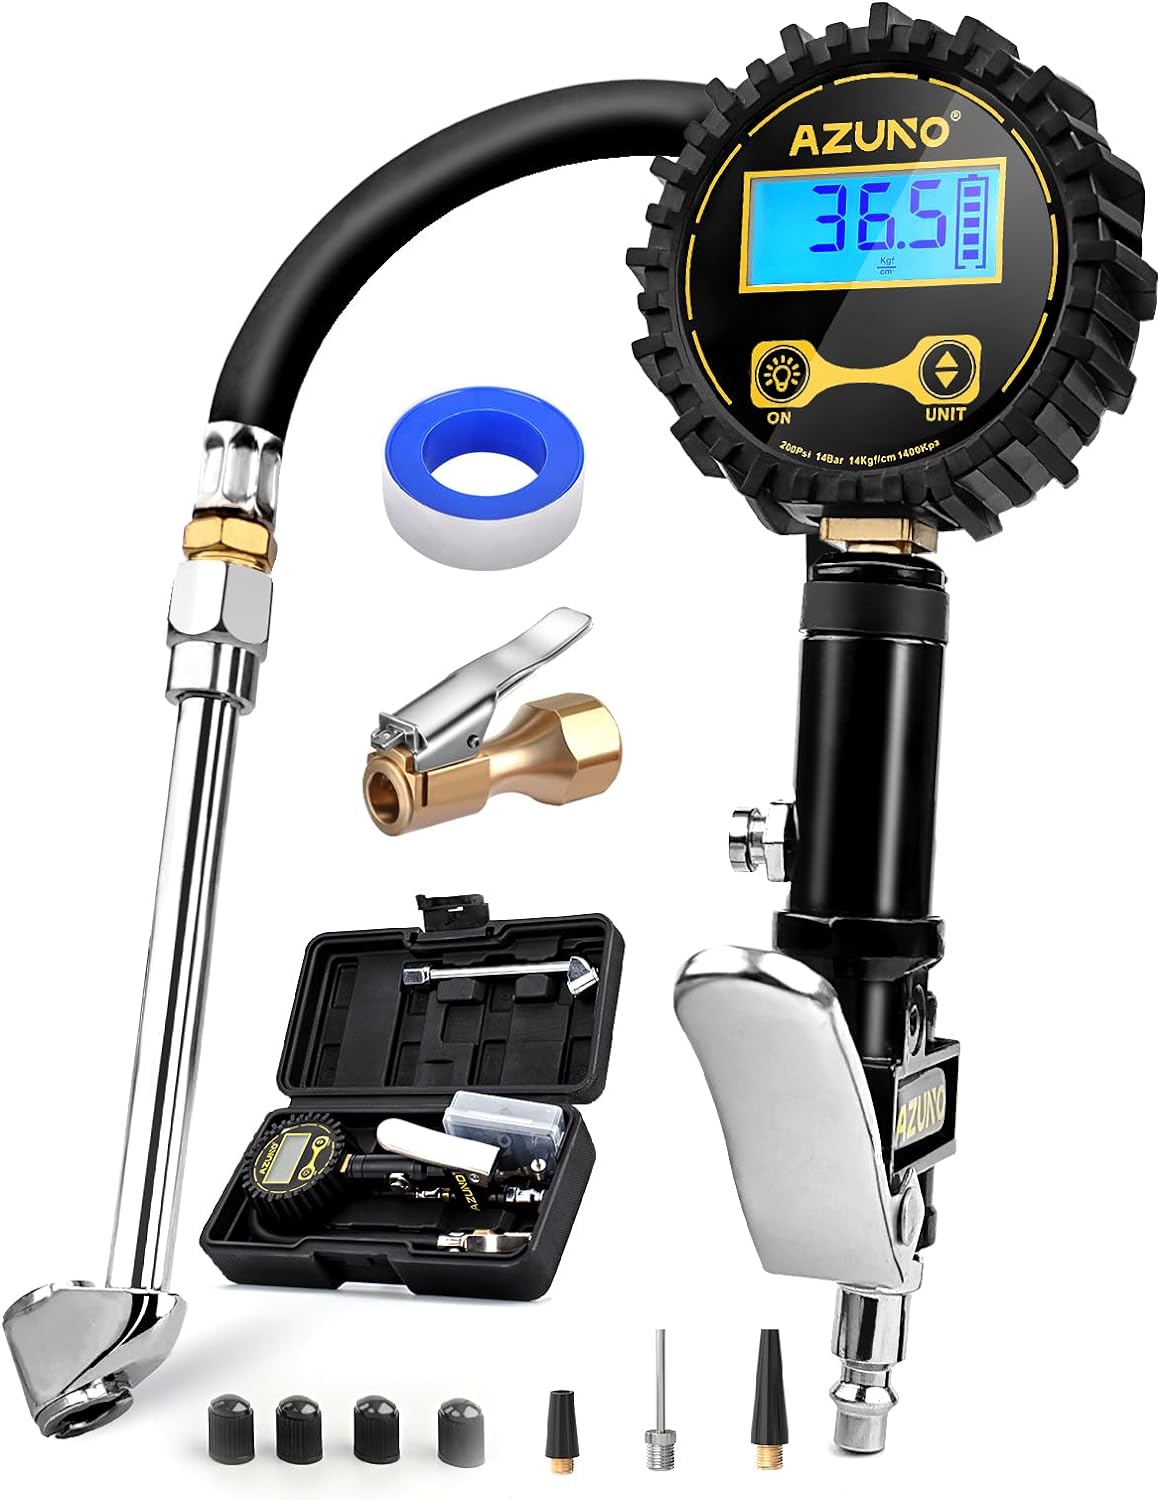
This AstroAI digital tire pressure gauge delivers factory-calibrated readings with dependable ±1 PSI accuracy, helping you keep cars, trucks, motorcycles, and spare tires at the right pressure. Its bright backlit LCD and illuminated nozzle make nighttime checks easy, while the one-button unit switch and auto-off design add convenience and battery efficiency for routine maintenance.
Common Mistakes to Avoid With Analog Gauges
Small handling mistakes can change the reading. Avoid these common errors:
- Checking hot tires and treating the number as final. Warm tires usually read higher than cold tires.
- Using the tire sidewall PSI as the target. Use the vehicle placard or owner’s manual instead.
- Holding the gauge at an angle. A crooked gauge leaks air and may give a low or inconsistent reading.
- Reading a dial from the side. Read the needle straight on at eye level to avoid parallax errors.
- Ignoring a slow leak. If one tire keeps dropping more than the others, inspect it for a nail, valve-stem leak, rim leak, or tire damage.
- Forgetting the spare tire. Many spare tires need a different pressure than the four road tires, so check the owner’s manual or placard.
Troubleshooting Bad Tire Pressure Readings
| Problem | Likely Cause | Fix |
|---|---|---|
| Long hiss of air | Gauge is not square on the valve stem | Remove it, reset, and press straight on with one firm motion. |
| Needle jumps or sticks | Damaged, dirty, or worn dial gauge | Compare with another gauge. Replace the gauge if readings remain erratic. |
| Stick bar barely moves | Poor seal or sticky sliding bar | Reset the bar fully and try again. Replace the gauge if it still binds. |
| One tire is always low | Possible leak or valve-stem problem | Inflate it to spec, monitor it, and have the tire inspected if pressure drops again. |
[Products Worth Considering]

This set of four pre-programmed TPMS sensors is designed to restore accurate tire pressure monitoring for a wide range of Toyota, Lexus, and Scion vehicles. Built to OE-quality standards with long battery life and broad compatibility, these sensors help maintain proper tire pressure, improve safety, and eliminate TPMS warning lights when installed and activated correctly.

This CARORAV TPMS sensor set provides reliable tire pressure monitoring for a wide range of Toyota and Lexus vehicles with 315MHz compatibility. It is pre-programmed for easier setup, but still requires relearning or reset procedures after installation. Designed for accurate real-time pressure tracking, these sensors help support safer driving and long-lasting performance across many model years.

These aluminum alloy tire valve stem caps provide durable, corrosion-resistant protection for your vehicle’s valve stems while helping maintain stable tire pressure. The rubber seal design helps block dust, moisture, and debris, reducing the risk of air leakage and valve damage. Easy to install and styled for a clean look, they fit a range of cars, SUVs, trucks, and motorcycles.
Dial vs. Stick Gauges: Key Differences Explained
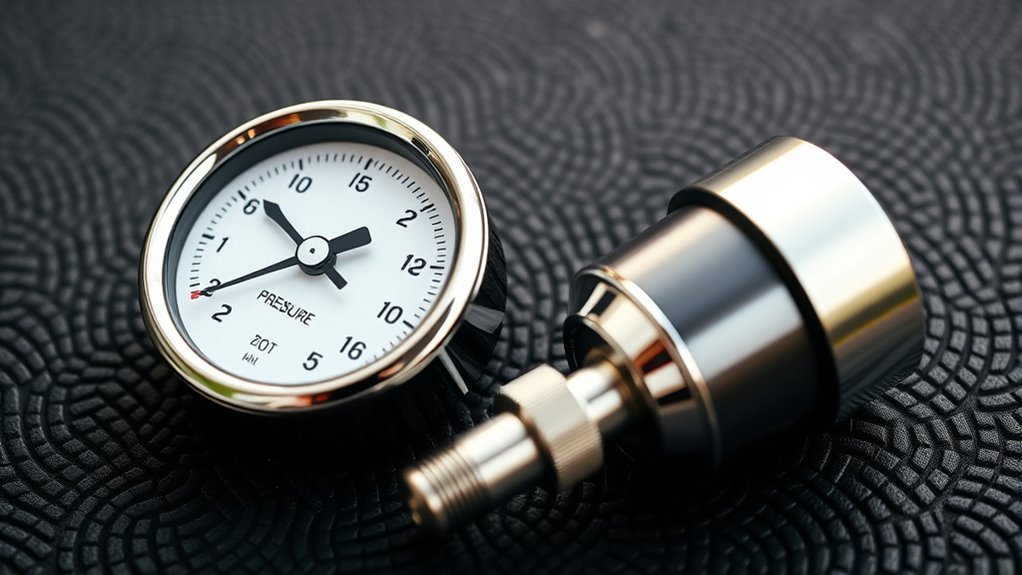
Dial and stick gauges both measure tire pressure in PSI. The better choice depends on how easy you find the gauge to seal, read, store, and verify.
| Feature | Dial Gauges | Stick Gauges |
|---|---|---|
| Reading Method | Needle points to PSI on a dial | Sliding bar extends from the body |
| Accuracy | Often easier to read precisely if the gauge is well-made and calibrated | Can be accurate, but small markings and sticky bars may make readings harder |
| Ease of Use | Large dial may be easier to see; hose-style models can be easier to position | Small, quick, and simple once you know where to read the bar |
| Portability | Bulkier, especially with a hose or bleed valve | Very compact and easy to keep in a glove box |
| Best For | Regular maintenance at home or in a garage | Quick checks and emergency backup |
[Products Worth Considering]

This all-in-one car emergency kit helps drivers stay prepared for roadside breakdowns, flat tires, and dead batteries with essential tools in one compact package. It includes a portable air compressor, heavy-duty jumper cables, a first aid kit, and other safety items designed for year-round peace of mind. Compact enough for easy trunk storage, it makes a practical safety solution and thoughtful gift for drivers of all ages.

This wheel alignment tool makes it easy to check and adjust toe-in and toe-out at home for better handling, stability, and more even tire wear. Designed for one-person use, it includes tape-measure slots for simple setup and accurate measurements without extra help. Its stainless steel construction and broad vehicle compatibility make it a practical addition to any DIY garage.

This AC Schrader valve tool is designed for leak-free removal and replacement of valve cores in automotive air conditioning systems filled with refrigerant. It helps prevent refrigerant loss, secures the valve core during installation or removal, and simplifies servicing with included guidance. Built from brass and aluminum alloy and stored in a protective EVA case, it offers a practical solution for both high and low pressure valve core work.
How Often Should You Check Tire Pressure?
Check tire pressure at least once a month, before long trips, before towing or carrying heavy loads, and when the weather changes sharply. NHTSA recommends monthly checks because tires can lose air naturally over time, can lose air suddenly after pothole or curb impacts, and may look normal even when underinflated.
Also check the spare tire. Compact temporary spares often use a different pressure than the regular tires, so use the vehicle placard or owner’s manual for the correct number.
Do You Still Need a Gauge if Your Car Has TPMS?
Yes. A tire pressure monitoring system is useful, but it is not a replacement for routine gauge checks. NHTSA research on TPMS describes systems designed to warn drivers when a tire is significantly underinflated, but waiting for a warning light means the tire may already be well below the recommended pressure.
Use TPMS as a warning system and your gauge as the regular maintenance tool.
How to Keep Your Tire Pressure Gauge Accurate
Choosing a dial or stick gauge is only the first step. Keep it accurate with simple care:
- Store it safely. Keep the gauge in a dry glove box, tool drawer, or case. Avoid leaving it loose where it can be crushed or dropped.
- Keep the chuck clean. Dirt inside the gauge fitting can prevent a tight seal.
- Avoid impact damage. Dropping a dial gauge can bend the needle or damage the internal mechanism.
- Compare readings occasionally. Check your gauge against a trusted gauge at a tire shop, service center, or with another known-good gauge.
- Replace worn gauges. If readings jump, repeat poorly, or differ widely from other reliable gauges, replace the gauge.
Frequently Asked Questions
How do you read an analog tire pressure gauge?
Press the gauge straight onto the valve stem until the air hiss stops. For a dial gauge, read the number where the needle settles. For a stick gauge, read the PSI mark where the sliding bar meets the gauge body.
How do you read a dial pressure gauge?
Attach the dial gauge squarely to the valve stem, wait for the needle to stabilize, then read the PSI at eye level. If the needle jumps or air keeps hissing, remove the gauge and try again with a straighter seal.
How do you use a stick tire pressure gauge?
Push the stick fully back into the gauge, press the gauge straight onto the valve stem, and let the bar slide out. Read the PSI number at the edge of the gauge body. Reset and repeat if the reading seems incomplete or inconsistent.
Is 40 PSI too high for a tire that should be 35 PSI?
Yes, 40 PSI is too high if your vehicle placard calls for 35 PSI cold and your owner’s manual does not specify a higher pressure for a special load or use. Release air slowly and recheck until the tire is at the recommended cold PSI.
Should I use the PSI printed on the tire sidewall?
No. The sidewall PSI is the tire’s maximum permissible pressure, not the recommended pressure for your vehicle. Use the driver-door placard, certification label, or owner’s manual for the correct cold PSI.
Why does air hiss when I use the gauge?
A quick hiss is normal as the gauge contacts the valve. A steady hiss usually means the gauge is tilted or not pressed firmly enough to seal. Remove it, line it up straight, and press again.
Are dial gauges better than stick gauges?
Not always. A good dial gauge may be easier to read precisely, while a stick gauge is compact and simple. The most important factors are a tight seal, repeatable readings, and a gauge that has not been damaged.
Conclusion
To read an analog tire pressure gauge correctly, start with cold tires, use the vehicle’s recommended PSI, press the gauge straight onto the valve stem, and read the dial needle or stick scale carefully. Recheck after adding or releasing air, then replace the valve cap. A few minutes each month can help protect tire life, fuel economy, handling, and safety.
Sources
- NHTSA Tire Safety Brochure — recommended cold tire pressure, tire placard guidance, monthly pressure checks, and cold-tire timing.
- NHTSA TireWise — tire safety, maintenance, labeling, and fuel-efficiency context.
- NHTSA/FuelEconomy.gov TPMS Effectiveness Report — safety and fuel-economy risks of underinflation and overinflation.
- Bridgestone Tire Inflation Guidance — monthly pressure checks and temperature-related PSI changes.
- Tameson Bourdon Tube Pressure Gauge Guide — how Bourdon tube dial pressure gauges work.