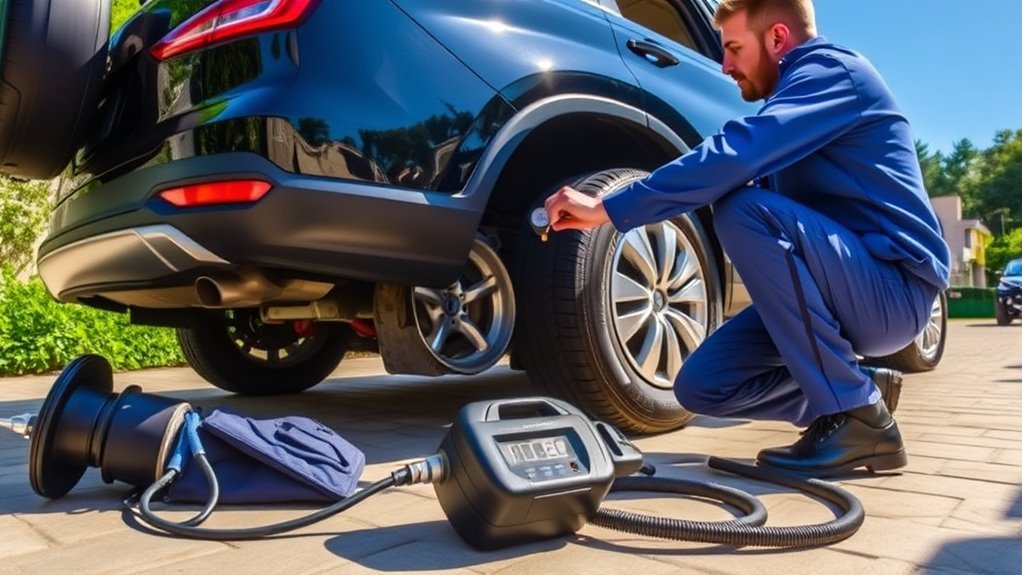
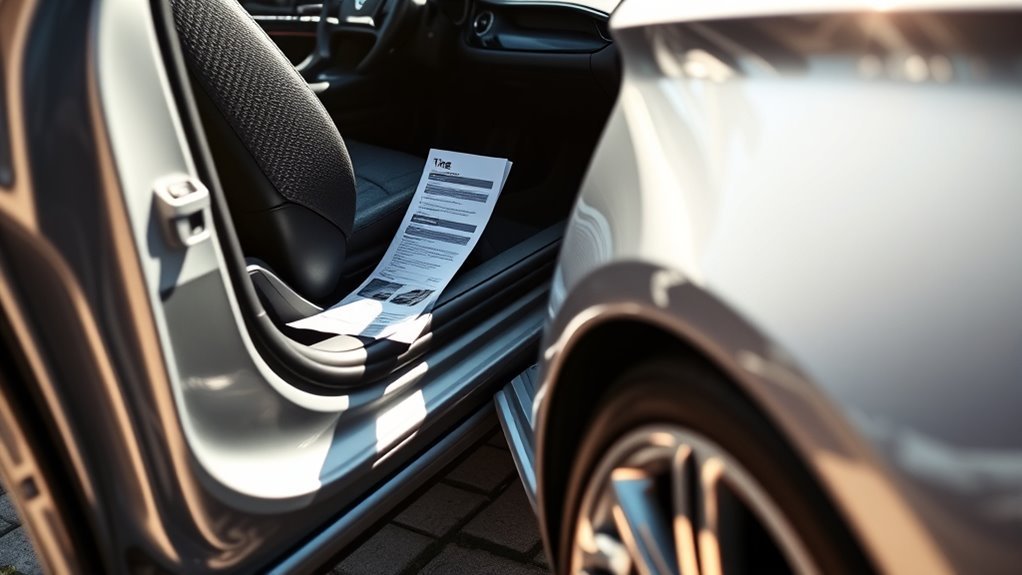
Low tire pressure accelerates wear across both tread shoulders, while excessive cold pressure concentrates wear along the center ribs and creates a harsher ride. Check tire pressure at least once a month when tires are cold, compare the reading directly with the driver-side door placard, and inspect tread depth across the inner, center, and outer grooves. One-sided wear, cupping, steering vibration, or repeated pressure loss indicate mechanical suspension or wheel alignment faults that air adjustments alone cannot resolve.
Written by: Editorial Automotive Team
Last updated: July 23, 2026. Safety standards (49 CFR 570.9), contact-patch diagnostic data, tread-depth thresholds, and FAQ schema reviewed.
Quick Answer
Tire pressure dictates how the tread contact patch distributes vehicle weight:
- Underinflation (Low Cold PSI): The center tread collapses upward, overloading both outer shoulders, creating excessive heat, and increasing rolling resistance.
- Overinflation (High Cold PSI): The tire crowns along the center, concentrating vehicle load onto the middle tread ribs, stiffening ride quality, and increasing vulnerability to pothole impacts.
- Mechanical Wear (One-Sided/Cupping): Caused by camber/toe misalignment, worn shocks, or unbalance—not inflation pressure alone.
Key Takeaways
- Check all tires, including the spare, at least monthly using a calibrated digital or dial pressure gauge. Note that compact temporary spares (“donuts”) typically require 60 PSI.
- Always follow the cold tire inflation pressure printed on the driver-side door placard or in the owner’s manual—never the maximum pressure stamped on the tire sidewall.
- Only adjust air pressure downward when tires are cold (parked for at least three hours). Driving heats air and naturally elevates pressure by 3 to 5 PSI.
- Replace tires when tread wears down to 2/32 inch (the legal minimum), or at 4/32 inch to maintain safe wet-weather stopping distance and hydroplaning resistance.
- Rotate tires every 5,000 to 8,000 miles to distribute drive-axle and steering loads evenly across all four positions.
- One-sided wear, scalloping/cupping, steering pull, or persistent vibration point to alignment, suspension, balance, or structural tire damage.
At a Glance: Tire Wear vs. Cause
| Underinflated Tire | Shows accelerated wear across both outer shoulders, internal heat buildup, sluggish steering response, and reduced fuel economy. Check cold PSI and inspect for slow bead or puncture leaks. |
| Overinflated Tire | Shows accelerated wear along the center tread ribs, reduced traction, a harsh/bouncy ride, and heightened susceptibility to impact breaks from potholes. Verify cold PSI before releasing air. |
| Correct Cold Pressure | Maintains an even, rectangular contact patch across the full tread width, optimizing grip, predictable cornering, braking performance, and maximum tread lifespan. |
| One-Sided or Cupped Wear | Requires mechanical wheel alignment (camber/toe adjustment), dynamic wheel balancing, or replacement of worn suspension bushings, ball joints, struts, or shock absorbers. |
How Does Tire Pressure Affect Tire Wear?

Proper tire inflation ensures that the tire tread maintains a uniform, flat contact patch against the pavement. When internal air pressure matches the vehicle manufacturer’s cold tire specification, load weight is distributed evenly across the inner shoulder, center ribs, and outer shoulder.
Underinflated tires suffer from excessive sidewall flex and casing deflection. As the sidewall bends under vehicle weight, the center of the tread buckles upward away from the road surface, transferring the majority of vehicle weight onto the outer shoulders. This concentrated load generates severe internal heat, accelerates edge rubber degradation, increases rolling resistance, and softens steering response.
Overinflated tires expand outward along the path of least resistance, causing the tire crown to balloon. This narrows the contact patch into a thin strip along the center of the tread. Because the center ribs carry the vehicle weight alone, center tread depth diminishes rapidly, traction declines under hard braking, and the stiffened carcass transmits harsh road shocks directly into the chassis.
Warning: Never use the maximum pressure molded on the tire sidewall as your everyday target. That number represents the tire’s maximum safe load limit, not the vehicle manufacturer’s engineered operating pressure. Always use the cold pressure specified on the driver-side doorjamb placard.
Recognizing Signs of Underinflated and Overinflated Tires
Evaluating tread wear patterns provides early diagnostic insight into tire health, suspension geometry, and wheel alignment. Use the visual and physical symptoms below to identify underlying causes, then confirm pressure with a gauge or schedule professional mechanical service.
| Wear Pattern or Symptom | Common Cause | What to Do |
|---|---|---|
| Both outer shoulders worn | Chronic underinflation, vehicle overloading, or aggressive high-speed cornering | Measure cold PSI with a calibrated gauge, inflate to door placard specs, verify vehicle payload, and inspect for slow bead or valve leaks. |
| Center tread worn faster | Excessive cold inflation pressure causing tire crown ballooning | Check pressure after the vehicle has been parked for 3+ hours; bleed down to the door placard value if cold PSI is high. |
| One inner or outer edge worn (Camber Wear) | Incorrect wheel camber angle, bent strut, worn control arm bushings, or sagging springs | Schedule a 4-wheel computerized alignment and inspect suspension control arms, ball joints, and struts. |
| Feathered or sawtooth tread blocks | Incorrect wheel toe alignment (toe-in or toe-out) or worn steering tie rods | Perform a tactile hand-wipe check across tread blocks; schedule steering linkage inspection and toe alignment. |
| Cupped or scalloped dips | Worn shock absorbers/struts, dynamic wheel imbalance, or bent wheel rim causing tire bouncing | Have shocks, struts, and wheel balance evaluated on a road-force balancer; replace degraded dampers. |
| Vibration, thumping, or pulling | Internal belt separation, wheel weight loss, bent wheel rim, or severe pressure mismatch | Check cold tire pressure immediately; inspect for sidewall bulges and seek professional tire balancing. |
Identifying Underinflated Tire Symptoms
Visual inspection alone is notoriously deceptive with modern radial tires; a tire low by 20% to 25% can appear fully inflated while sitting on flat pavement. Always verify inflation with a pressure gauge when tires are cold (parked for a minimum of three hours). Physical symptoms of underinflation include both tread shoulders wearing faster than the center, sluggish or heavy steering response, wandering during highway driving, increased road noise from tread squirm, and noticeably lower fuel economy.
Vehicles equipped with a Tire Pressure Monitoring System (TPMS) display a dashboard warning when a tire falls 25% or more below the placard baseline. However, TPMS is an emergency fail-safe rather than a preventative maintenance tool. Significant tire wear and fuel efficiency penalties occur well before the warning light illuminates.
Recognizing Overinflated Tire Signs
Overinflated tires reduce the footprint area contacting the pavement, leading to accelerated center tread wear, reduced longitudinal traction, and elongated braking distances in wet conditions. Drivers often experience a harsh, skittish ride over pavement joints, increased vehicle vibration, and greater vulnerability to internal cord fractures or impact blowouts when encountering potholes or road debris.
Warning: Never bleed air from warm tires immediately after driving. Heat generated by road friction naturally raises internal pressure by 3 to 5 PSI. Releasing air while warm results in an underinflated tire once it cools down.
Common Causes of Uneven Tire Wear
While incorrect inflation is a primary driver of irregular tire wear, mechanical suspension, steering, and maintenance oversights produce distinct tread patterns that pressure adjustments cannot correct:
- Camber Misalignment: Inward or outward tilt of the wheel creates smooth, one-sided wear on either the inner or outer tread edge.
- Toe Misalignment: Wheels pointing inward (toe-in) or outward (toe-out) scrub the tread sideways, producing “feathered” edges. Diagnostic tip: Run your palm across the tread ribs; sharpness felt when pulling outward indicates toe-in, while sharpness pushing inward indicates toe-out.
- Worn Shocks or Struts: Weak dampers allow the tire to bounce repeatedly against the road surface, carving cupped, scalloped depressions every few inches along the tread.
- Dynamic Imbalance: Uneven weight distribution around the wheel-tire assembly causes rhythmic high-speed steering wheel vibrations and localized flat-spotting.
- Missed Rotations: Front tires on front-wheel-drive vehicles endure high steering torque, heavy cornering forces, and 60%+ of braking load, causing rapid front shoulder wear if not rotated regularly.
Note: If a single tire repeatedly loses 2 to 3 PSI weekly while others remain steady, do not simply top it off. Inspect the wheel for an embedded nail, corroded aluminum rim bead seat, failing TPMS valve stem core, or hairline rim fracture.
Why You Should Check Your Tire Pressure Regularly
Monthly tire maintenance safeguards vehicle occupant safety, maximizes tire lifespan, and prevents unnecessary fuel expenditure. The National Highway Traffic Safety Administration (NHTSA) advises checking all tires, including the spare, at least once a month when cold, as well as before long highway trips or when carrying heavy cargo loads.
The U.S. Tire Manufacturers Association (USTMA) notes that tire inflation pressure fluctuates approximately 1 to 2 PSI for every 10°F change in ambient temperature. A seasonal temperature drop of 30°F from autumn to winter lowers tire pressure by 3 to 6 PSI—often enough to trigger a cold-morning TPMS alert and initiate shoulder tread scrubbing.
According to FuelEconomy.gov, keeping tires properly inflated improves fuel economy by 0.6% on average and up to 3% in select conditions. Conversely, underinflated tires lower gas mileage by approximately 0.2% for every 1 PSI drop across all four wheels due to parasitic rolling resistance.
“A dedicated tire pressure gauge is essential even on vehicles equipped with TPMS, because factory monitoring systems do not alert drivers to subtle pressure drops that cause premature tread wear.”
How to Check Tire Pressure Correctly
Follow this step-by-step procedure to ensure accurate tire pressure measurements and safe adjustments:
- Locate the vehicle specification placard. Open the driver’s door and examine the Tire and Loading Information label on the B-pillar doorjamb (or consult the owner’s manual) for factory cold PSI ratings.
- Ensure tires are cold. Measure pressure when the vehicle has been parked for at least three hours, or driven less than one mile at low speed.
- Remove the valve stem cap. Place the cap in a secure location (such as the tire rim lip or pocket) so it is not lost.
- Attach the tire pressure gauge firmly. Press the gauge straight onto the valve stem until the hissing sound stops and an accurate pressure reading displays.
- Compare and adjust pressure. If the cold reading is below placard specification, connect an air chuck and add air in short bursts. If the cold reading is above spec, depress the center pin inside the valve stem to release excess air.
- Account for warm tires if necessary. If you must add air after driving, inflate 3 to 4 PSI above the cold placard target temporarily, then verify and make final adjustments once the vehicle sits parked for three hours.
- Check all four road tires plus the spare. Remember that compact temporary spare tires (“donuts”) generally require 60 PSI (420 kPa), whereas full-size spares match road-tire placard pressure. Reinstall all valve stem caps securely to keep out moisture and road grit.
Pro Tip: Invest in a quality digital or dial gauge with a bleeder valve. Built-in gas station pump gauges are frequently dropped and miscalibrated, often misreading by 4 to 6 PSI.
[Products Worth Considering]
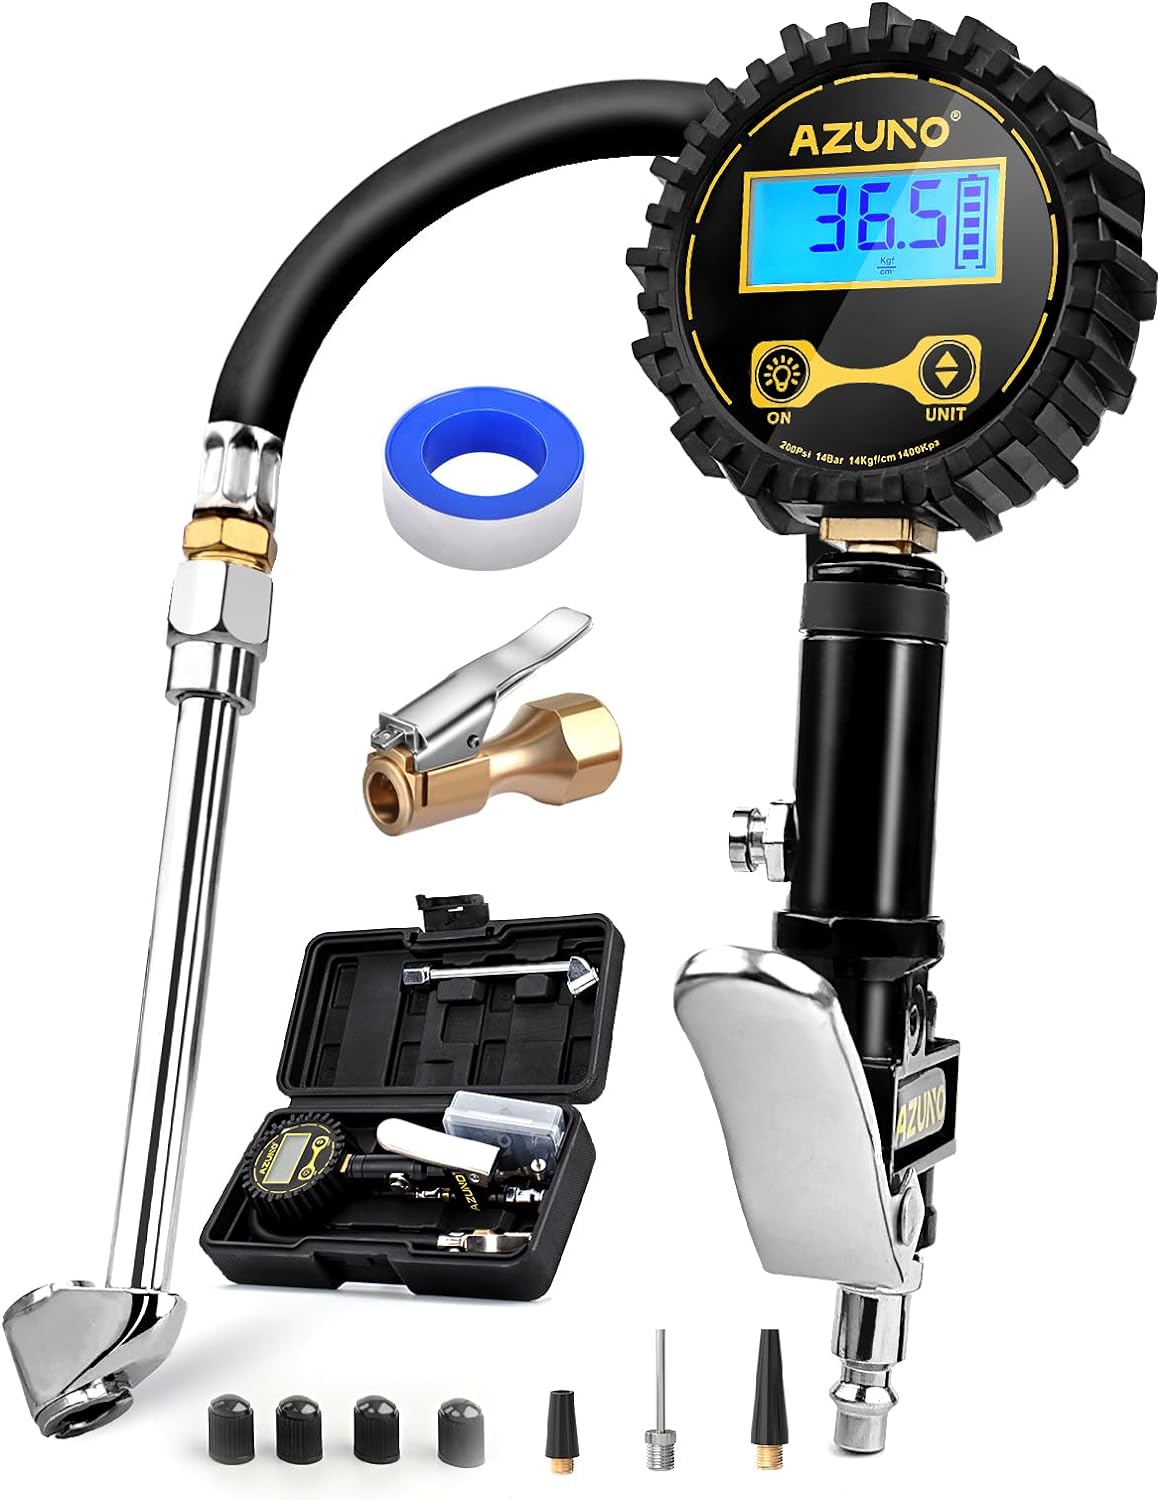
This digital tire inflator delivers accurate, easy-to-read pressure measurements with a bright backlit LCD and precise 0.1 resolution for confident inflation. Designed for single-handed use, it makes it simple to inflate or deflate tires while staying organized in the included portable carrying box. Built for a wide range of vehicles, it is a practical air compressor accessory for cars, trucks, SUVs, motorcycles, and more.

The JACO ElitePro Digital Tire Pressure Gauge delivers shop-grade accuracy with a clear digital readout, making it easy to maintain proper tire pressure for safer driving and better performance. Built with rugged brass and steel components, a protective guard, and a flexible air hose, it is designed for reliable use across cars, trucks, motorcycles, bikes, RVs, and trailers. The lock-on display, built-in bleeder valve, and bright backlit screen add convenience in any lighting condition.

The KONNWEI KW208 is a versatile 12V battery tester designed to quickly analyze battery health, cranking performance, and charging system status for cars, trucks, boats, motorcycles, and more. It supports multiple battery types and provides clear guidance on whether a battery should be recharged or replaced, helping you diagnose issues before they become failures. With plug-and-play use, high accuracy, and multilingual support, it offers a convenient way to test batteries in-vehicle or out-of-vehicle.
Measuring Tire Tread Depth: Best Practices
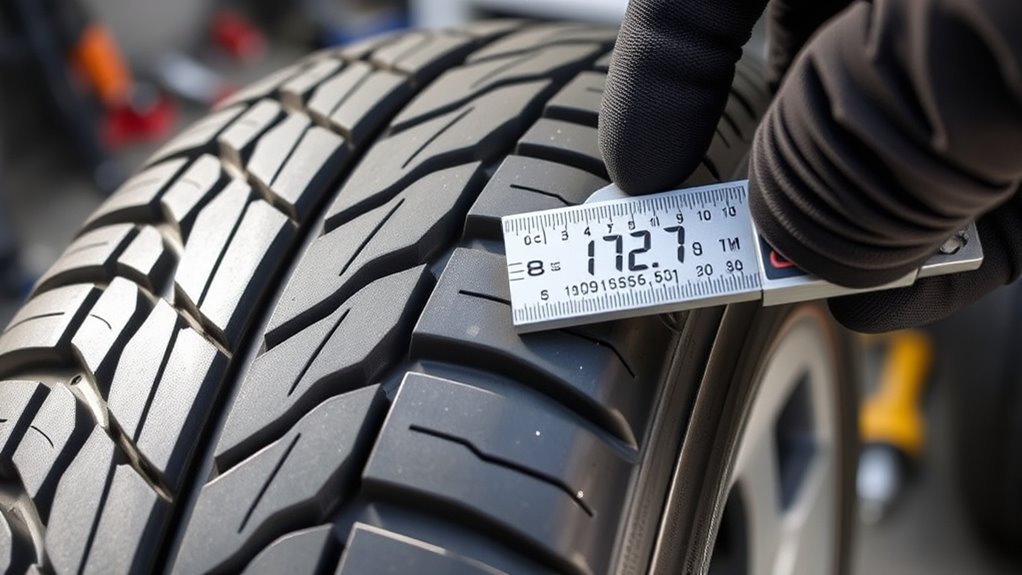
Tread depth dictates the tire’s ability to evacuate standing water and prevent hydroplaning. The most precise measurement method is an inexpensive mechanical or digital tread depth gauge. Measure across three distinct points in the tire’s circumferential grooves: the inner shoulder, the center groove, and the outer shoulder. Always use the lowest measurement recorded to determine overall tire serviceability.
When a dedicated gauge is unavailable, use standard coin tests:
- The Quarter Test (4/32 Inch — Wet Safety Threshold): Place a Washington quarter upside down into the tread groove. If the top of Washington’s head is exposed, tread depth is below 4/32 inch. Stopping distance on wet pavement increases substantially beyond this point.
- The Penny Test (2/32 Inch — Legal Minimum): Place a Lincoln penny upside down into the groove. If Lincoln’s entire head is visible, the tire is worn to the legal replacement point (2/32″) and must be replaced immediately.
- Treadwear Indicator Bars: Modern tires feature molded rubber bars set across the base of the main grooves. When the surrounding tread wears flush with these bars, the tire has reached exactly 2/32 inch.
Federal inspection standards in 49 CFR 570.9 and NHTSA TireWise guidance mandate tire replacement when tread depth reaches 2/32 inch. However, Bridgestone tread-depth engineering guidelines recommend using 4/32 inch as the operational replacement threshold for highway driving in heavy rain, as hydroplaning risk rises sharply below this depth.
[Products Worth Considering]

This portable tire inflator delivers fast, convenient inflation for cars, bikes, motorcycles, and balls with dual power options from a rechargeable battery or a 12V car cord. Its digital LCD pressure gauge and automatic shutoff help prevent over-inflation, while multiple preset modes and a custom setting make it easy to use for different inflation tasks. Built-in flashlight and USB power ports add extra emergency utility on the road.

This portable 12V tire inflator delivers fast, convenient inflation for cars, SUVs, trucks, motorcycles, and other inflatables. It features a digital display, bright LED lighting, auto shutoff, and multiple nozzle adapters to help you inflate accurately and safely, even in low-light situations. The long power cord and air hose make it easy to reach all tires and handle roadside emergencies or routine maintenance.

ACCURACY TIRE THREAD TREAD DEPTH GAUGE, Reads in 1/32 inch increments.Stuffers for Men and Women
Preventative Maintenance for Extending Tire Life
Implementing consistent preventative maintenance protects tire longevity, maintains vehicle handling precision, and avoids premature tire replacement expenses.
[Products Worth Considering]

3-in-1 Digital Tire Inflator with Certified Accuracy: AstroAI 3-in-1 digital tire pressure gauge with inflator combines ANSI B40.7 Grade 2A accuracy (±1 PSI) with function of inflation(an air compressor is required), tire pressure check, deflation, covers a 3-250 PSI range, and switches between PSI, BAR, KPA, KG/CM² — fits cars, trucks, SUVs, and RVs.

RAPID INFLATION & ROAD-READY PORTABILITY: Powerful 120W motor delivers up to 35L/min airflow—inflates a standard car tire (195/65 R15) from 30 to 36 PSI in under 1 minute under ideal operating conditions. Weighs only 2.2 lbs and fits glove compartments or trunks for daily commutes, road trips, and emergencies. Plugs into standard 12V DC car outlet with 15A fuse protection. AIRUN H features its cordless counterpart H2 Pro.

ALL-IN-ONE Feature: The LED backlit screen features measurements in PSI, KPA, Bar, and Kg/cm²; Includes an inflation gun, chuck, gauge, Thread seal tape roll, and bleed valve, all in one unit; Compatible with ¼" NPT air compressor's output
Maintain Proper Tire Pressure
Maintain manufacturer cold pressure specs year-round. Check tires monthly and before highway road trips. Remember that a 10°F ambient drop reduces pressure by roughly 1 to 2 PSI, requiring seasonal top-offs as winter approaches.
Regular Tire Rotations
Rotating tires rearranges wheel positions to equalize wear between driven, steering, and trailing axles. Follow your owner’s manual schedule, typically every 5,000 to 8,000 miles. Note that rotation distributes wear, but will not correct pre-existing mechanical alignment or suspension faults.
Schedule Alignment Checks
A vehicle’s wheel alignment changes over time due to road shocks, pothole strikes, and suspension settling. Schedule a 4-wheel alignment annually, after hitting severe road hazards, or whenever the steering wheel sits off-center or the car drifts on straight roads.
When to Rotate Tires for Optimal Wear
Rotate tires every 5,000 to 8,000 miles, or at every oil change interval. Rotation is particularly crucial on front-wheel-drive (FWD) and all-wheel-drive (AWD) platforms:
- Forward Cross (FWD): Front tires move straight back to the rear; rear tires cross diagonally to the opposite front positions.
- Rearward Cross / X-Pattern (RWD/4WD): Rear tires move straight forward; front tires cross diagonally to the rear.
- Front-to-Rear (Directional Tires): Directional tread patterns with arrows molded on the sidewall must stay on the same vehicle side and can only rotate front-to-back.
- Staggered Fitments: Vehicles with wider rear tires than front tires cannot rotate front-to-rear; they require side-to-side rotation (unless directional).
Always verify and adjust tire pressure after a rotation, as many vehicles specify different cold PSI ratings for the front and rear axles on the door placard.
When to Replace Tires for Safety
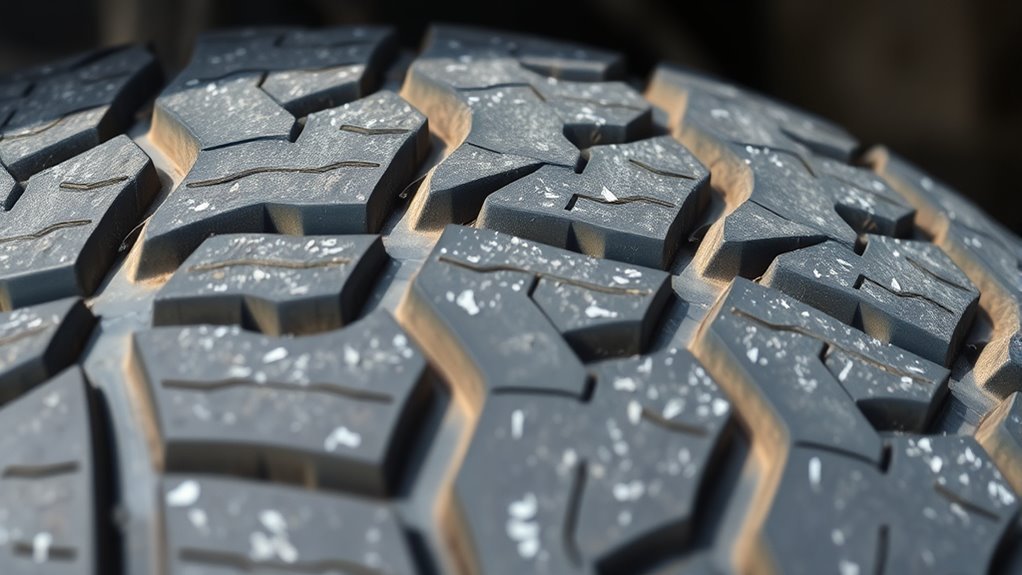
Replace tires immediately when tread depth reaches 2/32 inch or wear bars become flush with the tread surface. Plan replacement at 4/32 inch for vehicles operating regularly in wet climates or winter weather.
Physical damage warrants immediate replacement regardless of remaining tread depth: sidewall bulges (indicating broken internal carcass cords), exposed steel belts, tread chunking, deep sidewall cuts, or rubber cracking (dry rot). Furthermore, NHTSA and major tire manufacturers recommend replacing tires that exceed 6 to 10 years of age due to rubber compound oxidation. Check the DOT Tire Identification Number stamped on the sidewall; the final four digits represent the manufacturing week and year (e.g., “2421” indicates the 24th week of 2021).
Warning: Never drive on a tire showing a sidewall bubble, exposed casing ply, or tread separation. Structural blowouts at highway speeds can cause complete loss of vehicle control. Fit the spare or summon roadside towing.
When Uneven Tire Wear Needs Professional Inspection
Immediate Roadside Assistance: Stop driving immediately if you observe a sidewall bulge, visible metal cords, tread separation, severe rhythmic vehicle shaking, or sudden pressure loss.
Prompt Shop Inspection: Schedule an appointment with a certified technician if the vehicle pulls to one side, the steering wheel is off-center, tread blocks show one-sided camber or feathered wear, tires exhibit cupped dips, or a single tire loses 2+ PSI weekly. A technician should inspect wheel alignment, dynamic balance, tie rods, ball joints, wheel bearings, and shock absorbers.
Adjusting air pressure will not restore rubber that has already worn unevenly. Always repair the root mechanical cause prior to mounting a new set of tires to avoid ruining new tread.
Frequently Asked Questions
How often should I check my tire pressure?
Check tire pressure at least once a month when the tires are cold (parked for 3+ hours), as well as before extended road trips, before towing or carrying heavy payloads, and following major seasonal temperature shifts.
What tools do I need to measure tire pressure and tread wear?
You need a calibrated digital or dial tire pressure gauge, a dedicated tread depth gauge (or a Washington quarter and Lincoln penny), and a portable 12V air inflator or compressor for top-offs.
Can temperature affect tire pressure?
Yes. Tire pressure changes roughly 1 to 2 PSI for every 10°F shift in ambient temperature. A 30°F seasonal temperature drop decreases tire pressure by 3 to 6 PSI, which can trigger low-pressure TPMS dashboard alerts.
What is the correct tire pressure for my vehicle?
The correct cold inflation pressure is listed on the vehicle’s Tire and Loading Information placard on the driver-side doorjamb or in the owner’s manual. Do not inflate to the maximum pressure stamped on the tire sidewall.
Should I release air when my tires are hot?
No. Driving naturally increases tire temperature and elevates pressure by 3 to 5 PSI. Releasing air from hot tires will leave them severely underinflated once they cool down to ambient temperature.
Does TPMS mean I can skip manual tire pressure checks?
No. Factory TPMS systems typically only alert drivers once a tire is 25% underinflated. Significant fuel mileage loss, contact patch distortion, and shoulder tread wear occur well before the dashboard light illuminates.
Can I drive on a tire with uneven tread wear?
You can drive temporarily with minor uneven wear while arranging an inspection. However, you must stop driving immediately if you see exposed steel belts, sidewall bulges, tread separation, or experience severe chassis vibration.
Conclusion
Maintaining proper cold tire inflation pressure is the single most effective maintenance habit for extending tread life, maximizing fuel economy, and ensuring emergency braking performance. Measure pressure monthly with an accurate hand gauge when tires are cold, adhere strictly to the driver-side door placard specifications, rotate tires every 5,000 to 8,000 miles, and use coin or depth gauges to monitor remaining rubber. Treat one-sided wear, cupping, or steering vibration as mechanical warning signs, and address alignment and suspension issues promptly before installing replacement tires.
Sources
- NHTSA TireWise — tire safety, proper inflation, rotation, TPMS operation, and tire age guidelines
- FuelEconomy.gov: Keeping Your Vehicle in Shape — fuel economy efficiency impact of proper tire inflation
- 49 CFR 570.9 Tires — federal vehicle-in-use safety inspection standards for tread depth and structural integrity
- U.S. Tire Manufacturers Association: Tire Care Essentials — temperature inflation fluctuation, cold PSI verification, and alignment standards
- Bridgestone: How to Check Tire Tread Depth — coin testing methods, wear indicator bars, and 4/32-inch wet traction safety planning