A dead 12-volt battery can leave your Toyota Tundra silent, even when the truck itself is otherwise healthy. The safe fix is simple: use a 12-volt donor vehicle or a properly rated jump starter, connect the cables in the correct order, ground the final negative clamp away from the battery, and remove everything in reverse order. Always check your exact model-year owner’s manual first, especially if you drive a Tundra Hybrid.
Quick Answer
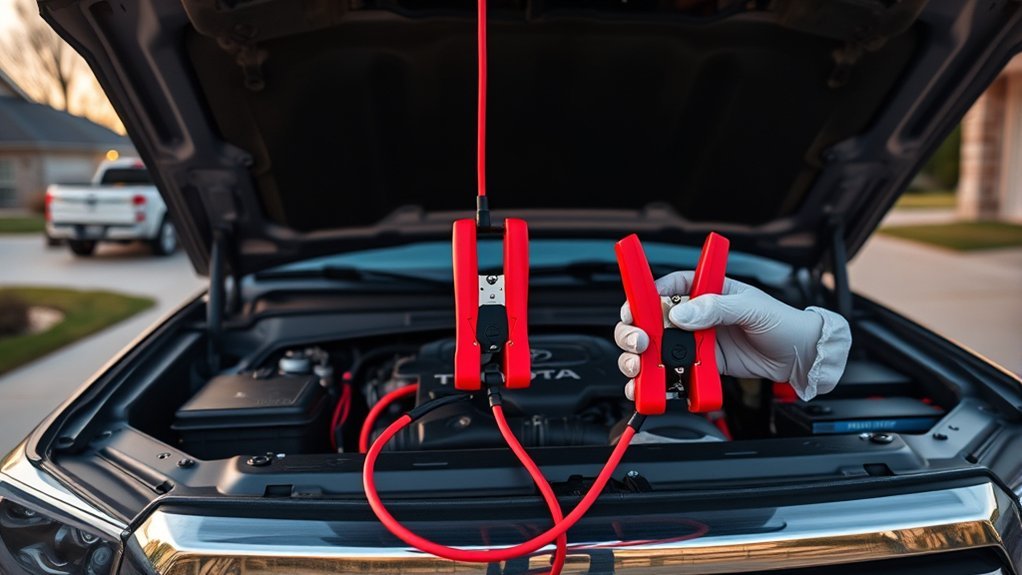
To jump-start a Toyota Tundra, park safely, turn both vehicles off, set the parking brakes, connect red to positive on the Tundra and donor, connect black to donor negative, then attach the final black clamp to a solid unpainted metal ground on the Tundra. Start the donor, wait about five minutes, start the Tundra, then remove cables in reverse order.
Key Takeaways
- Use only a 12-volt donor vehicle or a jump starter rated for your Tundra’s engine size.
- Connect the final black clamp to a clean, solid, unpainted metal ground on the Tundra, not to the dead battery’s negative post unless your manual specifically instructs otherwise.
- Tundra Hybrid models are different: use only Toyota-designated 12V jump points and never touch high-voltage traction-battery components.
- Do not jump-start a cracked, swollen, leaking, frozen, smoking, or heavily damaged battery.
- After a successful jump, drive or leave the truck running long enough to recharge, then test the battery and charging system if the problem returns.
At a Glance
| Time Required | 10–20 minutes |
| Difficulty | Beginner, if the battery and cables are in safe condition |
| Tools Needed | Heavy-duty jumper cables or a rated portable jump starter, gloves, safety glasses, flashlight, and a terminal brush if needed |
| Cost | $0 if you already have cables and a donor vehicle; jump starters and heavy-duty cables vary by rating and quality |
Quick 6-Step Jump-Start for a Toyota Tundra
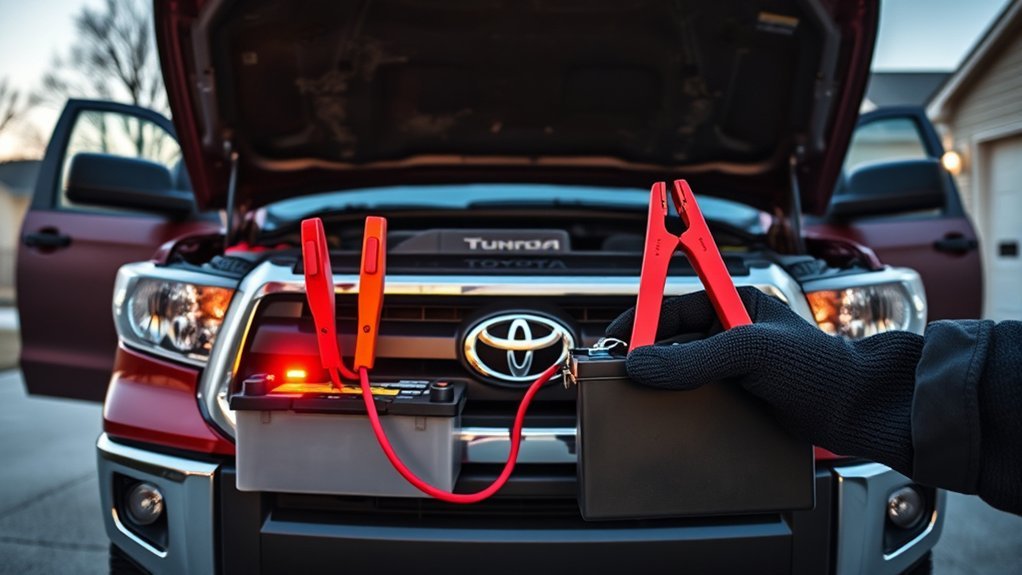
Use this quick sequence when the battery case is intact, the cables are in good condition, and both vehicles use a 12-volt electrical system. If anything looks unsafe, stop and call roadside assistance.
- Park safely. Park the donor vehicle close enough for the jumper cables to reach, but do not let the vehicles touch. Shift both vehicles to Park, turn them off, set the parking brakes, and switch off lights, audio, climate control, and accessories.
- Find the correct 12V positive point. On non-hybrid Tundras, this is typically the under-hood positive battery terminal under a red “+” cover. On Tundra Hybrid models, follow the owner’s manual for the designated 12V jump point and ground location.
- Connect the red clamps. Attach one red clamp to the Tundra’s positive (+) terminal or jump point, then attach the other red clamp to the donor vehicle’s positive (+) terminal.
- Connect the black clamps. Attach one black clamp to the donor vehicle’s negative (-) terminal. Attach the final black clamp to a clean, solid, unpainted metal point on the Tundra away from the battery, fuel lines, belts, and fans.
- Start the donor vehicle. Let it run for about five minutes. Then try to start the Tundra. Crank for only a few seconds at a time; do not keep grinding the starter.
- Disconnect in exact reverse order. Remove black from the Tundra ground, black from the donor negative, red from the donor positive, then red from the Tundra positive.
Warning: Battery gas can ignite, and battery acid can injure skin or eyes. Wear eye protection and gloves, keep flames and cigarettes away, and do not lean over the battery while connecting or disconnecting clamps.
Before You Connect: When Not to Jump-Start
Do not attach jumper cables just because the truck is dead. A jump-start is only appropriate when the 12V battery is discharged and the battery, cables, and surroundings are safe.
Do not jump-start the Tundra if you see any of these problems:
- A cracked, swollen, leaking, frozen, or smoking battery case
- Heavy corrosion that prevents a secure clamp connection
- Exposed copper, melted insulation, loose clamps, or damaged jumper cables
- Fuel smell, spilled solvent, open flame, or sparking nearby
- A 24-volt commercial truck system or two 12V batteries connected in series
- Warning messages that suggest a hybrid-system, charging-system, or electrical fault beyond a simple low battery
If any of these apply, use Toyota Roadside Assistance, another roadside provider, or a qualified repair shop instead of trying to force a jump.
jump-starting-a-tundra”>Prepare Safely Before Jump-Starting a Tundra
Before touching a clamp, create a controlled work area. Park out of traffic, turn both vehicles off, remove loose jewelry, set both parking brakes, and keep the cable ends separated. Make sure the jumper cables can reach without stretching across moving parts.
- Put both vehicles in Park, or Neutral for a manual donor vehicle.
- Turn off headlights, audio, heated seats, climate control, chargers, and accessories.
- Check that both vehicles use a 12-volt electrical system.
- Open the hood and secure it properly.
- Inspect the battery terminals, cable insulation, and clamp teeth before connecting.
- Keep children, pets, and bystanders away from the work area.
Note: Your owner’s manual overrides any general guide. Toyota’s procedure can vary by model year, trim, and hybrid/non-hybrid layout.
Where the Tundra’s 12V Battery and Terminals Are
Battery and jump-point location depends on the Tundra version. Do not assume every Tundra uses the same access point.
Non-Hybrid Toyota Tundra
For late-model non-hybrid Tundras, Toyota’s owner procedure uses the under-hood positive (+) battery terminal cover, then a specified metallic grounding point for the negative connection. Look for the red positive cover or “+” marking, then use the solid metallic ground shown in the owner’s manual.
Toyota Tundra Hybrid
The Tundra Hybrid has a conventional 12V system and a separate high-voltage hybrid traction battery. The 12V battery location and jump-start access are not the same as a regular gas-only Tundra. Toyota’s current hybrid manual material places the 12V battery under the left-hand side of the rear seat for service access, while emergency jump-starting uses Toyota-designated 12V jump points. Never connect jumper cables to orange high-voltage cables, inverter components, or the traction battery enclosure.
Use Toyota’s official owner information for your exact model year:
- Toyota Tundra: If the vehicle battery is discharged
- Toyota Tundra Hybrid: If the vehicle 12-volt battery is discharged
- Toyota Owners: Manuals and warranties by model year
Tools and Safety Checks to Have on Hand
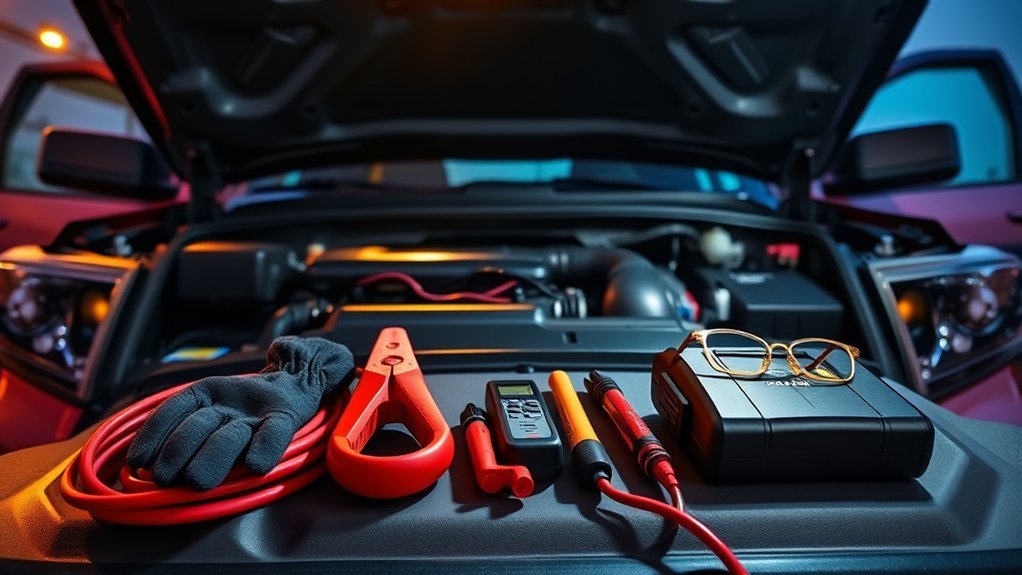
A full-size truck benefits from heavy-duty cables. Four-gauge cables are a strong all-around choice for many trucks and SUVs, while thicker two-gauge cables are better for frequent roadside use, cold weather, or larger engines. The cables must also be long enough to reach without pulling tight.
- Heavy-duty jumper cables with insulated clamps, preferably 4-gauge or heavier
- Portable jump starter rated for your engine size, if you do not have a donor vehicle
- Safety glasses and chemical-resistant gloves
- Flashlight or headlamp
- Wire brush or terminal cleaner for light corrosion
- Clean rag and small wrench if a terminal cover or clamp needs access
- Owner’s manual or Toyota Owners manual page for your exact model year
Pro Tip: Keep a compact lithium jump starter in the truck and recharge it every few months. It can save you when no donor vehicle is nearby, but it must still be connected only to the correct 12V positive point and ground.
[Products Worth Considering]

The KONNWEI KW371 is a versatile 2-in-1 diagnostic tool that tests automotive batteries and 4/5-pin relays with fast, accurate results. It supports 6V, 12V, and 24V systems across multiple battery types, and also checks cranking and charging performance to help pinpoint battery, starter, or alternator issues. Built for mechanics and DIY users, it offers clear visual readouts, multiple language support, and convenient vehicle-powered operation with no batteries required.

This portable jumper cable adapter is designed for seamless compatibility with Milwaukee M18 batteries, helping you jump-start a dead or weak vehicle battery quickly and conveniently. Built with 8 AWG cables and simple clamp connections, it supports a range of vehicles including cars, SUVs, and trucks. It offers a practical, tool-battery-powered solution for emergency starting, with clear usage steps and safety guidance for dependable operation.

This windshield sun shade umbrella is designed for Toyota Tundra models from 2007 to 2026, helping block harsh sunlight and reduce interior heat buildup. Its reflective cooling coating and high-density fabric work together to protect dashboards, seats, and trim while keeping the cabin more comfortable. The umbrella-style design installs quickly, folds down easily, and stores neatly for everyday convenience.
Step-by-Step: Connecting Jumper Cables Correctly
The connection order matters because the final clamp can spark. Keeping that spark away from the discharged battery reduces ignition risk from battery gas.
Correct Cable Order
- Red to Tundra positive: Connect one red clamp to the Tundra’s positive (+) terminal or Toyota-designated positive jump point.
- Red to donor positive: Connect the other red clamp to the donor vehicle’s positive (+) terminal.
- Black to donor negative: Connect one black clamp to the donor vehicle’s negative (-) terminal.
- Black to Tundra ground: Connect the final black clamp to a solid, stationary, unpainted metal point on the Tundra, away from the battery and moving parts.
After all clamps are secure, check that the cables are not near fans, pulleys, belts, or hot exhaust parts. Also make sure red and black clamps do not touch each other.
Secure Metal Ground
A good ground point should be bare metal, solid, stationary, and away from the battery. Good examples can include a designated grounding point, a heavy engine bracket, or a clean chassis point shown in the manual. Avoid painted sheet metal, plastic covers, fuel-system parts, and anything that moves when the engine starts.
The safest final clamp location is a clean, unpainted metal ground away from the discharged battery—not a random bolt, painted panel, or moving engine part.
Starting the Donor Vehicle and Your Tundra
Once the clamps are secure, start the donor vehicle. Let it run for about five minutes so some charge can transfer to the Tundra’s 12V battery. A slight fast idle can help if the donor vehicle’s manual allows it, but do not rev aggressively.
- Start the donor vehicle and let it run for about five minutes.
- Try to start the Tundra. Crank only briefly; repeated long cranking can overheat the starter and cables.
- If the Tundra does not start, turn it off, wait a few minutes, check clamp contact, and try once more.
- If it still does not start, stop and troubleshoot instead of repeatedly forcing the starter.
- On a Tundra Hybrid, look for the “READY” indicator. The gasoline engine may not immediately run even when the hybrid system is active.
Safely Disconnecting Cables and Immediate Checks
After the Tundra starts, keep the cable ends separated and remove the clamps in the exact reverse order used for connection:
- Remove the black clamp from the Tundra’s metal ground.
- Remove the black clamp from the donor vehicle’s negative terminal.
- Remove the red clamp from the donor vehicle’s positive terminal.
- Remove the red clamp from the Tundra’s positive terminal or jump point.
Close any terminal covers, reinstall the engine cover if you removed it, and make sure no tools or cables remain in the engine bay. If you see warning lights, smell burning, hear unusual noises, or notice the cables getting hot, shut the vehicle off and get professional help.
Troubleshooting: If Your Tundra Won’t Start
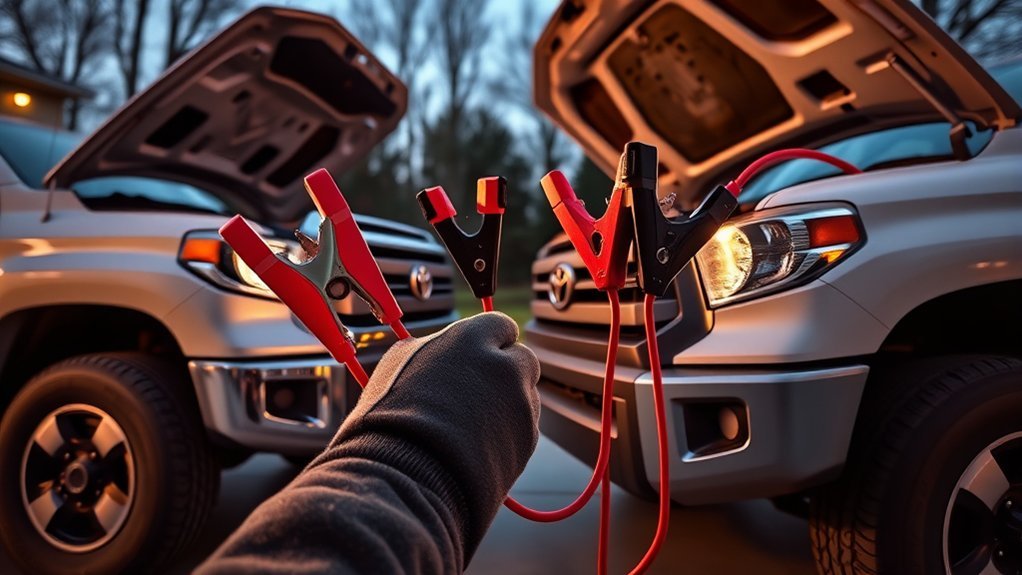
If the Tundra still will not start, the battery may not be the only problem. Use these signs to narrow the issue before trying again.
[Products Worth Considering]

This mech-style heavy metal key fob cover is designed to protect compatible Toyota E-style smart keys with a precise 1:1 fit. Built with a durable zinc alloy frame and soft silicone buttons, it helps guard against daily wear while keeping full access to key functions. The set includes a metal keychain and screwdriver for easy installation, making it a practical upgrade for select Toyota models.

This car emergency roadside assistance kit helps drivers handle unexpected breakdowns and roadside incidents with confidence. It includes jumper cables and a tire inflator to support quick, practical solutions in emergencies, while the compact bag keeps everything organized in the trunk. Ideal for new drivers, families, road trips, and seasonal travel, it is a thoughtful and useful safety essential for any vehicle.

This roadside emergency kit helps drivers handle common breakdowns and winter travel issues with confidence. It includes jumper cables, a shovel, tow rope, warning triangle, first aid kit, gloves, and repair tools in a compact bag that fits easily in a trunk or storage compartment. Designed for cars, trucks, SUVs, motorcycles, and RVs, it is a practical safety companion for commuting, road trips, and everyday preparedness.
Key Electrical Checks
- No lights or very dim lights: The 12V battery may be deeply discharged, the terminals may be loose, or the main connection may be poor.
- Rapid clicking: The battery may still be weak, or the clamps may not be making solid contact.
- One heavy click: The starter, relay, or high-current connection may be faulty.
- Cranks but will not start: The issue may be fuel, ignition, immobilizer, or engine management—not just the battery.
- Hybrid does not show “READY”: Check that the brake pedal is firmly pressed, the key is inside the vehicle, and the correct 12V jump point is used.
- Warning lights stay on: Stop guessing and have the vehicle scanned by a qualified technician.
When To Call Roadside
Call roadside assistance or a repair shop if the Tundra will not start after careful reconnection and one or two attempts, if the battery looks damaged, if you cannot identify the correct hybrid jump point, or if warning lights suggest a charging, immobilizer, starter, or hybrid-system fault. Toyota also recommends having the vehicle inspected after the engine starts from a discharged battery.
Hybrid Tundra? 12V vs Traction Battery and Special Steps
A Tundra Hybrid has two very different battery systems. The 12V battery powers computers, locks, relays, and startup control. The high-voltage traction battery powers the hybrid drive system and is not part of a normal jump-start procedure.
- Jump-start only the 12V system using Toyota-designated positive and ground points.
- Never connect clamps to orange high-voltage cables, the inverter, or the traction-battery case.
- Do not remove hybrid-system covers or probe high-voltage components.
- Do not use your Tundra Hybrid as the donor vehicle for another vehicle unless your owner’s manual specifically allows it.
- After a successful jump, confirm the “READY” indicator and check for warning messages before driving.
Warning: Hybrid high-voltage components can cause severe injury. If you are unsure which point is the 12V jump point, stop and use Toyota Roadside Assistance or a qualified technician.
Using a Portable Jump Starter on a Tundra
A portable jump starter can replace the donor vehicle, but the cable order and safety checks still matter. Charge the pack fully before storing it, confirm it is rated for your Tundra’s engine, and read the jump starter’s instructions before use.
- Turn the Tundra and all accessories off.
- Connect the red clamp to the Tundra’s positive 12V terminal or Toyota-designated jump point.
- Connect the black clamp to the recommended negative point or a solid unpainted metal ground, following the jump starter manual.
- Turn the jump starter on only after the clamps are secure, if the device requires a separate power-on step.
- Start the Tundra, then turn the jump starter off and remove the clamps in the device’s recommended reverse order.
[Products Worth Considering]

The ANCEL BA101 helps diagnose 12V batteries quickly with clear readings for battery health, charge level, voltage, CCA, cranking, and charging system performance. Designed for a wide range of vehicles and battery types, it offers easy-to-read results, reliable clamp connections, and built-in protection to make testing safer and more convenient.

This AstroAI digital multimeter is designed for accurate troubleshooting of automotive and household electrical systems. It measures AC/DC voltage and current, resistance, continuity, capacitance, frequency, duty cycle, diode, and temperature, while the True RMS and auto-ranging functions help deliver reliable readings. A backlit LCD, data hold, kickstand, and safety-focused fuse protection make it practical and dependable for everyday diagnostics.

This all-in-one car emergency kit is designed to help drivers handle unexpected roadside problems with confidence. It includes essential tools and medical supplies such as jumper cables, a warning triangle, a flashlight, a shovel, and a screwdriver set, making it useful for cars, trucks, RVs, and outdoor travel. The compact, durable storage bag is easy to keep in a trunk or backseat for quick access when emergencies happen.
Aftercare: Charge, Test, and Prevent Future Dead Batteries
A jump-start gets the truck running; it does not prove the battery is healthy. Let the Tundra run or drive it long enough to put charge back into the 12V battery, then test the battery and charging system if the problem repeats.
Charge Immediately After Start
After a successful jump, drive for at least 20–30 minutes when safe, or let the vehicle run long enough for the charging system to recover some battery charge. Avoid shutting the truck off immediately unless safety requires it.
Test Battery And Alternator
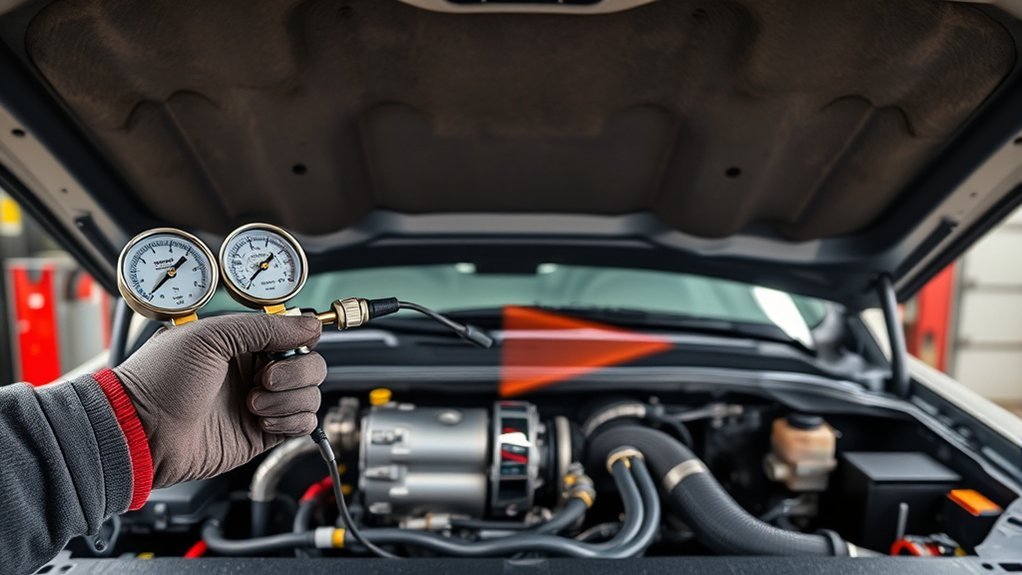
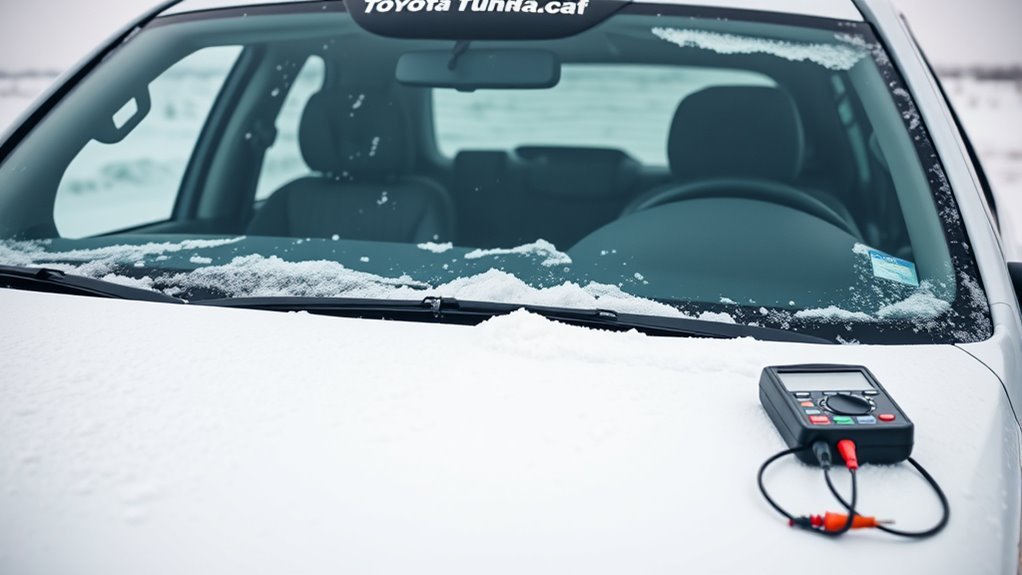
Use a digital multimeter as a quick screening tool. A healthy, rested 12V battery is commonly near 12.6 volts, while a running vehicle often reads roughly 13.7–14.7 volts at the battery. These are general ranges, not a complete diagnosis. If the battery is older, repeatedly dies, or fails a load test, replace it or have the charging system inspected.
- Clean light terminal corrosion only after the vehicle is off and the cables are safely disconnected.
- Tighten loose terminals, but do not overtighten or damage the posts.
- Replace frayed cables or badly corroded clamps.
- Check for parasitic drains if the battery dies again after sitting.
- Use a maintainer if the Tundra sits for long periods.
Frequently Asked Questions
Is it safe to jump-start a truck with a car?
Yes, if both vehicles use 12-volt systems, the donor battery is healthy, and neither owner’s manual prohibits it. A small car may struggle to supply enough current for a full-size truck, so heavy-duty cables or a properly rated portable jump starter are often better choices.
Can you damage your alternator by jump-starting a Toyota?
A normal jump-start done in the correct order usually should not damage the alternator. Damage risk rises when cables are connected backward, clamps touch, the wrong voltage source is used, the battery has a failed cell, or the vehicle is cranked repeatedly for too long.
Where is the battery on a Toyota Tundra Hybrid?
For current Tundra Hybrid models, Toyota owner information places the 12V battery under the left-hand side of the rear seat for service access. For emergency jump-starting, use the Toyota-designated 12V jump points and ground location in your exact model-year manual.
Can you jump-start the high-voltage battery in a Tundra Hybrid?
No. A normal jump-start is for the 12V system only. Do not touch high-voltage traction-battery parts, orange cables, inverter components, or hybrid-system covers. If the hybrid system will not enter “READY” after the 12V procedure, call Toyota service or roadside assistance.
How long should I drive after jump-starting a Tundra?
Drive for at least 20–30 minutes when conditions are safe. If the battery dies again, the battery may be weak, the alternator may not be charging properly, or a parasitic drain may be present.
Why does my Tundra click but not start after a jump?
Rapid clicking usually means the battery is still weak or the clamp connection is poor. One heavy click can point to a starter, relay, or high-current cable problem. Recheck connections once, allow a few more minutes of charging, then call for diagnostics if it still will not start.
Conclusion
Jump-starting a Toyota Tundra is straightforward when you slow down and follow the correct order: red to positive, black to donor negative, final black to a safe metal ground, then reverse the sequence when disconnecting. The biggest mistakes are using the wrong voltage source, connecting clamps backward, grounding poorly, ignoring battery damage, or treating a Tundra Hybrid like a regular gas-only truck. Use the owner’s manual, protect your eyes and hands, and get the battery tested if the problem returns.
Sources
- Toyota Owners — 2025 Tundra: If the vehicle battery is discharged — backs the non-hybrid Tundra jump-start sequence, donor run time, reverse cable removal, and post-start inspection guidance.
- Toyota Owners — 2025 Tundra Hybrid: If the vehicle 12-volt battery is discharged — backs the hybrid 12V emergency-start distinction.
- Toyota Owners — 2025 Tundra Hybrid: 12-volt battery — backs the hybrid 12V battery location and hydrogen-gas warning.
- OSHA 1926.441 — Batteries and battery charging — backs battery ventilation, explosive gas, and protective-equipment safety cautions.
- AAA Club Alliance — How to Use Jumper Cables to Start a Car — backs general 12V jumper-cable order, grounding, cable inspection, and post-start charging guidance.