
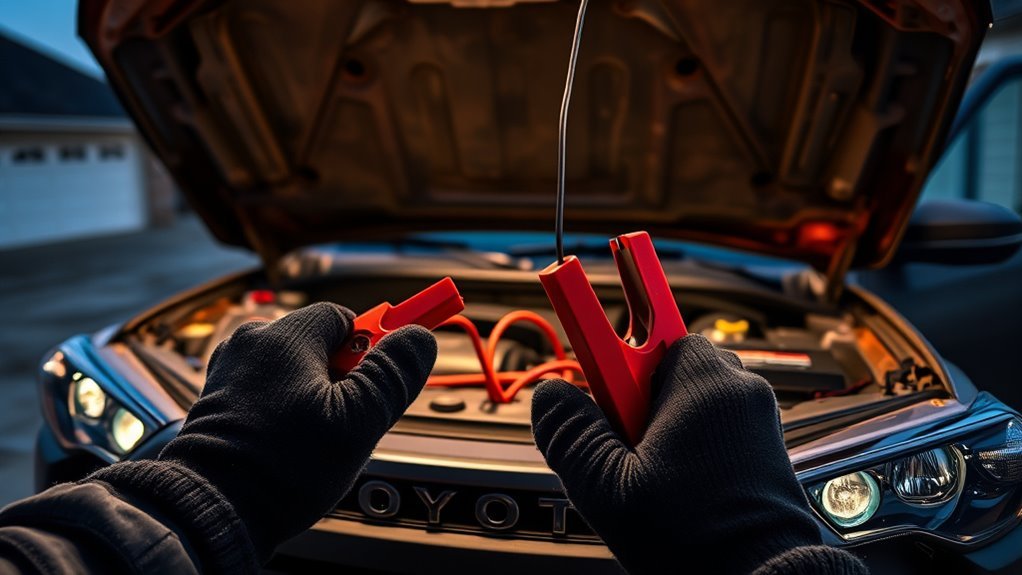
A dead battery can leave your Toyota 4Runner silent even when everything else looks normal. The safe fix is a controlled jump-start: use a second vehicle or a 12-volt jump starter, connect the clamps in the correct order, start the donor vehicle, then disconnect the cables in reverse order. Work slowly, keep sparks away from the battery, and stop if the battery is cracked, leaking, frozen, or smells like rotten eggs.
Quick Answer
To jump-start a Toyota 4Runner, park both vehicles, turn them off, connect red to the 4Runner positive terminal, red to donor positive, black to donor negative, and black to a clean unpainted metal ground on the 4Runner. Start the donor for about 5 minutes, start the 4Runner, then remove the cables in reverse order.
Key Takeaways
- Use only a 12-volt donor vehicle or 12-volt jump starter for a 4Runner’s 12-volt battery system.
- Make the final negative connection to a solid, stationary, unpainted metal ground away from the battery and moving parts.
- Never let the red and black clamps touch each other once connected to a battery.
- If the 4Runner dies again after the jump, test the battery, alternator/charging system, terminals, and ground connections.
At a Glance
| Time Required | 10–15 minutes |
| Difficulty | Easy, but safety-critical |
| Tools Needed | Jumper cables or a 12-volt jump starter, safety glasses, gloves, and a multimeter if available |
| Cost | Free if you already have cables or a jump pack; about $20–$100+ if buying equipment |
Warning: Do not jump-start a battery that is cracked, leaking, frozen, swollen, smoking, or giving off a strong sulfur smell. Battery gases can ignite, and battery acid can cause serious injury. Call roadside assistance or a qualified repair shop instead.
Quick Jump-Start Steps & Safety Checklist

Before connecting anything, park both vehicles close enough for the cables to reach without stretching. Set both parking brakes, shift both vehicles into Park, and turn off the ignition, headlights, climate control, radio, and accessories. Keep keys out of the ignition unless the owner’s manual tells you otherwise.
Wear safety glasses and gloves if you have them. Remove metal jewelry, keep flames and cigarettes away, and make sure the jumper cable clamps are not touching each other. Use a donor vehicle with a 12-volt battery only. Do not use a 24-volt truck, heavy equipment, or an unknown power source.
- Turn both vehicles off and engage the parking brakes.
- Connect the red positive clamp to the 4Runner’s positive (+) battery terminal or approved positive jump point.
- Connect the other red positive clamp to the donor vehicle’s positive (+) terminal.
- Connect the black negative clamp to the donor vehicle’s negative (−) terminal.
- Connect the final black negative clamp to a clean, solid, stationary, unpainted metal ground on the 4Runner, away from the battery and moving parts.
- Start the donor vehicle and let it run for about 5 minutes.
- Start the 4Runner. If it starts, keep it running.
- Remove the cables in reverse order.
[Products Worth Considering]

TOPDC heavy duty jumper cables are designed to help drivers get a dependable boost when a battery runs down. The 20-foot length offers added reach for cars, SUVs, and trucks, while insulated serrated clamps provide a secure connection to top-post and side-terminal batteries. A flexible PVC jacket, carry bag, and included guide make these cables practical for everyday emergency use.

The OXILAM jump starter delivers powerful emergency starting performance for gas engines and up to 12L diesel engines, helping revive dead batteries in seconds. It also doubles as a portable power bank and LED flashlight, with USB and Type-C ports for convenient device charging. Built with multiple safety protections, a clear LED display, and a rugged portable design, it is a reliable roadside companion for cars, trucks, motorcycles, and more.

These heavy duty jumper cables are designed to help you get back on the road quickly with strong, insulated clamps and extended reach for easier battery access. The flexible cable jacket stays dependable in a wide range of temperatures, while the included storage bag keeps everything organized and ready for emergencies. Built for cars, SUVs, and trucks, they offer a practical roadside solution backed by quality assurance and after-sales support.
Locate the 4Runner Battery, Terminals, and Ground Point
On many gas-powered Toyota 4Runner models, including the 2010–2024 generation, the 12-volt battery is under the hood on the driver’s side. The positive terminal is marked with a red cover or a plus sign (+). The negative terminal is marked with a minus sign (−), but the final negative jumper clamp should go to an unpainted metal ground point rather than directly to the 4Runner’s battery whenever the owner’s manual specifies that method.
Before attaching the cables, inspect the battery. A light layer of white or bluish corrosion on the terminals can prevent good contact. If the corrosion is heavy, the terminal is loose, or the cable is damaged, clean and repair it before attempting a jump.
Note: Battery location, approved jump points, and battery specifications can vary by model year and trim. For 2025+ 4Runner hybrid models, use the jump-start points shown in the Toyota owner’s manual and avoid touching high-voltage hybrid components.
Battery Location Under the Hood
Open the hood and find the battery tray. On most 5th-generation gas 4Runners, the battery sits near the driver-side front of the engine bay. Look for a rectangular battery case with two cable connections on top. Confirm the terminal markings before connecting a clamp.
If you cannot easily identify the terminals, do not guess. Check your Toyota 4Runner owner’s manual or call roadside assistance. Reversed polarity can damage electrical components.
Identifying Positive and Negative Terminals
The positive terminal is usually covered in red and marked with “+”. The negative terminal is usually marked with “−” and may have a black cable. The safest final connection point is a solid, stationary, unpainted metal part of the engine or body ground away from the battery, belts, fans, and pulleys.
Pro Tip: If the clamps do not bite firmly onto clean metal, reposition them before starting either vehicle. A weak connection can arc, heat up, or fail to deliver enough current.
Attach Jumper Cables: Step-by-Step
With both vehicles off, connect the cables in the exact order below. Keep the clamps separated and make sure the cable path stays clear of radiator fans, belts, pulleys, and hot exhaust parts.
- Red to 4Runner positive: Clamp one red cable end to the 4Runner’s positive (+) terminal or approved positive jump point.
- Red to donor positive: Clamp the other red cable end to the donor vehicle’s positive (+) battery terminal.
- Black to donor negative: Clamp one black cable end to the donor vehicle’s negative (−) battery terminal.
- Black to 4Runner ground: Clamp the final black cable end to a clean, solid, unpainted metal ground on the 4Runner away from the battery and moving parts.
Do not connect the last black clamp to painted metal, thin brackets, fuel lines, or anything that moves. A poor ground may prevent the jump from working and can increase spark risk.
[Products Worth Considering]

These Energizer jumper cables are built to help start dead or weak batteries quickly and safely for a wide range of vehicles, including cars, SUVs, and trucks. The 16-foot length and flexible cable design make it easier to reach battery connections, while the protective coating and sturdy handles support secure placement. A carrying bag is included for convenient transport and storage.

TOPDC jumper cables deliver dependable jump-start support for cars, SUVs, trucks, and other vehicles with a long reach that makes roadside connections easier. Built with strong clamps, insulated protection, and durable PVC construction, they are designed for safe use in extreme conditions and reliable performance when emergencies happen. A convenient carry bag and multi-year quality assurance add extra value for storage, transport, and peace of mind.

The TOPDON BT100 helps you quickly check the health and charge status of 12V lead-acid batteries with clear analytical results, including state of health, state of charge, voltage, and cranking performance. It supports a wide range of battery types and vehicles, making it a practical tool for diagnosing starting and charging issues at home or in the shop. Compact and easy to use, it provides fast, reliable testing without needing to charge the device first.
Start the Donor Car and Jump-Start Your 4Runner
After all four clamps are secure, start the donor vehicle. Let it idle for about 5 minutes. Toyota’s emergency procedure for many 4Runner models calls for maintaining a slightly increased engine speed during this charge period so the donor vehicle can supply steady current.
After a few minutes, try starting the 4Runner. If it cranks slowly but does not start, wait a few more minutes and check all clamp connections. Do not crank the starter continuously; repeated long cranking attempts can overheat the starter and cables.
Start the Donor Engine Before Starting the 4Runner
The donor vehicle should be running before you attempt to start the 4Runner. Keep the donor vehicle in Park with the parking brake set. If your 4Runner has a smart key system, some Toyota procedures call for opening and closing a door with the engine switch off after the battery receives an initial charge. Follow your model-year owner’s manual if that step applies.
Let the Donor Idle for About 5 Minutes
Five minutes is often enough for a basic jump attempt. In cold weather or with a deeply discharged battery, the 4Runner may need a little longer. If the cables or clamps become hot, spark repeatedly, or smell like burning insulation, turn everything off and disconnect the cables carefully.
Disconnect Cables Safely and Perform Immediate Checks
Once the 4Runner starts, leave it running and remove the cables in the exact reverse order. Keep each clamp from touching metal or another clamp as you remove it.
- Remove the black negative clamp from the 4Runner’s metal ground point.
- Remove the black negative clamp from the donor vehicle’s negative terminal.
- Remove the red positive clamp from the donor vehicle’s positive terminal.
- Remove the red positive clamp from the 4Runner’s positive terminal or jump point.
Let the 4Runner run. Check for warning lights, dim headlights, flickering interior lights, rough idle, or a burning smell. If anything seems abnormal, shut the vehicle down in a safe place and get professional help.
If It Won’t Start: Quick Troubleshooting Tips
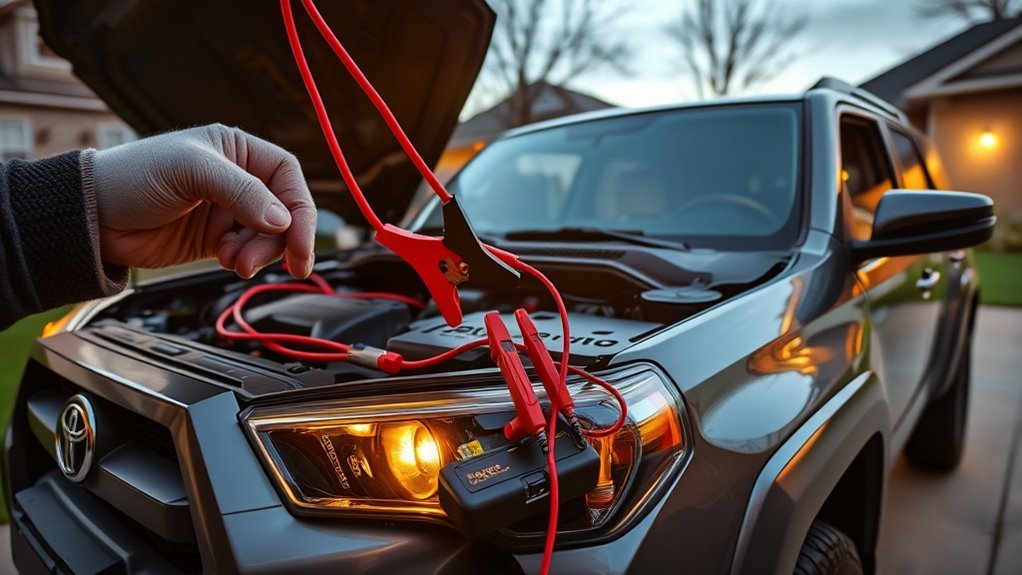
If the 4Runner still will not crank after a correct jump, do not keep guessing. Work through the basic checks below.
| Check | How to Check | What It May Mean |
|---|---|---|
| Battery charge | Measure battery voltage with the engine off after the surface charge settles. | About 12.6V usually indicates a full 12-volt battery; below about 12.4V suggests it needs charging or testing. |
| Cable connections | Check that clamps are on clean metal and terminals are tight. | Loose or corroded connections can stop enough current from reaching the starter. |
| Ground connection | Inspect the negative cable and body/engine ground points. | A weak ground can mimic a dead battery or bad starter. |
| Charging system | With the engine running, test voltage at the battery using a multimeter. | Many healthy 12-volt charging systems read roughly 13.5–14.5V while running, but exact readings vary by vehicle and load. |
| Starter or security issue | Listen for clicking, no sound, or a crank/no-start condition. | The problem may be the starter, starter relay, immobilizer, fuel system, or another fault rather than the battery. |
Note: A 4Runner with an automatic transmission cannot be safely “push-started.” Toyota owner guidance states that the engine cannot be started by push-starting when the battery is discharged.
[Products Worth Considering]

The MOTOPOWER MP0514A makes it easy to check battery and charging system health with simple plug-and-test operation. Its digital LCD display and LED indicators provide clear voltage readings and alternator status, while built-in reverse connection and over-voltage protection help support safe use. Compact and portable, it is a practical tool for drivers and mechanics who want quick, reliable diagnostics.

Battery Tender Plus is a smart 12V charger and maintainer designed to keep automotive, motorcycle, and powersports batteries in optimal condition. Its adaptive 4-step charging program helps extend battery life while the quick disconnect harness and included cables make setup simple and convenient. The two-color LED status indicator provides clear charging feedback for easy, worry-free maintenance.

The ANCEL BA101 helps diagnose 12V batteries quickly with clear readings for battery health, charge level, voltage, CCA, cranking, and charging system performance. Designed for a wide range of vehicles and battery types, it offers easy-to-read results, reliable clamp connections, and built-in protection to make testing safer and more convenient.
After the Jump: Drive, Inspect, and When to Call a Mechanic
After the engine starts, keep the 4Runner running. A 20–30 minute steady drive can help restore some charge, but a deeply discharged battery may still need a full charge from a battery charger. If the battery is older, has been completely drained, or dies again soon, have it load-tested.
Inspect the battery terminals for corrosion, looseness, melted plastic, or damaged cables. If you see flickering lights, repeated no-starts, battery warning lights, or unusually low running voltage, have the battery and charging system tested by a Toyota dealer, repair shop, or parts store with proper testing equipment.
A jump-start gets the engine running; it does not prove the battery is healthy. If the 4Runner needed a jump for no obvious reason, test the battery and charging system before trusting it on a long drive.
Frequently Asked Questions
How do you use jumper cables on a Toyota 4Runner?
Turn both vehicles off, connect red to the 4Runner positive terminal, red to the donor positive terminal, black to the donor negative terminal, and black to a clean unpainted metal ground on the 4Runner. Start the donor vehicle, wait about 5 minutes, start the 4Runner, then disconnect the cables in reverse order.
How do you jump-start a 2018 Toyota 4Runner?
A 2018 4Runner uses the standard Toyota 12-volt jump-start sequence: positive to the 4Runner, positive to the donor battery, negative to the donor battery, and the final negative clamp to a solid unpainted metal ground on the 4Runner. If equipped with a smart key system, follow the owner’s manual step for opening and closing a door with the engine switch off before attempting to start.
Can I connect the black jumper cable to the 4Runner’s negative battery terminal?
Use the ground point recommended in your owner’s manual. Toyota’s procedure for many 4Runner models directs the final negative clamp to a solid, stationary, unpainted metallic point away from the battery and moving parts. This helps reduce spark risk near battery gases.
How long should I drive a 4Runner after a jump-start?
Drive for at least 20–30 minutes if the vehicle is running normally, then have the battery tested if it was deeply discharged. A drive may not fully recharge a weak battery, so use a proper battery charger or get a professional battery test if the no-start returns.
Can you jump-start a 2025 Toyota 4Runner hybrid?
Yes, the 12-volt system can be jump-started when the 12-volt battery is discharged, but the connection points are model-specific. Use the positive jump point and metallic ground point shown in the 2025 4Runner Hybrid owner’s manual, and avoid touching high-voltage hybrid components.
Conclusion
Jump-starting a Toyota 4Runner is straightforward when you follow the correct order: red to the 4Runner positive, red to donor positive, black to donor negative, and black to a clean unpainted ground on the 4Runner. Start the donor vehicle, let it run briefly, start the 4Runner, and remove the cables in reverse order. Afterward, drive long enough to restore some charge and test the battery if the problem returns. A safe jump gets you moving; a proper battery and charging-system check keeps you from getting stranded again.
Sources
- Toyota 4Runner Owner’s Manuals and Warranty Resources — model-specific owner-manual access for 4Runner emergency procedures and warnings.
- Toyota 2025 4Runner Hybrid Interactive Manual — 12-volt battery jump-start guidance and hybrid model considerations.
- Texas Department of Insurance Vehicle Battery Safety Fact Sheet — battery gas, acid, lead, and short-circuit safety hazards.
- AutoZone Charging System Test Guide — multimeter checks for battery and alternator/charging-system diagnosis.
- NHTSA Emergency Response Guides — manufacturer emergency guidance for hybrid and electrified vehicles.





[…] most current Toyota Tundra Smart Key fobs, remove the mechanical key, use it or a small flathead screwdriver to open […]
[…] No crank or starter issue […]
[…] your Toyota 4Runner smells musty when you turn on the A/C, the problem is usually trapped moisture in the HVAC system, […]
[…] airbags and seat-belt pretensioner wiring. Do not probe yellow SRS connectors, and disconnect the 12-volt battery before seat […]