
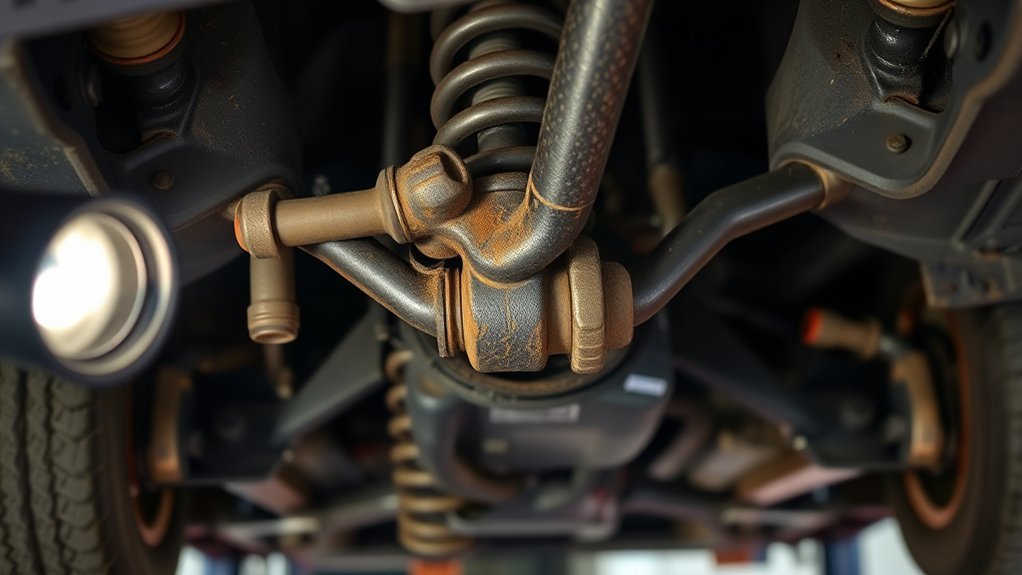
A suspension clunk in a Hyundai Sonata usually comes from a loose, worn, or poorly secured part, but the sound can travel through the chassis and make the source hard to find. Start with simple checks in the trunk and wheel area, then inspect the sway bar links, strut mounts, control arm bushings, ball joints, tie rods, brake hardware, and engine or transmission mounts before replacing parts.
Quick Answer
To diagnose a Hyundai Sonata suspension clunk, first remove loose trunk items, then check the sway bar links, strut mounts, strut top nuts, control arm bushings, ball joints, tie rods, wheel lugs, brake caliper hardware, and exhaust or engine mounts. Do not drive far if the clunk is loud, worsening, or affects steering.
Key Takeaways
- The most common Sonata clunk sources are sway bar links, strut mounts, loose strut hardware, control arm bushings, ball joints, tie rods, brake hardware, and loose trunk parts.
- A clunk over small bumps often points to sway bar links or strut mounts; a clunk while turning can point to strut bearings, tie rods, CV joints, or mounts.
- Never crawl under a vehicle supported only by a jack. Use the correct lift points, wheel chocks, and properly rated jack stands.
- Use the correct Hyundai service information for torque values. An impact gun can overtighten parts; a torque wrench is the safer final check.
- If the clunk comes with steering looseness, pulling, vibration, brake noise, or uneven tire wear, stop driving and have the car inspected.
At a Glance
| Time Required | 20–60 minutes for basic checks; longer if parts need removal |
| Difficulty | Beginner for trunk and visual checks; intermediate for lifted suspension inspection |
| Tools Needed | Flashlight, gloves, wheel chocks, jack, jack stands, pry bar, socket set, torque wrench, and the correct Sonata service information |
| Cost | $0 for inspection; parts and labor vary by failed component and model year |
Identify Common Clunking Issues in Your Hyundai Sonata
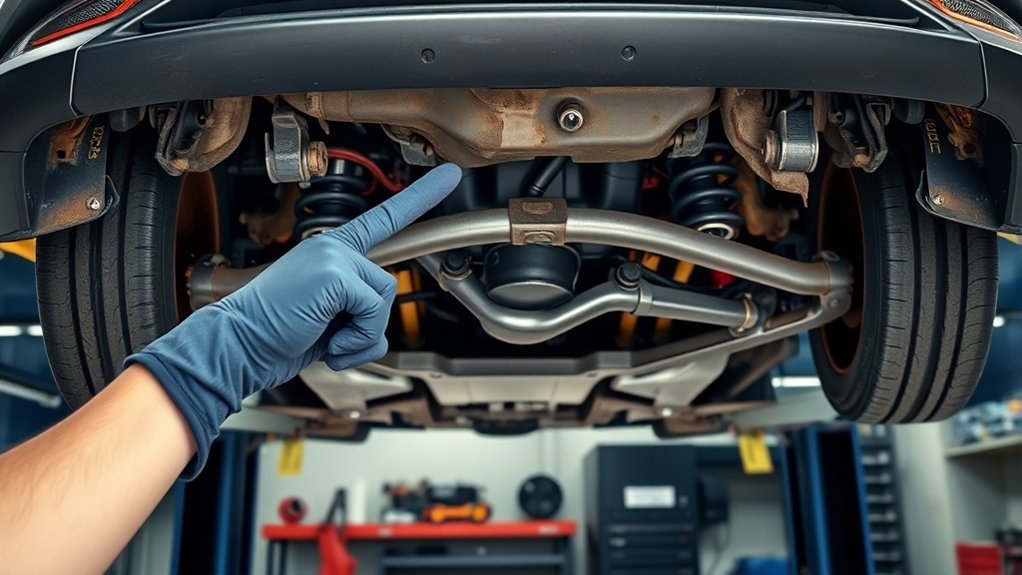
When you hear clunking noises from your Hyundai Sonata, pay attention to when the sound happens. A single knock over a driveway entrance, a rapid rattle over small bumps, and a heavy thud during braking can come from different parts.
Common causes include loose strut hardware, worn strut mounts, weak strut mount bushings, bad sway bar links, worn sway bar bushings, damaged control arm bushings, ball joint wear, tie rod play, loose brake caliper hardware, worn engine or transmission mounts, and rattling cargo-area parts. Hyundai also recommends having shocks, struts, alignment, and suspension parts inspected as part of normal service when ride or steering quality changes, according to Hyundai’s suspension service guidance.
Be careful with broad claims that every Sonata clunk is a design flaw. Owner complaints can be useful clues, but the correct fix depends on your model year, mileage, repair history, road conditions, and the exact failed part. Before replacing suspension parts, also check whether your vehicle has open recalls or service campaigns through the NHTSA recall lookup and the Hyundai campaign lookup.
Warning: Do not ignore a clunk that changes steering feel, causes pulling, appears with braking, or gets worse quickly. Those symptoms can point to a loose or failing steering, brake, or suspension part.
Diagnosing the Source of the Clunking Noise
Diagnosing the source of a Hyundai Sonata clunking noise is easier when you separate the sound by driving condition. Use a quiet road, keep speeds low, and avoid aggressive steering or braking during testing.
- Clunk over small bumps: Check sway bar links, sway bar bushings, strut mounts, strut top nuts, and loose brake hardware.
- Clunk over large dips or driveway entrances: Check struts, strut mounts, control arm bushings, ball joints, and subframe fasteners.
- Clunk while turning: Check tie rods, strut bearings, CV axles, wheel bearings, and engine or transmission mounts.
- Clunk while braking or shifting from drive to reverse: Check control arm bushings, brake caliper brackets, engine mounts, and transmission mounts.
- Rattle from the rear: Check the trunk jack, spare tire cover, foam inserts, spare tire hold-down, rear sway bar links, rear shocks, and exhaust hangers.
Start with the simplest source first: the trunk. Remove the jack, tools, cargo organizer, spare tire cover, loose license plate hardware, and anything stored near the spare tire. Take a short test drive. If the sound disappears, the problem was likely a loose cargo-area item rather than the suspension.
Note: A suspension clunk can echo through the body. A noise that sounds like it comes from the front right corner may actually be a loose sway bar link, brake part, engine mount, or trunk component transmitting vibration through the chassis.
How to Check Your Suspension Components
Inspecting your suspension components helps protect ride quality, tire wear, steering control, and braking stability. Use the correct owner’s manual and service information for your exact model year, because torque values and component layouts can differ. Hyundai provides owner resources through MyHyundai manuals and warranties.
Warning: Never put any part of your body under a vehicle supported only by a jack. Hyundai’s tire-changing guidance warns that a vehicle can slip or roll off a jack; use level ground, wheel chocks, designated lift points, and properly rated jack stands before working underneath.
[Products Worth Considering]

This click torque wrench delivers accurate, repeatable tightening for automotive and home repair tasks, helping prevent over-tightening and fastener damage. Its dual-range scale, knurled non-slip grip, and durable ratchet head make it easy to use, while the included extension bar and storage case add extra convenience.
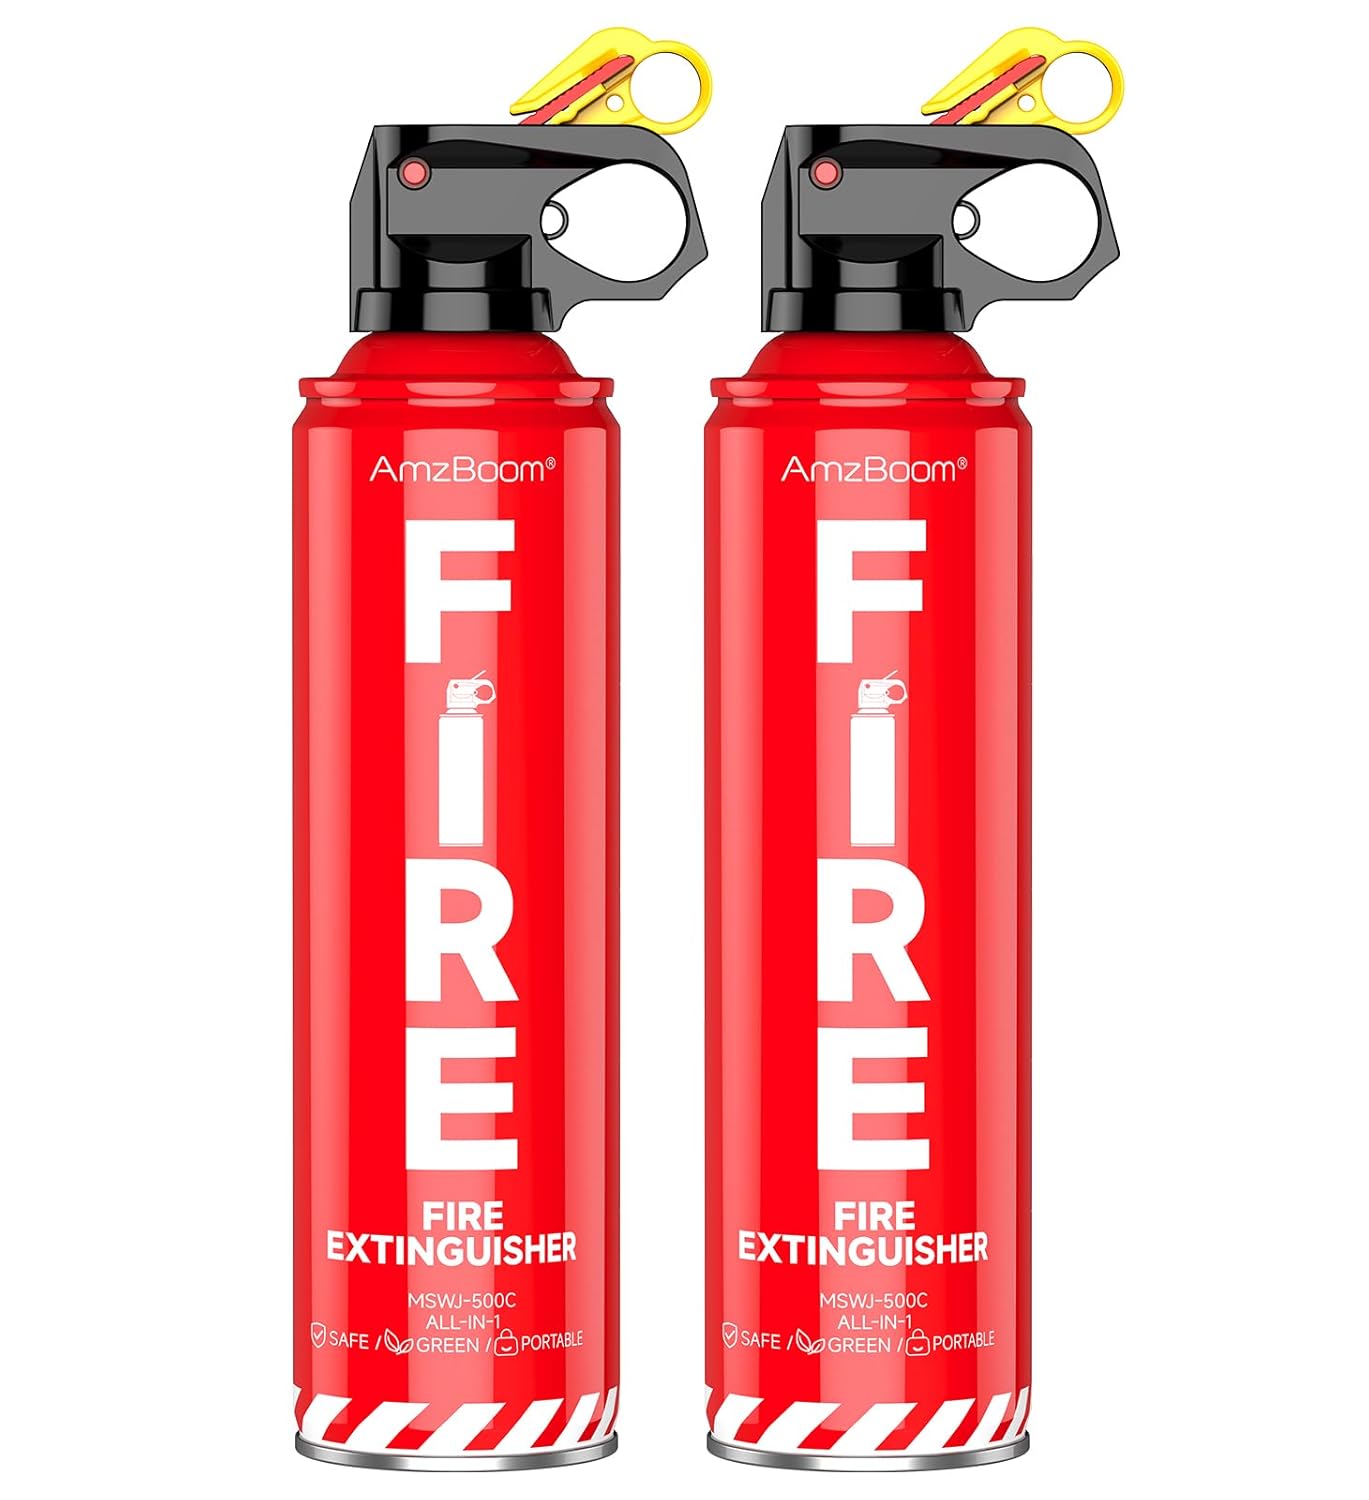
This compact fire extinguisher spray is designed for quick response in homes, kitchens, cars, grills, and other everyday spaces. Its easy press-aim-spray operation, included mounting brackets, and versatile fire coverage help make emergency readiness simple, while the non-toxic, water-based formula cleans up easily and helps prevent reignition.

Designed for a precise fit in select Toyota Camry and Avalon models, this cargo mat helps protect your trunk area from spills, dirt, and daily wear. The all-weather TPU construction offers a durable, odorless, and easy-to-clean surface that supports year-round use. With a textured non-slip design and simple installation, it stays securely in place while adding convenient protection for your vehicle.
Step 1: Check Loose Items Before Lifting the Car
- Trunk jack and spare tire area: Make sure the jack, lug wrench, foam trays, spare tire, and cover clips are tight.
- License plate and rear trim: Tap the plate, trim panels, and trunk floor panels by hand to find rattles.
- Wheel lug nuts: Confirm the wheel lugs are properly tightened to the specification for your model year.
- Underbody shields: Look for loose splash shields, missing clips, or panels tapping the body.
Step 2: Check Sway Bar Links and Bushings
Sway bar links are a common source of sharp clunks over small bumps. Look for torn boots, missing grease, bent link rods, loose nuts, or links sitting at an odd angle. Hold the link and try to move it by hand; any knocking, clicking, or visible play can indicate wear.
Also inspect the sway bar frame bushings. Worn bushings may let the bar shift side to side and knock against the brackets, especially during low-speed turns or uneven pavement.
Step 3: Check Strut Mounts, Strut Bearings, and Strut Hardware
A worn strut mount or loose upper hardware can create a dull thud at the top of the suspension. Open the hood and inspect the upper strut mount area for separated rubber, rust trails, uneven gaps, or movement while a helper gently turns the steering wheel.
Check the upper mounting bolts and center strut nut only with the correct procedure. The center nut holds spring-loaded parts together, so do not remove it unless the strut assembly is safely handled with the right spring compressor and repair procedure.
Pro Tip: Use a torque wrench for final tightening. An air impact gun can help remove stubborn fasteners, but it should not be trusted as the final torque check on suspension parts.
Step 4: Check Ball Joints, Tie Rods, and Wheel Bearing Play
With the vehicle safely supported, hold the tire at the 12 and 6 o’clock positions and rock it in and out. Movement can suggest ball joint, wheel bearing, or suspension play. Then hold the tire at 3 and 9 o’clock and rock it again; movement here can point to inner or outer tie rod wear.
Watch the joints while a helper moves the wheel. If the tire moves before the steering linkage responds, or if a joint visibly clicks, shifts, or knocks, the part needs closer inspection by a qualified technician.
Step 5: Check Control Arm Bushings and Lower Suspension Parts
Inspect the lower control arm bushings for cracks, separation, oil saturation, or metal-to-metal contact. A failed bushing can make a heavy clunk during braking, acceleration, or quick direction changes. Use a pry bar gently to check for excessive movement, but do not force parts far beyond their normal travel.
Also inspect the lower ball joint, lower strut bolts, subframe fasteners, and any signs of shiny metal where parts have been hitting each other.
Step 6: Check Brakes, Exhaust, and Engine Mounts
Not every clunk is a suspension failure. Loose brake caliper bolts, worn caliper slide pins, missing brake pad clips, a loose exhaust hanger, or a weak engine mount can sound like a suspension knock. If the noise appears when shifting from Park to Drive or Reverse, inspect the engine and transmission mounts before replacing struts or sway bar links.
Community Tips for Noise Reduction
Once safety-related parts are ruled out, simple noise-isolation steps can help reduce minor rattles. Remove the trunk jack, foam trays, spare tire cover, and cargo pieces one at a time, then test drive after each change. This helps you avoid replacing suspension parts when the sound is actually coming from the rear storage area.
Insulating the spare tire cover clips with thin foam can reduce plastic-on-plastic noise. Neoprene foam or rubber washers may also help isolate light trim rattles, but they should not be used to hide a loose suspension, steering, brake, or structural component.
Keep notes on when the noise happens. Write down the temperature, road type, speed, steering angle, braking condition, and whether the car is loaded with passengers or cargo. Rubber bushings can sound different in cold weather, while worn links and mounts often become easier to identify on rough pavement.
A clunk that changes with steering, braking, or body roll is more useful diagnostically than a clunk described only as “front” or “rear.” The driving condition often points to the failed system.
What to Do If You Identify the Source?
Identifying the source of the clunking noise is only the first step. The right repair depends on whether the part is loose, worn, incorrectly installed, or damaged from impact.
- If a fastener is loose: Tighten it only to the correct Hyundai specification for your exact model year. Do not guess.
- If a sway bar link is worn: Replace the bad link and inspect the link on the opposite side, because both sides often wear at a similar rate.
- If a strut mount is cracked or separated: Replace the mount and inspect the strut, spring seat, bearing, and upper hardware at the same time.
- If a control arm bushing or ball joint is worn: Replace the affected arm or joint according to the service procedure, then have the alignment checked.
- If brake hardware is loose: Do not continue driving until the caliper bracket, slide pins, pads, and clips are inspected and secured.
- If engine or transmission mounts are worn: Replace the failed mount before it damages exhaust parts, axles, hoses, or nearby brackets.
After any suspension repair, take a short test drive on the same road where the noise appeared. Listen for changes, then recheck the repaired area. If the steering wheel is off-center, the car pulls, or the tires show uneven wear, schedule an alignment.
[Products Worth Considering]

The MaxxHaul Solid Rubber Wheel Chock 2-Pack provides dependable vehicle stabilization for cars, trucks, trailers, and RVs in garages, driveways, job sites, and campgrounds. Its solid rubber construction, non-slip traction surface, and built-in handle make placement easy while delivering long-lasting grip and all-weather durability for safer parking and storage.

This filter combo is designed for Hyundai Sonata gas models from 2015 to 2019, including non-hybrid 2.4L vehicles, and replaces both the engine and cabin air filters in one convenient set. It helps improve engine airflow while also refreshing the cabin environment with activated carbon odor control and high-efficiency particle filtration for cleaner, quieter driving.

Replacement for 2006-2011 Hyundai Azera [2006-2010 Hyundai Sonata] - [2007-2009 Kia Amanti]
When to Stop Driving and Call a Mechanic
A mild rattle from the spare tire cover is usually not urgent, but a suspension, steering, or brake clunk can become a safety issue quickly. Stop driving and arrange inspection if you notice any of these signs:
- The steering wheel feels loose, jerky, or off-center.
- The vehicle pulls, wanders, or feels unstable over bumps.
- The clunk happens when braking, turning, or changing gears.
- You hear grinding, scraping, popping, or repeated metal-on-metal knocking.
- A tire shows uneven wear, cupping, bulging, or exposed cords.
- A wheel, control arm, strut, or brake caliper appears loose or shifted.
- Warning lights appear after the noise begins.
If the car feels unsafe, do not try to “drive it carefully” to save a tow. A failed ball joint, tie rod, wheel bearing, or brake component can lead to loss of control.
[Products Worth Considering]

【CRITICAL FITMENT NOTE】Specially designed compatible with 2011-2014 Hyundai Sonata (GLS & Limited L4 2.4L ONLY). ATTENTION: Fits models WITHOUT Sport Suspension ONLY. DOES NOT fit SE models or 2.0L Turbo models. Please verify your vehicle’s year, make, model, and suspension type in the Amazon Garage before purchasing to avoid returns

Fitment: for Hyundai Sonata 2015 - 2019, for Kia Optima 2016 - 2017 (SXL, EX, LX 1.6T, LX), for Kia Optima 2018 - 2019 (EX, LX 1.6T, LX, S, SX)
![TUCAREST 10Pcs Suspension Kit (No Hybrid) Fit For 2015 Hy-undai Sonata /16-18 Ki-a Optima, Front Lower Control Arm w/Ball Joint + Outer Inner Tie Rod + Sway Bar [# 526-959 K750792 EV801307 ES801401]](https://m.media-amazon.com/images/I/51iA3rmfDSL._SL500_.jpg)
Suspension Kit Fitment - Position: Front (Driver and Passenger Side); Compatible with 2015 Hy-undai Sonata /2016-2018 Ki-a Optima [For GAS Only,Not Fit Hybrid]
Frequently Asked Questions
What is the most common cause of a Hyundai Sonata suspension clunk?
The most common causes are worn sway bar links, loose or worn strut mounts, cracked control arm bushings, ball joint wear, tie rod play, loose brake hardware, and loose trunk items near the spare tire. The exact cause depends on when the clunk happens and where the play is found during inspection.
Is it safe to drive a Sonata with a clunking noise?
It depends on the source. A loose trunk panel is not the same risk as a worn ball joint or tie rod. Avoid driving if the clunk is loud, worsening, linked to steering or braking, or paired with pulling, vibration, uneven tire wear, or a loose-feeling wheel.
Can a bad sway bar link make a clunk over small bumps?
Yes. A worn sway bar link often makes a sharp tapping or clunking sound over small, repeated bumps. The noise may be more noticeable at low speed and may quiet down on smooth roads. Torn link boots, loose nuts, or visible joint play are common clues.
Can the strut center nut cause a clunk?
Yes, a loose or incorrectly tightened strut center nut can create a top-end clunk, especially after strut replacement. However, do not remove the center nut casually because the strut assembly is spring-loaded. Use the proper service procedure or have a technician inspect it.
What years are affected by the Hyundai Sonata P1326 issue?
P1326 is an engine knock sensor detection code, not a suspension clunk code. One Hyundai technical bulletin filed with NHTSA covers certain 2015 Sonata vehicles with 2.0L Turbo and 2.4L engines. Because campaigns and coverage depend on VIN, engine, market, and repair history, check your VIN through Hyundai or NHTSA instead of relying only on model year.
Should I replace both sway bar links or only the noisy one?
If only one link is worn, replacing that link may stop the noise. Many owners replace both sides because the parts are inexpensive and usually wear at similar mileage. Always inspect the sway bar bushings too, because worn bushings can mimic link noise.
Conclusion
A Hyundai Sonata clunking noise should be diagnosed before parts are replaced. Start with the quick checks: trunk jack, spare tire cover, wheel lugs, underbody shields, and brake hardware. Then move to the likely suspension sources, including sway bar links, strut mounts, strut hardware, control arm bushings, ball joints, and tie rods.
If the sound affects steering, braking, or vehicle stability, treat it as a safety issue and have the car inspected before driving farther. A quiet ride is helpful, but the real goal is a Sonata that steers, stops, and tracks straight without loose or worn suspension parts hiding underneath.
Sources
- Hyundai USA Suspension Service — supports suspension inspection, shocks, struts, steering, alignment, ride stability, and service guidance.
- MyHyundai Manuals & Warranties — supports using the correct owner information for the exact Sonata model year.
- Hyundai Owner’s Manual: Changing Tires — supports safe parking, wheel blocking, and spare tire/jack handling precautions.
- Hyundai Owner’s Manual: Jack Label — supports the warning not to put any part of the body under a vehicle supported by a jack.
- NHTSA Recall Lookup — supports checking recalls by VIN, make, and model before repair decisions.
- NHTSA Technical Service Bulletin MC-10147418-9999 — supports the P1326 FAQ for certain 2015 Hyundai Sonata vehicles with 2.0L Turbo and 2.4L engines.




[…] for reinforced metal areas, not thin sheet metal, plastic covers, or suspension parts. A proper lift point should sit squarely under the jack saddle and support weight without […]
[…] pulling, and uneven tire wear. A visual check can reveal cracked or torn rubber, but a physical suspension inspection gives you a clearer answer. Don’t keep driving hard with these symptoms because worn bushings […]
[…] wear, or see an ABS warning light. These symptoms can also come from tires, brakes, alignment, or suspension parts, so confirm the cause before you replace […]