You’ll get repeatable 4Runner alignment by setting ride height and tires to spec, centering the wheel, and inspecting suspension for wear. Build a rigid string box or use toe plates to measure front and rear toe, then adjust tie rods and jam nuts equally. Measure camber and caster, noting stock UCA limits; consider adjustable aftermarket UCAs for lifted rigs. Check wheel offset and tire size for clearance and recheck after each tweak — keep going to learn the detailed steps and values.
Quick Alignment Checklist for 4Runner Owners

Start by parking the 4Runner on a flat, level surface with the steering wheel centered; this baseline prevents measurement errors and lets you spot obvious issues before adjustments. You’ll follow alignment basics: confirm surface flatness, straighten the wheel, and pick a measurement method—string box or Longacre toe plates—to read toe across front and rear axles. Measure equal distance from each wheel’s center and record front/rear toe values. If front toe’s off, loosen tie rod jam nuts and turn the tie rod until front and rear tire measurements match. For rear adjustments, rotate eccentric bolts on the control arms to shift arm position, using degree marks for predictable tracking changes. Avoid common mistakes like measuring with a turned wheel, uneven ground, or sloppy jam-nut tightening. Tighten hardware to spec, recheck measurements, then take a short test drive to validate handling and steering response. This checklist frees you from guesswork and gets the 4Runner tracking true.
Which Angles Matter: Camber, Caster, Toe (And Why)
You’ve got the baseline measurements and toe sorted; now you need to understand the three geometric angles that control how the 4Runner moves and wears tires: camber, caster, and toe. You’ll make camber adjustments to control tire contact during cornering—negative camber boosts grip but overdo it and wear jumps. You’ll account for caster effects to tune straight-line stability and steering feel—positive caster stabilizes, negative caster degrades handling. You’ll set toe settings to balance stability and responsiveness—toe‑in steadies, toe‑out sharpens turn-in; improper toe accelerates wear.
| Angle | Primary effect | Risk if misaligned |
|---|---|---|
| Camber | Lateral grip, wear | Uneven shoulder wear |
| Caster | Stability, steering feel | Wandering, poor return |
| Toe | Directional stability | Rapid tread wear |
Alignment importance is simple: correct angles preserve safety, maximize tire life, and free you from constant correction while driving.
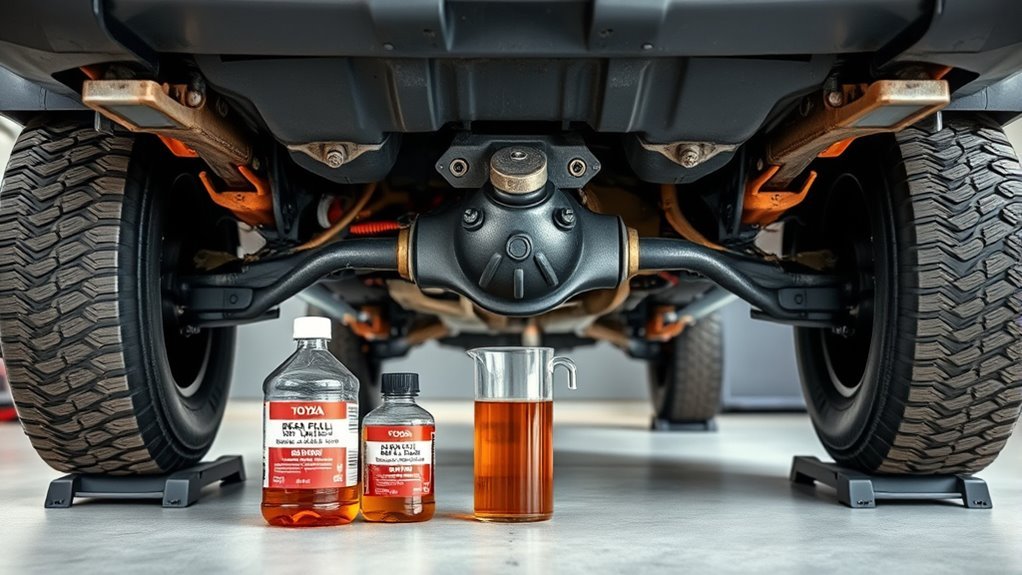
Prep Before You Measure: Tires, Load, Steering, Ride Height
Before you measure alignment, make certain the basics are right: inflate all tires to the manufacturer’s pressures, set the vehicle at its normal load and ride height, center the steering wheel, and inspect suspension and steering components for wear or damage—any deviation will skew readings and could mask underlying problems.
Start by confirming tire pressure on all four corners; uneven pressures alter contact patches and give false toe and camber numbers. Recreate your typical vehicle load—fuel, cargo, and passenger weight—so the suspension compresses to its normal trim. Verify ride height against factory specs; sag or lift changes caster and camber geometry. Center the steering wheel and lock it in place to avoid subtle steering-angle offsets during measurement. Visually and manually check tie rods, ball joints, bushings, and shocks for play or deterioration; replace worn parts before you proceed. These steps free you from measurement error and guarantee alignment corrections reflect true road conditions, not transient or hidden faults.
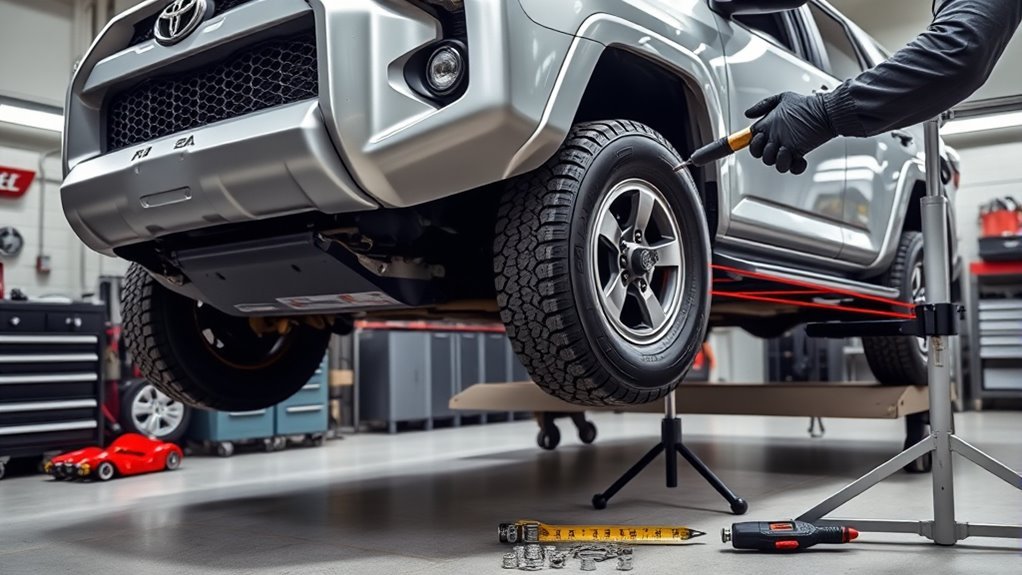
DIY String Box for 4Runner Alignment: Build and Setup
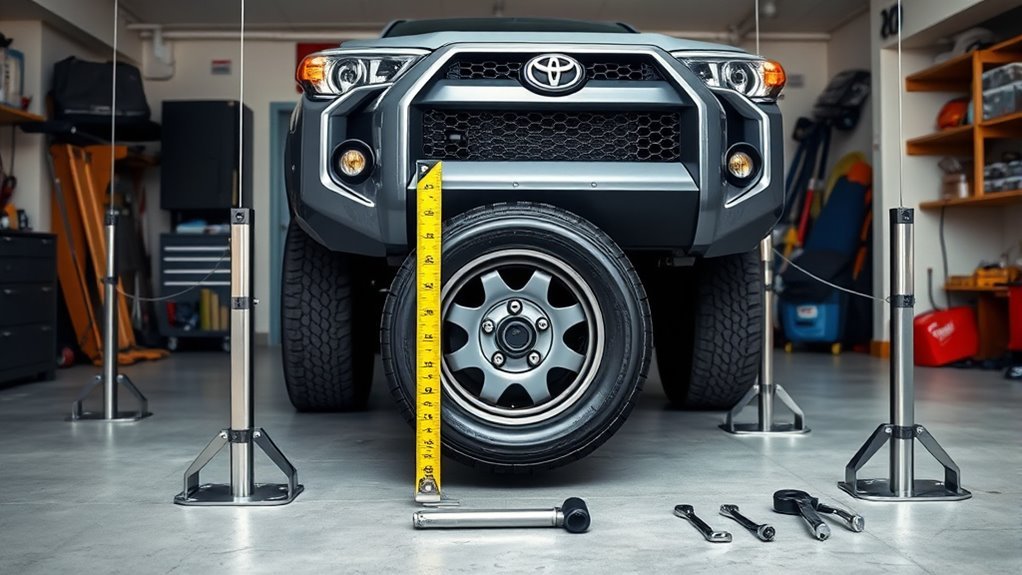
A simple string box gives you the repeatable reference you need to set toe on a 4Runner without shop gear. You’ll build a rigid frame with jack stands and metal tubing, then run a long, straight string to create a datum for alignment accuracy. Position the string parallel to the vehicle and equidistant from each wheel center; that consistent plane is what frees you from paid shop dependency.
- Assemble: mount tubing to jack stands at wheel height, square the frame, tension the string for minimal sag.
- Square-check: verify diagonal measurements corner-to-corner to confirm the string box construction is true.
- Measure: record front and rear tire distances to the string; differences indicate required toe correction.
This method gives you a repeatable, measurable baseline so you can take control of suspension setup, improve handling, and extend tire life without specialized equipment.
Measure Front Toe and Adjust Tie Rods
Start by placing the vehicle on level ground and confirming your string box or tape-reference is square and parallel to the wheel centers; you’ll use the front and rear tire edge measurements to determine toe and any necessary correction. Measure the distance from the reference to the front and rear edges of each front tire, compensating for track-width differences to calculate toe angle left and right. If toe is out, loosen the jam nuts on both tie rod ends. Make equal turns on both tie rods to lengthen or shorten them—turning inward increases toe-in, outward increases toe-out—keeping both tie rod lengths matched to avoid asymmetric geometry that causes pulling. Re-tension jam nuts, then re-measure the front toe angle to verify equality and target specification. Once confirmed, torque the tie rod nuts to spec. Finish with a controlled test drive, checking steering response and straight-line tracking. This precise method frees you from guesswork and restores honest steering.
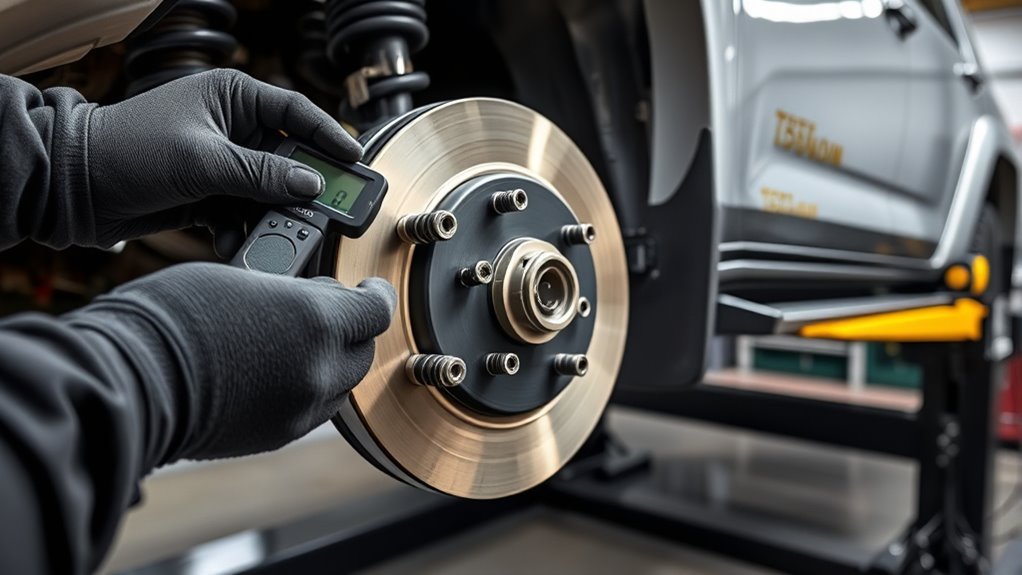
Measure Rear Toe and Camber Using Eccentric Bolts
With the front toe set, move rearward to measure rear toe and camber using the eccentric bolts on the rear control arms. You’ll locate eccentric bolt adjustments at the arm pivots; rotate them to shift arm position and watch the degree markings for precise change. Use alignment tools—laser gauges or tape and string—to read toe and camber, and record baseline values before you turn anything.
- Use a calibrated alignment tool to measure current rear toe and camber, noting degrees and tire wear patterns.
- Rotate the eccentric bolts slowly, rechecking with your alignment tools until toe and camber fall within spec; small turns yield predictable shifts.
- If camber range is limited, consider an aftermarket upper compensator arm for greater adjustment and improved tire contact.
Check settings regularly. Proper eccentric bolt adjustments prevent uneven wear, restore handling, and free you from constant corrective driving.
Measure Caster and Read Its Limits (Why UCAs Matter)
Although caster‘s measured as the angle between the steering axis and vertical, you’ll want to focus on how small changes affect steering feel and tire wear when you measure it on your 4Runner. You’ll check caster at ride height, record left/right values, and note symmetry. Positive caster improves straight-line stability; negative caster makes the truck twitchy and wears tires unevenly. Track limits: don’t chase extreme positive caster — excessive values still harm handling.
Stock UCAs often limit your achievable caster, especially after a lift. If you’ve modified suspension, inspect UCA geometry; aftermarket UCAs give range and stronger pivot locations so you can reach ideal caster without binding. Use UCA installation tips: torque to spec, verify ball-joint angles, and cycle steering through full travel while monitoring caster. The caster adjustment benefits are clearer on long drives: reduced wandering, predictable return-to-center, and more uniform tire wear. Measure, adjust, and document to keep your 4Runner liberated on or off road.
Interpret Readings After a Lift: Offsets, Tire Size, and Rubbing
After a lift you’ll need to interpret alignment readings with wheel offset in mind, since a more negative offset shifts the tire outward and changes scrub radius and steering response. Also factor in tire size—wide tires like 285/75R17 reduce clearance and often require camber/toe adjustments to prevent rubbing at body mounts. Use measured wear patterns and targeted temperature checks to verify clearance fixes and whether UCAs or caster tweaks are still needed.
Wheel Offset Effects
One key thing to watch when you lift a 4Runner is how wheel offset interacts with larger tires—offsets change where the tire sits relative to the body and can quickly create rubbing at body mounts or fender edges when you run sizes like 285/75R17. You need to understand wheel offset implications for clearance, alignment, and tire rubbing prevention. Positive offset moves the tire inward; negative moves it outward. After lifting, small offset changes can cause contact. Use aftermarket UCAs to regain proper caster and reduce rubbing risk. Monitor wear patterns to catch subtle issues early.
- Measure projected tire edge vs. body to predict rubbing zones.
- Choose offset to balance track width and steering geometry.
- Recheck alignment and wear after any offset change.
Tire Size Clearance
Start by measuring projected tire edge vs. body and suspension with the vehicle at ride height, because that reading tells you where a 285/75R17 (or similar) will contact during steering travel and suspension compression. You’ll note tire height impacts both vertical and lateral clearances; taller tires reduce fender gap and increase potential body mount rubbing. Positive offset moves the tread inward toward suspension, so measure wheel clearance under full turn and droop. If rubbing appears, check caster and camber—misalignment after a lift will worsen contact patterns and uneven wear. Consider wheel arch adjustments and body mount chop combined with aftermarket UCAs to regain freedom of movement. Recheck alignment and clearance after any change; regular inspections preserve performance and your vehicle’s liberated capability.
Fixes: Alignment Tweaks, Aftermarket UCAs, and Body‑Mount Options
When you’re correcting post‑lift alignment issues, prioritize caster and toe adjustments alongside any suspension swaps. Upgrading to aftermarket UCAs will let you restore proper caster and roll center geometry, while a body‑mount chop can be considered only if clearance problems persist with larger tires. After making changes, remeasure precisely and monitor tire wear and steering behavior to confirm the fixes.
Aftermarket Upper Control Arms
Because lifting your 4Runner shifts suspension geometry, installing aftermarket upper control arms (UCAs) gives you the caster and camber range you need to restore proper alignment, reduce uneven tire wear, and improve handling. You’ll value control arm benefits that free your truck from stock limitations—UCAs add adjustability, remedy caster loss, and let you tune camber for your driving style. UCA installation is straightforward for a competent DIYer or shop; choose units with sealed bearings and adjustable cam bolts for longevity and precision.
- Increased caster/camber range — restores steering stability and reduces tramlining.
- Greater suspension articulation — mitigates rubbing at body mounts by expanding motion.
- Tunability and durability — precise alignment settings and longer-lasting performance.
Body Mount Chop Options
One clear way to stop tire-to-body contact after a lift is to perform a body mount chop (BMC), which trims flange material to gain clearance while you fine-tune alignment and UCA settings. You’ll use BMC benefits to free up tire travel, especially with large 285/75r17s, and you’ll pair it with aftermarket UCAs and alignment tweaks for predictable steering. Consider options versus risks: structural attention, seam welding, and professional fitment.
| Option | Effect |
|---|---|
| Partial chop | Adds clearance, preserves structure if done correctly |
| Full chop | Maximum clearance, needs reinforcement |
| No chop (alt) | Relies on caster/UCAs, may still rub |
Evaluate BMC alternatives before cutting; balance physical mods with alignment for liberated performance.
Alignment Caster Tweaks
If you’ve lifted a 4Runner, dialing in caster is one of the highest-impact alignment tweaks you can make to restore stable steering and predictable return-to-center behavior. You’ll find stock UCAs often limit caster adjustments; aftermarket UCAs provide greater range so you can chase alignment benefits and reduce unwanted steering wander. When running larger tires, body mount chopping (BMC) may be required to prevent rub at full compression—plan that into your caster strategy. Always work with an alignment tech who knows lifted 4Runners.
- Install adjustable UCAs to increase caster adjustments and achieve factory-plus geometry.
- Verify tire clearance with BMC or limit-straps before finalizing caster settings.
- Validate alignment benefits on-road and adjust incrementally for liberated, predictable steering.
When to DIY vs. See a Pro + Shop Checklist and Values to Request
When deciding whether to tackle a 4Runner alignment yourself or take it to a shop, weigh your tools, experience, workspace, and the vehicle’s modification level; basic alignments can be done at home if you have accurate measuring tools and know-how, but lifts or major suspension changes generally warrant professional equipment and expertise to avoid handling and safety problems.
You’ll choose DIY Alignment when you have reliable measuring gear, flat space, and confidence with toe, camber, and caster adjustments; precision matters—mistakes risk uneven wear or unsafe handling. Opt for Professional Services after lifts, control-arm swaps, or when custom geometry is needed. Before you go, ask the shop for target values: caster, camber, and toe per axle; request printouts or digital reports. If factory specs don’t exist for your setup, consult local shops about custom values and tap the 4Runner community for shared baselines. Use the checklist: current measurements, modification list, desired load/use, and documentation request. That keeps you empowered and guarantees accountable, repeatable alignment work.
Frequently Asked Questions
How to Measure Wheel Alignment?
You measure wheel alignment by using alignment tools and a string box or tape, checking toe at front/rear of tires, adjusting tie rods and eccentric bolts, and remeasuring—DIY alignment empowers you to reclaim precise handling.
Is 200 a Lot for an Alignment?
Shortly: No, not necessarily. Sensible service spending means you’ll weigh alignment cost against service quality, shop reputation, and needed repairs; prioritize preventive precision to protect tires, performance, and your freedom to roam confidently.
How Long Does a 4runner Alignment Take?
You’re looking at about 30–60 minutes for a 4Runner alignment; complexity or mods can add time. You’ll address alignment importance and alignment symptoms fast, so you’ll regain control, reduce wear, and free yourself from unsafe handling.
Is 2mm Wheel Alignment Out Significant?
Yes — surprisingly, you shouldn’t ignore 2mm; it speeds tire wear and erodes driving stability, so you’ll need prompt correction. Stay proactive, reclaim control, and avoid escalating damage that undercuts freedom on and off road.
Conclusion
Got your 4Runner aligned? You’ve checked camber, caster and toe, prepped tires and ride height, and even built a string box—so what’s next? Use the readings to decide whether simple toe tweaks, adjustable UCAs, or body‑mount changes are needed, especially after a lift or tire upgrade. If values fall outside spec or steering feels odd, take it to a pro with your target camber/caster/toe numbers. Stay methodical, measure twice, drive once.