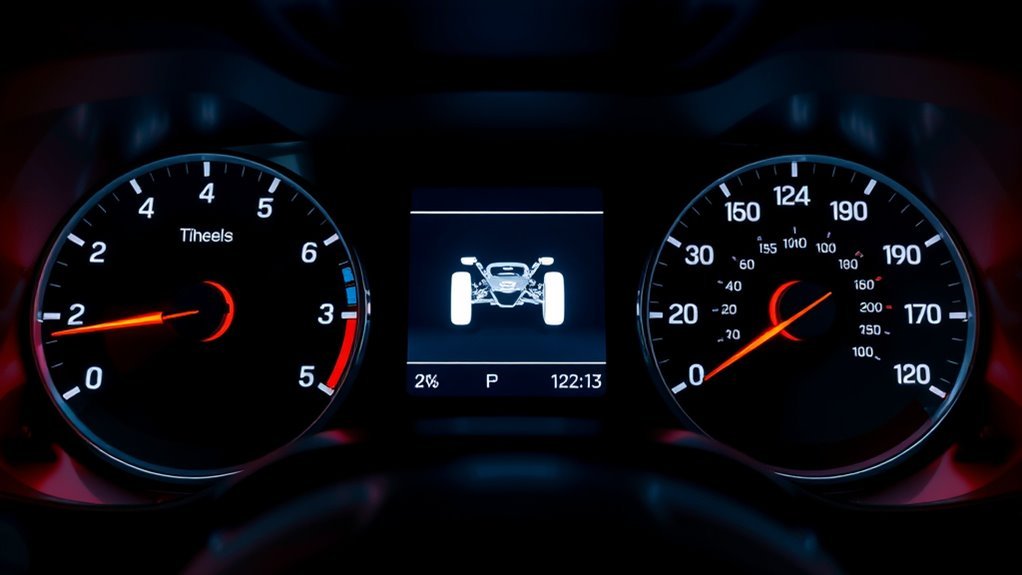
When the center diff lock light comes on, your vehicle is telling you that the center differential lock is either engaged, trying to engage or disengage, or reporting a fault. The exact meaning depends on your vehicle, but the rule is simple: use the center differential lock only when the owner’s manual says it is safe, usually on loose or slippery surfaces, and never ignore a light that keeps flashing or stays on when you did not command it.
Quick Answer
A steady center diff lock light usually means the center differential is locked. A blinking light usually means the system is switching, waiting for gears to align, or has detected a fault. If the light will not go out after proper disengagement, stop using the lock and inspect the switch, fuse, wiring, actuator, and transfer-case mode.
Key Takeaways
- A steady CDL light normally means the center differential is locked, but always confirm with your owner’s manual because indicator behavior varies by vehicle.
- A blinking CDL light often means the lock is still engaging or disengaging; if it keeps blinking, Toyota advises having the four-wheel-drive system inspected.
- Do not drive with the center diff locked on dry pavement. It can cause driveline binding, tire scrub, vibration, and drivetrain stress.
- Start diagnosis with simple checks: transfer-case mode, switch operation, fuses, wiring, connectors, and actuator response.
- If you feel binding, hear grinding, or the light stays on after normal release steps, stop and get the system diagnosed before continuing on high-traction roads.
At a Glance
| Time Required | 5–20 minutes for basic checks; longer for electrical diagnosis |
| Difficulty | Easy for indicator checks; moderate for fuse and wiring tests |
| Tools Needed | Owner’s manual, flashlight, fuse puller, multimeter, basic hand tools |
| Cost | Usually $0 for mode checks; low cost for fuses; higher if the actuator, switch, or wiring needs repair |
What the Center Diff Lock (CDL) Light Means
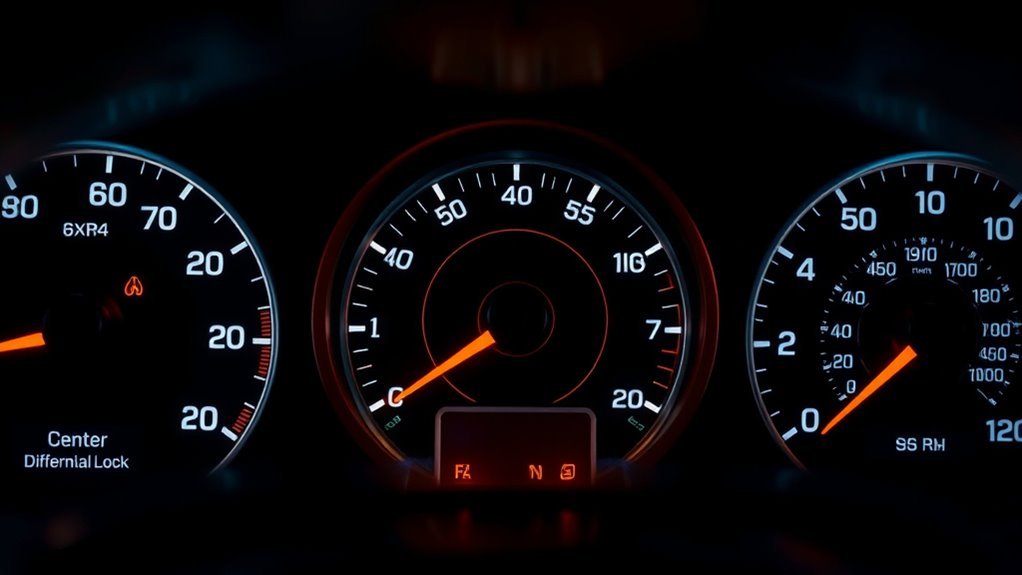
The Center Differential Lock, often called CDL, locks the center differential so the front and rear axles turn together instead of allowing normal speed differences between them. In many full-time four-wheel-drive vehicles, that gives better traction on snow, mud, sand, loose gravel, ruts, and rocky trails because power is not allowed to escape as easily through one slipping axle.
In most vehicles, a steady center diff lock light means the lock is engaged. A blinking light usually means the system is in transition, the gears have not aligned yet, or the vehicle has detected a problem. Toyota’s owner information for the Land Cruiser says that if the center differential lock indicator continues to blink after the recommended shifting procedure, there may be a malfunction in the engine, brake, or four-wheel-drive system, and the vehicle should be inspected by a Toyota dealer. Toyota’s four-wheel-drive system guidance is a useful example of how seriously a persistent blinking indicator should be treated.
Note: Indicator behavior is not identical on every 4WD system. Some vehicles lock the center differential automatically in certain low-range modes, while others require a separate button or lever. Use this guide for general diagnosis, but confirm the exact procedure in your owner’s manual.
Normal CDL Behavior vs. Warning Signs
Normal CDL light behavior usually follows a simple pattern: the light blinks while the system is trying to lock or unlock, then turns steady once the lock is fully engaged. When you switch the CDL off, the light should go out after the mechanism releases. If the gears are not aligned, the light may blink until the vehicle rolls slightly or the drivetrain load changes.
Warning signs include a light that keeps blinking after you follow the correct shifting steps, a light that stays on when the CDL switch is off, or a locked feeling in the drivetrain on dry pavement. If the steering feels tight, the tires scrub or hop during slow turns, or the vehicle feels like it is fighting itself, the center diff may still be locked or the drivetrain may be wound up.
Warning: Do not use a locked center differential as a normal driving mode on dry pavement. On high-traction surfaces, the front and rear axles need to rotate at different speeds while turning. Locking them together can cause driveline binding, vibration, tire wear, and drivetrain damage.
Quick CDL Light Checks: Button, Transfer Case, and Simple Drive Tests
Start with easy checks before assuming the actuator or transfer case has failed. These steps help separate a normal engagement delay from an electrical, switch, or mechanical issue.
- Check the owner’s manual first. Confirm whether your vehicle allows CDL operation in high range, low range, or both. Some systems require the transmission to be in neutral or the vehicle to be stopped.
- Verify the transfer-case position. Make sure the transfer case is fully in the required mode. A lever or dial that sits between positions can keep the indicator blinking.
- Cycle the CDL switch once. With the vehicle stopped and in the correct mode, press or switch the CDL control. Watch whether the light blinks, turns steady, or goes out.
- Roll slowly in a straight line. If the light is blinking because the gears have not lined up, a short straight roll on a loose or low-traction surface may allow engagement or release.
- Do a gentle low-speed steering check only on a safe surface. On loose ground, a locked center diff may feel more resistant in tight turns. Avoid doing this on dry pavement because binding is exactly what you are trying to prevent.
- Stop if the light keeps flashing. A persistent flashing indicator can mean the system has not completed the shift or has detected a fault.
Pro Tip: If your CDL has not been used for months, exercise it only in the correct mode and on a suitable low-traction surface. Regular, correct use helps prevent sticky linkages and actuator problems, but forcing the system on pavement can create a bigger repair.
[Products Worth Considering]

The VIOFO A229 Pro delivers sharp front and rear recording with dual STARVIS 2 sensors, capturing vivid 4K and 2K footage for clearer license plates and road details day or night. HDR, voice control, 5GHz Wi‑Fi, and GPS logging make it easy to use and highly dependable for daily driving and parking protection. A built-in supercapacitor, loop recording, and included CPL filter further enhance reliability and video clarity in demanding conditions.

This automotive test light combines a bright LED voltage display with quick polarity indication for fast, accurate circuit checks in a wide range of vehicle systems. It helps diagnose battery, charging, lighting, and fuse issues with a sharp stainless probe, long spring wire, and easy-to-use alligator clip for efficient troubleshooting.

This automotive circuit tester checks low-voltage DC systems from 3-65V, making it useful for diagnosing headlights, taillights, fuses, sockets, and other vehicle wiring issues. The digital backlit display provides clear voltage readings with fine accuracy, while the bidirectional polarity indicator helps you test from either ground or positive. Built with a durable probe, insulated tip, and extra-long spring wire, it is designed for dependable everyday use in automotive and household electrical work.
Step-by-Step: Safely Unlock the Center Diff

If the center diff lock light will not go out, do not immediately force the vehicle into sharp turns. The goal is to remove drivetrain load and let the mechanism release smoothly.
[Products Worth Considering]

These X-BULL recovery traction tracks help drivers get unstuck from sand, snow, mud, or ice with a stable U-shaped elastic design and a wavy ramp that makes tire entry easier. Built from reinforced nylon, they are flexible, impact-resistant, and designed to perform in extreme temperatures while providing reliable emergency traction for a wide range of vehicles.

This Deutsch connector kit provides a complete solution for creating secure, weather-resistant wiring connections in automotive and other demanding environments. It includes multiple DT-series connector sizes, a closed-barrel crimp tool, and a pin removal tool for easy installation and maintenance. Built for reliable performance, it helps protect electrical connections from moisture, dust, vibration, and corrosion.

The V500 Pro is an all-in-one automotive electrical diagnostic tool that combines circuit testing, wire tracing, oscilloscope analysis, multimeter functions, injector testing, relay and fuse checks, and component activation in one device. It helps technicians and DIY users quickly find open circuits, short circuits, broken wires, and current leaks while reducing disassembly and guesswork. With a rotating screen, built-in flashlight, and adjustable low-voltage power supply, it is designed to speed up troubleshooting in tight and low-light work areas.
Confirm Neutral and Stop
Bring the vehicle to a complete stop in a safe place. Keep your foot on the brake, shift the transmission into neutral if your owner’s manual requires it, and return the transfer case or CDL switch to the unlocked position. Give the system a few seconds to respond.
- Stop on level ground if possible.
- Shift the transmission and transfer case exactly as the manual requires.
- Switch the CDL off.
- Watch the indicator light for a clear change.
- If the light stays on or keeps blinking, continue with gentle release steps instead of forcing the drivetrain.
Drive Forward, Then Reverse
After switching the CDL off, drive forward slowly in a straight line on a loose or low-traction surface. Stop, select reverse, and back up a short distance while keeping steering input gentle. This can relieve the torque load that keeps the lock from releasing.
| Action | Purpose |
|---|---|
| Switch CDL off in the correct mode | Commands the system to unlock |
| Roll forward slowly | Helps align gears and reduce load |
| Stop and reverse briefly | Releases drivetrain wind-up |
| Use gentle steering only | Avoids extra stress on the drivetrain |
| Watch the light | Confirms whether the lock has released |
If the CDL light goes out and the vehicle no longer feels bound up, the system likely released normally. If the light remains on, the switch, wiring, actuator, transfer-case position sensor, or 4WD control module may need diagnosis.
Diagnose CDL Light Issues: Wiring, Switch, and Actuator Tests
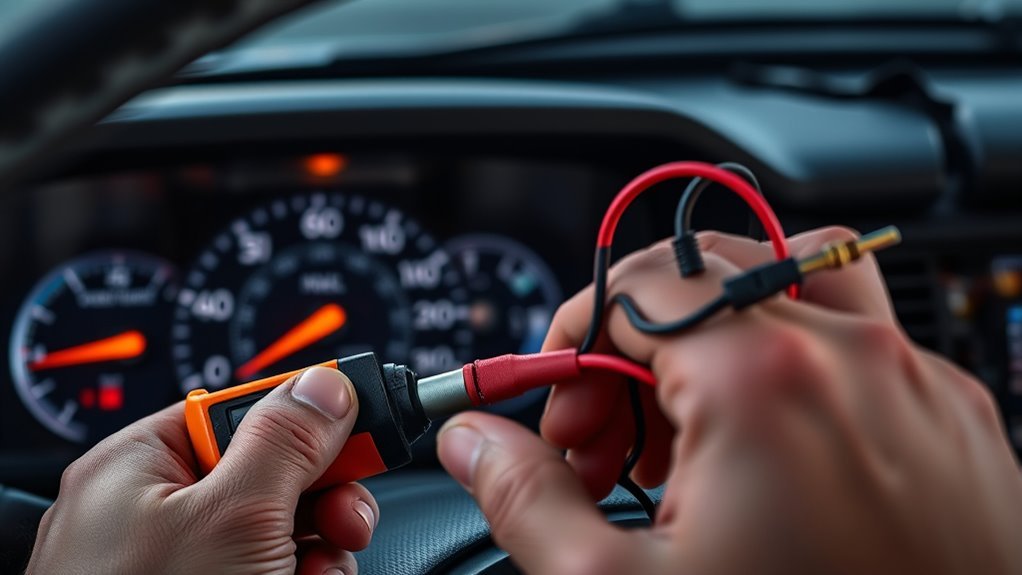
When the CDL light behaves unexpectedly, diagnose the system in order. Do not replace the actuator first just because the light is on. Many false CDL warnings come from wiring, connectors, fuses, switches, or position sensors.
- Inspect the wiring harness. Look for chafed insulation, crushed sections, loose plugs, corrosion, water intrusion, or recent splice work near the transfer case and actuator.
- Check fuses. A blown 4WD, transfer-case, or control-system fuse can interrupt the indicator or actuator circuit.
- Test the switch. Use a multimeter to check whether the CDL button or switch changes state when pressed.
- Listen for actuator movement. With the vehicle in the correct mode, a click or motor sound may indicate the actuator is being commanded. No sound can point to a power, ground, switch, ECU, or actuator problem.
- Back-probe carefully. If you have the service manual and know the correct pins, check for voltage and ground at the actuator connector while the system is commanded on and off.
- Do not power actuators blindly. Some actuators can be damaged if battery voltage is applied directly instead of through the proper relay or control circuit. The Toyota 4Runner service procedure warns that actuator inspection must be done correctly to avoid damage.
Warning: If you are not comfortable reading wiring diagrams or using a multimeter, stop at the visual and fuse checks. Incorrect actuator testing can damage expensive 4WD components.
[Products Worth Considering]

The Autel MaxiCOM MK900BT is a professional bidirectional diagnostic scan tool built for modern vehicles with advanced system coverage and fast, accurate troubleshooting. It supports 3000+ active tests, 40+ service functions, all-system diagnostics, Auto VIN, pre/post scan reports, and newer vehicle protocols for broad compatibility. Designed for technicians and serious DIY users, it delivers efficient maintenance, smarter diagnostics, and expanded service capabilities across a wide range of makes and models.
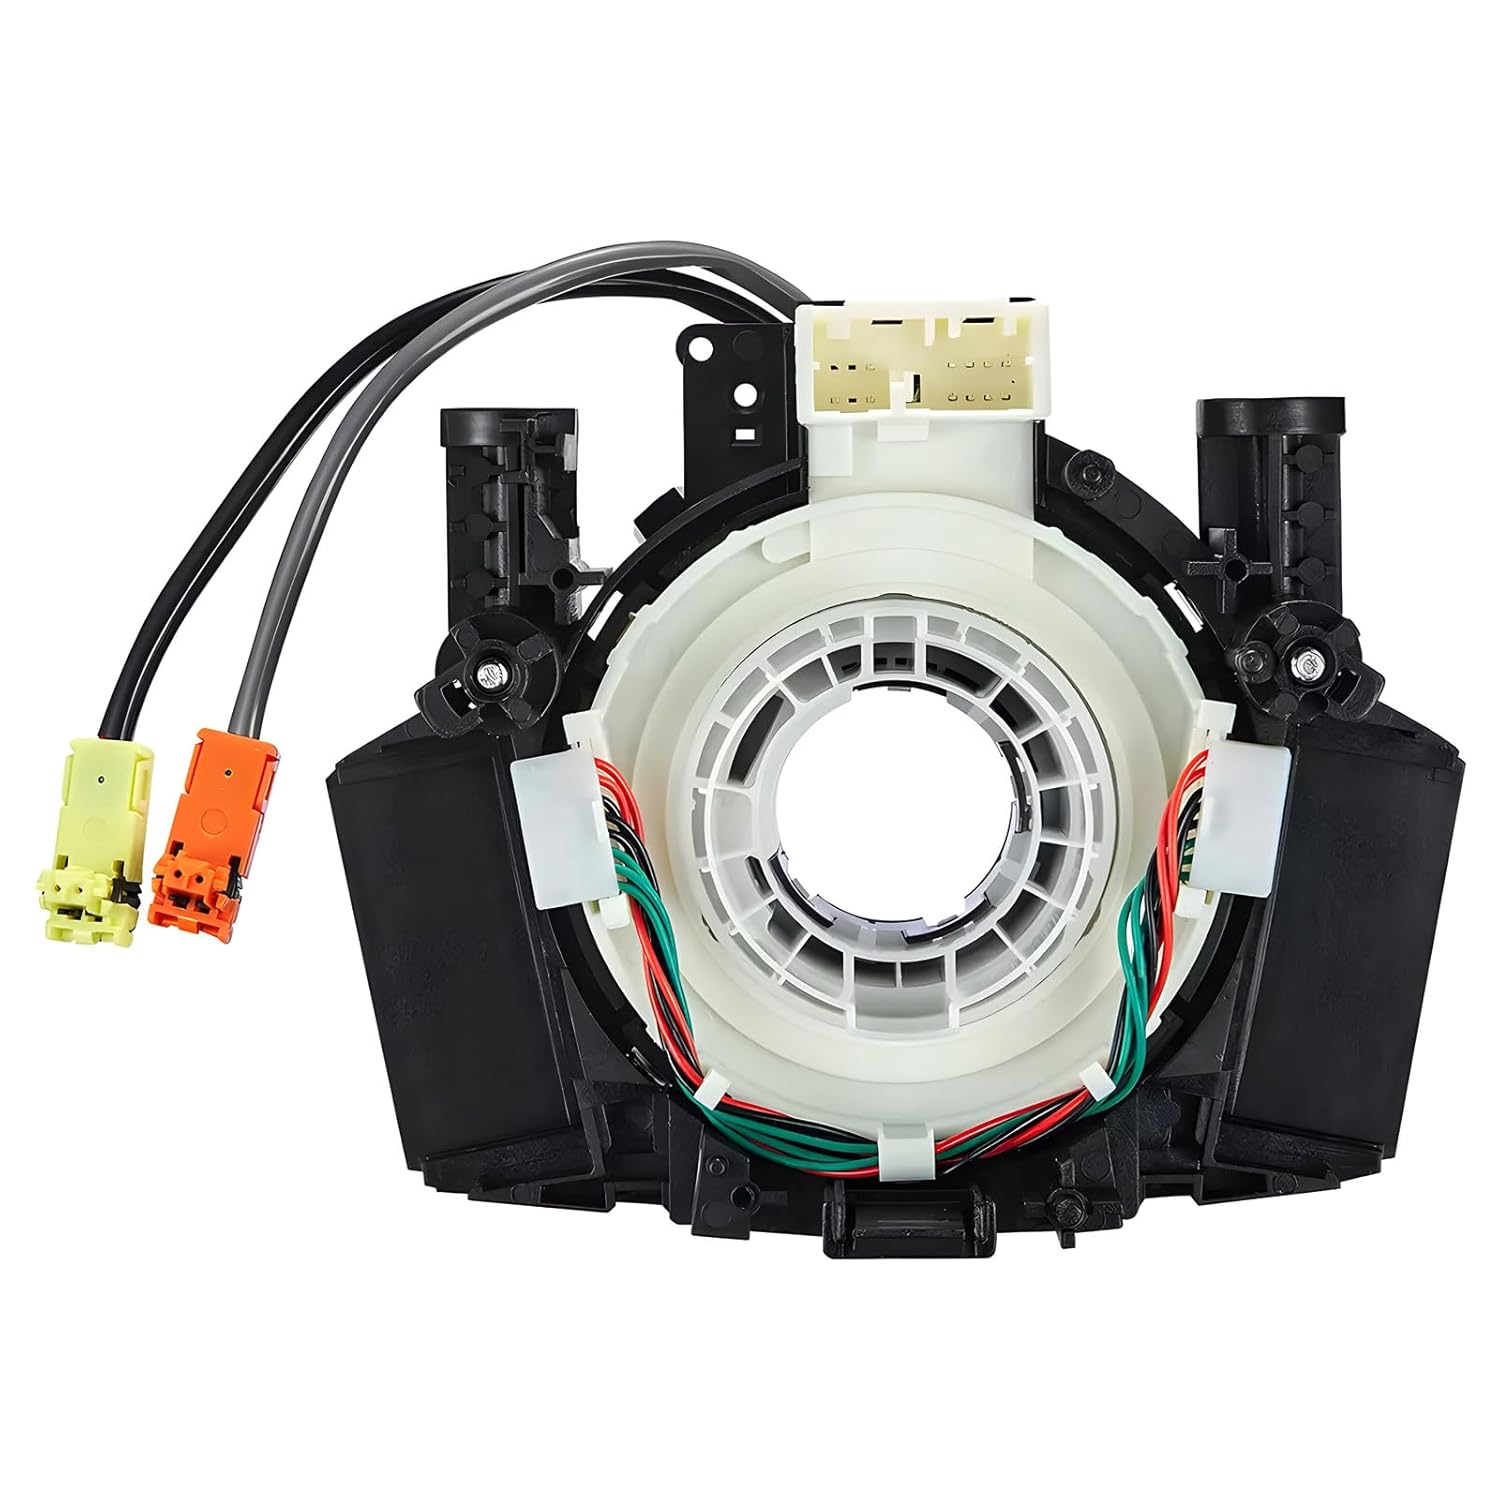
This steering clock spring assembly is an OEM-style replacement designed to restore steering wheel controls and related electronic functions in compatible Nissan vehicles. It supports audio, cruise control, and multi-function button operation while matching multiple factory part numbers for a reliable fit. Built for direct installation with vehicle-specific connectors, it helps return steering column electronics to proper working order.

This automotive electrical disconnect pliers set makes it easier to remove stubborn wire connectors, fuel injector plugs, ignition coil connectors, and other tight-fitting automotive terminals without damage. Built from high-carbon steel with comfortable anti-slip handles, the tools are designed for durability, control, and one-handed use in narrow spaces. The set includes multiple disconnect and separator tools plus hose clamp pliers to help with a wide range of vehicle repair tasks.
Common Failures: Actuator, Switch, Fuse, and Indicator Problems
The CDL light can stay on or keep blinking for several reasons. The most common causes are not always the most expensive ones, so work from simple to complex.
Actuator Seizure Symptoms
A sticking or seized actuator may prevent the center differential from locking or unlocking. Symptoms can include a CDL light that never changes state, no actuator sound, delayed engagement, or a locked feeling that remains after you switch the system off.
Look for corrosion, physical damage, water intrusion, and seized linkages around the actuator. If the actuator is internal or mounted on the transfer case, avoid hammering or forcing it. A professional inspection may be safer than turning a sticky actuator into a broken transfer-case part.
Switch and Electrical Failures
A failed CDL switch can mimic a stuck actuator. The system may never receive the command to lock or unlock, or the indicator may report the wrong state. Corroded connectors, damaged grounds, poor splices, and broken wires can create the same symptoms.
Use a multimeter to check for clean switch operation, good ground continuity, and expected voltage at the relevant connector. Service-manual procedures for differential lock systems commonly include checks for battery voltage, ground resistance, switch state, actuator wiring, and position-switch continuity.
Fuse and Indicator Faults
A fuse or indicator fault can make the CDL light misleading. If the indicator circuit is shorted, grounded, or receiving the wrong signal from a position switch, the light may stay on even if the center diff is not actually locked.
- Inspect related 4WD and transfer-case fuses.
- Check the indicator light during the key-on bulb check if your vehicle has one.
- Inspect connector pins for corrosion or looseness.
- Verify actual mechanical lock status before assuming the dash light is correct.
Risks of Driving With the Diff Locked and Safety Tips
A locked center differential removes the speed difference between the front and rear axles. That is useful when traction is poor, but it is harmful when traction is high. On dry pavement, the tires cannot slip enough to release drivetrain tension, so the stress moves into the tires, driveshafts, transfer case, differential gears, mounts, and joints.
Use the center diff lock as a traction tool for loose or slippery surfaces, not as an everyday driving mode.
Driving locked on pavement can cause hard steering, tire hop, tire scrub, vibration, clunks, driveline wind-up, and accelerated wear. Ford’s owner information for electronic locking differentials gives a similar warning for axle lockers, stating that dry-pavement use can increase tire wear, noise, vibration, and axle damage. While an axle locker is not the same as a center differential lock, the dry-pavement lesson is the same: locked driveline components need slip or they create stress.
For safety, disengage the CDL as soon as you return to a high-traction road. Avoid tight turns while locked, keep speeds low, and use smooth throttle inputs. If the light stays on unexpectedly, stop in a safe place and release the system before continuing.
Maintenance, Preventive Tests, and When to See a Pro
Preventive care is simple: keep the system clean, dry, exercised, and diagnosed early. During routine checks, inspect the CDL switch, transfer-case area, actuator wiring, connectors, and related fuses. After off-road driving, rinse mud and debris from the underbody without blasting electrical connectors at close range.
Exercise the CDL periodically only as the owner’s manual allows. Choose a safe low-traction surface, engage the lock, confirm the indicator behavior, drive a short distance, then disengage and confirm the light goes out. This helps keep the mechanism active and gives you early warning before you actually need the system on a trail.
See a professional if the CDL light continues to blink, the light stays on when the system should be unlocked, the vehicle binds on dry pavement, you hear grinding or repeated clicking, or you find damaged wiring near the transfer case. Also get help if a scan tool shows 4WD, ABS, brake, or transfer-case trouble codes. Modern 4WD systems can share signals with stability control, brake control, and drivetrain modules, so guessing can get expensive.
Frequently Asked Questions
Can I drive with the center diff lock on?
Yes, but only in the conditions your owner’s manual allows, usually low-traction surfaces such as snow, mud, sand, loose gravel, or off-road trails. Do not use the center diff lock on dry pavement because it can cause driveline binding, tire wear, vibration, and drivetrain stress.
Why is my center diff lock light blinking?
A blinking CDL light usually means the system is trying to engage or disengage. It may need the vehicle to roll slowly so the gears can align. If it continues blinking after you follow the correct procedure, it may indicate a fault in the 4WD system, actuator, wiring, switch, or position sensor.
How do I know if my center differential is bad?
Common signs include binding during turns, clunking, grinding, vibration, delayed lock engagement, a CDL light that will not go out, or a light that keeps blinking. These symptoms can also come from the actuator, switch, wiring, position sensor, or transfer case, so diagnose the system before replacing the differential.
What is the differential lock light on the dashboard?
The differential lock light tells you the status of a locking differential system. On a center diff lock, it usually shows whether the center differential is locked, switching, or reporting a fault. A steady light commonly means locked, while a blinking light commonly means the system is still changing state or needs diagnosis.
What does center diff lock mean?
Center diff lock means the center differential is locked so the front and rear axles are mechanically tied together. This improves traction when the surface allows tire slip, but it can cause binding on high-traction roads where the front and rear axles need to turn at different speeds.
Conclusion
The center diff lock light is not just another dashboard symbol. It tells you when the drivetrain is locked, switching, or unhappy. A steady light usually means the center diff is locked; a blinking light usually means the system is trying to complete a shift or has a fault. Use the CDL only on suitable low-traction surfaces, disengage it before dry pavement, and diagnose any light that refuses to behave. Start with the simple checks, then move to fuses, wiring, switch testing, actuator response, and professional diagnosis when needed.
Sources
- Toyota Owners: 2026 Land Cruiser four-wheel drive system — backs up center differential lock indicator behavior and the recommendation to inspect the vehicle if the indicator continues blinking.
- Toyota Owners: 2025 Land Cruiser four-wheel drive system — supports current Toyota guidance on four-wheel-drive shifting and warning-light behavior.
- Toyota Owners: 2025 4Runner rear differential lock system — supports the general warning that differential lock indicators may blink while locking or unlocking and should be inspected if blinking continues.
- Ford Owner Manual: Electronic locking differential — supports dry-pavement warnings for locked driveline components, including increased tire wear, noise, vibration, and axle damage.
- Toyota 4Runner Service Manual: Differential system inspection — supports diagnostic steps for indicator lights, switch checks, wiring checks, actuator checks, voltage, resistance, and continuity testing.