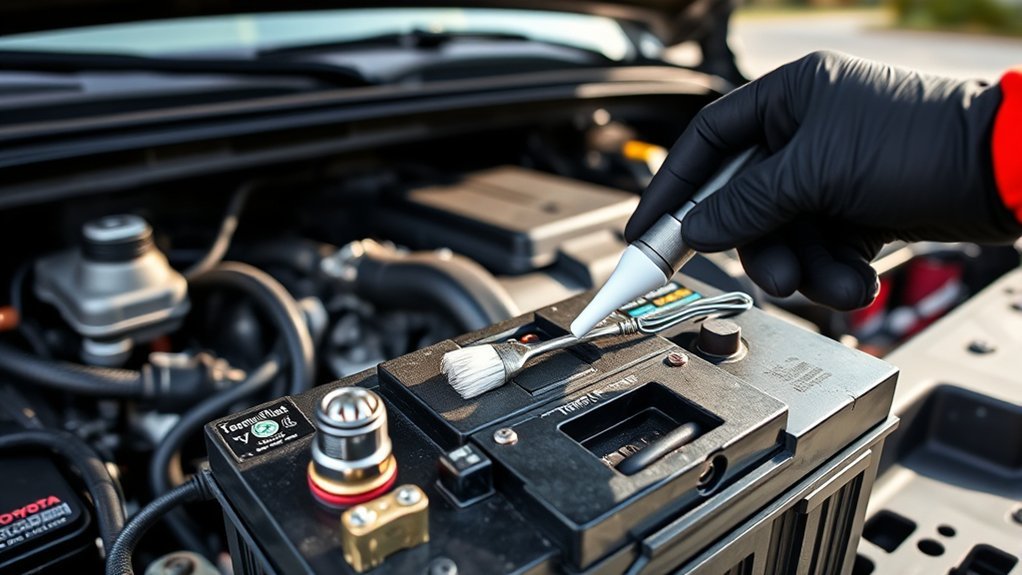
Toyota does not give every Tundra one fixed serpentine-belt replacement mileage. For the 2026 U.S.-market Tundra, Toyota lists drive-belt inspections at 60,000, 75,000, and 90,000 miles, followed by later scheduled checkpoints. Replace the belt when inspection finds damage, contamination, rib-material loss, poor tracking, or related tensioner or pulley trouble. Older Tundras can use different schedules and belt layouts, so confirm the guide, engine, and VIN for your exact truck.
Last updated: July 23, 2026 · Checked against the Toyota 2026 Tundra Warranty & Maintenance Guide and current belt-manufacturer inspection guidance. “
By “ · Reviewed against the manufacturer and belt-manufacturer sources listed below.
Quick Answer
Inspect a 2026 Tundra’s drive belt closely at 60,000 miles, then again at Toyota’s 75,000-mile, 90,000-mile, and later scheduled checkpoints. Toyota makes replacement condition-based rather than setting one mandatory mileage. Replace the belt sooner if it has exposed cords, missing rib sections, heavy fraying, glazing, contamination, failed wear-gauge results, poor tracking, or confirmed tensioner or pulley problems.
Key Takeaways
- Use the Toyota maintenance guide for your exact model year; there is no single replacement mileage that applies to every Tundra.
- Modern EPDM serpentine belts may lose rib material without developing heavy visible cracking, so check rib profile, glazing, contamination, edge wear, and pulley fit.
- Inspect immediately if you notice squealing, chirping, belt flutter, a charging warning, changing A/C performance, fraying, or a belt that is walking out of a pulley groove.
- Check the tensioner, idlers, pulley alignment, and fluid leaks whenever a belt is replaced because an unresolved drive-system fault can quickly damage the new belt.
At a Glance
| 2026 Inspection Checkpoints | 60,000, 75,000, and 90,000 miles, followed by later scheduled inspections |
| Time Required | 10–20 minutes for a visible inspection; replacement time depends on engine layout and access |
| Difficulty | Beginner for engine-off visual checks; intermediate for belt removal or replacement |
| Tools Needed | Flashlight, gloves, inspection mirror, EPDM belt-wear gauge, and model-specific hand tools if removing the belt |
| Current Cost Reference | A national estimator listed about $181–$233 for Tundra serpentine-belt replacement when checked July 23, 2026; engine layout, location, taxes, and related repairs can raise the total “ |
Should You Replace the Belt or Stop Driving Now?
Use the belt’s condition and the truck’s symptoms to decide how quickly to act. Mileage alone cannot tell you whether the belt is safe.
| What You Find | Best Action | Why |
|---|---|---|
| Exposed cords, missing rib sections, smoke, severe shredding, belt off a pulley, rising engine temperature, or a charging warning with visible belt trouble | Stop driving and arrange service or towing | The belt may fail completely or may already have stopped driving an important accessory |
| Frayed edge, heavy glazing, oil or coolant contamination, repeated squeal, chirp, flutter, or visible tracking trouble | Schedule diagnosis promptly | The belt, tensioner, pulley alignment, bearing, or a fluid leak may be failing |
| No damage, no unusual noise, proper groove seating, and inspections are current | Continue scheduled monitoring | Toyota uses inspection results rather than one universal replacement mileage |
Who This Guide Helps and What You’ll Learn
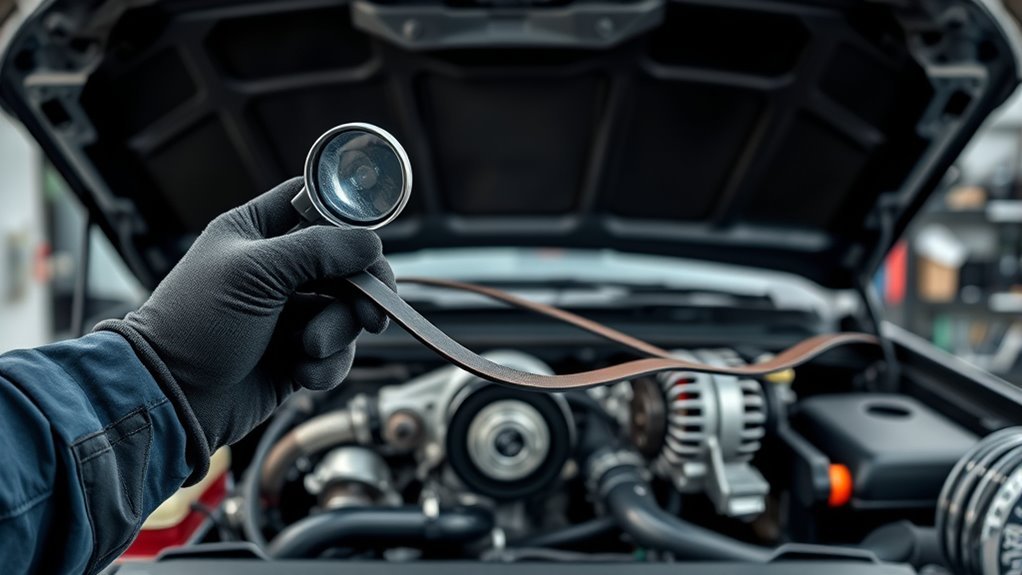
If you own or service a Toyota Tundra, this guide helps you decide when to inspect the external accessory-drive belt, which wear signs require replacement, and when replacing the belt alone is not enough. Depending on model year and engine, a belt may drive the alternator, A/C compressor, water pump, hydraulic steering pump, or other engine accessories.
You’ll learn how to check the ribbed side, smooth back, edges, pulley contact areas, tensioner movement, and belt routing. You’ll also see how severe use changes the inspection plan and when pulley, bearing, alignment, or access problems should be handled by a shop.
Is the Serpentine Belt the Same as a Timing Belt or Chain?
No. The serpentine belt, also called an accessory-drive or V-ribbed belt, runs outside the engine and transfers crankshaft power to external accessories. A timing belt or timing chain synchronizes internal engine timing. The systems have different jobs, locations, service requirements, and failure effects.
| Feature | Serpentine / Drive Belt | Timing Belt or Chain |
|---|---|---|
| Location | Outside the engine around accessory pulleys | Inside or behind the engine’s timing cover |
| Job | Drives external accessories | Keeps the crankshaft and camshafts synchronized |
| Maintenance | Scheduled inspection and condition-based replacement | Depends on the exact engine; some early Tundras use a scheduled timing belt while later engines commonly use a chain |
| Fitment Rule | Verify belt count, rib count, length, routing, engine, and VIN | Verify the exact engine and model year before applying any replacement interval |
For model-year and engine-specific timing-system information, see the Toyota Tundra timing belt versus timing chain guide.
What Is the Toyota Tundra Serpentine Belt Inspection Interval?
Toyota’s model-year maintenance guide is the best starting point because Tundra engines, belt counts, routing, and driven accessories vary. For the 2026 U.S.-market Tundra, the Toyota Tundra Warranty & Maintenance Guide lists drive-belt inspections at 60,000, 75,000, and 90,000 miles, followed by later scheduled checkpoints. Toyota says to inspect the belts for cracks, excessive wear, oiliness, tension, and damage, then replace damaged belts.
That makes 60,000 miles an important first detailed checkpoint for the 2026 model, not a universal replacement deadline. A belt that fails a wear-gauge check at 62,000 miles should be replaced. A clean belt that remains correctly seated and passes inspection may stay in service until the next scheduled check.
For the truck’s complete service rhythm, use the Toyota Tundra maintenance schedule by mileage and confirm it against the owner materials for your model year.
| Situation | Best Action |
|---|---|
| Under 60,000 miles, no symptoms | Do a quick visual check during routine service and follow the Toyota schedule for your model year. |
| Around 60,000 miles | Perform a careful visual inspection and use an EPDM belt-wear gauge where accessible. |
| 75,000 miles and beyond | Inspect at each model-year checkpoint and compare the belt’s condition with prior service records. |
| Unknown belt age or service history | Inspect now instead of waiting for the next mileage milestone. |
| Towing, heat, dust, long idling, or off-road use | Add quick checks between scheduled inspections because heat and contamination can accelerate drive-system wear. |
| Noise, fraying, glazing, missing ribs, contamination, or belt flutter | Inspect immediately and repair the belt, tensioner, pulley, bearing, alignment, or leak problem responsible. |
Mileage-Based Checks
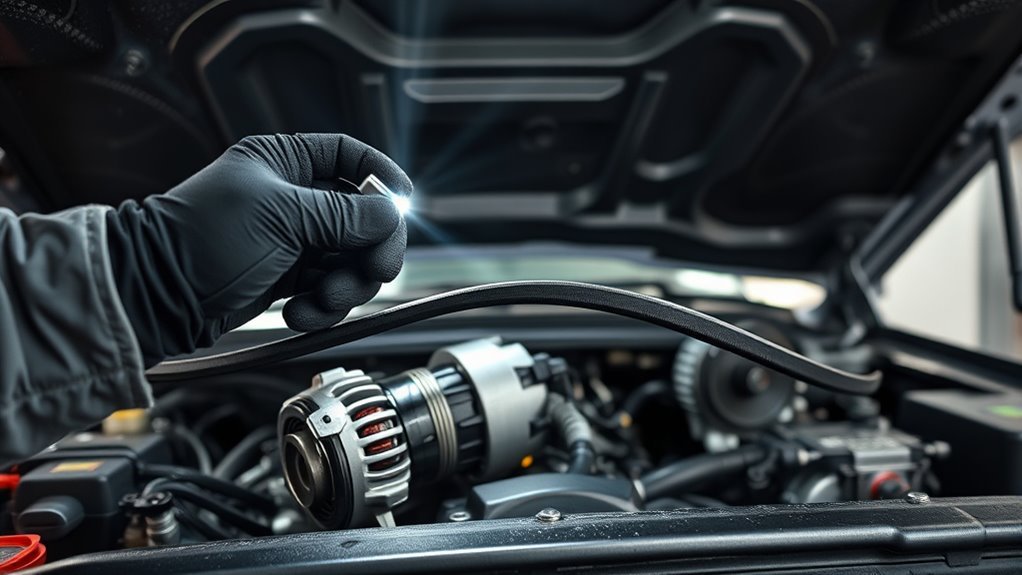
At the first detailed inspection checkpoint, inspect more than the easiest visible section. With the engine off and cool, use a flashlight and mirror to check the ribbed side, smooth back, edges, and sections wrapping around accessible pulleys. Record the mileage, belt condition, and any wear-gauge result so you can compare changes at the next service.
At later checkpoints, the belt’s condition matters more than the odometer by itself. Replace it if the ribs have lost their proper profile, the edges are fraying, cords are exposed, chunks are missing, the surface is heavily glazed, or oil or coolant has softened or swollen the rubber.
Age and Service-History Checks
Low mileage does not prove that a belt is new or serviceable. If the installation date is unknown, the truck has been stored for long periods, or the belt has experienced years of engine-bay heat and contamination, inspect it now rather than waiting for the next mileage checkpoint.
Look for stiffness, surface hardening, rib-material loss, chunking, edge fray, swelling, slick residue, and signs that the belt no longer sits evenly in its pulley grooves.
Fitment Note: Belt count, routing, length, rib count, and access vary by model year and engine. Some 2022-and-later Tundras use two identical accessory belts instead of the single belt used on earlier generations — confirm the count for your exact truck against the parts listing before ordering. “ Belt routing and accessory layout also differ between the 2026 Tundra’s naturally-aspirated, twin-turbo, and hybrid powertrain options. “ Before buying parts or releasing a tensioner, confirm the VIN, engine code, Toyota parts listing, and under-hood routing information for your exact truck.
How Do You Inspect a Tundra Serpentine Belt Safely?
A safe belt inspection starts with a parked, cool truck and a clear view of the belt path. You do not need to remove the belt for every inspection, but you do need enough light to inspect accessible ribs, edges, pulley seating, and the tensioner without reaching near moving parts.
Warning: Never touch, measure, photograph at close range, or reach near the belt with the engine running. Keep hair, sleeves, jewelry, tools, and hands away from all rotating parts. If you lift the truck for access, support it with correctly placed jack stands on solid, level ground; never rely on a floor jack alone.
Tools and Safety Gear
- Flashlight or inspection lamp
- Inspection mirror or phone camera used only while the engine is off and cool
- Gloves and safety glasses
- EPDM belt-wear gauge
- Basic sockets or wrench for an access shield or skid plate if the model-specific procedure requires removal
- Breaker bar or belt-tensioner tool if you are qualified to remove the belt
- Correct replacement belt or belts, matched to the exact VIN and engine
- Under-hood routing diagram or a clear routing photo taken before removal
Access Points and Steps
- Park safely. Put the truck on level ground, set the parking brake, shut the engine off, remove the key or keep the smart key away from the truck, and let the engine cool.
- Confirm the belt layout. Check the under-hood label, Toyota service information, and exact engine application. Do not assume a diagram for another Tundra year is correct.
- Inspect visible belt spans. Use a flashlight to inspect the ribbed surface, smooth back, edges, and the way the belt sits in accessible pulley grooves.
- Measure EPDM wear. Use the correct belt-wear gauge on an accessible straight ribbed section. Follow the gauge manufacturer’s instructions.
- Inspect the tensioner visually. Check for an out-of-range indicator, obvious misalignment, corrosion, leakage from a damped unit, or signs that the arm has been contacting its stop.
- Check pulleys only if the belt is safely removed. A qualified person should check for rough bearings, grinding, wobble, looseness, groove damage, and contamination.
- Confirm routing before restart. After replacement, make sure every rib sits in the correct groove, remove all tools, and start the engine only after everyone is clear. Observe tracking from a safe distance without reaching into the engine bay.
How Do You Spot Early Serpentine-Belt Wear?
A worn serpentine belt does not always develop obvious cracks. Modern EPDM-rubber belts can resist visible cracking even as their ribs steadily lose material — Gates’ own accessory-drive technical guidance treats rib-material loss and belt-to-pulley fit as more reliable wear indicators than surface cracking alone, which is why a gauge-based check matters more than an eyeball scan for cracks. Check for these signs:
- Rib-material loss: Rib tips or grooves look rounded, shallow, widened, or uneven when checked with the correct wear gauge.
- Missing ribs or chunks: Any missing belt section warrants replacement.
- Exposed cords: Visible reinforcing material means the belt is no longer serviceable.
- Glazing: A shiny, slick surface can indicate slipping, heat, contamination, or poor tension.
- Edge fraying: Frayed edges may point to misalignment, a damaged pulley, wrong belt fitment, or poor tracking.
- Oil or coolant contamination: Swelling, softness, or slick residue means the leak must be repaired and the contaminated belt replaced.
- Cracks: Deep, frequent, or spreading cracks remain important, especially when paired with rib loss or other damage.
- Noise or vibration: Squeal, chirp, flutter, or slap can come from the belt, tensioner, idlers, accessory bearings, or pulley alignment.
Pro Tip: Use a belt-wear gauge designed for the belt profile instead of relying on visible cracks alone. Record the result and mileage so the next inspection shows whether wear is progressing.
When Should You Replace the Belt, Tensioner, or Pulleys?
Replace the belt if it has exposed cords, missing ribs, chunking, heavy fraying, oil or coolant damage, failed wear-gauge results, severe glazing, or repeated slipping after the full accessory drive has been checked. Do not install a new belt on a faulty drive system and expect it to last.
Inspect the tensioner, idlers, driven pulleys, accessory bearings, alignment, and nearby fluid leaks whenever the belt is replaced. A weak tensioner can allow slip, a rough bearing can create heat, and a wobbling or misaligned pulley can shred the edge of a new belt.
| Part | Inspect For | Replace or Repair When |
|---|---|---|
| Belt | Rib loss, cracks, glazing, fraying, exposed cords, contamination, missing chunks | It fails inspection, no longer seats correctly, or is physically damaged |
| Tensioner | Weak spring force, noisy bearing, misalignment, excessive movement, out-of-range indicator | It cannot maintain correct tension or its pulley or pivot is rough, loose, or damaged |
| Idler pulleys | Grinding, wobble, looseness, rough rotation, groove or surface damage | A pulley is noisy, loose, rough, damaged, or misaligned |
| Driven accessories | Bearing noise, pulley wobble, damaged grooves, fluid leakage, resistance or seizure | The accessory fault is causing belt slip, tracking trouble, contamination, or repeated belt damage |
[Products Worth Considering]
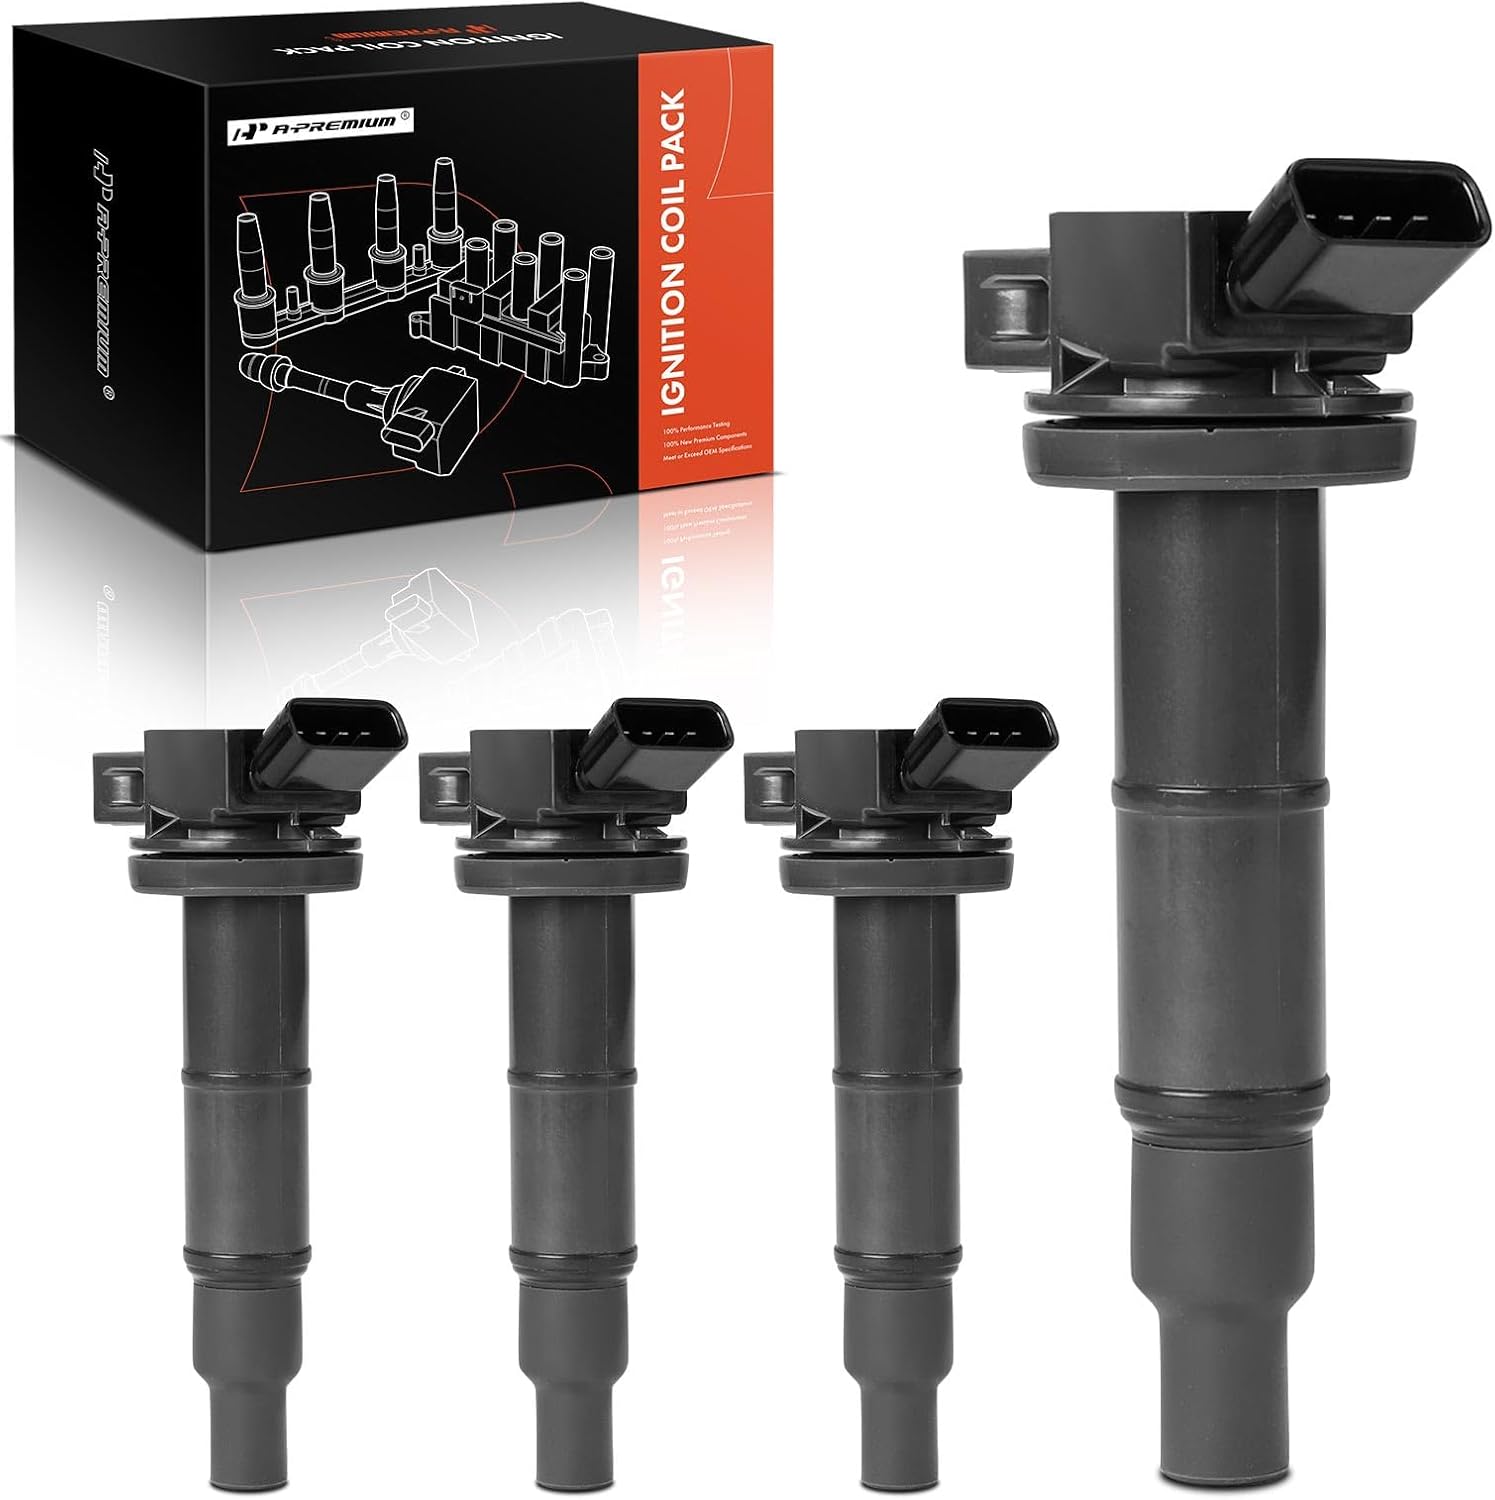
This A-Premium ignition coil pack set helps restore smooth engine performance, reliable starting, and consistent spark delivery for a range of Toyota, Scion, and Pontiac vehicles. Designed for broad fitment across multiple models and engine sizes, it is a practical replacement for worn or failing coils. The set includes four coil packs with OEM-cross reference compatibility and straightforward bolt-on installation.
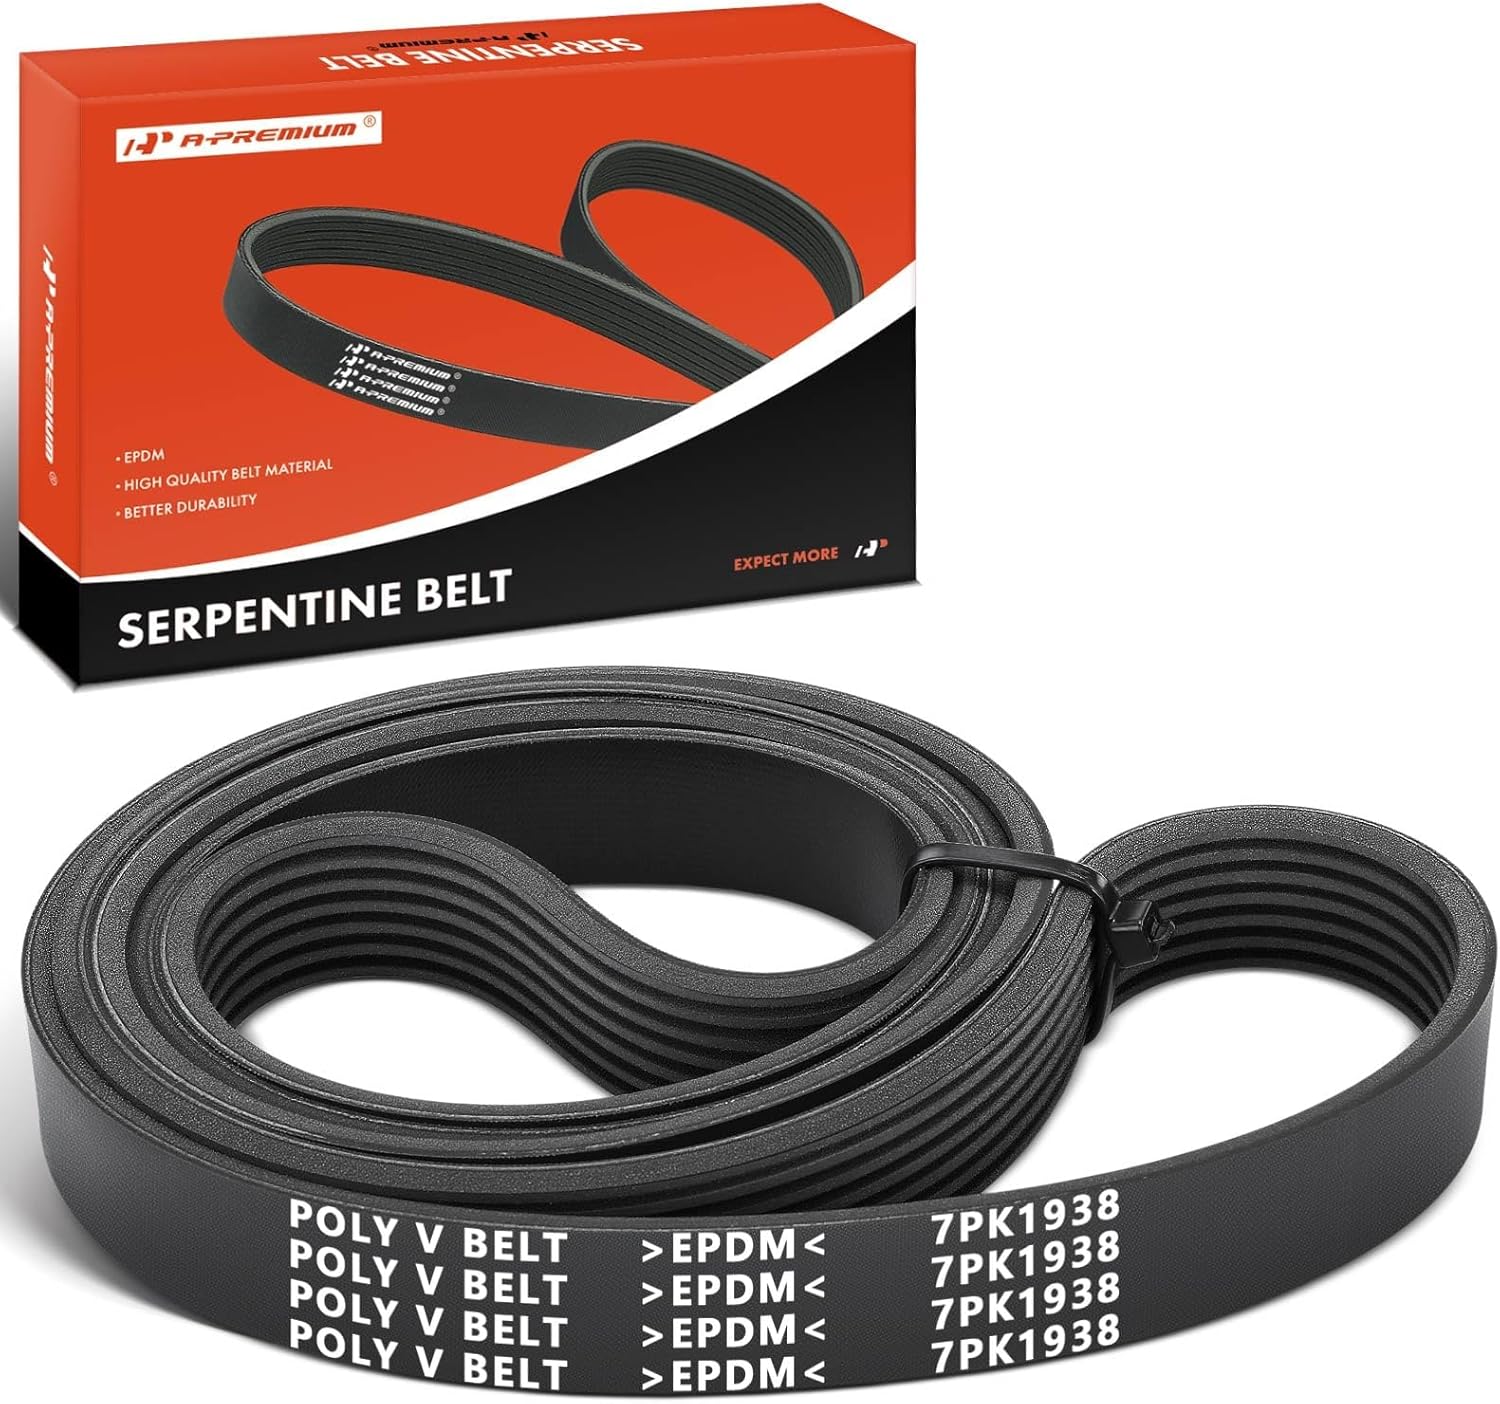
This A-Premium serpentine belt is designed to deliver dependable drive performance for compatible Toyota and Scion vehicles with exact-fit sizing for smooth operation. Built with premium EPDM and polyester cord construction, it helps resist cracking, reduce noise, and maintain stable tension in demanding engine conditions. It is a practical replacement choice for restoring reliable accessory drive performance and long-term confidence.
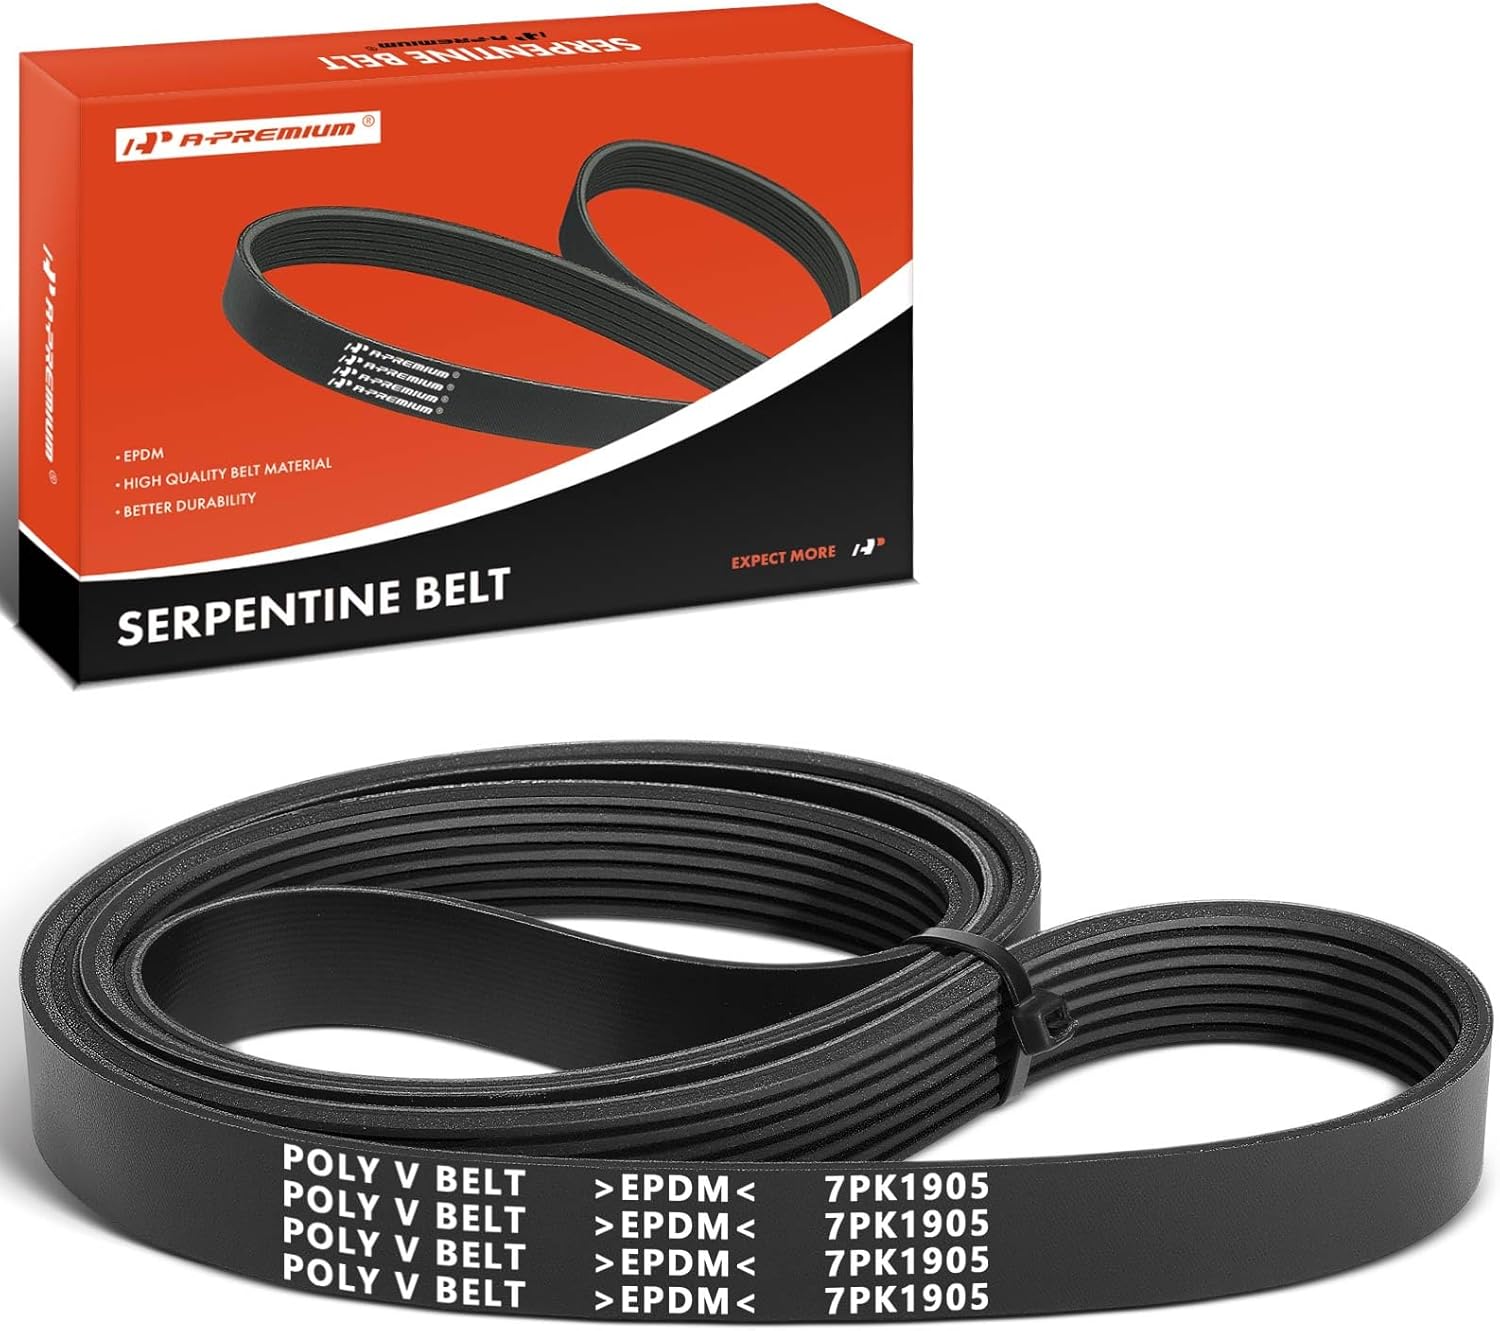
This A-Premium serpentine belt is engineered for select Toyota, Scion, and Pontiac vehicles with the L4 2.4L gas engine, delivering dependable air conditioning drive performance. Made with durable EPDM and precision dimensions, it helps resist cracking, reduce noise, and maintain stable tension for smooth operation. It's designed for straightforward installation and backed by a one-year unlimited-mileage guarantee for added confidence.
Do Towing, Dust, and Heat Shorten Tundra Belt Life?
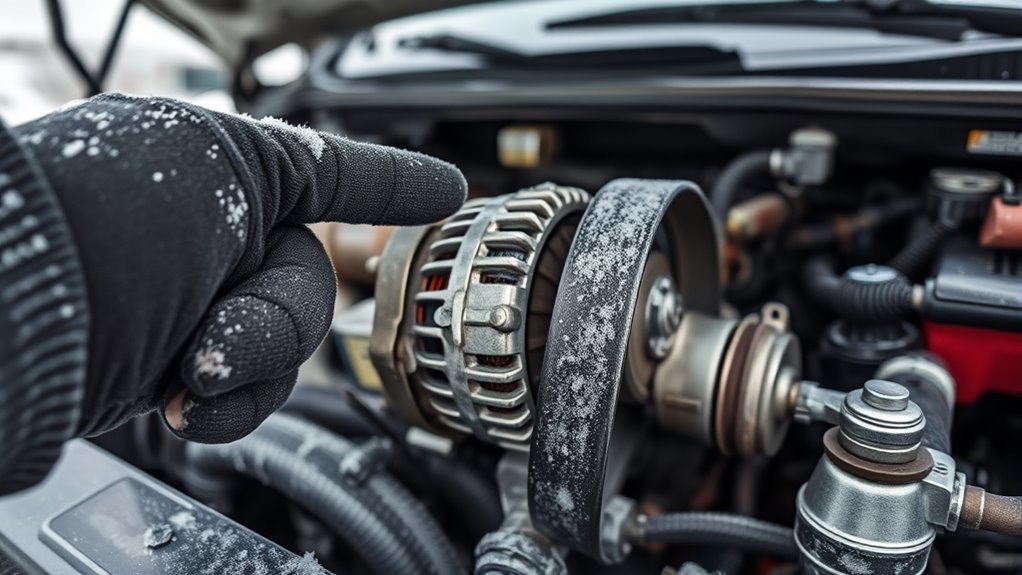
Towing, repeated heavy loads, high engine-bay temperatures, off-road dust, desert use, and long idling can justify more frequent visual checks. Dust and grit can wear belt ribs and pulley surfaces, while heat and contamination can harden, soften, or glaze the belt. Heavy accessory demand can also make a marginal tensioner or slipping belt more noticeable.
If your Tundra regularly tows, idles in high heat, or travels on dusty roads, add a quick engine-off belt check between Toyota’s scheduled detailed inspections.
Before a towing trip or long drive, check for fraying, contamination, missing rib material, poor seating, and unusual noise. If you are already inspecting tires, cooling-system condition, trailer wiring, and driveline fluids, add the belt and visible tensioner components to the same pre-trip checklist.
How Much Does Tundra Serpentine-Belt Replacement Cost?
A visual inspection costs little if you already have a flashlight and basic safety equipment. Replacement cost depends on the model year, engine, belt count, access, local labor rate, and whether the tensioner, pulleys, accessory bearings, or a contaminating leak also need repair.
RepairPal’s Toyota Tundra estimate listed a national range of about $181–$233 when checked July 23, 2026. “ That estimate may exclude taxes, fees, diagnostic work, location differences, and related repairs. Some 2022–2026 estimates shown by the service were higher than the overall model range.
DIY replacement may make sense when the correct model-specific procedure provides clear access and you can control the tensioner safely. Use a shop if the belt path is crowded, more than one belt is involved, a pulley wobbles, the tensioner is noisy or heavily oscillating, or the belt repeatedly walks out of a groove.
Ask for an itemized estimate separating the belt, labor, tensioner, idlers, accessory repairs, leak repair, taxes, shop supplies, and warranty. Ask the technician to identify the old belt’s defect and the root cause rather than replacing the belt without diagnosing repeated wear.
[Products Worth Considering]

This long-neck automotive funnel makes pouring oil, gas, and lubricants cleaner and easier from different angles. Its wide neck and raised sides help reduce spills, dirt entry, and leaks, while the flexible, reusable plastic design stands up to regular use. Sized for convenient handling, it’s a practical tool for routine vehicle maintenance across cars, trucks, and SUVs.

[Vehicle Fitment]: 7-rib serpentine belt direct OEM replacement, fits Toyota Tacoma 2005-2015, 4Runner, FJ Cruiser, Tundra 4.0L gas models; also compatible with Land Rover Range Rover & Audi A8 Quattro W12 6.3L. All Model fit Gas Only. Precisely matched accessory drive position to avoid installation misalignment
What Is a Practical Tundra Belt-Maintenance Plan?
A useful maintenance plan combines quick routine checks with detailed inspections at Toyota’s model-year checkpoints. Do not wait for a charging warning, loss of an accessory, or loud squeal before looking at the drive system.
| When | What to Do |
|---|---|
| During routine service | Do a quick engine-off visual check for fraying, glazing, contamination, missing ribs, and poor tracking. |
| At the model-year inspection checkpoint | Perform a detailed inspection with a flashlight, mirror, service records, and a compatible EPDM belt-wear gauge. |
| Before towing or long trips | Check belt condition, visible tensioner alignment, groove seating, and any recent noise or warning-light history. |
| Any time noise or belt movement appears | Diagnose the belt, tensioner, idlers, driven accessories, leaks, and pulley alignment before replacing parts blindly. |
| When replacing the belt | Verify exact fitment and routing, inspect related components, seat every rib correctly, and confirm smooth tracking from a safe distance after startup. |
Useful garage or travel items may include:
- Correct spare belt or belts verified for the exact engine and VIN
- Printed or photographed belt-routing information
- Correct tensioner tool, wrench, or socket for the model-specific procedure
- Flashlight, gloves, and safety glasses
- Basic socket set
- Small inspection mirror
- Compatible EPDM belt-wear gauge
A spare belt is useful only if you also know why the old belt failed. Do not install a spare over a seized, wobbling, misaligned, or leaking component.
What Do Tundra Belt Noises and Symptoms Mean?
Noise is a clue, not a final diagnosis. Squeal, chirp, flutter, or slap may come from the belt, but it can also be caused by poor tension, contamination, pulley misalignment, a rough bearing, or a driven accessory problem.
| Symptom | Possible Cause | What to Check |
|---|---|---|
| Squeal at start-up | Slip, poor tension, glazed belt, contamination, moisture, or accessory resistance | Belt surface, tensioner condition, contamination, accessory pulleys, and alignment |
| Chirping that changes with engine speed | Pulley misalignment, groove damage, or rib-tracking trouble | Belt-edge wear, pulley faces, groove seating, and pulley wobble |
| Charging warning or low charging output | Belt slip, belt failure, alternator-drive trouble, alternator fault, or electrical problem | Visible belt path, belt condition, tensioner, charging system, terminals, and wiring |
| A/C performance changes with belt noise | Belt slip, pulley or clutch trouble, bearing resistance, or another A/C-system fault | Belt condition, pulley behavior, tensioner, and model-specific belt layout |
| Belt-edge shredding | Misalignment, damaged pulley, wrong belt, improper seating, or bearing movement | Routing, part number, rib count, pulley wobble, grooves, and tensioner alignment |
| Belt flutter or slapping | Weak or damaged tensioner, accessory resistance, pulley trouble, or incorrect belt fitment | Tensioner movement, belt length, pulley bearings, driven accessories, and routing |
Use a qualified shop when the belt repeatedly moves out of a groove, a pulley visibly wobbles, the tensioner oscillates heavily, a bearing grinds, the belt has broken without an obvious cause, or safe access requires removing major shields or components.
Frequently Asked Questions
How often should I change the serpentine belt in a Toyota Tundra?
There is no single replacement mileage that fits every Tundra. For the 2026 model, Toyota schedules drive-belt inspections at 60,000, 75,000, and 90,000 miles and at later checkpoints. Replace the belt when inspection finds damage, contamination, failed wear-gauge results, poor tracking, or confirmed belt-drive trouble.
How long does a Toyota serpentine belt last?
A serpentine belt has no guaranteed service life because heat, contamination, alignment, pulley condition, tensioner performance, storage, and driving conditions affect wear. Follow the Toyota schedule for your model year and replace the belt when condition shows it is no longer serviceable.
Can a serpentine belt last 200,000 miles?
A belt may remain installed for very high mileage, but 200,000 miles is not a safe maintenance target. An EPDM belt can lose rib material without heavy visible cracking. Inspect it on schedule and replace it when wear, damage, contamination, or drive-system trouble appears.
Is belt squeal always caused by a bad serpentine belt?
No. A worn or glazed belt can squeal, but poor tension, contamination, pulley misalignment, a rough bearing, accessory resistance, or incorrect belt fitment can cause similar noise. Diagnose the complete accessory-drive system before replacing only the belt.
Can I drive with a bad serpentine belt?
Do not keep driving if the belt is shredding, smoking, missing rib sections, off a pulley, or accompanied by a charging warning or rising engine temperature. Belt-driven accessories vary by engine and model year, so arrange service rather than testing how long the truck will continue running.
Do all Toyota Tundras use the same serpentine-belt setup?
No. Belt count, length, routing, rib count, driven accessories, and access vary by model year and engine — some later-generation Tundras use two identical accessory belts instead of one. Verify the VIN, engine code, Toyota parts listing, under-hood routing information, and correct service procedure before ordering or removing a belt.
Is a serpentine belt the same as a timing belt?
No. The serpentine belt runs outside the engine and drives accessories. A timing belt or timing chain synchronizes internal engine timing. Some early Tundra engines use a scheduled timing belt, while many later engines use a timing chain, so identify the exact engine before applying any timing-system interval.
Is serpentine-belt replacement covered under Toyota’s warranty?
Scheduled belt inspections are a maintenance item, and routine wear items like belts are typically not covered once they reach a normal-wear replacement point — but coverage details can vary by warranty type and timing of failure. Confirm current terms directly with the Toyota warranty and owner materials for your truck. “
Conclusion
Toyota does not set one serpentine-belt replacement mileage for every Tundra. Use the maintenance guide for your exact model year, inspect closely at the listed checkpoints, and replace the belt when condition shows damage or excessive wear. Look beyond cracks: rib-material loss, exposed cords, glazing, fraying, contamination, groove seating, tensioner condition, pulley alignment, and bearing health all matter.
If the belt’s age or service history is unknown, inspect it now. Stop driving if it is shredding, smoking, off-track, or accompanied by a charging warning or rising engine temperature. When replacement is needed, correct the tensioner, pulley, bearing, alignment, or fluid-leak problem that caused the wear before trusting the new belt.
How This Guide Was Checked
The 2026 inspection checkpoints and Toyota’s drive-belt inspection criteria were checked against the Toyota 2026 Tundra Warranty & Maintenance Guide. EPDM wear and belt-gauge guidance were checked against Gates and Dayco technical material. The replacement-cost reference was checked July 23, 2026.
This article does not claim a hands-on inspection of your truck. Exact belt count, routing, tool access, driven accessories, and replacement procedure must be confirmed using the VIN, engine, owner materials, Toyota parts information, and model-specific service instructions.
Sources
- Toyota 2026 Tundra Warranty & Maintenance Guide — official drive-belt inspection schedule and maintenance-item description.
- Toyota Manuals and Warranties — official model-year owner-manual and maintenance-guide lookup.
- Gates Accessory Belt Drive System Tech Tip — EPDM belt material loss, pulley fit, 60,000-mile checks, and wear-gauge guidance.
- Dayco Serpentine Belt Inspection — EPDM rib-profile wear and inspection guidance.
- RepairPal Toyota Tundra Serpentine Belt Replacement Cost — dated national cost estimate checked July 23, 2026.
- Toyota Genuine Parts — model and vehicle-specific parts lookup.