

You can reset the Maintenance Required light on a Toyota 4Runner in a few minutes after you complete the oil change or scheduled service. For most 2010–2024 5th-gen 4Runner models, display Trip A, turn the ignition off, hold the trip/reset button, then switch the ignition to ON without starting the engine until the oil-maintenance reset message finishes.
Quick Answer
To reset a 2010–2024 Toyota 4Runner maintenance light, set the dash to Trip A, turn the vehicle off, press and hold the trip/reset button, then turn the ignition to ON without starting. Keep holding until the reset countdown or “Resetting oil maintenance data” message completes.
Key Takeaways
- Reset the light only after you complete the oil change or scheduled maintenance.
- Most 2010–2024 5th-gen 4Runner models use the Trip A and trip/reset-button method.
- Push-button models require your foot off the brake so the engine does not start during the reset.
- Older 2003–2009 models may use the odometer display instead of Trip A.
- If red warning lights, oil pressure alerts, or check-engine warnings stay on, diagnose the problem instead of only resetting the reminder.
At a Glance
| Time Required | 1–3 minutes |
| Difficulty | Easy |
| Tools Needed | No tools for the basic reset; an OBD-II scanner may help if other warning lights remain |
| Cost | Free if the maintenance work is already complete |
Warning: The maintenance reminder is not the same as an oil-pressure, battery, brake, or check-engine warning. If a red warning light appears, the engine sounds abnormal, or you see leaks, stop and diagnose the issue before driving.
What the Maintenance Required Light Means
The Maintenance Required light on a 4Runner is mainly a scheduled-service reminder. It usually appears around a mileage interval to remind you that routine maintenance, such as an oil change, tire rotation, or inspection, may be due.
Resetting the reminder does not change the oil, repair a fault, or clear a true diagnostic trouble code. It only clears the maintenance interval message. For exact model-year instructions, use Toyota’s official manuals and warranties page and select your 4Runner year.
For 2025 and newer 4Runner models, check the owner’s manual before using the older Trip A method. Toyota introduced the all-new sixth-generation 4Runner for 2025, so some cluster menus and prompts may differ from 2010–2024 models.
Before You Start
- Park on a level surface.
- Confirm the oil change or scheduled service is complete.
- Close the doors so warning chimes do not distract you.
- Keep your foot off the brake on push-button models.
- Do not start the engine during the reset sequence.
- Use the trip/reset button near the instrument cluster to display Trip A on most 2010–2024 models.
Note: Toyota uses model-specific owner’s manuals. If your dash menu, button label, or reset message differs from the steps below, follow the manual for your exact model year.
Quick 5-Step Overview: Reset Maintenance Light on a 5th-Gen 4Runner

Use this overview for most 2010–2024 Toyota 4Runner models. The wording on the screen may vary, but the basic sequence is the same: select Trip A, turn the ignition off, hold the trip/reset button, then turn the ignition back to ON without starting.
- Display Trip A. Turn the ignition to ON without starting, then press the trip/reset button until Trip A appears.
- Turn the vehicle off. On push-button models, press the start button once to power down.
- Hold the trip/reset button. Keep steady pressure on the button.
- Switch ignition to ON. For push-button models, press the start button twice without touching the brake. For key-start models, turn the key to ON without starting.
- Wait for the reset to finish. Keep holding the button until the countdown, progress bar, or oil-maintenance reset message completes, then release the button.
Start the engine after the reset and confirm the maintenance reminder is gone. If the message remains, repeat the steps slowly and make sure Trip A was displayed before you turned the vehicle off.
[Products Worth Considering]

The GEARWRENCH Professional Bi-Directional Diagnostic Scan Tool brings OE-level diagnostics to your smart device for efficient troubleshooting and repair. It offers full bi-directional control, live actuation testing, live data mapping, freeze frame capture, and support for 23 reset and relearn functions to help technicians complete complex jobs with confidence. With software updates included, broad vehicle coverage, and a two-year warranty, it delivers powerful shop-ready capability without ongoing fees.

This Yuirote universal car motor diagnostic tool helps drivers quickly detect engine fault codes and identify system issues for routine inspections and maintenance. It also supports electronic parking brake reset and emergency release functions, making it useful for handling EPB-related problems without a repair shop visit. Its compact, ergonomic design and broad vehicle compatibility make it a practical choice for car owners and DIY repair enthusiasts.

This GM TPMS relearn tool helps reset tire sensors, clear warning lights, and match tire positions after rotation quickly at home. Designed for Chevrolet, GMC, Cadillac, and Buick vehicles, it offers one-button operation, fast activation, and broad compatibility with many GM models. It is best suited for OE/OEM sensors and includes paper instructions plus video guidance for easier DIY use.
Step-by-Step: Push-Button Start 4Runner Reset
Use this method if your 4Runner has a push-button start. The most important detail is keeping your foot off the brake. If you press the brake, the engine may start instead of entering ignition-on mode.
[Products Worth Considering]

The MOTOPOWER MP69033 is a compact OBD2 scanner designed to help drivers quickly diagnose check engine issues and understand vehicle fault codes. It offers a range of practical functions including code reading and clearing, live data, freeze frame, vehicle information, and I/M readiness, all displayed on a clear LCD screen. Compatible with many OBD II and CAN vehicles, it is a convenient plug-in tool for routine engine diagnostics and basic troubleshooting.

The ANCEL AD310 is a compact, easy-to-use OBD II code reader designed to help drivers quickly identify check engine light causes, read and clear fault codes, and review key vehicle data. It supports major OBD2 protocols and works with many 1996-and-newer cars, light trucks, SUVs, and other OBD2 vehicles. Built for fast diagnostics at home or on the go, it runs directly from the vehicle and provides clear results on a large screen.
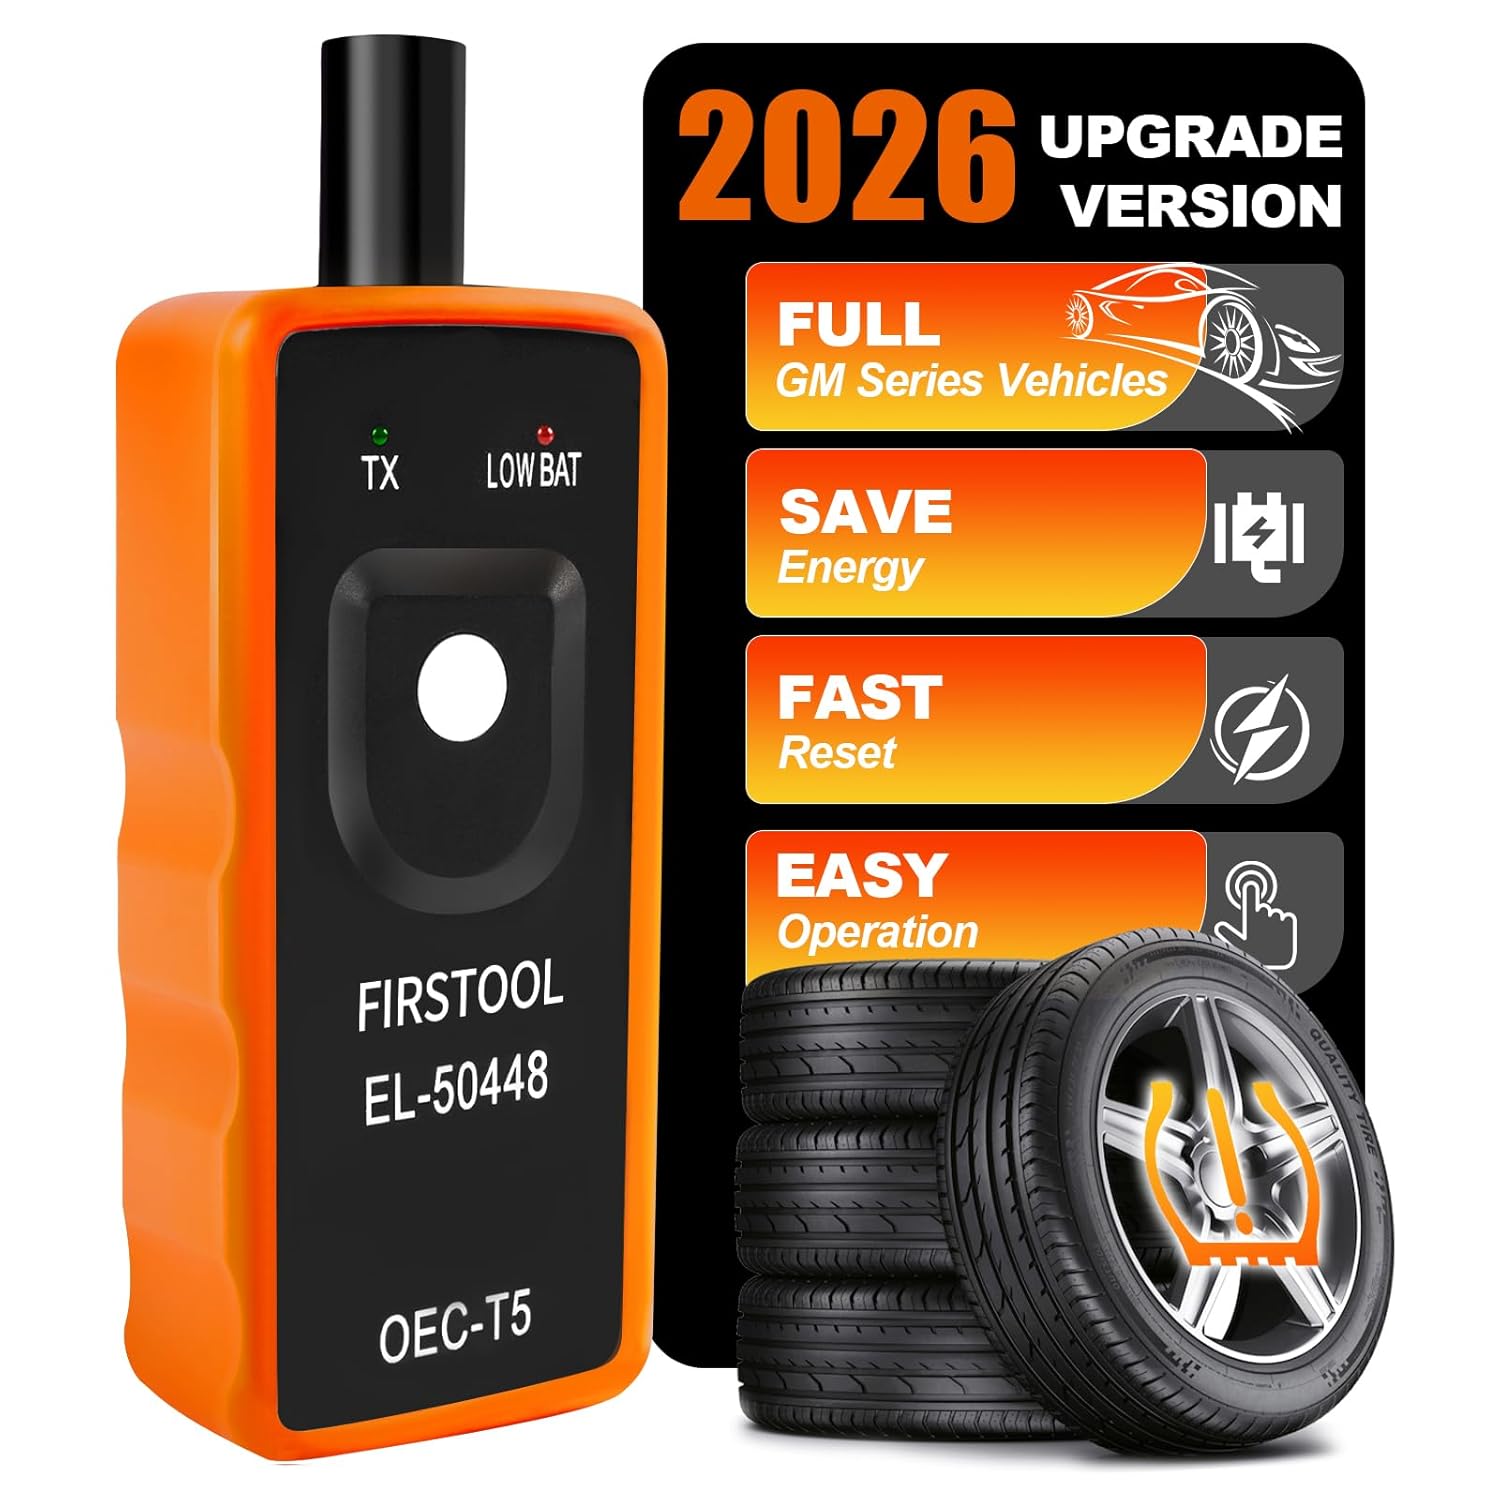
This EL-50448 TPMS relearn tool helps quickly activate and reset tire pressure sensors so your vehicle’s monitoring system stays accurate after tire rotations, sensor replacement, or seasonal tire changes. Designed for many GM-related vehicles and compatible with common 315 and 433 MHz TPMS systems, it offers simple one-button operation and reliable performance for clearing warning lights and relearning sensor positions.
Trip A Preparation
Press the start button twice without pressing the brake. The dash should turn on while the engine stays off. Use the trip/reset button to cycle the display until Trip A appears. Once Trip A is visible, press the start button once to turn the vehicle off.
- Foot off the brake
- Dash powered on
- Trip A visible on the cluster
- Engine not running
- Vehicle powered off before the reset sequence begins
Reset Procedure Steps
| Step | Action | Confirmation |
|---|---|---|
| 1 | Display Trip A, then power the vehicle off. | Trip A was visible before shutdown. |
| 2 | Press and hold the trip/reset button. | Button stays pressed. |
| 3 | Press the start button twice with your foot off the brake. | Dash turns on, engine stays off. |
| 4 | Keep holding until the reset message, countdown, or progress bar finishes. | Maintenance reminder clears. |
| 5 | Release the button and start the engine. | Message no longer appears. |
Pro Tip: If the reset fails, do not rush the second attempt. Turn the vehicle fully off, confirm Trip A again, then hold the button before powering the dash back on.
Key-Start 4Runner Reset Steps
Use this method if your 4Runner uses a traditional ignition key. It applies to many 5th-gen models and is similar to the push-button method, but you turn the key instead of pressing the start button.
- Turn the key to ON without starting the engine.
- Press the trip/reset button until Trip A appears.
- Turn the key back to OFF.
- Press and hold the trip/reset button.
- While holding the button, turn the key to ON without starting.
- Keep holding until the reset countdown or oil-maintenance message completes.
- Release the button, start the engine, and confirm the maintenance reminder is gone.
Reset Methods for Other Models: Analog, Multi-Information Display, and 4th-Gen
The reset method can change by model year and instrument cluster. Use this section when your dash does not match the 2010–2024 Trip A process.
- 2003–2009 4th-gen 4Runner: Many models use the odometer display instead of Trip A. Set the display to ODO, turn the key off, hold the trip/reset button, then turn the key to ON and hold until the indicator resets.
- Analog cluster models: Use the physical trip/reset button and wait for the dash countdown or blinking sequence to finish before releasing.
- Multi-information display models: Some Toyota vehicles use a settings menu for scheduled maintenance or oil maintenance. Check the vehicle settings menu if the Trip A method does not match your cluster.
- 2025+ 4Runner: Because the 2025 model introduced a new generation with updated technology, confirm the reset flow in the owner’s manual for your exact model year.
Troubleshooting: Maintenance Light Won’t Reset
If the MAINT light will not reset, the cause is usually a missed step. The most common problems are using the wrong display, starting the engine by accident, or releasing the trip/reset button too early.
| Problem | Likely Cause | Fix |
|---|---|---|
| No reset message appears | Trip A or ODO was not selected first | Turn the dash on, select the correct display, then restart the sequence. |
| Engine starts during reset | Brake pedal was pressed on a push-button model | Keep your foot off the brake and press the start button twice. |
| Countdown starts but fails | Button was released too soon | Hold the button until the countdown, bar, or message fully completes. |
| Light returns right away | Service interval was reset incorrectly or another alert is active | Repeat the reset, then check for other warning lights. |
| Trip button does not respond | Sticky or faulty button | Try gentle repeated presses. If it still fails, have the switch inspected. |
If other alerts remain, do not keep resetting the reminder. Toyota’s warning lights guide explains that red icons need immediate attention, while yellow icons usually mean an important condition needs review.
[Products Worth Considering]
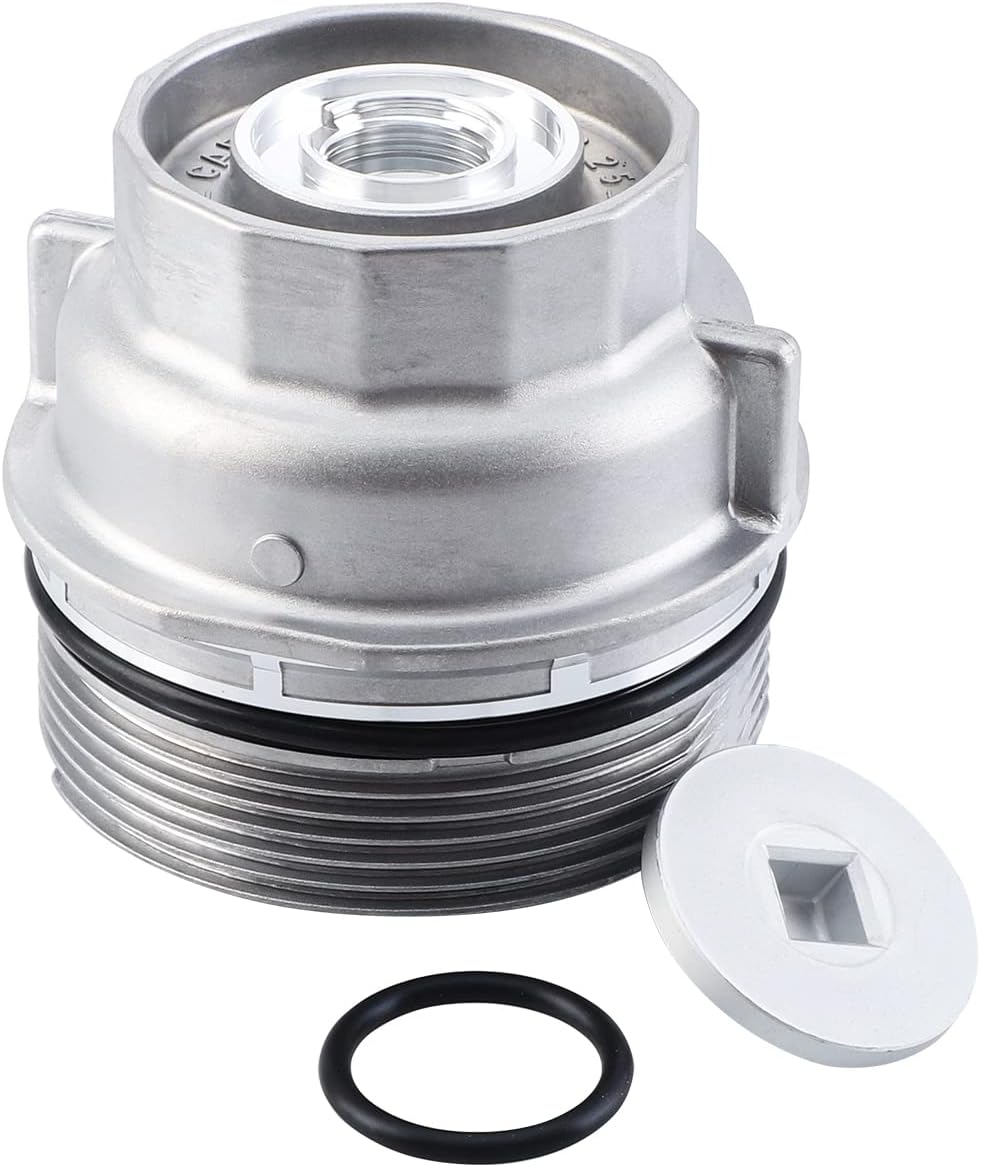
This oil filter housing cap assembly is designed as a replacement for select Toyota and Lexus vehicles, helping restore proper sealing and reliable oil filter function during routine maintenance. Built to meet OEM standards, it supports leak-free performance and long-lasting durability while fitting a wide range of popular models across multiple years.

The XTOOL A30M V2.0 is a wireless OBD2 diagnostic scanner built for DIYers and home mechanics who want full-system coverage, active tests, and broad reset support in one portable tool. It offers lifetime free updates, bidirectional control, and up to 8 live data streams for faster troubleshooting, plus compatibility with many vehicles including newer FCA and GM models. With multilingual support and mobile app connectivity for Android and iOS, it helps simplify maintenance and diagnostics without subscription fees.

This A-Premium cartridge engine oil filter is designed for a wide range of Toyota and Lexus vehicles, helping support cleaner oil flow and dependable engine protection. With high filtration efficiency and included O-rings, it offers a practical replacement solution for routine maintenance. Built for extended service intervals, it is suitable for conventional or synthetic oil applications.
After the Reset: Log Service and Next Oil Due

After the reset, log the service right away. Record the date, odometer reading, oil type, oil filter, technician or shop name, and any parts used. Keep the receipt in a glove-box folder or scan it into a maintenance app.
Set your next reminder by mileage and date. Toyota maintenance intervals can vary by model year, driving conditions, and maintenance schedule, so confirm the correct interval in your Warranty & Maintenance Guide. ToyotaCare and Toyota maintenance resources are built around factory scheduled maintenance, which makes accurate records helpful for warranty, resale, and future service planning.
- Date of service
- Odometer reading
- Oil viscosity and filter part number
- Shop or technician name
- Receipt or invoice number
- Next service mileage and target date
When to See a Mechanic and Common Warning Lights
A maintenance reminder reset is safe only when you are clearing a routine service message after the work is complete. It is not a repair for warning lights, abnormal noises, leaks, overheating, charging problems, or drivability issues.
When to Seek Help
See a mechanic if the maintenance light stays on after several careful reset attempts, the trip/reset button does not work, or another warning light appears at the same time. You should also get help if you notice oil leaks, burning smells, engine knocking, loss of power, or repeated alerts before the normal service interval.
- Persistent check-engine light
- Oil pressure warning
- Battery or charging warning
- Brake system warning
- Coolant temperature warning
- Multiple warning lights at the same time
Identifying Serious Warnings
Color matters. A yellow or amber indicator often means the vehicle needs attention soon, but a red warning light can mean you should stop safely and address the issue immediately. Low oil pressure, overheating, brake warnings, and charging-system problems can lead to serious damage or safety risks if ignored.
Common Dashboard Symbols
- Maintenance Required: routine service reminder, usually not an emergency by itself.
- Check Engine: diagnostic scan needed, especially if flashing or paired with rough running.
- Oil Pressure: stop safely and check the engine oil situation immediately.
- Battery: charging system may not be working properly.
- TPMS: check tire pressure and inspect for punctures or pressure loss.
- Brake Warning: check parking brake status first, then seek service if it remains on.
Frequently Asked Questions
Will resetting the maintenance light affect my warranty?
Resetting the maintenance light by itself should not affect warranty coverage. The important part is keeping proof that the required service was completed. Save receipts, note mileage, and follow the maintenance schedule for your exact model year.
Does the reset erase service history from the vehicle computer?
No. The basic maintenance reminder reset clears the interval message. It does not erase dealership records, your paper receipts, or diagnostic trouble codes stored for separate faults.
Can I reset the 4Runner maintenance light with a phone app?
Most owners should not expect to reset this reminder remotely with a phone app. Use the in-vehicle reset process or a compatible diagnostic tool if your model and tool documentation specifically support maintenance reset functions.
Will disconnecting the battery reset the maintenance light?
Do not use battery disconnection as your normal reset method. It can erase clock settings, radio presets, and useful diagnostic information. The Trip A reset method is cleaner and safer for routine maintenance reminders.
Is there a fuse for the maintenance required light?
No. The maintenance reminder is controlled through the vehicle’s electronic systems, not by a dedicated fuse you can pull. Use the proper reset sequence or consult the owner’s manual if the display behaves differently.
Why does the light come back after I reset it?
The reset may not have completed, the wrong display may have been selected, or another warning may be active. Repeat the steps with Trip A selected, hold the button until the reset finishes, and check for other dash alerts.
Conclusion
Resetting the 4Runner Maintenance Required light is simple once you know which display and ignition sequence your model uses. For most 2010–2024 5th-gen models, Trip A plus the trip/reset button clears the oil-maintenance reminder after service.
Do not use the reset as a substitute for maintenance. Log the oil change, save your receipt, set the next reminder, and check the owner’s manual for your exact model year. If other warning lights stay on, diagnose the vehicle before driving normally.
Sources
- Toyota Manuals and Warranties — official Toyota owner’s manual and warranty access by vehicle.
- Toyota Warning Lights — official guidance on dashboard warning light colors and owner’s manual use.
- ToyotaCare and Maintenance Plans — Toyota factory scheduled maintenance plan information.
- Toyota USA Newsroom: 2025 Toyota 4Runner — confirms the all-new sixth-generation 2025 4Runner and updated technology.



[…] vehicle health systems. They are designed to make ownership easier, not to replace safe driving, routine maintenance, or checking the owner’s manual for your exact […]
[…] The maintenance reminder does not test oil quality or inspect your brakes. It is a reminder system. If you tow, drive […]
[…] For newer Tacomas or engine-swapped trucks, confirm by VIN, engine code, or your Toyota owner and maintenance […]
[…] consider your service interval. Severe service, such as repeated short trips, extreme heat, dusty roads, towing, or long idling, […]