Affiliate disclosure: As an Amazon Associate, AutoReviewNest earns from qualifying purchases. This does not affect the price you pay.
What’s in This Article
- Diagnose the Symptom Before Removing Parts
- Estimated Time and Skill Level
- What You’ll Need Before You Begin
- Identify a Manual or Powered Tailgate System
- How to Open a Tundra Tailgate That Is Stuck Closed
- Is the Problem the Handle Linkage or a Side Latch?
- How to Remove a Tundra Tailgate Inner Panel Safely
- Inspect the Handle Linkage and Side Latches
- Clean Latch Grooves and Remove Debris
- How to Reconnect Clips and Rods Step by Step
- Test the Latch and Handle After Repairs
- Common Mistakes That Can Make the Tailgate Worse
- When to Replace Parts and Common Failing Components
- When to Call a Pro and What to Expect
- Frequently Asked Questions
If your Toyota Tundra tailgate won’t open, don’t force the handle. The fault usually falls into one of four areas: the tailgate is still locked, the handle or release is not moving its linkage, a side latch or striker is stuck, or a powered release has an electrical or obstruction-related fault.
Start by removing pressure from cargo or a tonneau cover, confirming that the truck is unlocked, and noting what happens when you use the handle, key fob, or power-tailgate control. A loose handle, normal handle resistance, one-sided release, clicking actuator, and silent button each point toward a different check.
Quick Answer
Unlock the truck and relieve any pressure against the tailgate first. A handle with little or no resistance usually points to a disconnected clip, rod, cable, or broken handle. Normal resistance with no release points more toward a stuck latch, misaligned striker, debris, ice, or external pressure. If only one side releases, inspect the opposite latch and its connection. On a powered system, use the exact model-year manual before checking fuses, connectors, or actuators.
Key Takeaways
- Confirm the lock state and remove pressure from cargo, ice, a bedliner, or a tonneau cover before removing parts.
- Identify whether your truck uses a mechanical handle, a powered release, or a power open-and-close tailgate.
- Use handle resistance and left-versus-right latch movement to narrow the fault.
- Apply a light, material-safe lubricant only after removing dirt and dried residue.
- Do not haul cargo or keep driving if the tailgate cannot close and latch securely.
Diagnose the Symptom Before Removing Parts
The symptom often tells you where to start. Use this table before opening the tailgate panel or ordering a replacement part.
| Symptom | Likely Area | First Safe Check |
|---|---|---|
| Handle feels loose or has almost no resistance | Handle pivot, disconnected retainer, rod, or cable | Watch the linkage while operating the handle |
| Handle has normal resistance, but neither side releases | Latch, striker, debris, ice, corrosion, or gate pressure | Relieve pressure and inspect both latch pockets |
| One side releases while the other stays closed | Opposite-side latch, cable, rod, clip, or alignment | Compare movement at the left and right connections |
| Powered control makes no sound | Lock state, 12-volt supply, fuse, switch, wiring, or connector | Use the fuse label and exact model-year manual |
| Powered gate starts, stops, or reverses | Obstruction, external pressure, alignment, or powered hardware | Remove obstructions and stop forcing the gate |
Estimated Time and Skill Level
Budget 30 to 60 minutes for basic inspection, cleaning, or minor linkage work. An iFixit handle procedure for 2007–2013 Tundras estimates about 30 minutes, but fasteners, access, and powered components differ by model year.
Stop and schedule professional service if you find damaged wiring, a failed powered actuator, bent tailgate metal, severe corrosion, or a gate that still cannot latch securely.
What You’ll Need Before You Begin
Confirm that the truck and tailgate are unlocked before removing any panel. Review the tailgate section of your exact model-year owner’s manual and gather the tools before you begin.
- Safety glasses and work gloves
- Trim removal tool or plastic pry tool
- Phillips screwdriver, socket set, or Torx driver confirmed for your model
- Flashlight and small inspection mirror
- Needle-nose pliers for accessible clips and rods
- Soft brush, clean cloth, and low-pressure compressed air
- Light lubricant labeled safe for the latch’s metal, plastic, and rubber surfaces
- Small tray for screws, clips, and fasteners
The documented iFixit procedure for 2007–2013 Tundras uses a T25 Torx bit. Do not assume that fastener size applies to every model year.
Warning: Support the tailgate before releasing a stuck latch, keep your fingers out of the latch jaws, and don’t drive with loose cargo or a tailgate that cannot latch securely. Do not energize an actuator or probe powered-tailgate wiring without the correct diagram and testing procedure.
[Products Worth Considering]

This metal replacement center console latch is designed to restore secure closing performance for a wide range of Toyota and Scion vehicles. Built as an upgraded metal part, it helps solve broken latch issues and provides a more durable alternative to the original component. It is compatible with many popular models and includes the needed screws and screwdriver for installation.

This mech-style heavy metal key fob cover is designed to protect compatible Toyota E-style smart keys with a precise 1:1 fit. Built with a durable zinc alloy frame and soft silicone buttons, it helps guard against daily wear while keeping full access to key functions. The set includes a metal keychain and screwdriver for easy installation, making it a practical upgrade for select Toyota models.

This versatile 94-piece 1/4-inch drive socket set is built for automotive repair, home mechanics, and general DIY projects. It includes deep and shallow SAE and metric sockets, E Torx pieces, bits, adapters, extensions, and a ratchet for broad fastening coverage. Made from heat-treated chrome vanadium steel with clear size markings and organized case storage, it is designed for durability, convenience, and efficient use.
Identify a Manual or Powered Tailgate System
A mechanical-release tailgate uses the outside handle to move rods or cables connected to the side latches. If the handle feels loose or fails to move those connections, begin with the handle, retainers, and linkage.
A powered release or power open-and-close tailgate adds switches, connectors, actuators, and control logic. Toyota’s current Tundra brochure says select models can operate the power tailgate through the key fob or center console.
If your truck has powered operation, test each intended control once and listen for actuator movement. Do not force the gate or apply a generic SUV liftgate reset procedure. Use the instructions and fuse information for your exact Tundra year and equipment.
[Products Worth Considering]

This professional-grade 25 piece Torx set combines star bits and female E-Torx sockets for a wide range of automotive, motorcycle, and repair applications. Built from heat-treated chrome vanadium steel and S2 alloy steel bits, it delivers strong torque, lasting durability, and dependable performance. Clearly laser-etched size markings make selection quick and easy, even in low light.

This front left door lock actuator assembly is a direct replacement for select Toyota and Lexus models, helping restore reliable power door locking and latch operation. Built as an OEM-quality aftermarket part, it includes the latch assembly and is factory tested for dependable performance. It is designed for driver-side front door fitment across a wide range of compatible vehicles and comes with replacement support for added peace of mind.
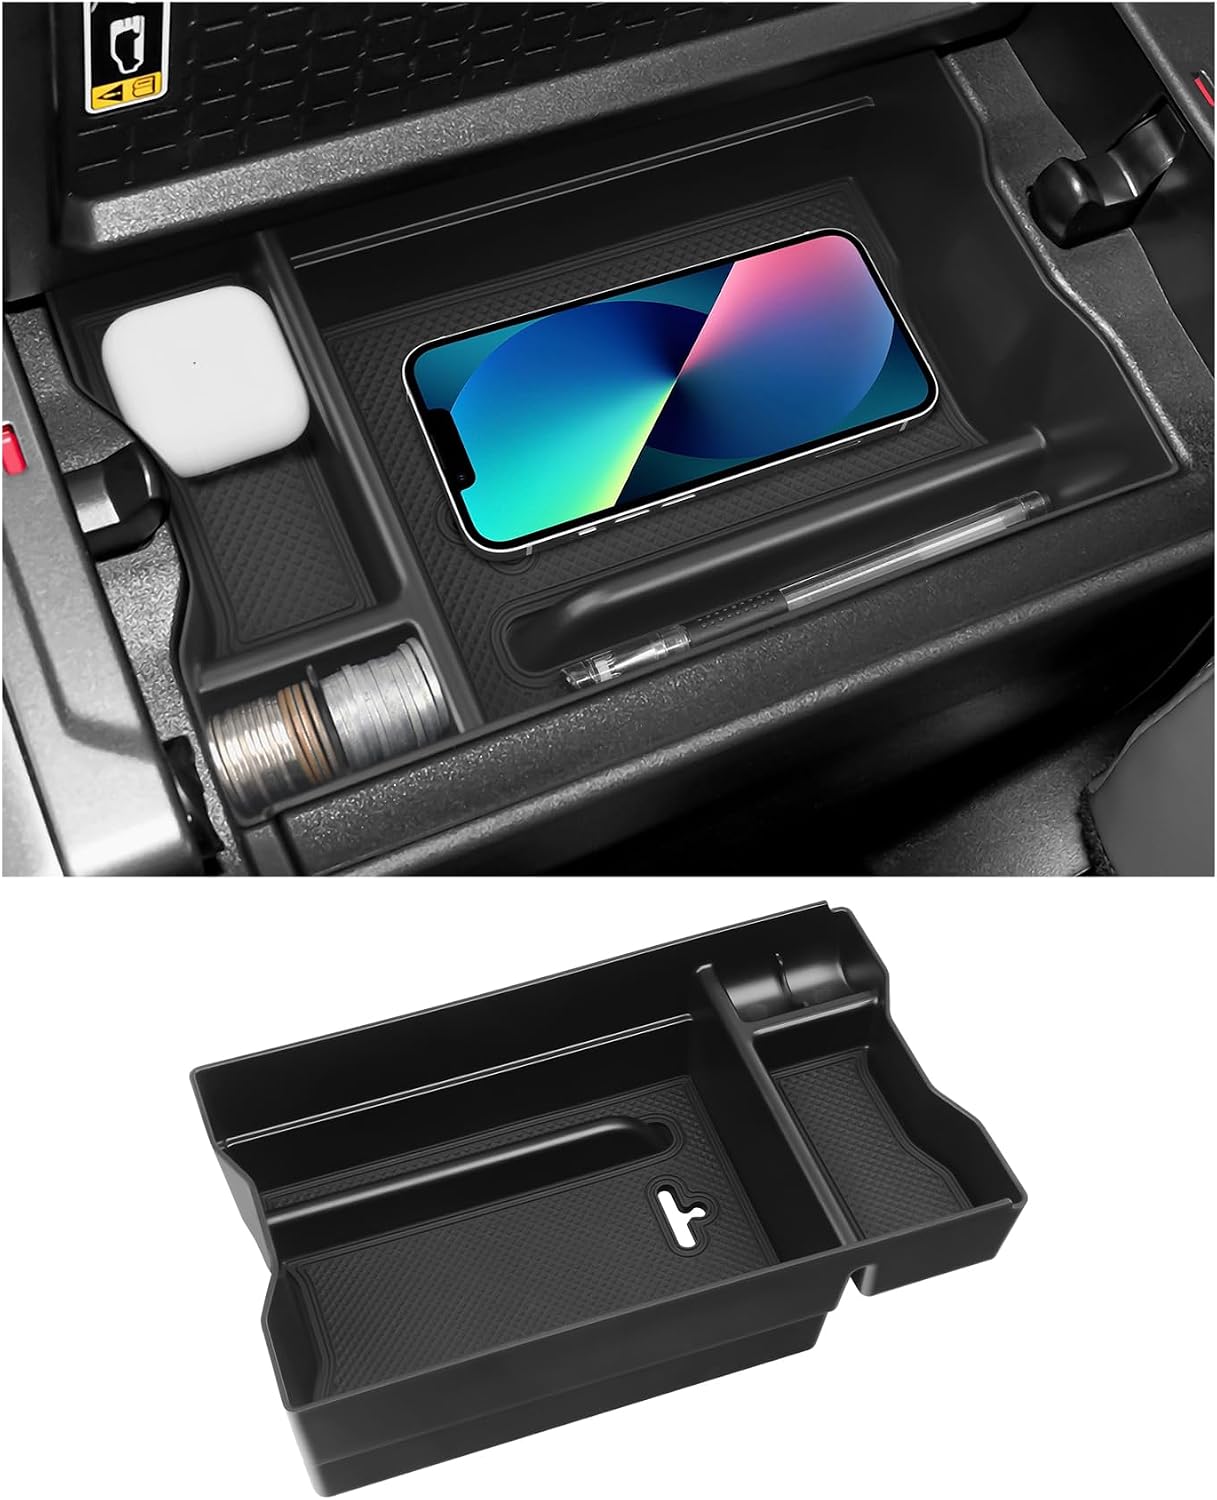
This center console organizer adds a convenient secondary storage layer to compatible Toyota RAV4 hybrid models, helping keep sunglasses, keys, coins, phones, and other small items neatly arranged. Built from durable ABS plastic with a matte finish, it fits directly into the armrest area for quick, tool-free installation and easy removal. Non-slip rubber mats help reduce sliding and noise while maximizing usable storage space inside the console.
How to Open a Tundra Tailgate That Is Stuck Closed
First, remove cargo pressure and release any tonneau-cover edge or seal pressing against the gate. Apply light inward pressure to the tailgate while operating the release. Do not strike, kick, or pry the gate.
Next, unlock the truck and observe the release. On a mechanical system, note whether the handle has resistance and returns normally. On a powered system, note whether the key fob, exterior switch, or cabin control produces a click, motor sound, or partial movement.
If the handle moves but the side latches do not, inspect the internal linkage through the correct access panel. The iFixit procedure cited above documents removing the panel and pulling the release cables inward on 2007–2013 Tundras. That method is model-specific and should not be assumed to apply to later powered systems.
Support the tailgate before manually releasing either side. If you cannot reach the mechanism without damaging a tonneau cover, camera wiring, trim, or powered components, stop and use a qualified technician.
Is the Problem the Handle Linkage or a Side Latch?
A loose handle usually indicates a handle, retainer, rod, or cable problem. Normal handle resistance with no release points more toward a side latch, striker, obstruction, or alignment problem.
Handle and Cable Check
Inspect the handle mounting points, pivot, and return movement. Pull the handle while watching every visible rod or cable connection.
If the handle moves but a rod or cable remains still, look for a cracked retainer, disconnected cable end, broken handle pivot, or damaged linkage. If one side moves less than the other, trace the weak side from the handle to its latch.
Do not bend a rod to remove slack or adjust a cable unless the model-specific service procedure allows it. Replace a frayed cable, cracked retainer, or damaged handle instead of repeatedly reshaping it.
Latch, Striker, and Debris Inspection
If both linkage connections move through their full range, inspect the side latches and strikers. Dirt, ice, dried grease, corrosion, bent metal, or gate pressure can stop release even when the handle works.
Compare the gaps on both sides of the closed tailgate. Uneven gaps, fresh scrape marks, or a latch that stays loaded after you press inward can indicate striker or tailgate alignment trouble.
Use a soft brush and low-pressure air to clear the latch pockets. After cleaning, apply a small amount of compatible lubricant to the moving pivot points and test again.
| Observation | What It Suggests | Next Step |
|---|---|---|
| Both connections move equally, but the gate stays shut | Latch, striker, alignment, obstruction, or pressure | Inspect both latch pockets and panel gaps |
| Only one connection reaches full travel | Loose retainer, bent rod, cable problem, or one failed latch | Trace and repair the weak side |
| Handle does not return after release | Binding pivot, corrosion, broken return part, or damaged handle | Clean and inspect the handle assembly |
| Powered release clicks, but one side remains latched | One-side latch, actuator connection, linkage, or alignment fault | Stop forcing and inspect that side |
How to Remove a Tundra Tailgate Inner Panel Safely
Tailgate panels and fasteners vary by model year. Identify every visible screw, bolt, and clip before prying. Use the correct driver size, press firmly, and turn slowly so you do not strip a fastener.
Use a trim removal tool to lift the panel from an accessible edge. Release clips one at a time and check for hidden fasteners before applying more force.
On a powered tailgate, turn the vehicle off and keep the key fob away from the controls to reduce the chance of accidental operation. Support the loosened panel and disconnect plugs by pressing their locking tabs, not by pulling on the wires.
For 2007–2013 Tundras, the cited iFixit procedure uses T25 Torx screws and accesses the release cables behind the inner panel. Later model years may use different hardware and powered components.
Keep all screws, clips, and fasteners in a shallow tray. During reassembly, reconnect electrical plugs first, align every clip, and press the panel into place without trapping a wire.
Inspect the Handle Linkage and Side Latches
With the inner panel open, inspect the handle, every visible connection, both side latches, and the surrounding metal. Look for cracked plastic, disconnected cable ends, bent rods, corrosion, loose fasteners, or damaged wiring.
Operate the handle or release while watching both sides. The two latch connections should begin moving at nearly the same time and return without sticking.
Handle Linkage Inspection
Trace each rod or cable from the handle or actuator to its latch. Delayed movement, skipped motion, excessive slack, or a sheath that moves with the cable indicates a connection or anchoring problem.
Reconnect a loose part only when its retainer still locks firmly. Replace cracked or distorted retainers because a loose clip can disconnect again as soon as the tailgate is cycled.
Tighten only the fasteners you have identified. Do not over-tighten plastic-mounted parts or use an unknown torque value.
Side Latch and Striker Examination
Inspect each side latch for grit, rust, worn edges, bent levers, or incomplete travel. Then inspect the matching striker for looseness, fresh impact marks, or obvious misalignment.
Clean the latch before judging its condition. If it still feels rough, fails to return, or does not reach the released position after cleaning, replacement or professional alignment may be necessary.
Do not close the tailgate for a final test until both sides move smoothly and every connection remains secure through several open-panel cycles.
Reconnect Dislodged Clips
Seat a rod, cable end, or retainer in the same orientation it used before the failure. A phone photo taken before disassembly can help you confirm the routing.
Push a plastic retainer fully into its mounting point, place the rod in its channel, and close the locking portion until it holds the rod without movement. Replace any retainer that will not stay locked.
After each connection is secured, operate the release and compare left-versus-right movement again.
| Connection | Acceptable Condition | Replace When |
|---|---|---|
| Plastic rod retainer | Locks fully and holds the rod without play | Cracked, brittle, distorted, or loose |
| Cable end and sheath | End is seated and sheath remains anchored | Frayed, pulled out, kinked, or unanchored |
| Linkage rod | Straight, seated, and moving freely | Bent, worn at the end, or unable to stay retained |
Clean Latch Grooves and Remove Debris
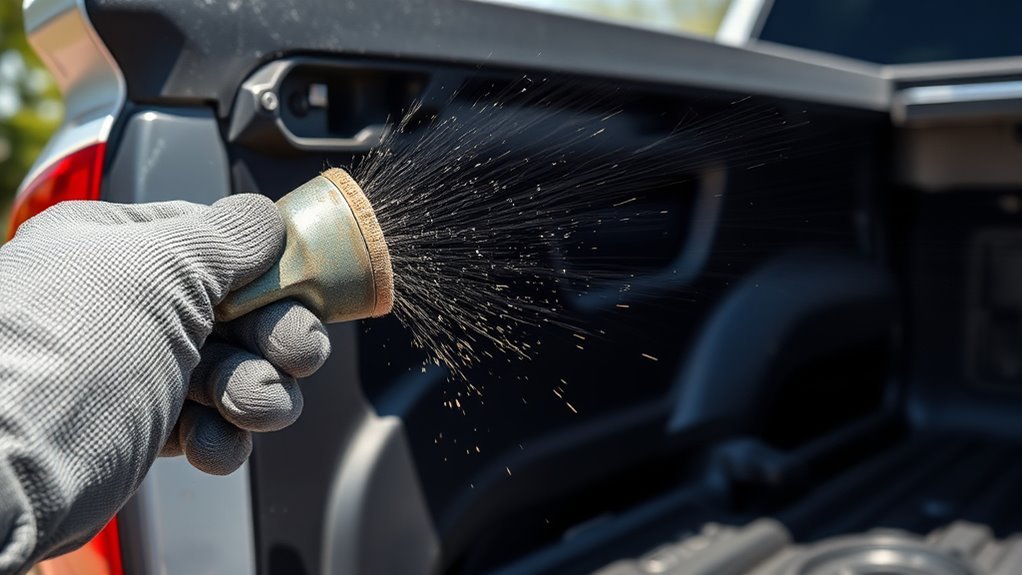
Cleaning helps when grit, dried lubricant, ice, or light corrosion prevents full latch travel. It will not repair a cracked retainer, frayed cable, failed actuator, or bent latch.
Wear eye protection and begin with a brush and clean cloth. Use low-pressure compressed air carefully and never direct it at your skin or eyes.
- Brush loose debris away from each latch pocket.
- Blow remaining particles outward instead of deeper into the tailgate.
- Inspect the latch groove, lever, spring area, and striker surface.
- Lift lodged grit carefully without bending a lever or scratching wiring.
- Use a cleaner only when its label confirms compatibility with the nearby materials.
- Apply a small amount of compatible lubricant after the mechanism is clean and dry.
Pro tip: Wipe away excess lubricant. A heavy coating holds road dust and can make the latch sticky again.
Cycle the mechanism several times after lubrication. The latch should move through the same range on every cycle without grinding, delayed return, or unequal left-versus-right travel.
How to Reconnect Clips and Rods Step by Step
- Open the correct access panel. Use the driver and removal method specified for your model year, and place every fastener in a tray.
- Record the original routing. Photograph the handle, actuator, rods, cables, retainers, and wiring before moving anything.
- Find the failed connection. Operate the release and identify the part that does not move, moves late, or separates from its lever.
- Inspect before reconnecting. Replace cracked retainers, frayed cables, bent rods, or damaged lever ends instead of forcing them back together.
- Seat the rod or cable end. Align it with the original lever slot and insert it fully without bending the linkage.
- Lock the retainer. Close the plastic retainer or cable anchor until it remains secure when the release is cycled.
- Test with the panel open. Keep your fingers away from latch jaws and confirm that both sides move and return consistently.
- Reinstall the panel. Reconnect plugs, route wires away from clips and fasteners, align the panel, and tighten the correct hardware.
Do not force a retainer that does not line up. Recheck the part orientation and routing because a misaligned rod can bend a lever or break a new clip.
Test the Latch and Handle After Repairs
A successful repair should produce the same smooth movement on every cycle. Test the release several times before loading the bed or relying on the tailgate in traffic.
With the tailgate open where possible, operate the handle or powered control while watching both connections. Keep your fingers outside the latch openings and inspect the support cables while the gate is lowered.
- Confirm that the handle returns to its resting position.
- Confirm that both latch connections begin moving together.
- Listen for grinding, popping, harsh clicking, or repeated motor operation.
- Check that clips, cable anchors, plugs, and wiring remain secure.
- Close the tailgate gently and confirm that both sides engage evenly.
- Pull back on the closed gate without using the release to confirm that it remains latched.
- On a powered system, test each intended control separately and stop if the gate binds or reverses repeatedly.
If the result changes from one cycle to the next, reopen the panel and inspect the linkage again. Do not haul cargo until the tailgate closes and holds securely every time.
Common Mistakes That Can Make the Tailgate Worse
Forcing the handle or closing the gate before the linkage is tested can turn a loose clip into a broken handle, bent rod, damaged latch, or trapped tailgate.
- Do not pry the outer handle to gain access.
- Do not strike or kick the tailgate to release it.
- Do not ignore pressure from cargo, a bedliner, ice, or a tonneau cover.
- Do not spray heavy lubricant into a dirty latch pocket.
- Do not bend rods or stretch cables to compensate for a failed retainer.
- Do not install a fuse with a higher amperage than the specified fuse.
- Do not apply a generic liftgate reset procedure to a Tundra power tailgate.
- Do not reuse a clip that feels brittle, cracked, distorted, or loose.
- Do not drive with the tailgate partly latched or unable to retain cargo.
Repair the component that fails the movement test instead of replacing the first part that looks accessible.
When to Replace Parts and Common Failing Components
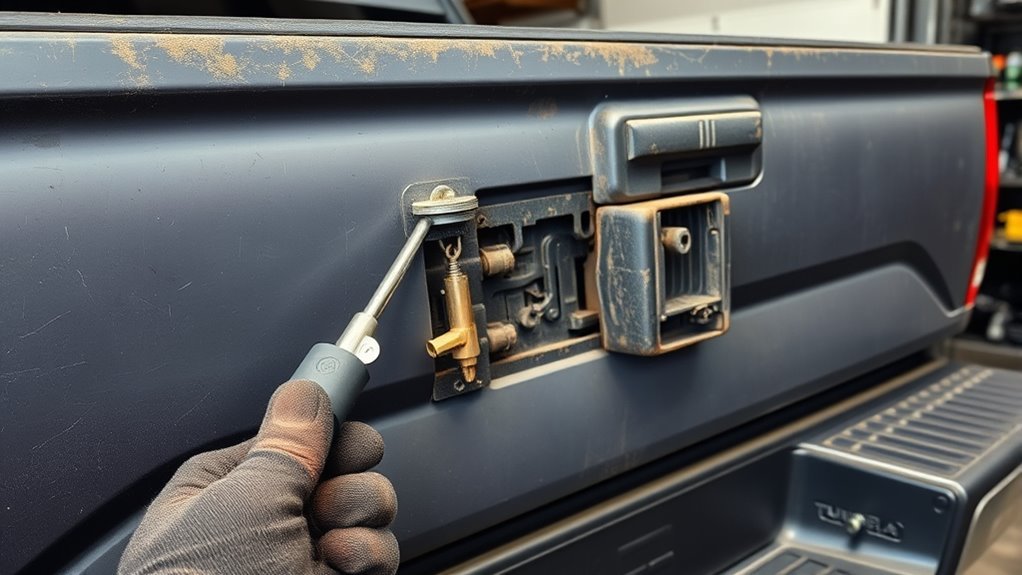
Replace a component when cleaning and correct reconnection do not restore consistent movement. Common replacement candidates include cracked handles, loose retainers, damaged cables or rods, worn latches, failed actuators, and bent or loose strikers.
- Replace the handle if its pivot is cracked, it does not return, or it cannot move the linkage.
- Replace a plastic retainer that no longer locks firmly around its rod.
- Replace a cable that is frayed, kinked, stretched, or separated from its end fitting.
- Replace a bent rod instead of repeatedly straightening it.
- Replace or professionally service a latch that remains rough, seized, or incomplete after cleaning.
- Diagnose a powered actuator with the correct wiring information before replacing it.
- Use professional alignment when the tailgate, latch mounting area, or striker is bent.
Fitment note: Do not order a part by “Toyota Tundra” alone. Match the VIN or exact model year, left or right position, key-cylinder design, camera opening, connector, and powered-tailgate equipment.
[Products Worth Considering]

This complete Deutsch connector kit provides a versatile assortment of sealed DT-style connectors for reliable automotive and industrial wiring repairs. Built with waterproof, dustproof, and corrosion-resistant materials, it helps maintain secure electrical connections in harsh, high-vibration environments. The included pin removal tool, contacts, seal plugs, and storage case make installation, servicing, and organization simple and efficient.

This center console lid latch is a direct replacement designed to restore a secure, quiet closure for compatible Toyota vehicles. It installs quickly with common hand tools and helps eliminate rattles and squeaks caused by a worn or broken latch. Built from automotive-grade thermoplastic, it offers a practical fix for maintaining a snug-fitting console lid.

This driver side front door lock actuator is designed to restore reliable locking performance across a wide range of Toyota, Lexus, and Scion vehicles. It serves as a direct replacement for multiple OE part numbers and helps solve issues with power door locks that are slow, unresponsive, or failing. Built for broad compatibility and backed by a one-year warranty, it is a practical solution for dependable door lock operation.
When to Call a Pro and What to Expect
Use a qualified technician when you cannot access the release without damage, the tailgate has powered components, the wiring is damaged, the metal is bent, or the gate still cannot latch securely after basic inspection.
A technician can compare left and right latch travel, inspect striker alignment, read relevant fault data, follow the correct wiring diagram, test switches and actuators, and confirm that the repair holds under repeated operation.
- Ask for the failed component and test result in writing.
- Ask whether alignment, wiring, or an obstruction caused the part failure.
- Request a repair-versus-replacement recommendation.
- Confirm whether the proposed part matches the VIN and installed tailgate equipment.
- Ask whether original equipment or aftermarket parts will be used.
- Confirm the parts warranty, labor coverage, and expected repair time.
A professional diagnosis is especially valuable when the fault returns, one side repeatedly remains latched, or a powered system operates inconsistently.
Frequently Asked Questions
Can a Locked Tundra Tailgate Prevent It From Opening?
Yes. Confirm that the truck and tailgate are unlocked, then retry the exterior release and key fob. If the lock or powered release does not respond, use the owner’s manual for your exact model year before removing panels or checking a fuse.
Can You Manually Open a 2007–2013 Tundra Tailgate?
The cited iFixit procedure for 2007–2013 Tundras removes the inner panel and pulls the release cables inward to lower a stuck gate. Support the tailgate before releasing it. Do not assume this cable procedure applies to later powered systems.
Why Does Only One Side of the Tailgate Release?
One-sided release usually points to the opposite latch, rod, cable, retainer, actuator connection, or striker alignment. Compare movement on both sides and repair the side that moves late or does not reach full release.
Can Cold Weather Freeze the Latch Solid?
Yes. Moisture can freeze around the latch or striker and prevent movement. Warm the area gradually, remove ice without striking the mechanism, dry the parts, and apply a light compatible lubricant after normal movement returns. Do not use an open flame or pour very hot water over wiring and painted surfaces.
Can a Fuse or Electrical Issue Affect a Power Tailgate?
Yes. A lock-state problem, fuse, switch, connector, wiring fault, actuator, low 12-volt supply, or control issue can stop a powered release. Use the fuse-box label and exact model-year manual. Never substitute a higher-amperage fuse or power an actuator without the correct test procedure.
Will Using WD-40 Damage Latch Components or Plastic Clips?
WD-40 is a brand with several formulas. WD-40 Specialist Silicone is labeled safe for most common metals, plastics, rubbers, vinyl, cables, linkages, and locks when used as directed. Test a small area, use only a light amount, and avoid spraying electrical connectors.
Can a Tonneau Cover Stop the Tailgate From Opening?
A tonneau-cover edge, seal, latch, or added pressure can make a tailgate feel mechanically stuck. Release the cover and remove downward or inward pressure before diagnosing the handle or replacing a latch.
Can You Drive Temporarily With a Damaged Tailgate?
Do not haul cargo with a tailgate that cannot close and latch securely. NHTSA advises drivers to secure loads so nothing can drop, shift, leak, or escape. If the gate will not stay fully latched, avoid driving until it is repaired or have the truck transported safely.
Conclusion
A Tundra tailgate that won’t open should be diagnosed by symptom, not by guessing at parts. Confirm the lock state, remove external pressure, identify whether the system is mechanical or powered, and compare movement at both side latches.
A loose handle points toward the handle or linkage. Normal resistance with no release points toward the latch, striker, debris, ice, or alignment. One-sided release points toward the opposite connection, while a silent powered system requires model-specific electrical checks.
If the tailgate still binds, operates inconsistently, or cannot hold securely, stop using the bed for cargo and arrange a proper repair. For more model-specific ownership and troubleshooting information, browse the Toyota Tundra guide hub.
References
- Toyota Tundra Owner’s Manual: Tailgate — Toyota, 2022
- 2026 Toyota Tundra Manuals and Warranties — Toyota, accessed July 14, 2026
- Toyota Tundra E-Brochure: Power Tailgate — Toyota, accessed July 14, 2026
- Drive Safe: Secure Your Load — National Highway Traffic Safety Administration, accessed July 14, 2026
- WD-40 Specialist Silicone Lubricant — WD-40 Company, accessed July 14, 2026
- Toyota Tundra 2007–2013 Tailgate Handle Replacement — iFixit, 2020