You’ll jack your Toyota Supra only at OEM-marked points: the circular front crossmember indentation, the black section of the rear differential (avoid silver fins), or the designated sill/scissor pad locations. Center the jack, confirm solid contact, then fit rated jack stands at the marked support points before lowering. Use a low-profile floor jack and padded BMW-style adapter for low-clearance cars, chock wheels, and check stability visually. Continue for step‑by‑step procedures, adapter choices, and common pitfalls.
Quick Answer: Where to Jack the Toyota Supra (Front, Rear, Sills)
1 clear lift point exists at the Supra’s front: place the jack under the circular indentation shown in the owner’s guide, keeping it away from the oil pan cover to avoid deformation or leaks. You’ll lift the rear from the black section of the differential, avoiding the silver fins to prevent damage. For sills, use the pinch welds with a low-profile floor jack so weight distributes correctly. Always set jack stands under the OEM scissor jack points; don’t improvise. Double-check stability before working beneath the car. These directives let you pursue suspension upgrades or perform tire rotation with confidence and autonomy. Follow them methodically, use proper tools, and you’ll maintain structural integrity while freeing yourself to modify and maintain the vehicle.
Where to Jack the Supra: Exact OEM Points and Photos
You’ll position the front jack under the highlighted circular front center jack point and the rear under the black section of the differential, avoiding the silver fins. Use the OEM scissor jack points for lifting and set jack stands at the designated scissor locations for support. For low-clearance work use a low-profile floor jack and consider wood blocks to safely improve clearance; always follow the workshop manual for exact technique.
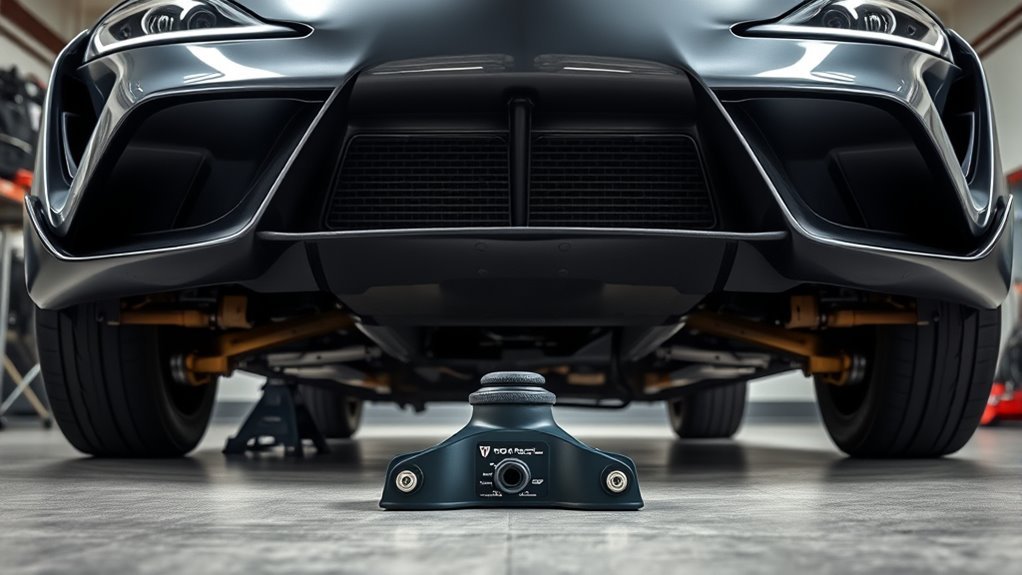
Front Center Jack Point
When lifting the Supra from the front, position your jack on the circular indentation in the front crossmember—the OEM-designated center jack point—so the load transfers through the structural crossmember rather than the oil pan cover. You’ll guarantee jack stability and lifting safety by centering on that disc, using a low-profile floor jack in tight-clearance scenarios, and avoiding the oil pan cover. Check surrounding clearance, and after raising, set jack stands under the marked safety stand supports.
| Item | Action | Note |
|---|---|---|
| Jack Point | Center circular indentation | Structural crossmember |
| Clearance | Confirm no body contact | Prevent pinch/damage |
| Jack Type | Low-profile floor jack | Use 2x4s for access |
| Supports | Place jack stands | Use arrow-marked points |
| Safety | Verify stability | Test before working |
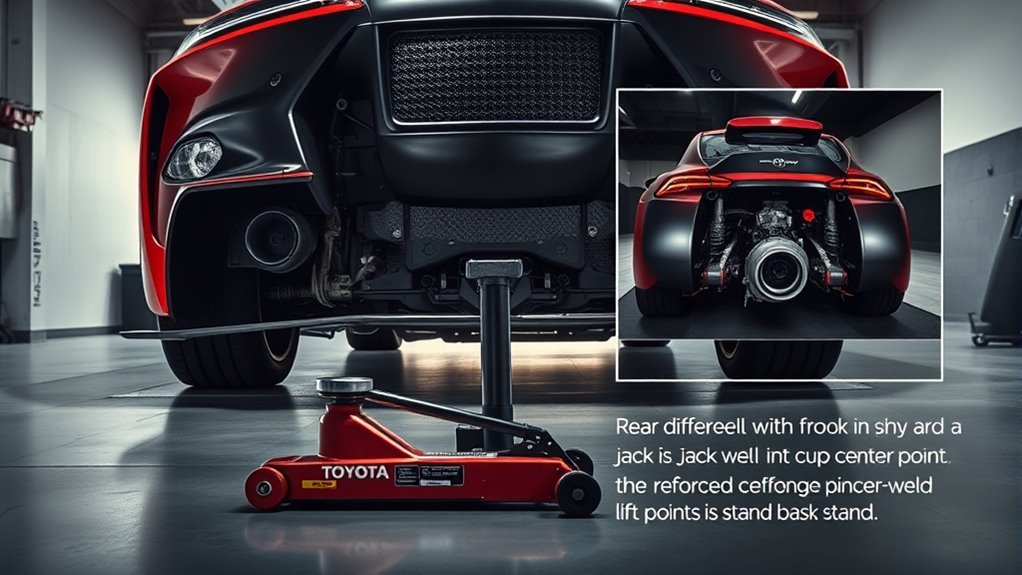
Rear Differential Jacking
After positioning the jack and stands at the front center jack point, move to the rear differential jacking location: place the jack pad on the black portion of the differential housing, behind the silver cooling fins, so load transfers through the solid housing rather than the finned cover or gasket area. You align the jack to avoid the fins and gasket, confirming contact with the reinforced casting. Use micro pumps initially due to limited rear clearance, raising incrementally until you reach working height. Set jack stands at the designated rear support points and lower the jack until stands bear the load. Verify alignment and visual engagement before working. This procedure prioritizes differential maintenance and jacking safety while empowering you to take control.
How to Jack the Supra: Front and Rear Step-by-Step
Start by positioning your jack precisely: for the front, set the low-profile jack under the circular indentation beneath the front crossmember (not under the oil pan cover), and for the rear, place the jack under the black section of the differential while avoiding the silver fins. Use a low-profile jack for clearance; drive onto 2x4s if you need extra lift. Pump steadily, watch for even rise, and stop at usable height. Follow maintenance tips: inspect jack pads and differential contact area before load. If using multiple jacks, lower the front first to keep balance. These safety precautions prevent damage and free you to work confidently. Once lifted, verify stability visually before progressing to the next step.
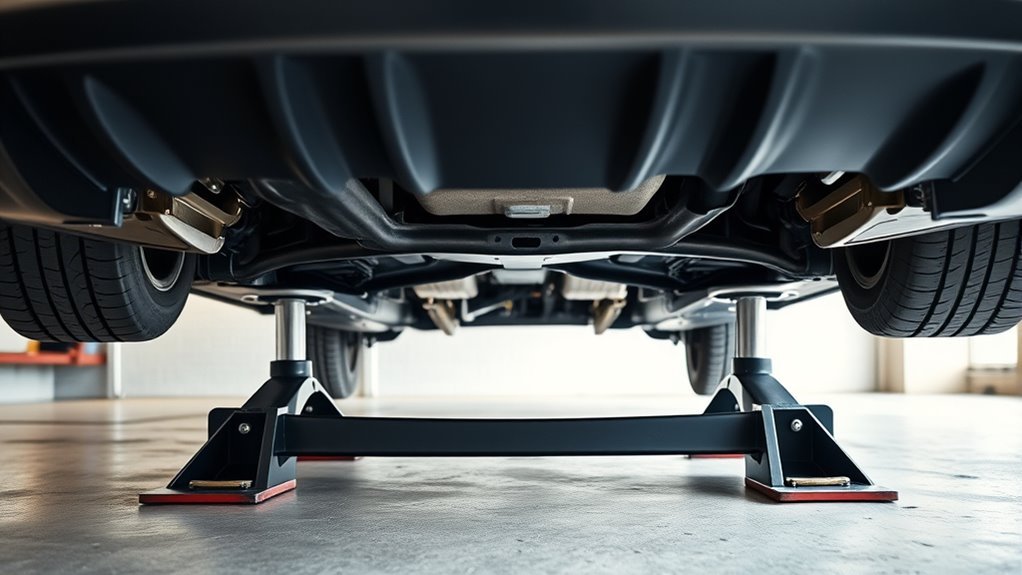
Where to Place Jack Stands and Secure the Car
Place two jack stands at the OEM scissor jack points under the Supra’s pinch welds and verify they’re seated squarely before lowering the car onto them. Position rear stands at the stock jack points near the differential so load paths travel through the frame, ensuring jack safety and vehicle stability. At the front, set stands near the control arms—avoid plastic housings and unsupported panels. Confirm both stands bear evenly on flat, level ground and that the car sits without rocking. Chock opposing wheels and engage the parking brake to isolate movement. Inspect stand pawls and height settings, then lower the jack until full weight transfers to the stands. Work only when stability is uncompromised; liberation depends on disciplined, precise procedures.
Choose the Right Jack & Adapter for Low-Clearance Supras
For low-clearance Supras you’ll want a low-profile floor jack that fits under the body without scraping. Use a padded BMW-style pad adapter to protect plastic seams and center the load on OEM scissor jack points or pinch welds. Measure your minimum ride height and jack saddle reach before buying, and plan to use a 2×4 block only as a controlled spacer if extra height is required.
Low-Profile Floor Jacks
Because low-clearance Supras sit close to the ground, you’ll want a purpose-built low-profile floor jack that clears the bodywork while reaching the designated jacking points; typical units sit about 3–4 inches high and offer roughly a 2-ton capacity, which is adequate for safe lifting. Choose a unit with sufficient reach and a longer lifting arm to align the saddle with the Supra’s factory points without raising body panels. Inspect saddle shape and stability; avoid contact with plastic trim. Prioritize jack maintenance and lifting safety: keep hydraulics bled, wheels free-rolling, and mount points clean. Use quality jack stands rated to vehicle weight before working underneath. A precise, reliable low-profile jack gives you freedom to service your Supra confidently and efficiently.
BMW Pad Adapters
Anyone working on a low-clearance Supra should pair a low-profile jack with a BMW-style pad adapter designed to seat securely in the circular front jacking recess and under the rear differential without contacting plastic trim. You’ll choose adapters that guarantee BMW compatibility and clear seating geometry; verify fit against your model’s suspension height. Pick adapter materials (rubber or padded surfaces over steel cores) that distribute load and resist crushing, and ascertain the jack’s capacity exceeds the Supra’s gross weight. Operate methodically: position, engage pad, lift slowly, and recheck contact.
- Confirm BMW compatibility for precise seating and avoid plastic contact.
- Select adapter materials that balance cushioning and structural strength.
- Verify jack capacity and clear access for safe, liberated garage work.
Measuring Clearance Needs
Clearance measurement is the first step: measure from each specified jack point to the front diffuser (about 36 inches on a stock Supra) so you can confirm a low-profile jack and pad adapter will reach without scraping. You’ll record distances at front and rear jack points, noting any asymmetry from aftermarket parts. Choose a low-profile floor jack rated above the Supra’s curb weight and select Supra-specific jack pad adapters to protect plastic lift points and guarantee secure contact. For lowered cars, plan clearance adjustments using ramps or sturdy blocks before attempting jack positioning; raise only on level ground and chock wheels. Verify jack pad engagement and capacity before lifting. Precise measurement and deliberate jack positioning free you from guesswork and reduce risk.
Common Mistakes & How to Avoid Lift-Related Damage
When you lift your Supra, follow the OEM-recommended jacking points and procedures to avoid structural damage and unsafe conditions; do not improvise with non-designated spots. You want lift safety and jack compatibility prioritized: use specified points, center the jack, and verify contact to prevent stress concentrations. Don’t jack on the oil pan, differential fins, or plastic subframe covers.
When lifting your Supra, use OEM jacking points, center the jack, and never improvise on thin panels.
- Inspect jack and stands for wear and confirm load rating and contact geometry.
- Use vehicle-specific jack stands on reinforced support points; avoid plastic clips and thin panels.
- Center the saddle, raise incrementally, and verify stability before working under the car.
Adopt disciplined routines. That freedom to modify and maintain your Supra responsibly comes from rigorous, technical attention to procedure.
Supra-Specific Manuals, Diagrams, and 3D Adapter Links
Because proper lifting starts with accurate reference material, you should download and consult the Supra’s factory service manual and associated jacking-point diagrams before attempting any lift or support operation. Use the OEM illustrations to identify exact lifting locations and mounting geometry; the manuals define load-bearing surfaces and Safety Features required for secure support. When standard pads won’t align, source validated 3D Printing adapter designs sized to OEM dimensions—only use files from trusted Community Resources that document fitment and testing. Cross-check video demonstrations and written guidance to confirm Lifting Techniques and sequence. Follow manufacturer torque and placement specs, inspect adapters for wear, and never improvise underload. Depend on precise documentation and vetted community data to liberate your maintenance safely.
Frequently Asked Questions
How Many Foot Pounds Should I Torque My Supra Wheels?
Torque your Supra wheels to about 76 ft‑lbs. You’ll use calibrated tools, follow crisscross torque specifications, re‑torque after 50–100 miles, and apply wheel maintenance tips methodically so you’re safe and free on the road.
Conclusion
You’ve learned the exact OEM jack and lift points, step-by-step front/rear procedures, proper jack-stand placement, and low-clearance adapter choices—so you can lift your Supra confidently and safely. Will you respect those points and precautions every time you work under the car? Follow the method: use the specified pinch-weld/suspension-lift locations, center the adapter, tighten stands on solid points, and double-check stability before crawling underneath to avoid damage or injury.