
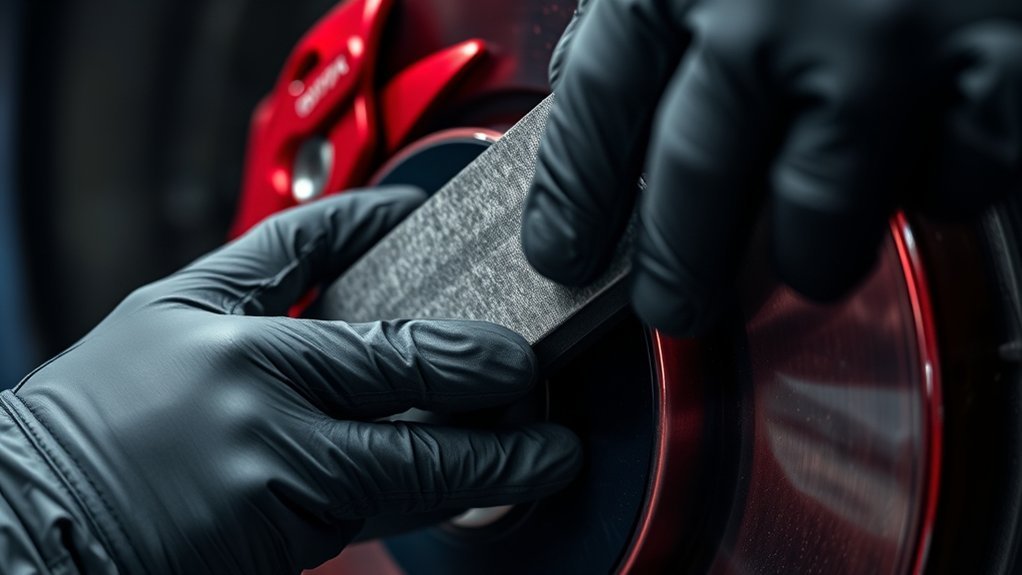
Checking your Toyota Supra’s brake pads is one of the simplest ways to protect stopping power, rotor life, and driving confidence. The Supra is a performance car, so pad wear can change quickly if you drive hard, sit in heavy traffic, or use the car on mountain roads or track days. Use the steps below to spot worn pads, inspect them safely, and decide when replacement or professional service is the smarter move.
Quick Answer
Check your Toyota Supra brake pads at every scheduled service and any time you hear squealing, feel vibration, smell burning, see a warning light, or notice longer stops. Measure the friction material, inspect rotors and calipers, and plan replacement around 3–4 mm or sooner if damage, uneven wear, or track use is present.
Key Takeaways
- Toyota’s 2026 Supra maintenance chart calls for regular brake pad and disc inspections, including thickness measurement and rotor runout checks.
- A practical service rule is to plan pad replacement near 4 mm and replace around 3 mm, but your model year and driving conditions matter.
- Never rely only on squeal tabs, sensors, or warning lights; visually inspect both inner and outer pads.
- If the pedal feels soft, the car pulls, the brakes grind, or you smell burning, stop driving aggressively and schedule an inspection.
- DIY replacement is possible for skilled owners, but brakes are safety-critical and must be torqued, inspected, and bedded correctly.
At a Glance
| Time Required | 20–45 minutes for inspection; 1–2 hours per axle for experienced DIY pad replacement. |
| Difficulty | Inspection: beginner to intermediate. Replacement: intermediate and safety-critical. |
| Tools Needed | Flashlight, brake pad gauge or caliper, jack, jack stands, wheel chocks, lug socket, torque wrench, brake cleaner, gloves, eye protection, and the correct caliper piston tool. |
| Cost | DIY inspection can cost nothing if you already own the tools. Pad and labor cost varies by model year, caliper package, parts choice, and local labor rate. |
Why You Should Regularly Check Your Brake Pads
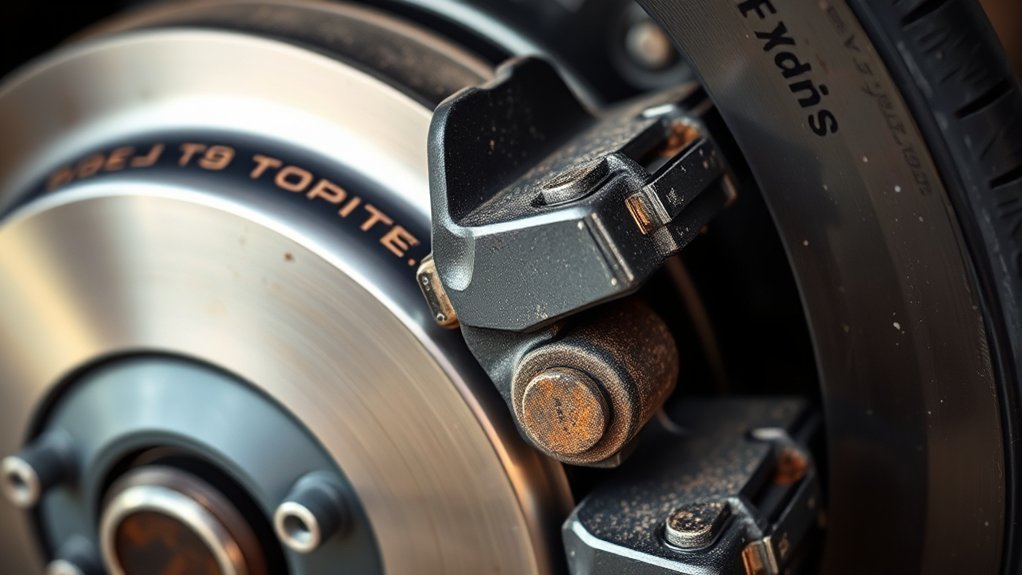
Regular brake pad inspections help you catch wear before it turns into rotor damage, brake noise, or unpredictable stopping. Toyota’s 2026 Supra Warranty & Maintenance Guide lists brake pads and discs as scheduled inspection items and notes that brake pad/disc service includes thickness measurement and rotor runout checks.
Toyota’s 2026 Supra maintenance chart shows brake pads and discs being inspected at every 10,000-mile interval, with thickness measurement and rotor runout included in the inspection notes.
Brake pads do not wear on a fixed schedule. A highway-driven Supra may go much longer between pad changes than one used for short trips, canyon roads, repeated hard braking, or track events. That is why thickness and condition matter more than mileage alone.
Note: If your Supra sees repeated hard driving or track use, inspect the brake pads, discs, and brake fluid before and after the event. Toyota’s GR Supra service requirements for severe/track use call for brake pad and disc checks before and after severe use.
Signs of Worn Brake Pads
Worn brake pads usually give warning signs before they become dangerous. Watch for these symptoms:
- Squealing or high-pitched noise: This can come from a wear indicator contacting the rotor, although moisture, pad compound, or light surface rust can also cause brief noise.
- Grinding noise: Treat grinding as urgent because it may mean the friction material is gone or a rotor is being damaged.
- Longer stopping distance: If the Supra needs more room to stop, inspect the pads, rotors, tires, and brake fluid.
- Vibration or pulsation: Brake pedal or steering wheel vibration can point to rotor thickness variation, runout, deposits, or uneven pad transfer.
- Pulling to one side: Uneven pad wear, a sticking caliper, tire issues, or hydraulic problems can cause the car to pull under braking.
- Burning smell after braking: This can mean overheated brakes, dragging pads, fluid contamination, or aggressive use beyond the brake system’s current condition.
- Brake warning light or service message: Do not ignore electronic warnings; inspect the system and sensor wiring.
- Visible thin pad material: If the friction material looks close to the metal backing plate, schedule replacement immediately.
Warning: Do not keep driving normally if you hear grinding, smell burning, feel a soft pedal, or see brake fluid leakage. These are safety-critical symptoms and the car should be inspected before further spirited driving.
Before You Inspect: Safety, Tools, and Prep
Brake inspection is simple, but lifting a car is not something to rush. Work on a flat, solid surface. Put the transmission in Park or in gear for a manual car, set the parking brake when appropriate, and chock the wheels that stay on the ground.
Use a jack that is rated for the vehicle and support the Supra with jack stands before reaching near or under the car. OSHA’s jack standard says the jack must be rated to lift and sustain the load and that a raised load must be cribbed, blocked, or otherwise secured at once. Read the safety requirements here: OSHA 29 CFR 1910.244.
For a careful inspection, gather a flashlight, brake pad gauge or caliper, gloves, eye protection, a torque wrench, wheel chocks, and your year-specific Toyota repair information. If you plan to remove wheels, make sure you know the proper jacking points and wheel-lug torque for your exact Supra model year.
The Inspection Process for Brake Pads
To make sure your Toyota Supra’s braking system works as intended, inspect both pad thickness and overall brake condition. Do not check only the outside pad; inner pads can wear faster if a caliper slide, piston, or pad hardware is sticking.
- Look through the wheel first. Use a flashlight to view the outer pad and rotor face. This is a quick check, not a complete inspection.
- Remove the wheel if needed. Support the vehicle safely on jack stands, then remove the wheel for a clearer view of the caliper, pads, rotor, and brake hose.
- Measure friction material. Measure only the pad friction material, not the metal backing plate. If pads are near 4 mm, plan service. Around 3 mm, replacement should be scheduled soon, especially if you drive hard. At 2 mm or less, do not delay replacement.
- Compare inner and outer pads. A large difference between the two pads can point to caliper, slide, hardware, or piston problems.
- Inspect the rotor. Look for heavy grooves, cracks, blue heat spots, rust ridges, or a pronounced lip at the edge. Toyota’s maintenance guide calls for rotor runout checks as part of brake pad and disc inspection.
- Check the caliper and hose. Look for brake fluid leakage, torn dust boots, damaged sensor wiring, and loose or corroded hardware.
- Record the measurements. Write down the date, mileage, pad thickness, and whether the front or rear axle is wearing faster. This makes the next inspection more useful.
Pro Tip: Check pad thickness after the brakes have cooled. Hot brake parts can burn you, and heat can make it harder to inspect rubber boots, grease points, and pad edges clearly.
[Products Worth Considering]
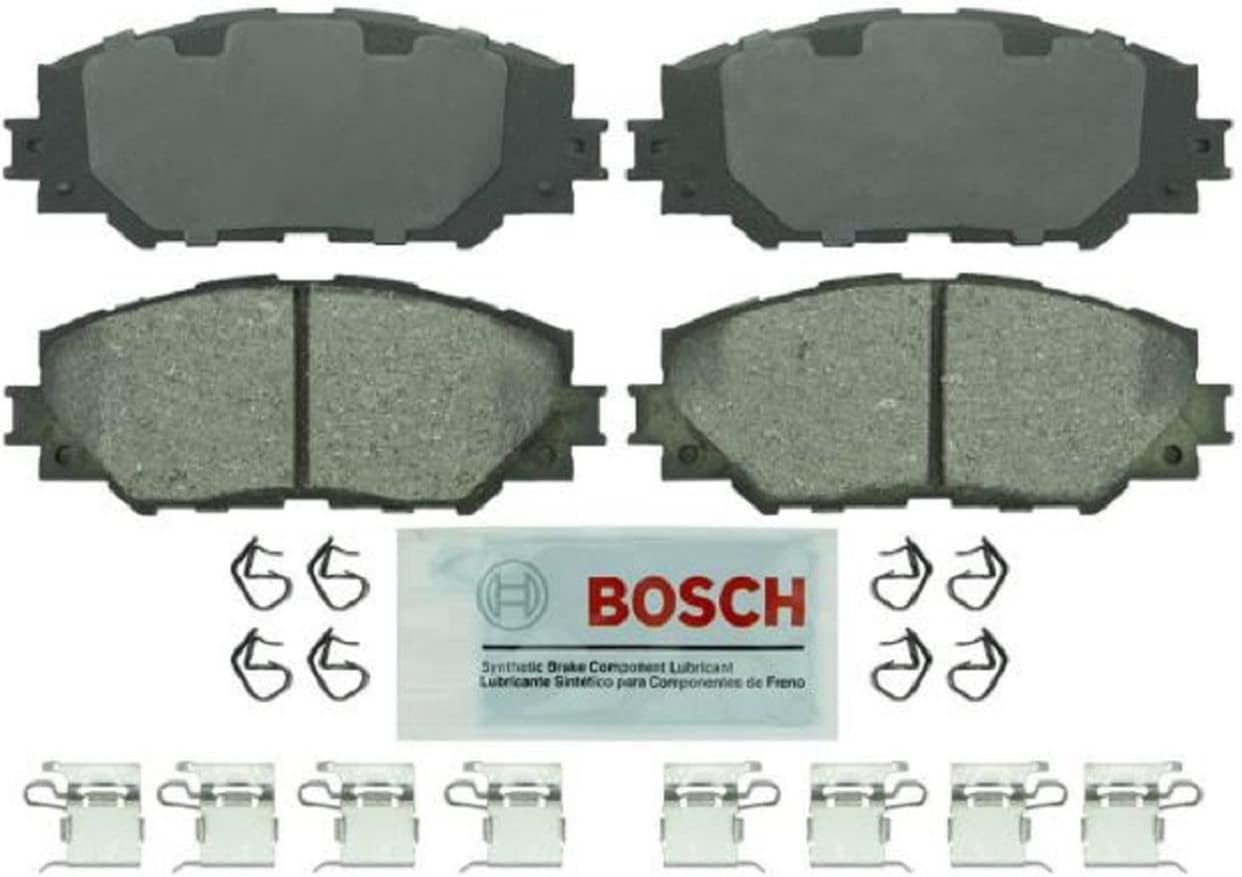
Bosch Blue ceramic front brake pads deliver dependable stopping power with platform-specific friction material designed for select Lexus, Pontiac, Scion, and Toyota vehicles. OE-style shims, slots, and chamfers help promote quiet braking, while the rust-inhibitive coating supports long-lasting performance and cleaner operation. The set includes hardware and synthetic lubricant for easier installation on one axle.

TOVASTY rear brake pads are designed for a wide range of Toyota and Lexus models, delivering dependable braking performance with a carbon ceramic formula. They help reduce brake dust, promote quieter operation, and support consistent stopping power with improved heat resistance for everyday driving confidence.

Bosch QuietCast premium ceramic rear brake pads are engineered for quiet, reliable stopping power with low dust performance. Featuring pre-attached multilayer shims, corrosion-resistant backing plates, and OE-style slots and chamfers, this set is designed for smooth fitment and long-lasting durability. It includes pads for one axle, plus hardware and lubricant where available, making installation easier for compatible Lexus, Pontiac, and Toyota vehicles.
The Brake Pad Replacement Process
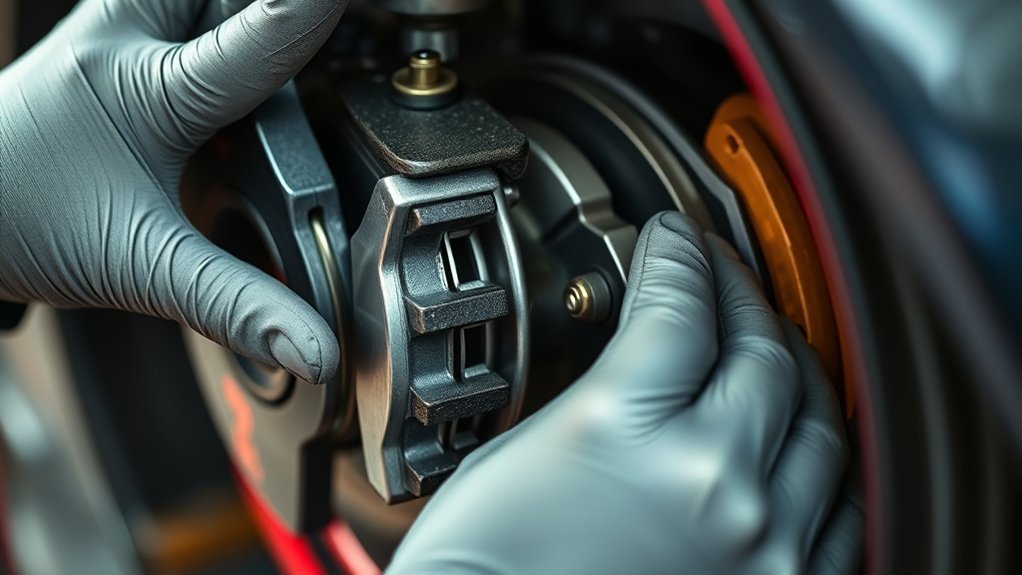
Once inspection shows that the pads are worn, damaged, contaminated, or uneven, replace pads on the same axle as a set. Do not replace only one side. Use the correct pads for your model year, engine, caliper package, and rotor size.
- Prepare the car safely. Park on a level surface, chock the wheels, loosen the lug nuts slightly, raise the car at the correct jacking point, and support it with jack stands.
- Remove the wheel and inspect first. Before disassembly, look at pad orientation, shims, clips, wear sensors, and routing so you can reinstall everything correctly.
- Open space for the new pads. Use the proper caliper piston compression tool or spreader. Do not force a pry bar against delicate parts. Watch the brake fluid reservoir so it does not overflow as pistons retract.
- Remove the old pads and hardware. Support the caliper if it must be moved. Never let a caliper hang by the brake hose or sensor wire.
- Inspect the rotor and caliper. Replace or machine rotors only if they remain within specification. If a rotor is cracked, below minimum thickness, heavily grooved, or has excessive runout, new pads alone will not fix the problem.
- Transfer or replace hardware as required. Install new clips, shims, pad wear sensors, or anti-rattle hardware when your pad kit or repair information calls for it.
- Lubricate only the correct contact points. Apply a thin film of high-temperature brake lubricant to pad ears or caliper contact points where specified. Keep grease off the friction material and rotor face.
- Reassemble and torque correctly. Tighten caliper fasteners and wheel nuts to the correct specification for your exact model year. Guessing on brake torque is not acceptable.
- Pump the brake pedal before driving. After the car is back on the ground, press the brake pedal several times until it feels firm. This seats the pads against the rotors.
- Bed in the pads if required. Follow the pad manufacturer’s bedding procedure. New pads that are not bedded correctly can make noise, transfer uneven material to the rotor, or feel weak at first.
Warning: Brake pad replacement affects stopping ability. If you are unsure about jacking points, torque specs, piston compression, electronic wear sensors, or rotor measurements, schedule service with a qualified technician instead of experimenting.
[Products Worth Considering]

This brake caliper compression tool helps make disc brake pad replacement and caliper servicing faster, safer, and more controlled. Its universal ratcheting design supports multi-angle operation in tight wheel spaces, while the sturdy steel build and widened contact plate help reduce slipping and uneven force during maintenance. Two caliper hooks are included to simplify solo brake work and keep components organized.

Bendix Premium Ceramic Front Brake Pads are engineered to match original equipment fit, form, and function for a straightforward replacement. Built with durable materials to help resist wear and corrosion, they support consistent braking performance and reduced brake fade for everyday driving. These pads are a dependable choice for compatible Pontiac, Scion, Toyota, and related vehicles.
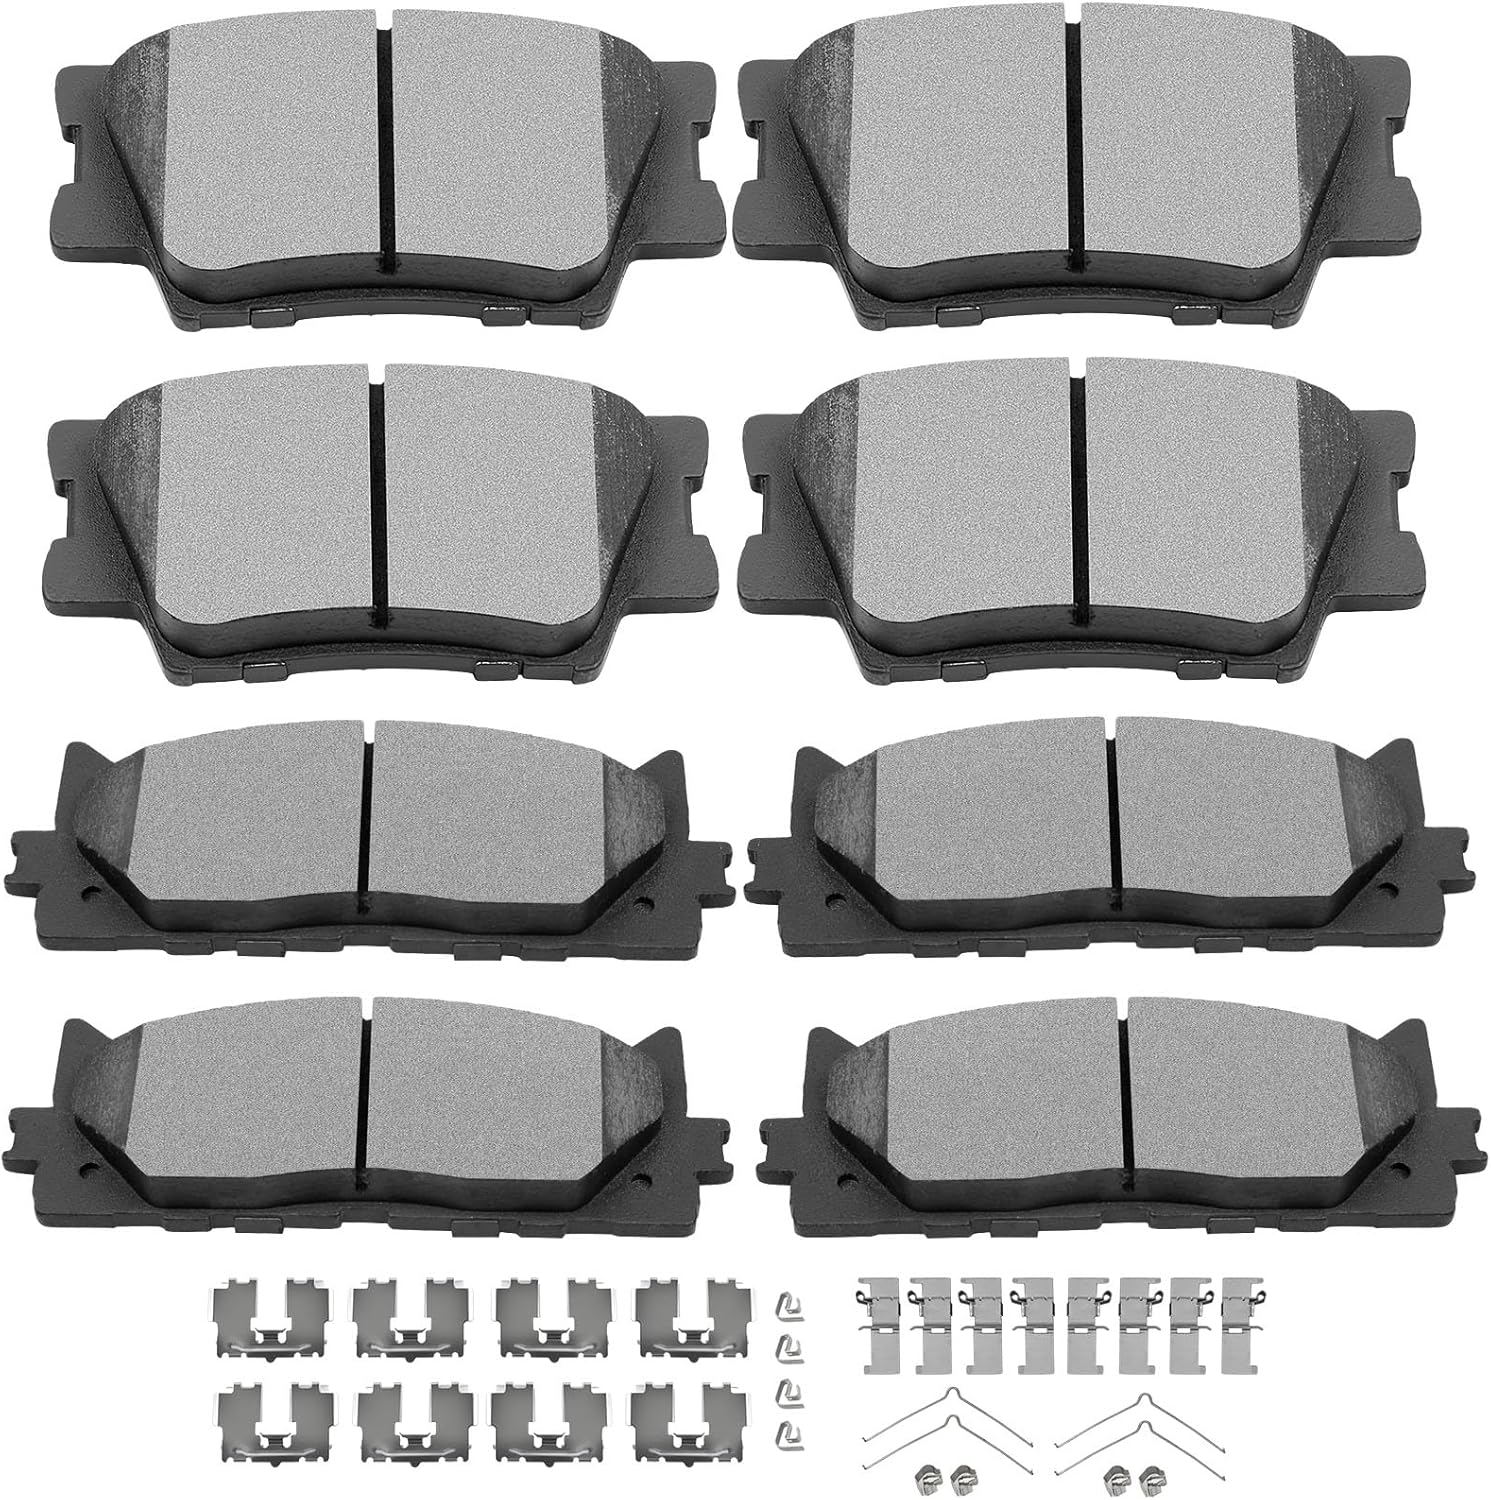
This ceramic front and rear brake pad set is designed as a direct replacement for select Lexus and Toyota models, helping restore reliable stopping performance. The pads feature a scorch-treated friction surface for quicker break-in and consistent wear, while the included gasket design helps reduce vibration and noise for quieter braking. Built for easy installation, this kit comes ready to fit compatible vehicles without modification.
Should You Replace Rotors With Brake Pads?
You do not automatically need new rotors every time you install brake pads, but you do need to inspect them. A rotor should be measured for thickness and checked for runout, heat damage, deep grooves, cracking, or uneven deposits. If the rotor is below specification or damaged, replacing pads alone can lead to noise, vibration, fast pad wear, or poor pedal feel.
If the rotors are smooth, within specification, and free of severe heat damage, a qualified technician may be able to reuse them. If your Supra has been used on track or for repeated hard braking, be more conservative and inspect the rotors, pads, and brake fluid more often.
[Products Worth Considering]
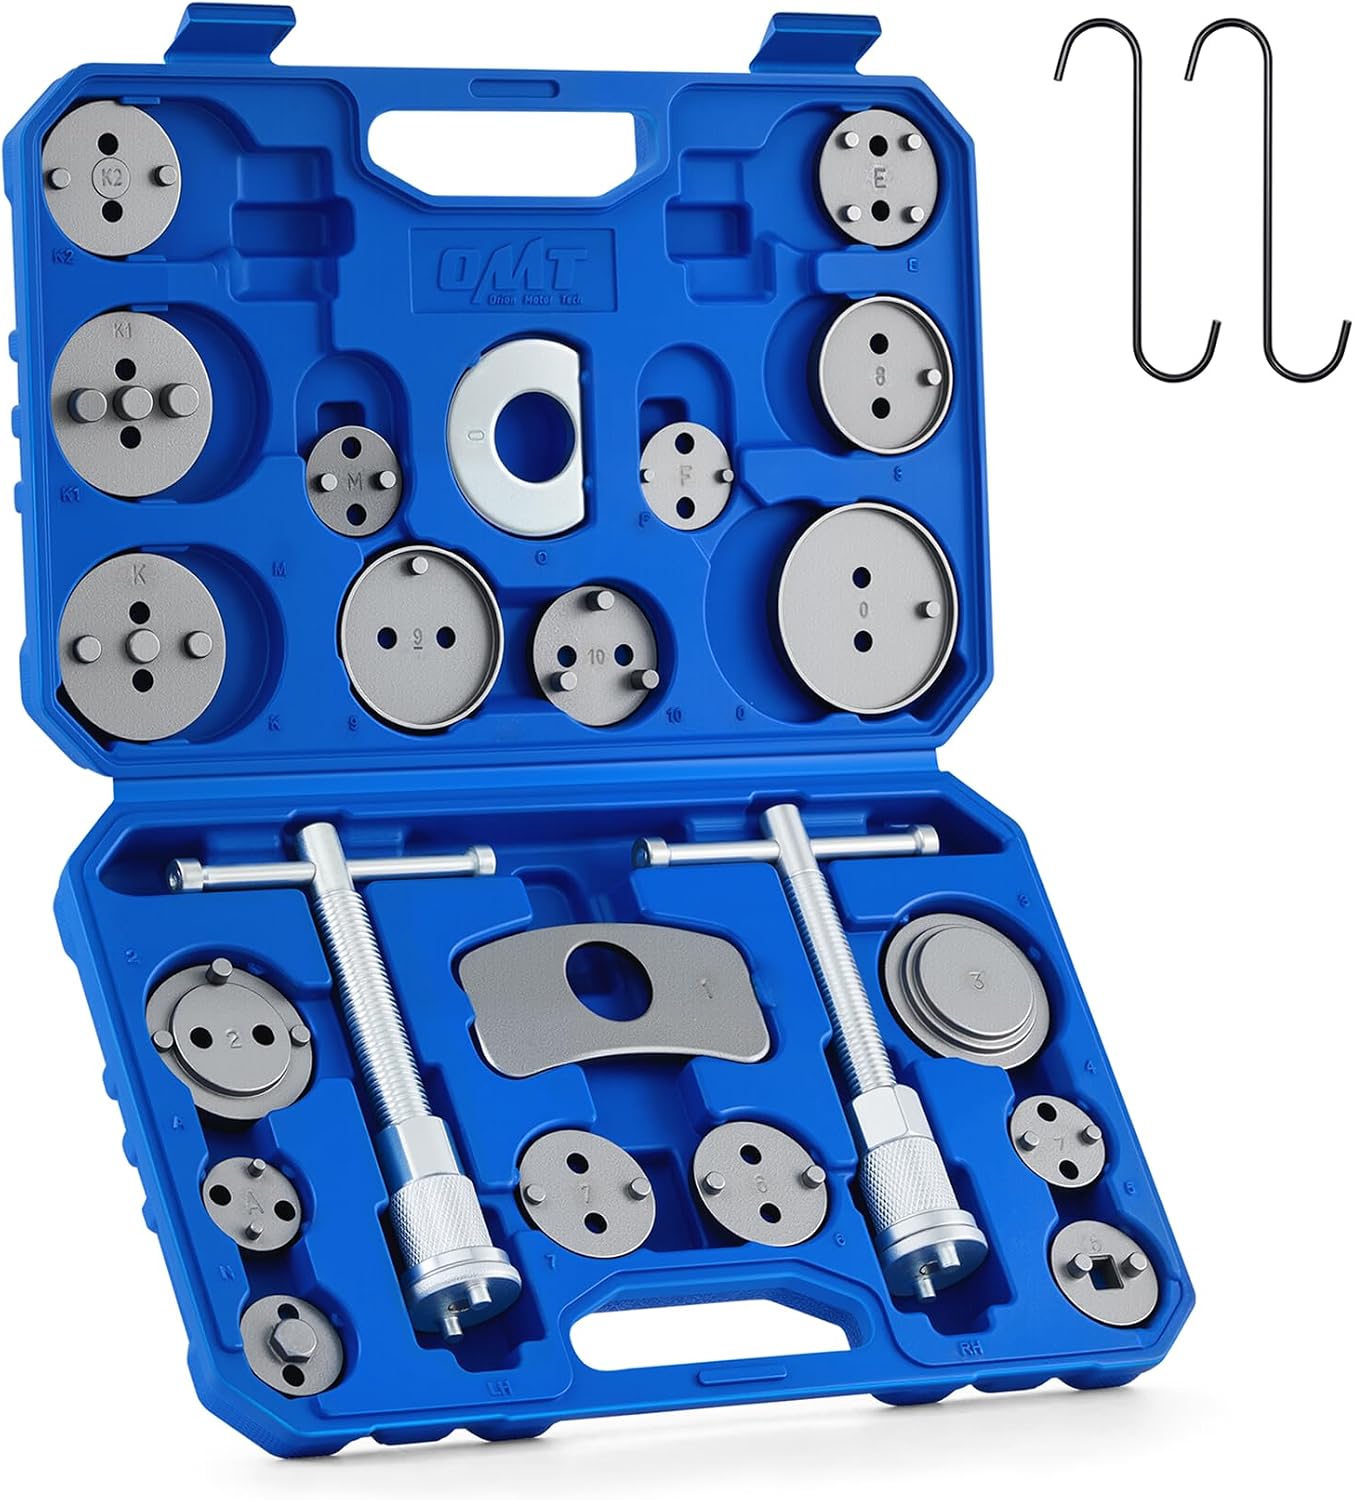
This 24-piece brake caliper compression tool set helps you quickly and safely rotate pistons back into the caliper during brake pad service. It includes multiple adapters, retaining plates, thrust bolt assemblies, and hangers for broad vehicle compatibility, while the heavy-duty steel construction and organized storage case make it ideal for reliable shop or home repairs.
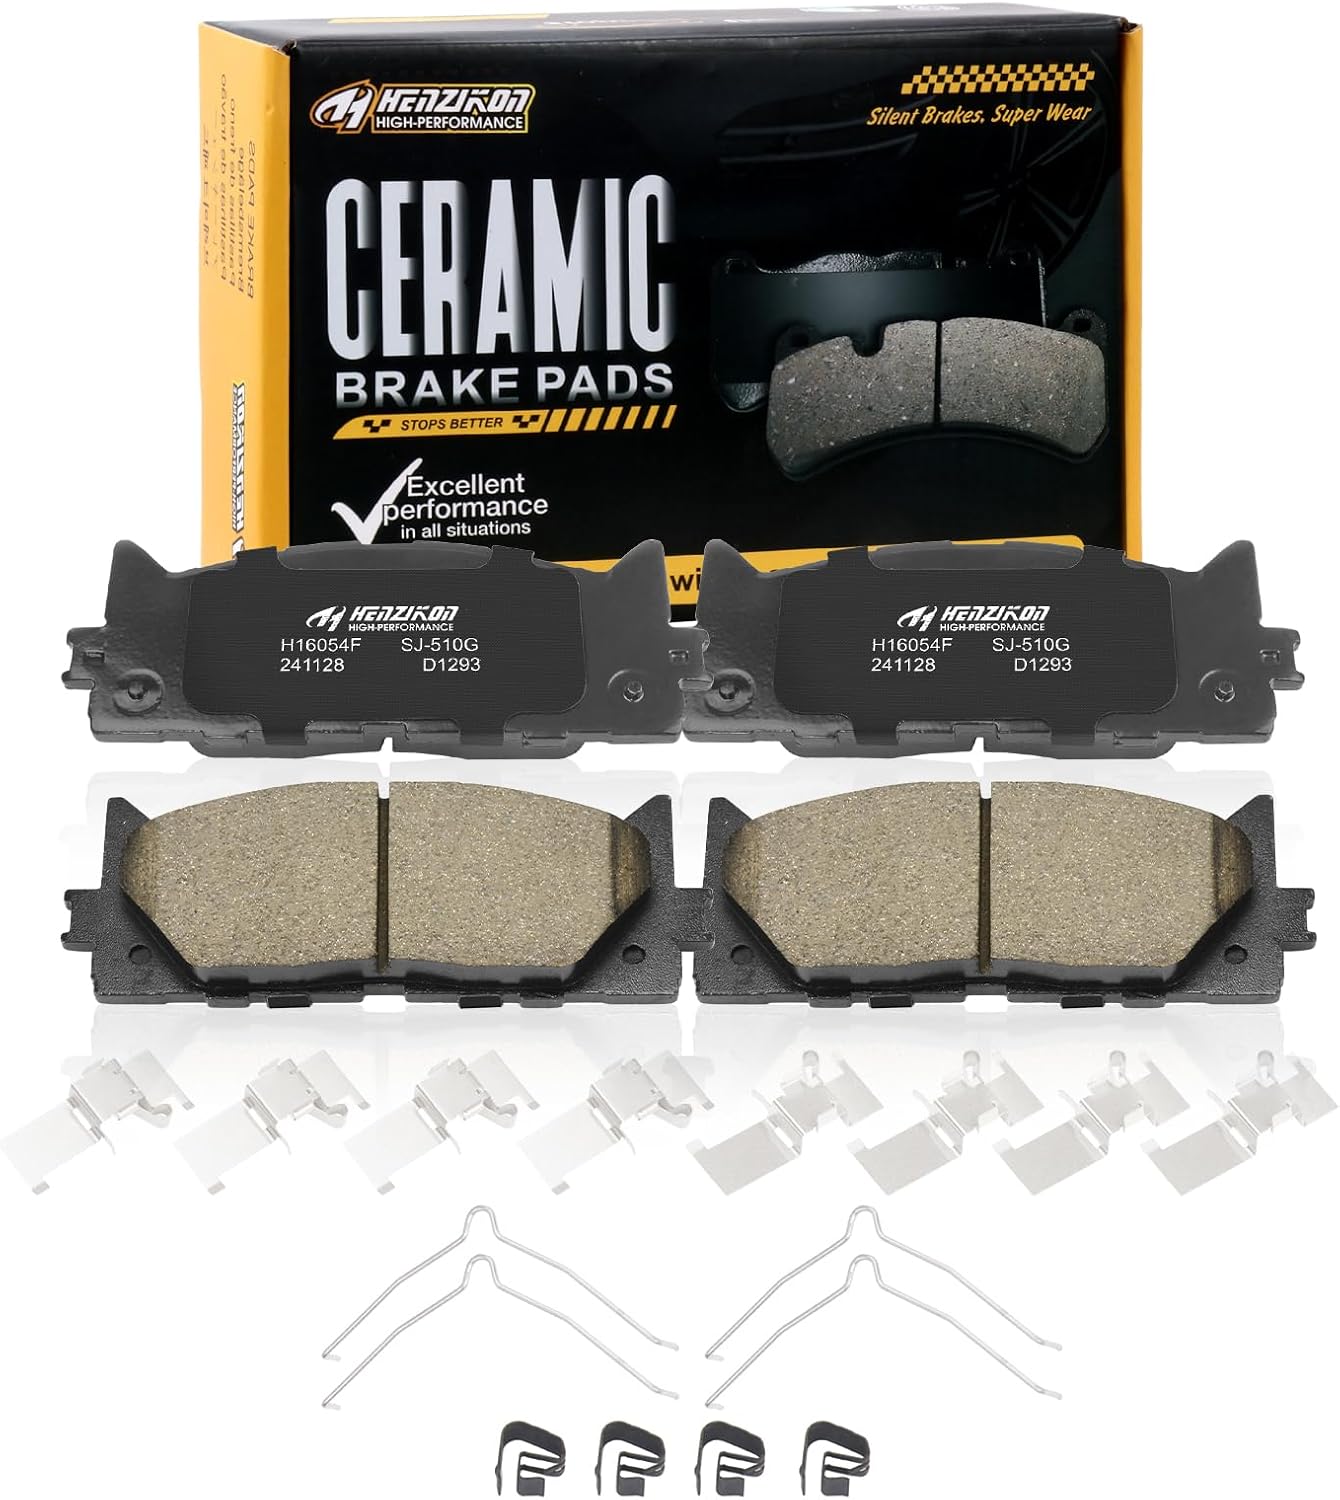
These ceramic front brake pads are designed for compatible Toyota Avalon, Camry, and Lexus ES-series vehicles, offering dependable stopping power and smooth, consistent braking performance. Built with included hardware for easier installation, they help reduce squealing and brake dust while supporting long-term durability for everyday driving.
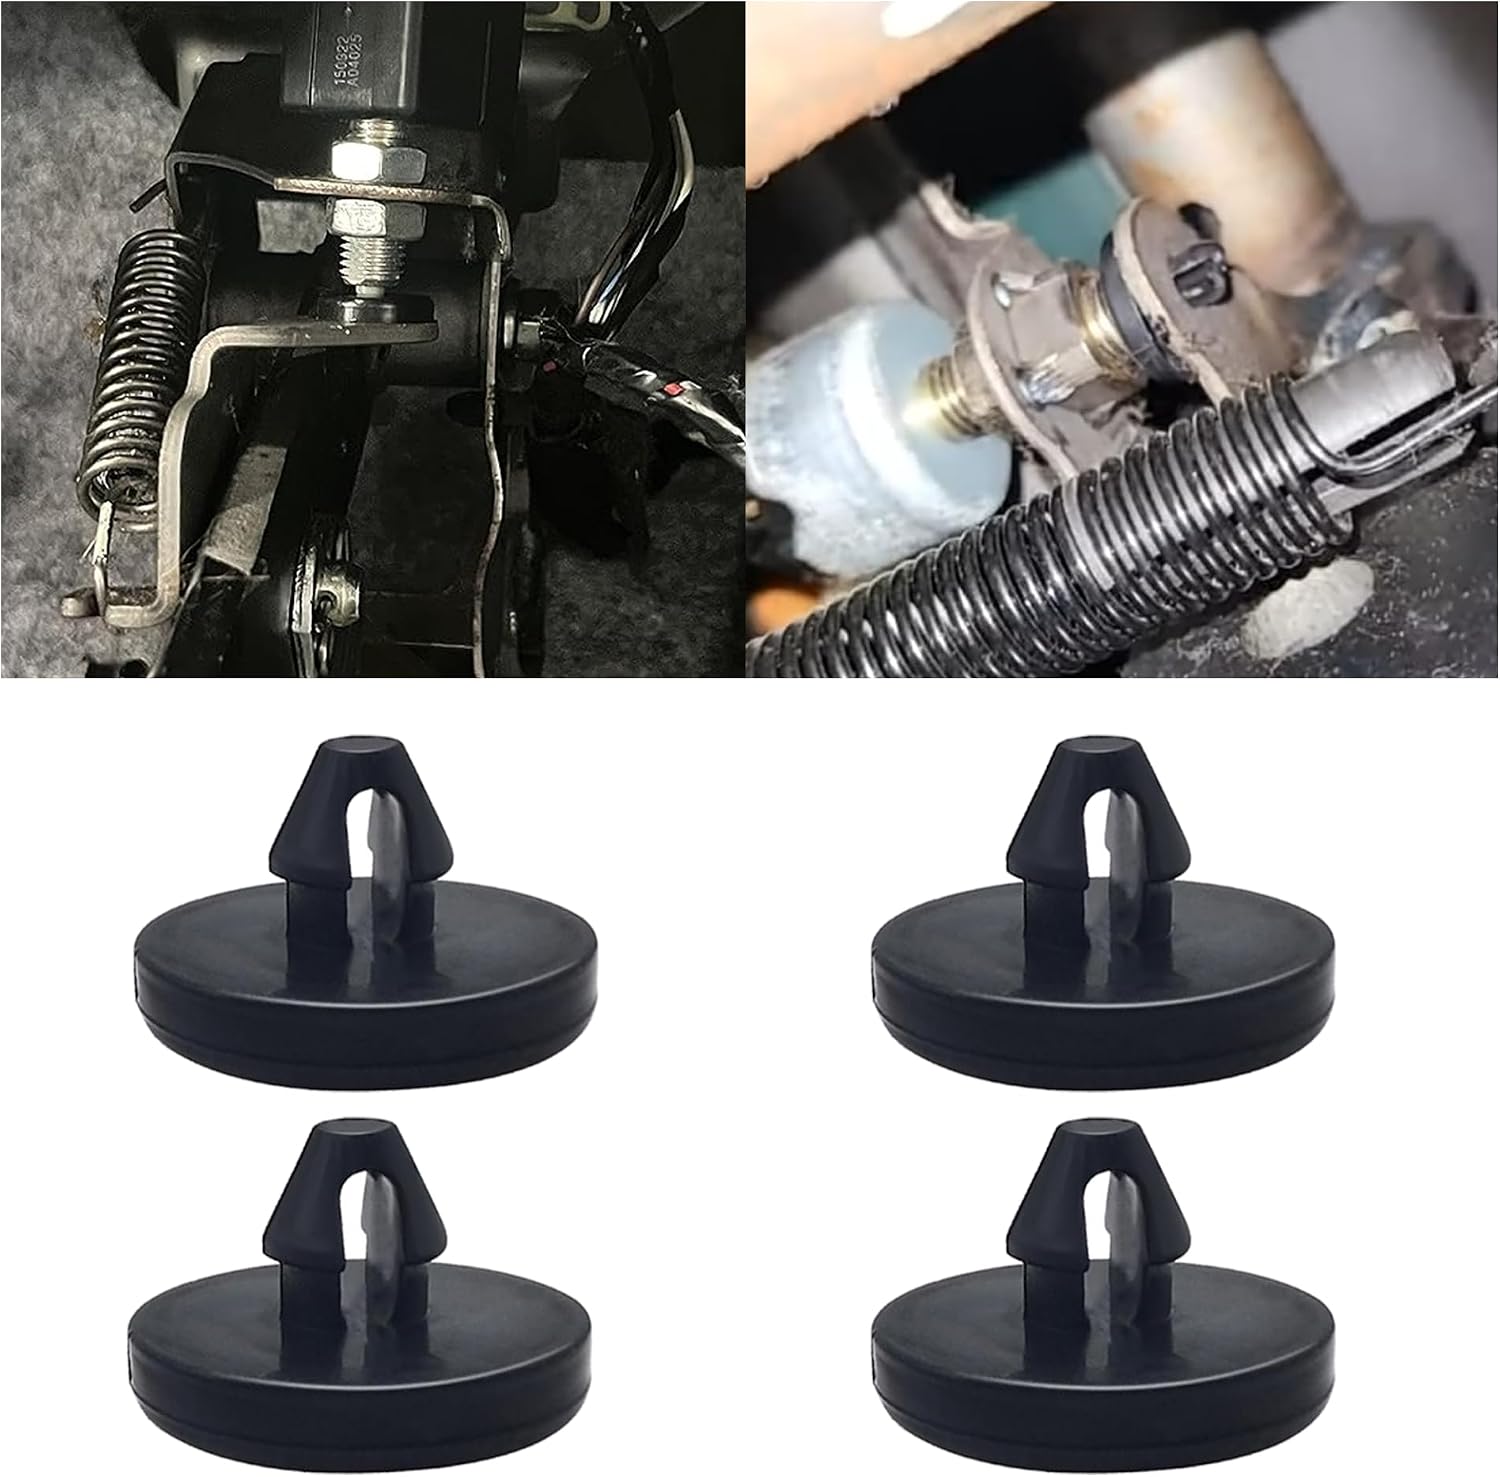
This brake pedal stop pad set is designed as an OEM replacement for compatible Toyota, Lexus, and Scion models, helping restore proper brake light switch function when the brake light stays on. Made from durable nylon, these compact stoppers are built for reliable long-term use and quick, tool-free installation. The set includes multiple pieces for convenient replacement and sharing.
Benefits of Choosing Genuine Toyota Brake Parts and Scheduling Service
Choosing Genuine Toyota Parts helps ensure the brake parts are made to fit Toyota specifications. That matters on a performance car where pad shape, shims, sensors, caliper clearance, and rotor compatibility affect noise, feel, and stopping consistency.
Professional service also gives you more than a pad swap. A qualified technician can measure rotor thickness and runout, inspect calipers for leakage, check brake hoses, confirm pad hardware is moving freely, and document the work for your maintenance records.
| Benefit | Description | Impact on Vehicle |
|---|---|---|
| Correct Fit | Matched to model year, caliper, rotor, and sensor requirements | More consistent pedal feel |
| Noise Control | Uses proper pad shape, shims, and hardware when installed correctly | Fewer squeaks and rattles |
| Rotor Compatibility | Pad compound and rotor condition are checked together | Better braking feel and pad life |
| Expert Inspection | Technician checks pads, rotors, calipers, hoses, fluid, and warning sensors | Improved safety and fewer missed problems |
| Maintenance Records | Service date, mileage, and parts used can be documented | Useful for warranty, resale, and future diagnosis |
Frequently Asked Questions
When should I change brake pads on a Toyota Supra?
Change them when inspection shows the friction material is near the service limit, when pads are unevenly worn, or when symptoms such as grinding, longer stopping distance, vibration, or warning messages appear. As a practical rule, plan service around 4 mm and replace around 3 mm, but confirm the correct limit for your model year and brake package.
Do Toyota Supra brake pads have wear indicators?
Many Toyota brake pad applications use wear indicators, sensors, or both, but the exact hardware can vary by model year, axle, and pad set. Do not rely only on a warning light or squeal. Inspect the inner and outer pads visually and replace any damaged wear sensor during pad service if your repair information calls for it.
What is the minimum brake pad thickness for inspection?
Inspection should happen before the pads are close to worn out. A good practical approach is to monitor pads closely at 5 mm, plan service around 4 mm, and replace around 3 mm or sooner if noise, cracks, taper wear, or rotor damage is present. Toyota’s public Supra maintenance guide calls for thickness measurement, but your year-specific service manual gives the final specification.
Can I check Supra brake pads without removing the wheels?
You can often see part of the outer pad through the wheel with a flashlight, but that is only a quick check. For a real inspection, remove the wheel so you can measure pad material, compare inner and outer pads, inspect the rotor, and check the caliper and brake hose.
Do I need new rotors when replacing Supra brake pads?
Not always. Replace or machine rotors only after measuring them and checking for runout, cracks, heavy grooves, heat spots, or minimum-thickness issues. If the rotors are within specification and in good condition, they may be reused. If they are damaged, new pads alone will not solve the problem.
Should I replace Toyota Supra brake pads myself?
Only do it yourself if you have the correct tools, safe lifting equipment, torque specifications, and experience with disc brakes. If you are unsure about caliper pistons, wear sensors, rotor measurements, bedding, or brake fluid, schedule service with a qualified technician.
Conclusion
Regularly inspecting your Toyota Supra’s brake pads keeps the braking system predictable and helps prevent avoidable rotor damage. Look for warning signs, measure the friction material, compare inner and outer pads, and inspect the rotors and calipers instead of judging pad life by mileage alone. If your pads are near 3–4 mm, worn unevenly, noisy, cracked, contaminated, or paired with damaged rotors, plan replacement before braking performance suffers. For the safest result, use the correct parts, follow the year-specific repair information, and schedule professional service whenever the job is beyond your tools or comfort level.
Sources
- Toyota 2026 Supra Warranty & Maintenance Guide — scheduled maintenance intervals, brake pad/disc inspection, thickness measurement, and rotor runout checks.
- Toyota Genuine Parts — Toyota’s description of genuine parts being made to fit Toyota specifications.
- OSHA 29 CFR 1910.244: Jacks — jack rating, blocking, and securing raised loads.
- NHTSA ODI Brake Noise/Judder/Pedal Feel Diagnosis Bulletin — brake noise, vibration/judder, and pedal-feel diagnostic categories.
- Toyota New Zealand GR Supra Service Requirements, Dec. 2025 — severe-use and track-use brake pad, disc, and fluid inspection guidance.



[…] gain in small steps so the trailer brakes feel firm without […]
[…] work. Use varied speeds, avoid hard launches, avoid sustained high engine load, and give the brakes a chance to bed in normally. After you pass 500 miles, do not jump straight into your heaviest […]