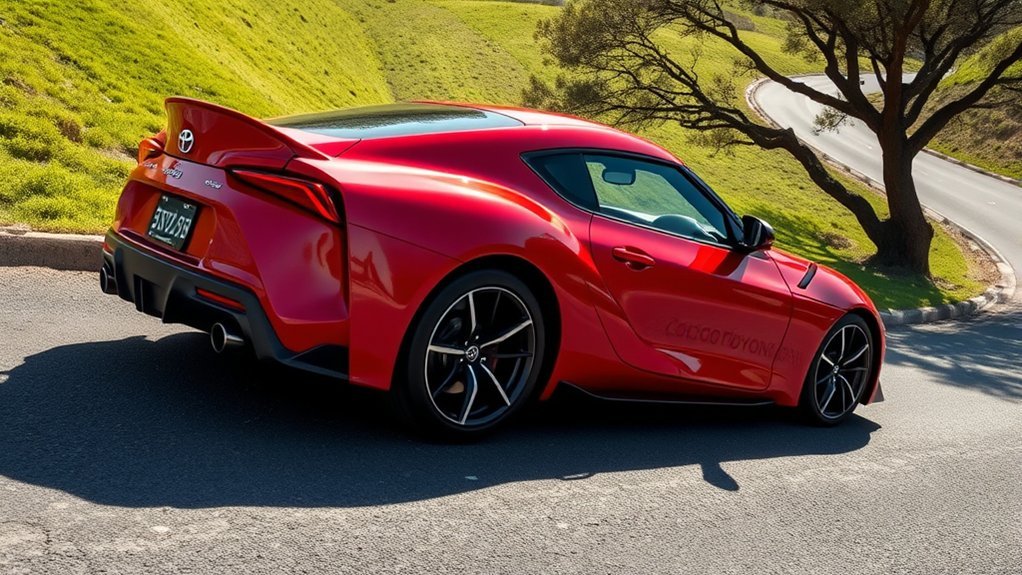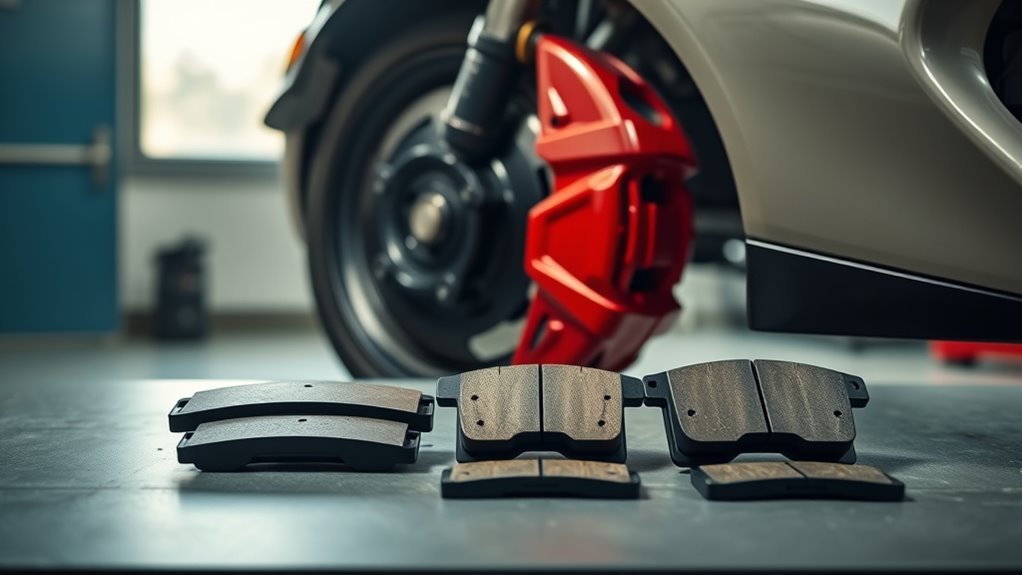
You’ll find Toyota Supra brake pad sizes vary by generation, market, trim, transmission, and brake package, so don’t buy pads from a single “Supra size” chart. The safest fitment path is to identify your exact model year, VIN, caliper type, rotor size, and OEM or aftermarket part number before ordering.
Quick Answer
There is no one universal Supra brake pad size. MkIV/A80, MkV/GR Supra, 2.0, 3.0, premium, manual, automatic, and Final Edition brake packages can use different pads. Measure the pad backing plate, confirm the caliper, and cross-check the VIN or OEM part number before buying.
Key Takeaways
- Brake pad fit is controlled by caliper shape, mounting tabs, rotor diameter, and backing-plate profile, not just by the Supra name.
- Published Toyota GR Supra technical data lists 348 x 36 mm front discs and 345 x 24 mm rear discs for standard GR Supra brake specs, but pads still need part-number confirmation.
- The 2026 GR Supra MkV Final Edition has upgraded braking hardware, so do not assume standard MkV pad fitment applies.
- For older MkIV/A80 cars, region and caliper package matter because smaller and larger brake setups exist.
- If two catalogs disagree, trust VIN-based OEM lookup, caliper markings, and physical measurement over a generic fitment table.
At a Glance
| Time Required | 20–45 minutes to identify and measure one axle |
| Difficulty | Moderate; wheel removal and safe lifting are required |
| Tools Needed | VIN, flashlight, floor jack, jack stands, lug wrench, digital caliper, tape measure, torque wrench, service information |
| Cost | Free if you already own tools; pads and installation cost vary by compound and brake package |
Supra Brake Pad Sizes: Quick Reference
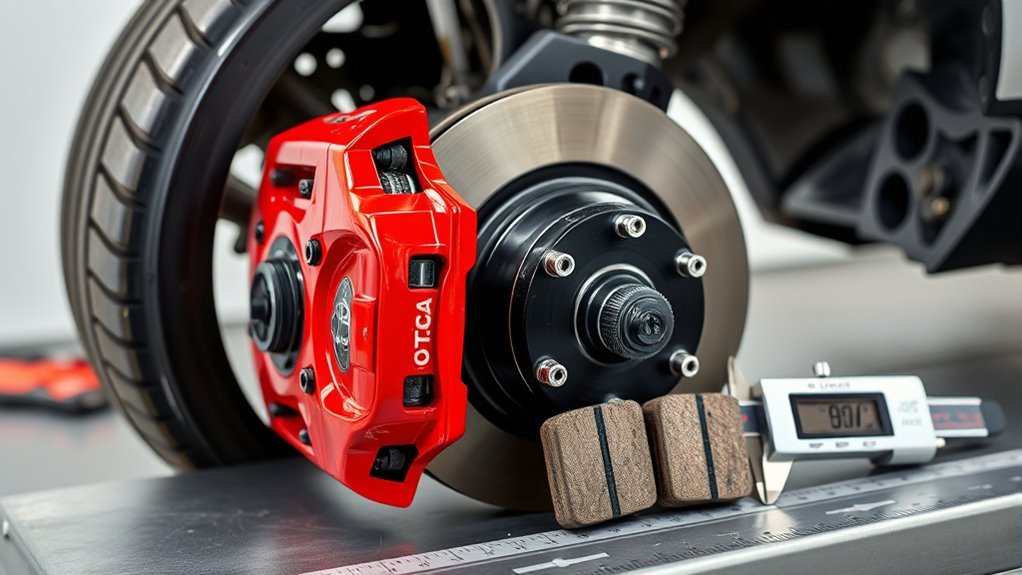
For a quick reference, start with the generation. A MkIV/A80 Supra and a MkV/GR Supra do not share the same brake pad geometry. Even within the same generation, pad shape can change when the caliper package changes.
| Supra Type | Brake Fitment Notes | Best Way to Confirm Pads |
|---|---|---|
| MkIV / A80 Supra | Pad fit varies by market, turbo/non-turbo package, and caliper setup. Do not assume every A80 uses the same front or rear pad. | Check caliper type, rotor size, backing-plate shape, and Toyota part number. |
| MkV / GR Supra 2.0 and 3.0 | Toyota technical specifications list ventilated discs with 4-pot fixed front calipers and single-pot floating rear calipers, plus 348 x 36 mm front discs and 345 x 24 mm rear discs for the listed GR Supra specs. | Use VIN-based parts lookup and confirm the brake package before buying. |
| 2026 GR Supra MkV Final Edition | Toyota says the Final Edition adds larger Brembo brake discs, so standard MkV assumptions may not apply. | Use Final Edition-specific OEM parts data or dealer confirmation. |
The practical rule is simple: front brake pad compatibility may look consistent across many standard MkV/GR Supra listings, but you still need to verify the exact caliper and grade. Rear pad selection is where mistakes happen most often, especially when trim, transmission, painted calipers, or special editions enter the picture.
Warning: Never force a brake pad into a caliper because the catalog says it “should fit.” A wrong backing plate can bind, wear unevenly, reduce stopping power, damage rotors, or create a safety risk.
Front & Rear Pad Sizes: MkIV vs GR/DB Supras
Starting with the calipers, MkIV and GR/DB Supras use different pad geometries. The MkIV/A80 platform has multiple brake packages depending on market and model, while the MkV/GR Supra has modern fixed front calipers and floating rear calipers on standard published specs. That means a “Supra front pad” is not a single shape.
For the GR Supra, Toyota’s published technical specifications list 348 x 36 mm front discs and 345 x 24 mm rear discs, with 4-pot fixed front calipers and single-pot floating rear calipers. Toyota’s 2023 GR Supra brochure also describes available Brembo brakes with four-piston front brake calipers and 2-piece 348-mm vented front disc rotors. Those specs help identify the brake system, but the pad itself still must match the caliper’s backing plate, tabs, spring hardware, wear sensor setup, and thickness.
For MkIV/A80 cars, many aftermarket catalogs list pad dimensions in millimeters, but those measurements are not a universal factory fitment rule. A pad listed as the right width and height can still be wrong if the backing ears, locating holes, or wear-sensor layout do not match your caliper.
Note: Rotor size helps identify the brake package, but it does not prove pad fit by itself. Always match the pad profile to the caliper, not only to the rotor diameter.
[Products Worth Considering]
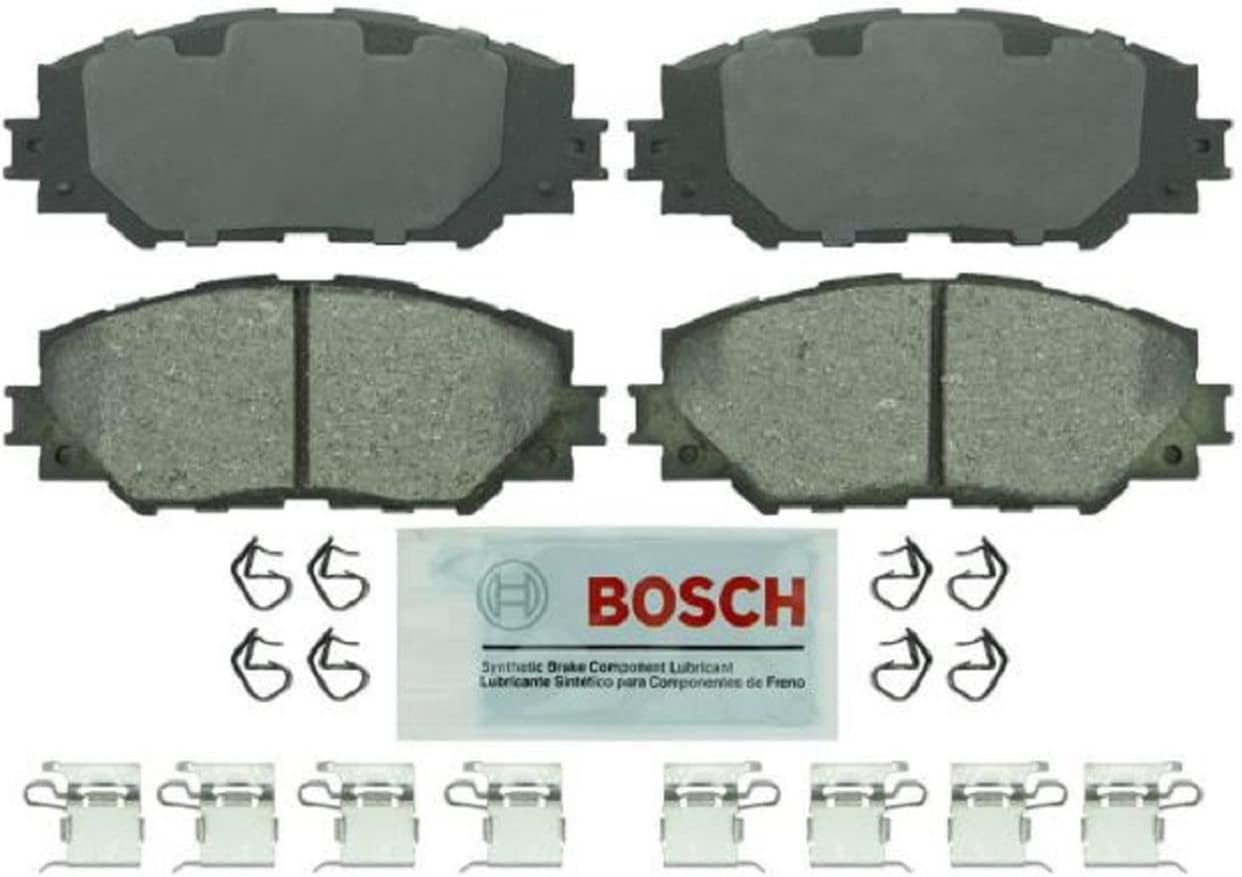
Bosch Blue ceramic front brake pads deliver dependable stopping power with platform-specific friction material designed for select Lexus, Pontiac, Scion, and Toyota vehicles. OE-style shims, slots, and chamfers help promote quiet braking, while the rust-inhibitive coating supports long-lasting performance and cleaner operation. The set includes hardware and synthetic lubricant for easier installation on one axle.

Bendix Premium Ceramic Front Brake Pads are engineered to match original equipment fit, form, and function for a straightforward replacement. Built with durable materials to help resist wear and corrosion, they support consistent braking performance and reduced brake fade for everyday driving. These pads are a dependable choice for compatible Pontiac, Scion, Toyota, and related vehicles.
How Caliper Type Affects Pad Fit
Caliper design controls pad size, pad shape, and how the friction material contacts the rotor. A 2-pot, 4-pot, or single-piston floating caliper may use a completely different backing plate even when the rotor diameter looks similar.
Caliper Piston Count
Piston count changes how clamping force spreads across the pad. A 4-pot fixed caliper usually uses a wider, more rigid pad shape with a larger contact area than a smaller floating caliper. The GR Supra’s published front setup uses 4-pot fixed calipers, while the rear uses a single-pot floating caliper, so front and rear pads are not interchangeable.
If you are upgrading or replacing calipers, match pad thickness and backing geometry to the new caliper. Mixing pads from another package can cause tapered wear, noise, vibration, weak pedal feel, or poor heat management.
Pad Shape Differences
Pad shape is just as important as friction material. Look at the full backing plate, not only the friction surface. Check these details before you order:
- Backing-plate outline: The pad must slide into the caliper bracket or fixed caliper body without binding.
- Mounting tabs and ears: Tabs must line up with pins, clips, and abutment hardware.
- Thickness: A pad that is too thick may drag; one that is too thin may rattle or wear quickly.
- Wear sensor provision: Some pads include a sensor slot or sensor-compatible shape; others do not.
- Chamfers and slots: These affect noise, heat release, and bedding behavior.
Pro Tip: Before removing the old pads, take photos of the caliper, clips, wear sensor routing, and pad orientation. Those photos make it much easier to compare new pads and reinstall hardware correctly.
Manual vs Automatic 3.0 Supra Brake Differences
Manual versus automatic fitment is one area where Supra owners can get conflicting catalog information. Some model-year and trim discussions focus on rear brake differences, painted calipers, or package equipment. Because Toyota updates trims and special editions over time, the safest answer is not “manual pads” or “automatic pads.” The safest answer is VIN, grade, brake package, and caliper confirmation.
Brake Size & Calipers
For standard GR Supra specifications, Toyota lists 4-pot fixed front calipers and single-pot floating rear calipers. For the 2026 MkV Final Edition, Toyota says larger Brembo brake discs were added to improve braking control. That makes the Final Edition an important exception to generic MkV fitment assumptions.
If your 3.0 Supra has red “Supra” calipers, gray calipers, a special-edition brake package, or a prior owner’s upgrade, do not rely on transmission alone. Use the caliper part number or the VIN-based Toyota parts catalog.
Trim-Based Feature Differences
Trim differences may be visual, mechanical, or both. Painted calipers can help identify a package, but color alone is not enough. A red caliper does not automatically prove pad shape, and a gray caliper does not automatically mean a smaller pad. Confirm the hardware directly.
Use this order when you are unsure:
- Decode the VIN and select the exact year, model, engine, grade, and transmission.
- Inspect the front and rear calipers for markings, color, piston count, and sensor routing.
- Measure the rotor diameter and thickness.
- Remove one old pad per axle if needed and measure the backing plate.
- Cross-check the part number with Toyota or a trusted brake manufacturer.
Donor Fitments: Lexus GS300, BMW Z4, and Swaps
Donor fitments can open up brake upgrade options, but they are also one of the easiest ways to buy the wrong parts. The MkV/GR Supra is closely related to the BMW Z4 platform, so some owners cross-reference BMW brake components. Older Supra owners also discuss Lexus brake swaps in enthusiast communities. Still, that does not mean Lexus GS300, BMW Z4, or other donor pads are automatic drop-in replacements for every Supra.
Before using any donor fitment, confirm all of the following:
- Caliper mount and piston layout: The caliper must physically match the bracket and rotor position.
- Rotor diameter and thickness: Pad sweep must match the rotor face, not hang over the edge.
- Pad backing plate: The ears, pins, clips, and sensor points must match.
- Brake bias and electronics: ABS, stability control, and brake balance can be affected by major brake changes.
- Wheel clearance: Larger calipers may hit the barrel or spokes of the wheel.
Use donor fitments only when you can verify the exact part number, not just the donor vehicle name. “BMW Z4 pad” or “Lexus GS pad” is too broad to be safe.
Choose Pads by Use: Street, Ceramic, or Track
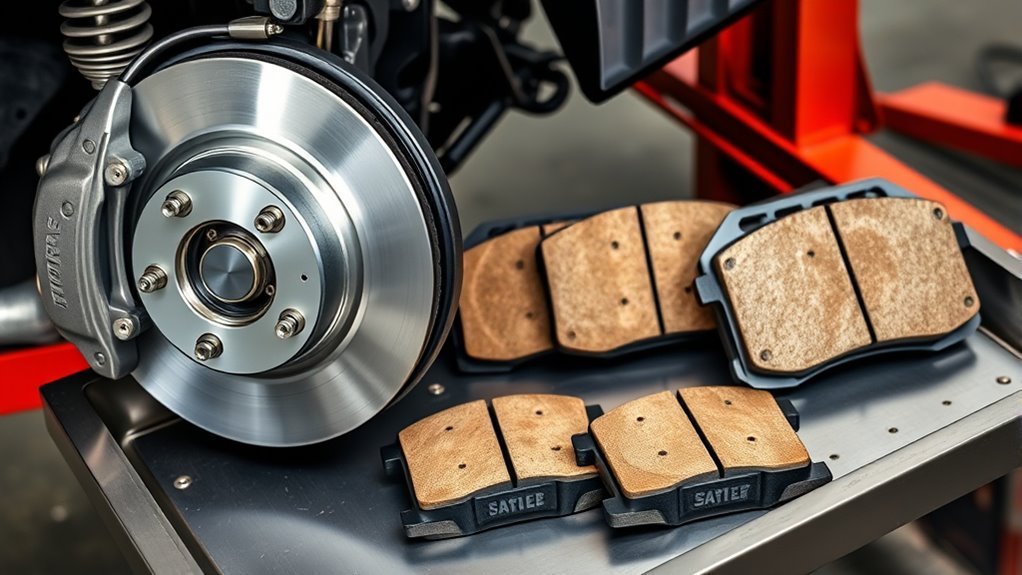
Once fitment is confirmed, choose the compound based on how you drive. A pad that feels great on a track day may squeal, dust heavily, and feel weak when cold during normal commuting. A quiet street pad may overheat if you push it hard on a road course.
| Pad Type | Best For | Trade-Offs |
|---|---|---|
| Street organic or low-metallic | Daily driving, quiet stops, smooth pedal feel | Less heat capacity for repeated hard braking |
| Ceramic street pad | Low dust, low noise, clean wheels, mixed commuting | May not deliver the bite or heat range needed for track use |
| Performance street pad | Spirited canyon driving and stronger initial bite | More dust, more noise, and possible rotor wear |
| Track pad | High heat, repeated hard stops, road-course use | Noisy, dusty, abrasive, and often poor when cold |
For a daily-driven Supra, a high-quality street or ceramic pad is usually the easiest choice. For autocross or light track use, consider a performance street pad from a reputable brand. For full track days, use a true track compound, high-temperature brake fluid, and a proper inspection routine before and after the event.
A pad that fits physically is only half the job. The compound also has to match the rotor, tire grip, speed, heat range, and how you actually use the car.
Measure Pads and Rotors at Home to Confirm Fitment
To confirm fitment, measure the pad and rotor with the wheel removed and the vehicle safely supported. Record the values before shopping so you can compare them against OEM specs or manufacturer fitment drawings.
Safe Measuring Process
- Park on level ground, set the parking brake, and chock the wheels that stay on the ground.
- Loosen the lug nuts slightly before lifting the car.
- Lift at the proper jacking point and support the car with jack stands.
- Remove the wheel and inspect the caliper, rotor, clips, and brake hose.
- Measure rotor diameter and thickness. Look for minimum thickness markings on the rotor hat or edge.
- If removing pads, measure total pad thickness, friction-material thickness, backing-plate length, backing-plate height, and tab locations.
- Record the VIN, axle, side, measurements, pad brand, and any numbers stamped on the old pad.
Warning: Never work under a car supported only by a jack. Use properly rated jack stands and follow the lifting points in the owner’s manual or service information.
What to Measure on the Pad
- Overall backing-plate length: end to end, including ears or tabs.
- Overall backing-plate height: top to bottom at the tallest point.
- Friction-material length and height: useful for comparing contact area.
- Total thickness: backing plate plus friction material.
- Sensor slot or clip location: important for warning-light compatibility.
- Chamfers, slots, and hardware: useful when matching noise-control features.
Toyota’s maintenance guidance says brake pads and rotors should be checked for excessive wear, rotors should be checked for runout, and calipers should be inspected for fluid leakage. Toyota also recommends that maintenance and repair be performed by a Toyota dealership or another qualified service center or repair shop.
Common Fitment Mistakes and How to Avoid Them
Most Supra brake pad mistakes come from assuming instead of verifying. Avoid these common errors:
- Buying by generation only: “MkIV pads” or “MkV pads” is too broad.
- Ignoring the rear brakes: Front pads may be easier to identify, but rear pads often vary by package.
- Trusting caliper color alone: Painted calipers are a clue, not proof.
- Forgetting special editions: Final Edition and performance packages can have unique hardware.
- Mixing street and track needs: A track pad may be unpleasant and unsafe when cold on the street.
- Skipping bedding: Even correctly fitted pads can feel poor if they are not bedded according to the pad maker’s instructions.
- Reusing damaged hardware: Clips, pins, shims, and sensors affect noise, fit, and pad movement.
If fitment guides disagree, pause before ordering. Ask the seller to confirm using your VIN, compare the pad drawing to your old pad, and check the caliper part number. A few extra minutes can prevent returns, brake noise, or unsafe installation.
Installation, Bedding, and Warranty Tips
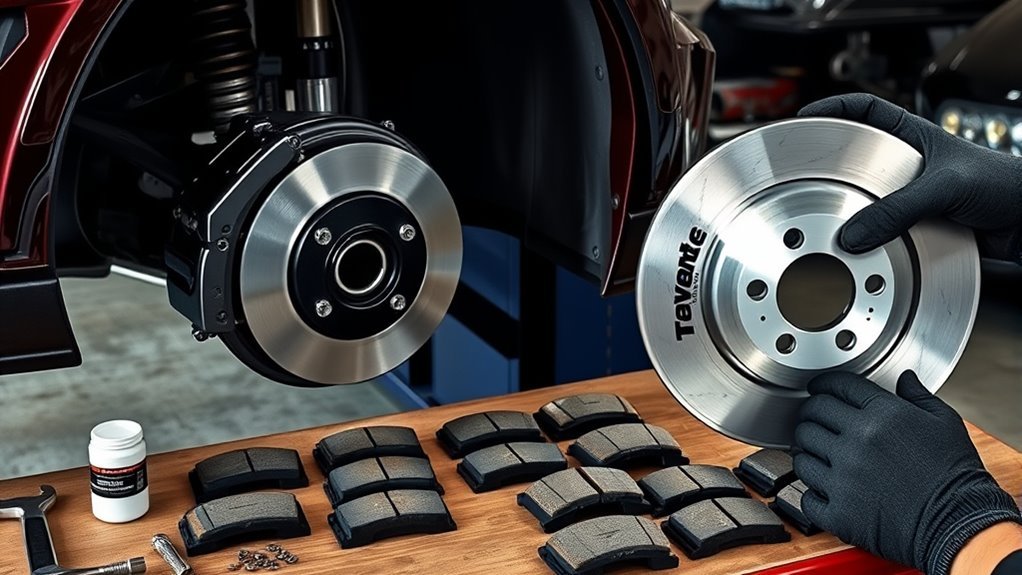
Brake installation is safety-critical. If you are not experienced with brake systems, have the pads installed by a qualified technician. Correct torque, clean contact points, proper sensor handling, caliper alignment, and brake-fluid inspection all matter.
Toyota’s GR Supra Warranty & Maintenance Guide states that maintenance and repair may be performed by you or by any automotive service provider, but damage or failure caused by improper maintenance or repairs is not covered under warranty. That means documentation is important: keep receipts, part numbers, mileage, installation notes, and bedding instructions.
Bedding New Brake Pads
Bedding transfers an even layer of pad material onto the rotor face. Follow the pad manufacturer’s instructions because the process varies by compound. A common street-pad routine uses several moderate stops from road speed, followed by a cool-down drive without holding the brake pedal at a complete stop for long periods.
After bedding, check for abnormal smell, smoke, vibration, pulling, scraping, warning lights, or uneven rotor marks. If anything feels wrong, stop driving and inspect the system.
Warranty and Compliance Notes
For street use, choose pads from a reputable manufacturer and check whether the pad meets the standards required in your region. In markets where it applies, UN/ECE Regulation No. 90 covers approval of replacement brake lining assemblies and related brake components. Track-only pads may not be legal or suitable for road use.
Frequently Asked Questions
What is the difference between Supra 2.0 and 3.0 brakes?
Published GR Supra technical specifications list the same front and rear disc dimensions for the 2.0 and 3.0 in that document, but U.S. trims, model years, special editions, painted caliper packages, and parts catalogs can still differ. Always confirm by VIN and caliper package instead of assuming all 2.0 and 3.0 pads interchange.
What size are the front brakes on a GR Supra?
Toyota technical specifications list 348 x 36 mm front discs for the GR Supra, and Toyota’s 2023 brochure describes available Brembo brakes with four-piston front calipers and 2-piece 348-mm vented front rotors. The 2026 MkV Final Edition is an exception because Toyota says it uses larger Brembo brake discs.
Can I use BMW Z4 brake pads on a GR Supra?
Sometimes cross-references exist because the GR Supra and BMW Z4 are closely related, but you should never buy by model name alone. Match the exact pad shape, caliper package, sensor setup, rotor size, and part number before using any BMW cross-reference.
Do front and rear Supra pads interchange?
No. Front and rear pads use different calipers and backing-plate shapes. On GR Supra specs, the front uses 4-pot fixed calipers while the rear uses a single-pot floating caliper, so the pads are completely different.
Should I measure my old pads before ordering?
Yes. Measuring the old pad backing plate is one of the best ways to catch catalog errors. Record length, height, total thickness, tab shape, wear-sensor location, and any stamped part numbers, then compare those details with the replacement pad drawing.
Conclusion
You can pick the right Supra brake pads without guesswork if you treat fitment like a technical check, not a model-name search. Identify the generation, trim, transmission, brake package, rotor size, caliper type, and VIN. Then confirm the pad backing plate, thickness, tabs, hardware, and sensor setup against OEM or manufacturer data.
Do that before buying and your Supra’s brakes will fit properly, bed correctly, and deliver the bite, feel, and control you expect.
Sources
- Toyota GR Supra Technical Specifications — GR Supra caliper type and disc dimensions.
- 2023 Toyota GR Supra eBrochure — Brembo front caliper and 348-mm front rotor information.
- Toyota USA Newsroom: GR Supra MkV Final Edition — Final Edition braking updates and larger Brembo brake discs.
- 2023 Toyota GR Supra Warranty & Maintenance Guide — brake inspection, repair, maintenance, and warranty guidance.
- Toyota Owners Manuals and Warranties — official Toyota manuals, warranty information, and maintenance resources.
- UN/ECE Regulation No. 90 — replacement brake lining approval reference for applicable markets.