If your RAV4 gets noisy at 50–70 mph, run steady-speed tests to tell wind from road noise: wind noise rises consistently with speed and drops when you cover mirrors or smooth the surface. Likely culprits are mirror design, worn door seals, thin glass or roof racks causing turbulence. Try adhesive seal tape, mirror caulk/trim and interior damping first; document persistent symptoms, warranty status and repeatable tests before involving the dealer — continue for step-by-step fixes and escalation tips.
Diagnose Wind vs Road Noise (Quick 2-Minute Tests)
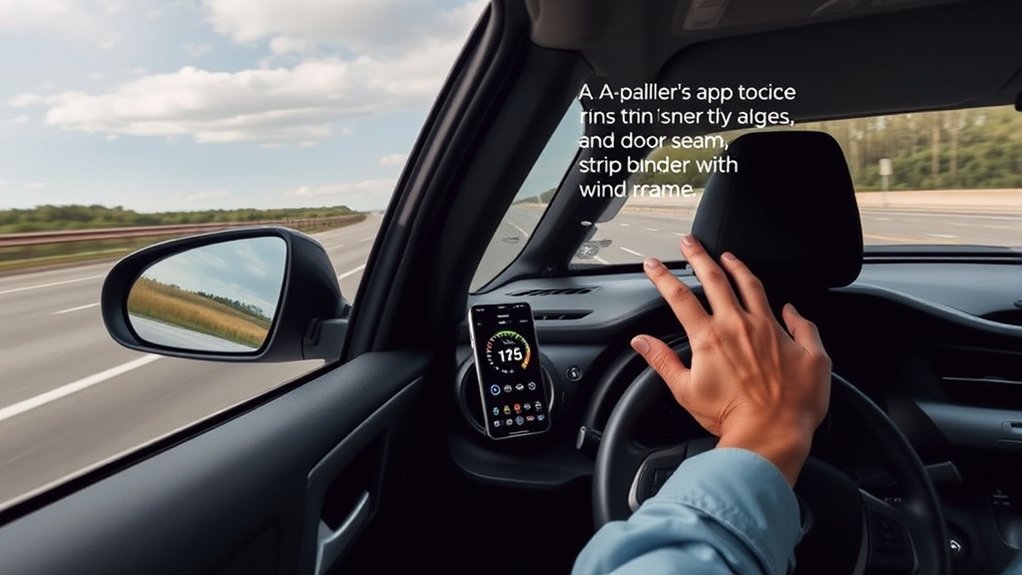
Want to know whether that vibration is wind or road noise? You’ll run focused, repeatable checks in two minutes to isolate the source. Drive at a steady 50–70 mph and note whether overall noise intensity climbs with speed; a consistent increase indicates aerodynamic wind noise, while variable levels point to road noise from tires and pavement. Use a passive sound meter app to record decibel changes and track noise frequency shifts across speeds. Compare readings on smooth versus rough surfaces: significant jumps on rough roads implicate road noise, stable high-speed readings implicate wind. Temporarily cover side mirrors with tape or fabric—any measurable drop implicates an aerodynamic path. Listen for directionality: frontal and lateral origins suggest air leaks around seals despite sound insulation; low, diffuse origins suggest tire-pavement transmission. These concise, evidence-based tests free you to target corrective measures efficiently, minimizing time and expense.
Pinpoint Likely RAV4 Wind-Noise Sources (Mirrors, Seals, Glass, Racks)
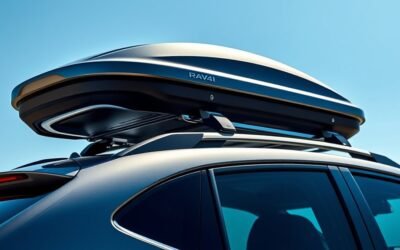
When you narrow the search for RAV4 wind noise, focus first on side mirrors, door seals, glass type, and roof racks—these account for the majority of aerodynamic sources at highway speeds (notably around 69–70 mph). You’ll assess components that most directly alter airflow dynamics and radiated sound. Mirror design often creates vortex shedding at the mirror–window gap; irregular shapes amplify broadband hiss. Seal quality around doors and windows governs leak paths; poor seals produce tonal whistles and broadband leakage. Glass thickness matters: single-pane glass transmits more airborne noise than laminated or thicker units. Roof racks and aftermarket add-ons change pressure distribution, spawning additional turbulence.
- Examine mirror design for protrusions, gaps, and mounting tolerances.
- Inspect seal quality for compression, lip wear, and assembly variance by plant.
- Compare glass thickness/lamination and roof-rack profiles to manufacturer specs.
You’ll use this evidence-based checklist to isolate sources and demand precise repairs or upgrades for true acoustic liberation.
Quick DIY Fixes That Often Work (Seal Tape, Caulk, Mirror Trim, Dampening)
Start with small, targeted interventions that address the most common leakage and turbulence points: apply adhesive seal tape to compressible door and window edges, seal gaps under side mirrors with automotive-grade caulk, fit aerodynamic mirror trim where gaps or sharp edges create vortex shedding, and add interior vibration-damping panels to absorb transmitted noise. You’ll verify seal tape effectiveness by measuring pre/post dB with the same route; quality closed-cell foam tape compresses to fill uneven gaps and resists weathering. For caulk application tips, clean substrates, use a gun-compatible polyurethane or silicone formulated for automotive use, and tool the bead to guarantee full contact beneath the mirror base. Install low-profile mirror trim that matches contour to smooth airflow at highway speeds. Inside, adhere closed-cell or viscoelastic damping panels to sheet metal and door skins at resonance points. Inspect weather stripping after these fixes; proactive maintenance preserves gains. These DIY steps are low-cost, reversible, and let you reclaim quieter drives.
When to Involve Dealer or OEM : Steps, Warranty, and Evidence to Bring
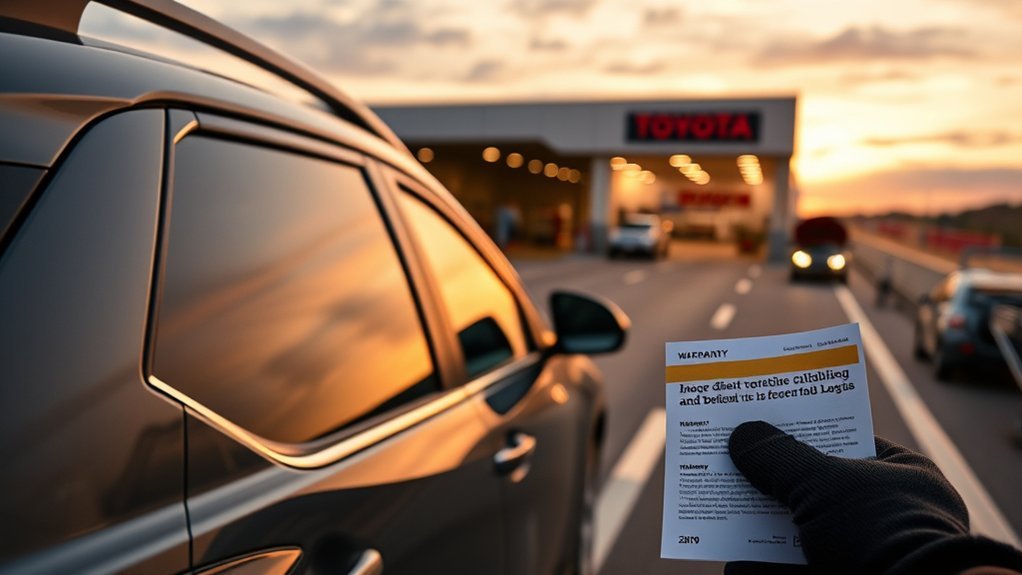
After you’ve tried targeted DIY fixes and logged any measurable improvements, decide when to involve the dealer by evaluating persistence, repeatability, and potential warranty coverage of the noise. If noise recurs at consistent speeds or conditions despite your interventions, escalate with clear evidence. Collect time-stamped audio/video, speed/gear/temperature notes, and forum-corroborated symptom descriptions. Review warranty details before the visit to know what’s covered and cite manufacturing-defect precedence if applicable. Use firm, documented dealer communication and expect focused inspection of likely sources (door seals, window alignment, mirror housings).
After DIY attempts, document repeatable wind-noise evidence and escalate to the dealer with warranty and forum-backed proof.
- Prepare: compile logs, media, forum references, vehicle warranty details, and reproduce the noise on demand for the technician.
- Present: show repeatable tests, specify suspected components, request documented diagnostic steps and timelines; insist on service-manager escalation if unresolved.
- Escalate: if dealer response is inadequate, contact Toyota customer service with your evidence packet and note all prior dealer communication.
This approach preserves your rights, speeds resolution, and moves you toward freedom from persistent wind noise.
Costs, Trade-Offs, and When to Replace the Vehicle
If persistent wind noise resists targeted fixes, you’ll need to weigh the direct costs of further interventions against the value of replacing the vehicle. You’ll perform a cost benefit analysis: DIY sealing and trim adjustments cost under $100; professional installations or sound-deadening materials can exceed $100 and accumulate with repeated attempts. Empirical reports show variable effectiveness—some owners gain measurable reductions, others see minimal change—so quantify expected decibel reduction per dollar before committing.
Consider upgrade considerations: newer RAV4s offer laminated glass and improved seals that materially lower cabin noise, which can justify purchase cost for those prioritizing quiet. Track cumulative repair spend, projected future fixes, and resale impact. If ongoing modifications approach the price differential to a quieter replacement, replacing the vehicle becomes a rational liberation from iterative repairs. Decide based on quantified noise reduction, budget, and tolerance for continued intervention versus the definitive benefits of an upgraded, better-insulated model.
Frequently Asked Questions
How to Fix Wind Noise From Windshield While Driving?
Check and replace damaged windshield seals, align the glass, and add aftermarket weather stripping for improved noise insulation; lubricate seals with silicone grease, inspect for cracks, and tighten trim to reclaim cabin quiet and driving freedom.
How Much Does It Cost to Replace a Wheel Bearing on a Toyota RAV4?
Think of bearings as a car’s heartbeat; you’ll pay roughly $300–$800 for a wheel bearing replacement, with parts $50–$150 and labor $100–$200. Replace timely to prevent failure, uneven wear, and hazards.
How to Make RAV4 Less Noisy?
You’ll reduce noise by installing acoustic seals, upgrading glass, tightening trim and roof racks, and applying soundproofing materials to doors and wheel wells; verify door alignment and test changes, because measured reductions empower your driving freedom.
Conclusion
You’ve now got focused tests and targeted fixes to isolate RAV4 wind noise—start simple, rule out road noise, then check mirrors, seals, glass, and racks. Try proven DIY steps (seal tape, automotive caulk, trim adjustment, dampening) before escalating. If persistent, gather recordings, photos, and replication steps and take it to the dealer or OEM under warranty. Don’t let small leaks become a big problem; nip it in the bud and document everything.