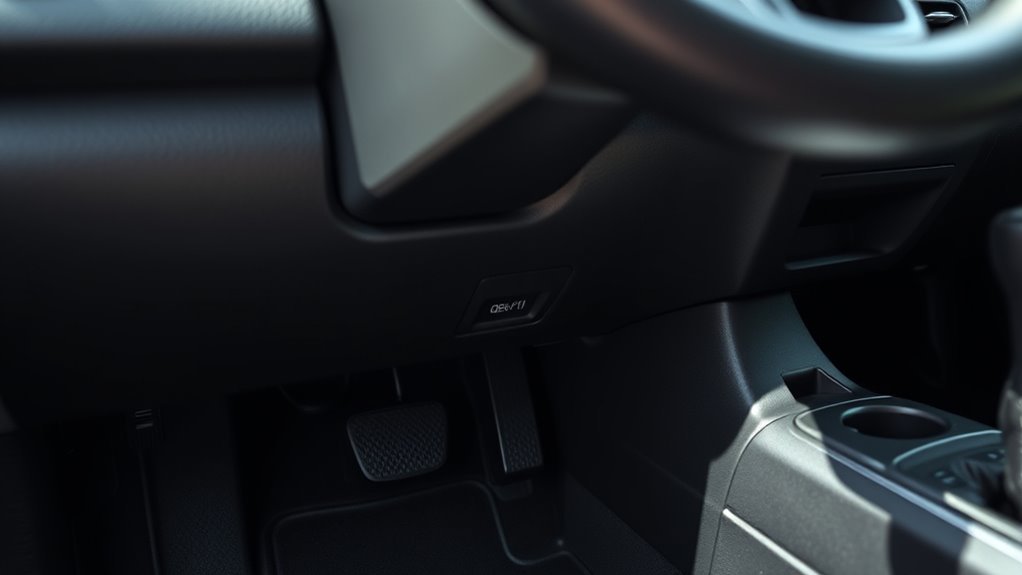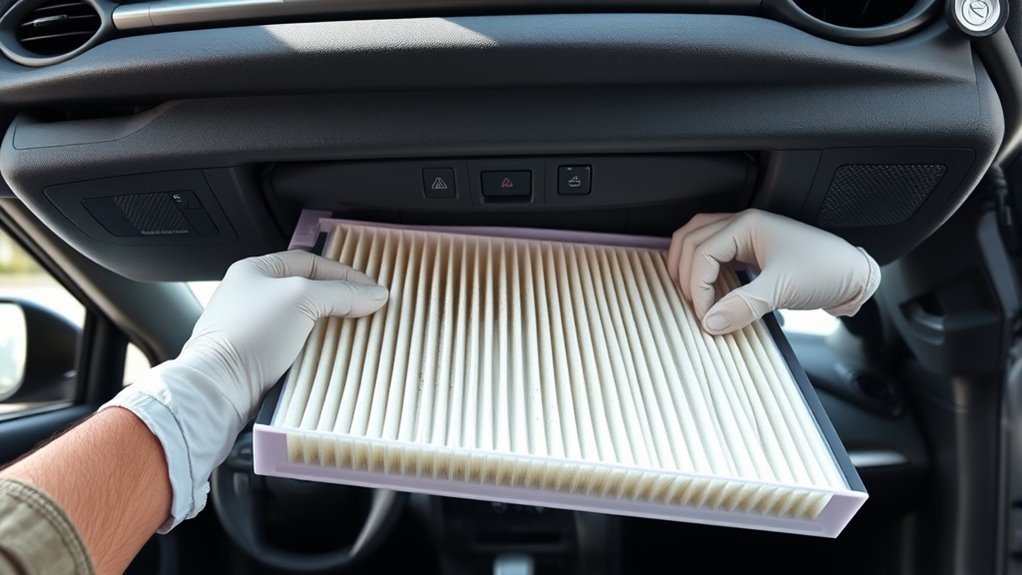
You can replace a Toyota RAV4 cabin air filter in about 5–10 minutes from behind the glove box. The job is beginner-friendly, usually tool-free, and easiest when you match the old filter’s orientation before removing it. The most important detail is the arrow label: Toyota’s “UP” mark points up, while many aftermarket “AIR FLOW” arrows point in the airflow direction, which may not be the same thing.
Quick Answer
Open the RAV4 glove box, detach the right-side dampener, squeeze the glove box sides inward, lower it, remove the cabin filter cover, slide out the old filter, install the new filter in the correct orientation, snap the cover back on, reattach the glove box, and test the HVAC airflow.
Key Takeaways
- Most late-model RAV4 cabin filters sit behind the glove box and can be changed without removing screws.
- Use the correct filter for your model year and trim; Toyota 87139-0R030 is common for many late-model Toyotas, but you should confirm fitment by VIN or model year before buying.
- Do not confuse UP arrows with AIR FLOW arrows. Follow the label on the filter and the instructions from the filter maker.
- Toyota’s maintenance guide commonly calls for cabin air filter replacement at scheduled intervals, and earlier replacement may be needed in dusty, urban, high-pollen, or heavy-traffic driving.
At a Glance
| Time Required | 5–10 minutes for most owners |
| Difficulty | Beginner |
| Tools Needed | Usually none; optional flashlight, gloves, microfiber cloth, and small vacuum |
| Cost | Usually the price of the filter only for DIY; shop pricing varies by location and filter type |
What the Cabin Air Filter Does and Why This Job Matters
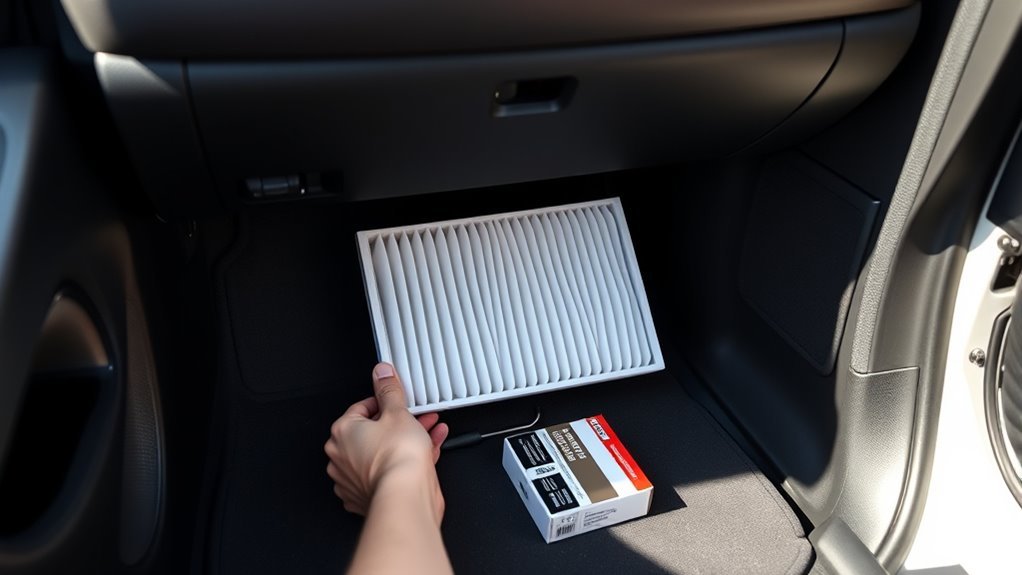
The RAV4 cabin air filter cleans air entering the passenger cabin through the heating and air conditioning system. A fresh filter helps reduce dust, pollen, leaves, and road debris before they reach the vents. Toyota’s genuine cabin filter page also notes that cabin filters help support clean cabin air and steady HVAC airflow when replaced as recommended.
This is not the same as the engine air filter. The engine air filter protects the engine’s intake system. The cabin air filter protects the air you and your passengers breathe through the HVAC vents. Replacing the cabin filter is one of the easiest RAV4 maintenance tasks because the filter housing is accessible from the passenger-side glove box.
Toyota’s RAV4 owner instructions say the filter’s “UP” marks should point up during installation, and the maintenance guide notes that dusty roads, heavy traffic, urban conditions, and reduced airflow can require earlier attention.
Parts and Tools: Toyota 87139-0R030 vs K&N Replacement
You’ll mainly need a replacement RAV4 cabin air filter. For many late-model Toyota applications, the common genuine Toyota cabin filter part number is 87139-0R030, but RAV4 fitment can vary by model year, market, trim, and filter type. Before ordering, check your owner’s manual, dealer parts catalog, VIN lookup, or the filter manufacturer’s fitment tool.
K&N also sells washable cabin air filter options for Toyota RAV4 models, but the correct K&N part number depends on your model year and engine. Do not buy a filter only because the outside dimensions look close. A poor seal around the filter edge can let unfiltered air bypass the media or create weak airflow.
Warning: Turn the vehicle and climate system off before opening the filter housing. For RAV4 Prime models, make sure the charging connector is not connected and climate-prep features are not about to start the air conditioning while your hands are near the housing.
[Products Worth Considering]

This cabin air filter replacement helps keep the air inside your vehicle cleaner and fresher for driver and passengers. Designed for broad fitment across Toyota, Lexus, Subaru, and Mazda models, it supports improved HVAC performance and includes soda and carbon filtration for odor reduction. It is a practical maintenance part with a recommended replacement interval for continued cabin comfort.

Bosch 6029C HEPA cabin air filter is designed to help keep your vehicle’s passenger compartment filled with clean, fresh, odor-free air. Its dense HEPA media and electrostatic layer are engineered to capture fine particles while the added cotton layer supports higher filtration capacity. Built with structural ribs for stability, it helps maintain filter shape and airflow performance over time.

This center console organizer tray is designed for a precise fit in the Toyota RAV4 2026, helping turn deep console space into practical everyday storage. It keeps small essentials like phones, cards, coins, and sunglasses neatly organized and easy to reach while reducing movement and noise with a non-slip mat. Built from durable ABS and made for simple tool-free installation, it offers a clean, convenient upgrade for your interior.
OEM Part: Toyota 87139-0R030
The Toyota Genuine 87139-0R030 cabin air filter is an OEM-style choice for many Toyota vehicles. The main advantage is predictable fit, clear Toyota-style orientation marking, and a design intended to balance filtration and airflow for the climate control system.
If your RAV4 uses this part, installation is straightforward: place it into the filter tray without crushing the pleats, keep the edges seated flat, and follow the marking printed on the filter. If the filter says UP, the arrow points upward, matching Toyota’s owner-manual wording for the air conditioning filter.
Aftermarket Option: K&N Filter
A K&N cabin air filter can be a good aftermarket option if you want a washable, reusable filter and the part is confirmed for your exact RAV4. K&N’s RAV4 catalog lists different filter options by model year, so use the brand’s fitment selector rather than assuming one part fits all RAV4s.
Pay close attention to the printed arrow. Many aftermarket filters use AIR FLOW arrows instead of UP arrows. Those labels mean different things. An UP arrow tells you which side faces upward. An AIR FLOW arrow tells you the direction air moves through the filter. On many late-model RAV4 filters, an aftermarket air-flow arrow may point downward, so read the filter label before sliding it in.
Note: If your old filter was installed incorrectly, copying its direction can repeat the mistake. Use the owner’s manual and the new filter’s printed label as the final guide.
Standard vs Carbon vs Washable Filters
RAV4 cabin filters generally fall into three practical categories:
- Standard particulate filters: Good for dust, pollen, and general debris. They are usually the lowest-cost option.
- Activated carbon or odor-control filters: Often better if you drive in traffic, near smoke, or in areas with strong odors. They may cost more and can be slightly more restrictive depending on design.
- Washable reusable filters: Useful if you want to clean and reuse the filter, but you must follow the manufacturer’s cleaning and drying instructions before reinstalling it.
Fitment and Performance Differences
Even when two filters are listed for a RAV4, expect differences in pleat count, media density, edge sealing, and odor-control layers. The filter should slide into the tray without being forced, sit flat, and allow the cover to snap closed without bending the frame.
Choose the filter based on your driving environment. A basic filter is usually fine for clean suburban driving. A carbon filter can make more sense for heavy traffic, wildfire-smoke seasons, construction zones, dusty roads, or high-pollen areas. If your fan sounds strained after installation, recheck orientation, fitment, and whether the filter is too restrictive for your HVAC system.
Before You Start: Safety and Prep
Park on a flat surface, set the parking brake, turn the vehicle off, and remove everything from the glove box. Keep your registration, manuals, and small items in a safe place so nothing falls behind the dash while the glove box is lowered.
Have the new filter nearby and compare it with the old one before installation. The length, width, thickness, pleat direction, and edge shape should match. If it is visibly too large, too small, or the cover will not close easily, stop and verify the part number.
Pro Tip: Take a quick phone photo of the old filter before pulling it out. It gives you a reference for tray position, cover direction, and any printed markings.
Access the Filter Housing Behind the Glove Box
- Open and empty the glove box. Remove loose items so they do not fall into the footwell or behind the dash.
- Detach the dampener arm. On most late-model RAV4s, the small dampener arm is on the right side of the glove box. Slide or pinch it free gently; do not yank it.
- Release the glove box stops. Press both sides of the glove box inward to clear the side stops. The glove box will lower farther than normal.
- Support the glove box. Let it hang only as far as needed. Avoid stressing hinges, wiring, or trim.
- Locate the filter cover. Behind the lowered glove box, look for the rectangular cabin air filter cover on the HVAC housing.
The cover usually releases by pressing the side tab or tabs, then pulling the cover straight out. Identify how it clips in before applying pressure. If it resists, check for the tab you missed instead of prying hard.
[Products Worth Considering]

These Nilight LED spot pods deliver focused white light for improved visibility on roads, trails, and job sites. The adjustable mounting brackets let you aim the beam where you need it, while the durable aluminum housing and IP67 waterproof design help them perform in tough outdoor conditions. Ideal for trucks, ATVs, UTVs, boats, and other universal-fit vehicles.

This Puroma cabin air filter uses activated carbon and a close-meshed non-woven layer to help block airborne particles and reduce unwanted odors inside the vehicle. It supports cleaner cabin air and improved HVAC airflow, helping maintain comfortable heating and cooling performance. Designed for quick installation, it is compatible with a wide range of Toyota, Lexus, Mazda, and Subaru models.

[Vehicle Fitment]: Replacement for Toyota: Avalon (2019-2022), Camry (2018-2025), Corolla (2019-2025), Corolla Cross (2022-2025), CROWN (2023-2024), C-HR (2018-2022) [IMPORTANT: Fits Japan Built Models ONLY, VIN starts with 'J'],Highlander (2020-2025), Prius (2016-2025), Prius AWD-E (2019-2022), Prius Prime (2017-2024), RAV4 (2019-2025), RAV4 Prime (2021-2024), Sienna (2021-2025), Venza (2021-2024), Grand Highlander (2024-2025), GR Corolla (2023-2025).
Remove the Old Filter Safely: Orientation and Tips
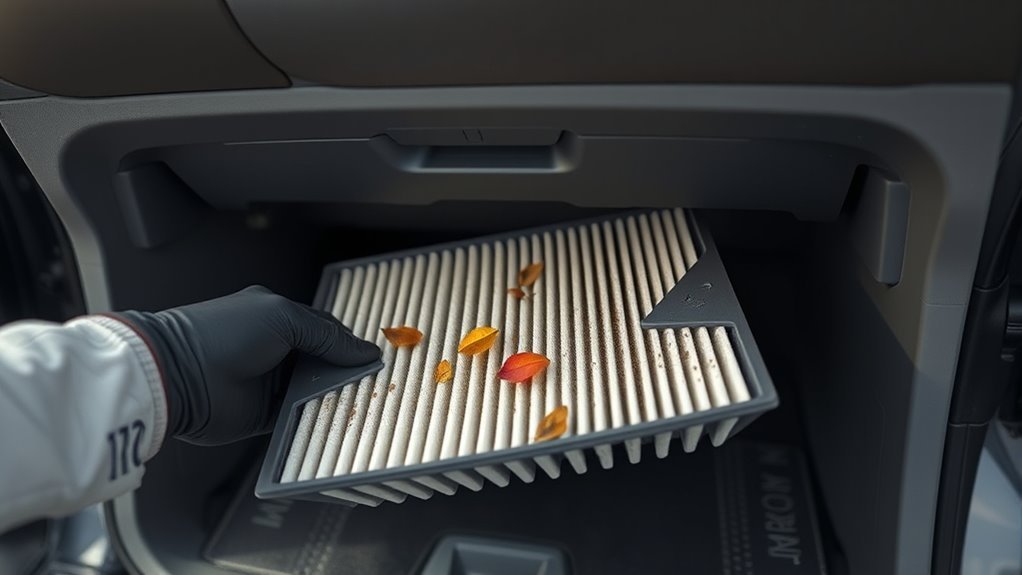
Release the filter cover and pull out the filter tray or filter element, depending on your RAV4 model year. Move slowly so dust, leaves, and grit do not spill into the blower area. If the filter is packed with debris, keep it level as you remove it.
Before throwing the old filter away, inspect the label. Look for UP, AIR FLOW, or any arrow on the frame. Also look at the filter’s dirty side. That can help you understand which side was facing incoming air, but the printed instructions on the new filter still matter most.
Use a microfiber cloth, soft brush, or small vacuum to clean visible leaves and dust around the tray and housing. Avoid sharp tools and do not push debris deeper into the duct. Never wash the HVAC housing with water.
Install the New Filter and Secure the Housing
Place the new cabin air filter into the tray or housing with the correct side facing the correct direction. For an OEM-style Toyota filter marked UP, install it with the UP mark pointing upward, as Toyota’s RAV4 owner instructions specify. For an aftermarket filter marked AIR FLOW, follow the filter manufacturer’s airflow direction guidance.
- Check the printed label. Confirm whether the arrow says UP or AIR FLOW.
- Seat the filter evenly. The pleats should not fold, bunch, or hang over the tray edge.
- Slide the tray or filter back in. Use light, steady pressure. Do not force it.
- Reinstall the cover. Engage the fixed side first if the cover uses one, then press the tab side until it clicks.
- Check for gaps. The cover should sit flush against the housing.
If the cover will not close, remove the filter and check thickness, edge position, and arrow orientation. A filter that is upside down, crooked, or not seated can reduce airflow and create rattles.
[Products Worth Considering]

Compatible Auto List: Our cabin air filter is compatible with Toyota: Avalon (2019-2022), Camry (2018-2026), Corolla (2019-2026), Corolla Cross(2022-2026), CROWN(2023-2026), Highlander (2020-2026), Prius (2016-2026), Prius AWD-E (2019-2022), Prius Prime (2017-2024), RAV4 (2019-2025), RAV4 Prime (2021-2024), Sienna (2021-2026), Venza (2021-2024), Grand Highlander (2024-2026), GR Corolla (2023-2026), Crown Signia (2025-2026), C-HR (Japan Built Models Only) (2018-2022).

[Vehicle Fitment]: For Toyota: 4Runner (2010-2024), Avalon (2005-2018), Camry (2007-2017), Corolla (2009-2019), Corolla iM (2017-2018), Highlander (2008-2019), Land Cruiser (2008-2011,2013-2021), Matrix (2009-2014), Mirai (2016-2020), Prius (2010-2015), Prius C (2012-2019), Prius Plug-In (2012-2015), Prius V (2012-2018), RAV4 (2006-2018), Sequoia (2008-2022), Sienna (2011-2020), Tundra (2007-2021), Venza (2009-2016), Yaris (2007-2018).
Reassemble, Test Airflow, and Fix Common Issues
Raise the glove box back into position, press the sides inward if needed to clear the stops, and reattach the right-side dampener arm. Close the glove box and make sure it opens smoothly.
Start the vehicle and run the fan on low, medium, and high. Test face vents, floor vents, defrost, heat, and air conditioning. Airflow should feel steady, and there should be no rattling from behind the glove box.
| Problem | Likely Cause | Fix |
|---|---|---|
| Weak airflow | Filter not seated, wrong orientation, clogged new filter, or debris in housing | Reopen the cover, reseat the filter, clean visible debris, and retest |
| Rattle behind glove box | Loose cover, loose glove box dampener, or debris near blower | Snap the cover fully closed and confirm the dampener is attached |
| Musty odor remains | Moisture, old debris, or odor in evaporator case | Use fresh-air mode, check for damp debris, and consult a technician if odor persists |
| Windows fog easily | Restricted airflow, recirculation use, or HVAC issue | Check filter seating, use fresh-air/defrost mode, and seek service if the issue continues |
If airflow is still poor after the filter is correctly installed and the housing is clean, the issue may be outside the filter: blower motor, mode door actuator, duct blockage, evaporator restriction, or electrical control problems. At that point, consult the vehicle manual or a qualified technician.
How Often to Replace a RAV4 Cabin Air Filter
For many RAV4 maintenance schedules, Toyota lists cabin air filter replacement at scheduled mileage/month intervals and inspection at other service visits. The 2024 RAV4 Hybrid maintenance guide, for example, lists replace cabin air filter at 30,000 miles or 36 months, with similar recurring service later in the schedule.
Replace it sooner if you often drive in:
- Dusty or dirt-road areas
- Heavy city traffic
- High-pollen regions
- Construction zones
- Wildfire-smoke conditions
- Humid areas where odors develop quickly
Common signs it is time to check the filter include reduced airflow, stale or musty smells, foggy windows in fresh-air mode, louder blower noise, or visible dirt and leaves when you inspect the filter.
Common Mistakes to Avoid
- Mixing up UP and AIR FLOW arrows: They are not always the same instruction.
- Forcing the glove box: The side stops and dampener should release with gentle pressure.
- Installing the wrong filter: Always confirm year, trim, engine, and fitment before buying.
- Leaving debris in the tray: Leaves and grit can cause odors and noise.
- Running HVAC while the housing is open: Keep fingers and loose items away from the blower path.
- Ignoring persistent airflow problems: A new filter will not fix a failing blower motor, stuck actuator, or blocked duct.
Frequently Asked Questions
How often should I change the cabin air filter on my RAV4?
Check your model-year maintenance guide first. Many Toyota RAV4 schedules call for cabin air filter replacement at set service intervals, such as 30,000 miles or 36 months on the 2024 RAV4 Hybrid schedule. Replace it earlier if airflow drops, windows fog easily, odors appear, or you drive in dust, pollen, smoke, or heavy traffic.
What are three symptoms of a clogged cabin air filter?
Three common symptoms are weak airflow from the vents, musty or stale odors, and windows that fog more easily when using fresh-air or defrost mode. You may also hear the blower working harder than usual because air is struggling to pass through the filter.
How much does it cost to replace the cabin air filter on a RAV4?
DIY cost is usually just the cost of the filter. Standard disposable filters are often less expensive than carbon or washable reusable filters. Professional service costs more because it includes labor and shop pricing, so DIY replacement is usually the lowest-cost option if you are comfortable lowering the glove box.
Should the RAV4 cabin filter arrow point up or down?
It depends on the label. Toyota owner instructions say the filter’s UP marks should point up. However, many aftermarket filters use AIR FLOW arrows, which show the direction air moves through the filter. Do not treat an AIR FLOW arrow as an UP arrow. Follow the filter label and manufacturer instructions.
Can I drive without a cabin air filter?
It is not a good idea. The HVAC system may still blow air, but dust, leaves, pollen, and debris can enter the ducts more easily. That can lead to odors, dirty vents, reduced comfort, and debris near the blower motor. Install the correct filter before regular driving.
Conclusion
You’re done once the new filter sits flat, the cover clicks into place, the glove box opens normally, and the HVAC fan blows steady air through each vent mode. Note the date and mileage so you know when to check it again. If you notice rattles, weak airflow, or foggy windows after replacement, reopen the housing and verify fitment, seating, and arrow direction before looking for deeper HVAC issues.
Sources
- Toyota Owners — 2020 RAV4 Air Conditioning Filter — official glove-box access steps and “UP” mark orientation guidance.
- Toyota Owners — 2024 RAV4 Hybrid Air Conditioning Filter — official filter housing and replacement instructions for a late-model RAV4 Hybrid.
- Toyota 2024 RAV4 Hybrid Warranty & Maintenance Guide — maintenance interval references and notes about dusty, urban, heavy-traffic, and reduced-airflow conditions.
- Toyota Genuine Cabin Air Filter 87139-0R030 — OEM part number and Toyota product information.
- K&N Toyota RAV4 Cabin Air Filters — aftermarket RAV4 cabin filter fitment examples and washable filter options.