By: Merrick Vaughn · [VERIFY: add relevant automotive credentials] · Last updated: September 1, 2026
Disclosure: This page may include affiliate links added by site shopping modules. If you buy through one of those links, we may earn a commission at no extra cost to you. That does not change the diagnostic steps, safety guidance, or parts-fitment checks in this article.
If one Toyota RAV4 door won’t lock or unlock from the key fob or power-lock switch while the other doors respond, the most likely fault is inside that door: a weak actuator motor, a jammed latch, a loose connector, or damaged door-jamb wiring. Confirm that the connector receives a lock and unlock command before replacing parts. This guide focuses specifically on actuator diagnosis and replacement using a 2014 U.S.-market RAV4 as its reference, but fasteners, wiring, trim, and part numbers vary by model year and door position.
Quick Answer
A faulty RAV4 door lock actuator usually affects one door while the others work. The door may stay locked or unlocked, move only partway, buzz, grind, or work intermittently. First compare all doors, check manual latch movement, and test for a command at the actuator connector. Replace the correct latch/actuator assembly only after the local wiring and connector pass inspection.
Key Takeaways
- A bad actuator usually affects one door, while a fuse, switch, body control, key-fob, or other shared-circuit problem can affect more than one door.
- Do not replace the actuator until you confirm power and ground reach the door-lock connector during lock and unlock commands.
- The actuator is commonly serviced as part of the door lock/latch assembly, so match the side, door position, connector, and part number before ordering.
- Connector voltage and ground during an actual lock or unlock command are stronger evidence than a stand-alone resistance reading. Use the Toyota service information for the exact connector and pins.
Editorial verification: This guide was reviewed on September 1, 2026 against Toyota Technical Information System resources, Toyota owner/parts/recall information, NHTSA recall guidance, the March 9, 2026 federal court order discussed below, and current RepairPal cost data. It does not claim hands-on testing of a specific replacement actuator. Use model-year-specific Toyota service information for exact wiring terminals, fastener torque, and removal procedures.
At a Glance
| Reference Vehicle | 2014 U.S.-market RAV4; verify the procedure for your exact year, trim, door, and market |
| Time Required | Varies by door and experience; first-time door-panel and latch work may take several hours |
| Difficulty | Moderate DIY repair with trim removal and electrical testing |
| Current Shop-Cost Benchmark | RepairPal lists $483–$635 for a RAV4 overall and $511–$689 for a 2014 RAV4 as of its August 7, 2026 update; taxes, fees, location, and related repairs can change the total |
| Tools Needed | Trim tools, screwdrivers, the correct Torx bit for the latch screws, ratchet, small pick, multimeter or fused test light, tape, gloves, and a magnet pickup tool |
| Part Selection | Match the VIN, model year, door position, left or right side, connector, and Toyota part number |
Fast Diagnosis Matrix
| What You Notice | Likely Area | First Check |
|---|---|---|
| One door is silent; the others work | Local connector, wiring, or actuator | Test for a lock and unlock command at that door |
| One door buzzes or moves weakly | Weak motor or binding latch | Check manual movement and linkage drag |
| Key fob fails but the interior lock switch works | Key fob, Smart Key, remote, or receiver side | Try the spare fob if available and troubleshoot the remote side before removing the door panel |
| All doors fail together | Shared fuse, battery, switch, receiver, or control circuit | Check battery voltage and the shared circuit first |
| The fault changes when the door moves | Door-jamb wiring | Inspect and flex the wiring boot while monitoring the circuit |
| The manual lock feels stiff | Latch, rod, cable, or alignment | Correct the mechanical binding before replacing the motor |
Warning: Follow the Toyota service procedure for your exact RAV4 before disconnecting power or removing the latch. Keep the window fully raised, protect the glass and trim, and never force panel clips, rods, or cables. Battery disconnection may require window or other system initialization afterward. If the door will not open, the latch is jammed, or you are not comfortable testing vehicle wiring, use a qualified technician.
What Are the Symptoms of a Faulty RAV4 Door Lock Actuator?
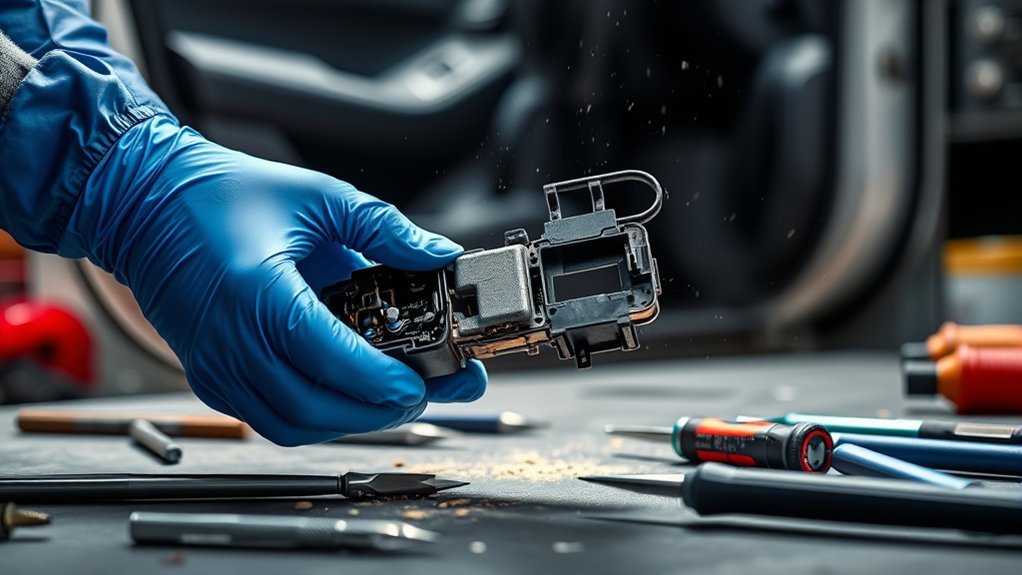
A failing door lock actuator can leave one RAV4 door locked or unlocked while the rest of the vehicle responds normally. The clearest pattern is one failed door with the other doors working from the same key fob or interior switch. That pattern narrows the fault to the affected door, but it does not prove the actuator is bad until the local circuit and latch movement are checked.
Scope: Use this article for diagnosis and repair planning. For connector pinouts, fastener torque, trim-removal order, and initialization steps, use Toyota Technical Information System service data or a model-year-specific repair manual.
You may also notice these symptoms:
- One front or rear door stays locked when the others unlock.
- One door stays unlocked when the others lock.
- The lock knob moves weakly, slowly, or only partway.
- The actuator clicks, buzzes, or grinds but does not move the lock fully.
- There is no sound at all from the affected door during a lock command.
- The lock works when the weather is warm but fails in cold or wet conditions.
- The door locks manually with the key or inside knob but not electrically.
If both front doors or all doors fail at the same time, do not jump straight to replacing actuators. A shared issue such as a blown fuse, weak 12-volt battery, damaged wiring, failed lock switch, remote-system fault, or body-control problem is more likely. The Toyota owner manual page for the 2014 RAV4 is the best starting point for basic owner information, fuse references, and model-specific operating details.
Note: The 2014 U.S.-market RAV4 was not offered as a RAV4 Hybrid. Toyota introduced the first RAV4 Hybrid for the 2016 model year, as documented in Toyota’s 2016 RAV4 Hybrid announcement. The diagnostic sequence is similar on later hybrids, but trim removal, wiring, and part numbers may differ.
How Do You Diagnose a RAV4 Door Lock Actuator?
Good diagnosis prevents wasted money. A door lock actuator is a common failure point, but it is not the only reason a RAV4 door lock stops working. Before removing the door panel, run through the outside checks first.
Quick Checks Before Removing the Door Panel
- Try both controls. Test the key fob and the interior power lock switch. If the interior switch works but the fob does not, troubleshoot the remote side before opening the door. The site’s RAV4 Smart Key guide covers key-fob and Smart Key checks in more detail.
- Check every door. A single bad door points toward that door’s actuator, latch, connector, or wiring. Multiple failed doors point toward a shared electrical or remote-system issue.
- Listen closely. Put your ear near the suspect door while someone presses lock and unlock. No sound can mean no power, a dead motor, or an unplugged connector. A weak buzz or grind often means a failing motor or jammed latch.
- Use the manual lock. If the lock feels stiff by hand, clean and inspect the latch and linkages before blaming only the motor.
- Check for recalls by VIN. Use Toyota’s official recall and service campaign lookup or the NHTSA recall lookup to confirm whether your specific vehicle has any open safety campaigns.
Electrical Tests That Confirm the Problem
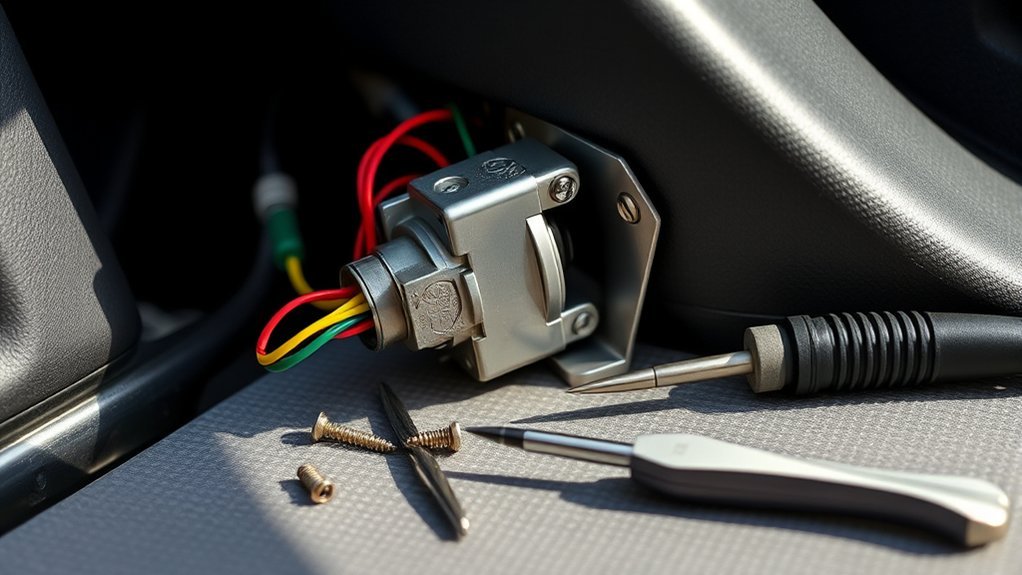
Once the door panel is removed, test the actuator connector with the exact wiring information for your RAV4. Many door-lock motors receive a brief command and reverse polarity between lock and unlock, but connector pins and control logic vary. A fused test light can show whether the circuit can carry a load; a multimeter can confirm voltage and ground without guessing at wire colors.
- If power and ground arrive but the actuator does not move, the actuator/latch assembly is likely faulty or mechanically jammed.
- If power never arrives, inspect the door wiring, connector pins, lock switch, fuse, and control circuit.
- If the reading is intermittent, flex the rubber wiring boot between the door and body while testing. Broken wires can hide inside this boot.
- If resistance is open or differs sharply from a known-good matching unit, the actuator may have an internal fault. Treat that reading as supporting evidence, not a substitute for an under-command circuit test.
Pro Tip: Take photos before every connector, rod, cable, and screw comes off. Door latch repairs become much easier when you can compare your reassembly against your own photos.
Before-and-after baseline: Record three observations before removal: actuator sound, full lock-knob travel, and connector response during both commands. Repeat the same checks after installation. This separates a successful electrical repair from a linkage or alignment problem.
What Tools Do You Need to Access the Actuator?
Gathering the right tools helps you avoid broken clips, stripped screws, and lost hardware. Most RAV4 door lock actuator work requires access behind the inner door panel and, on many models, removal or loosening of the inner service cover or bracket.
[Products Worth Considering]

This two-piece front door lock actuator motor set is designed to restore reliable power door lock operation for a wide range of Toyota, Lexus, and Scion vehicles. It includes left driver and right passenger side actuators and is made as a direct replacement for common factory part numbers. With broad vehicle compatibility and a one-year warranty, it offers a practical solution for fixing faulty door locking issues.

This front left door lock actuator assembly is a direct replacement for select Toyota and Lexus models, helping restore reliable power door locking and latch operation. Built as an OEM-quality aftermarket part, it includes the latch assembly and is factory tested for dependable performance. It is designed for driver-side front door fitment across a wide range of compatible vehicles and comes with replacement support for added peace of mind.

Nylon Material: Made of impacted resistant nylon fiber material with high level craftsmanship, it’s non-toxic, durable and not like brittle material which is prone to bent or crack
Tools and Supplies
- Plastic trim removal tools
- Phillips screwdriver
- Torx bit or socket matched to the latch screws
- Ratchet and small extensions
- Needle-nose pliers or small pick
- Multimeter or fused test light
- Painter’s tape for protecting trim edges
- Magnet pickup tool or magnetic socket
- Replacement door lock actuator/latch assembly matched by VIN, door position, and side
- Shop towels and a small container for screws and clips
Before ordering a replacement, verify the exact part through the Toyota Genuine Parts catalog or a Toyota dealer using your VIN. The power-lock motor may be serviced as part of the complete latch or lock assembly. Fitment depends on the model year, door position, left or right side, trim, connector, and sales market.
Do not match a RAV4 door lock actuator by appearance alone. Match the door position, connector shape, cable/rod layout, side of the vehicle, and Toyota part number.
Preparation Steps
- Park on a flat surface and leave the suspect door open.
- Raise the window fully.
- Turn the ignition off and remove the key.
- Follow the model-year service procedure for battery disconnection and any required initialization.
- Protect painted edges with tape if you will be working close to the door shell.
- Set screws and clips in order as they come off.
How to Remove the RAV4 Door Lock Actuator
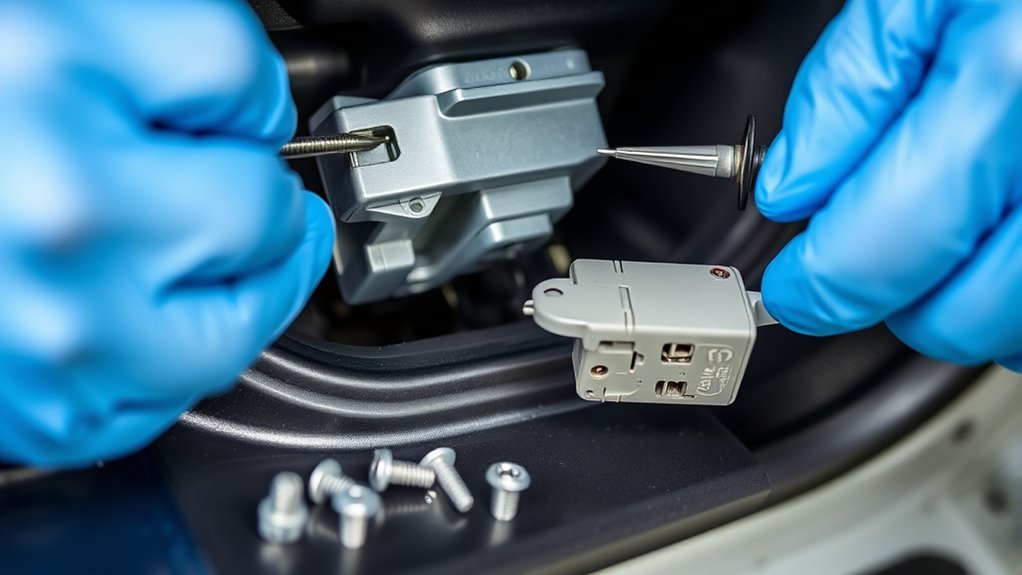
Removing the old door lock actuator takes patience. The actuator is usually part of the latch/lock assembly inside the door, so you must free the trim panel, wiring, cables, and latch fasteners without bending the rods or damaging connectors.
[Products Worth Considering]

[Compatible with Toyota models] : 4Runner 2010-2019 | Camry 2007-2017 | Corolla 2009-2013 | Corolla iM 2017-2018 | Highlander 2008-2013 | Land Cruiser 2008-2019 | Matrix 2009-2014 | Prius C 2012 | Prius V 2012-2014 | RAV4 2006-2018 | Sequoia 2008-2019 | Sienna 2011-2014 | Tundra 2007-2019 | Venza 2009-2016.

🚘Replaces OE Number: For 69040-06180, 69040-0C050, 69040-42250, 931401 front driver left side door lock latch actuator. Compatible with Scion tC 2011-2016, iQ 2012-2015, xB 2008-2015, xD 2008-2012, iM 2016
1. Remove the Door Panel
- Remove the small trim covers hiding the screws near the interior pull handle and armrest.
- Remove the exposed screws and place them in a container.
- Use a plastic trim tool to release the door panel clips around the lower and side edges.
- Lift the panel upward to release it from the window channel.
- Unplug the power window/lock switch connector.
- Disconnect the interior handle cable and lock cable carefully.
If a clip stays in the metal door instead of the trim panel, remove it and reinstall it on the panel before reassembly. Replacing broken clips now prevents rattles later.
2. Expose the Latch and Actuator Assembly
Peel back the vapor barrier or remove the access cover only as much as needed. Avoid tearing the barrier because it helps keep water away from the cabin side of the door. If the butyl adhesive stretches, press it back into place during reassembly.
Locate the latch at the rear edge of the door. The actuator connector, rods, and cables may be tucked behind the inner door frame, so use a flashlight before pulling anything loose.
3. Disconnect the Wiring and Linkages
- Unplug the actuator/latch connector by pressing the lock tab, not by pulling the wires.
- Mark or photograph each cable and rod location.
- Release the lock rod retainers gently with a small pick.
- Move cables out of the way without sharply bending them.
Warning: Do not slam the door while the latch, rods, or cables are disconnected. The door may not reopen normally if the latch is partly installed or misaligned.
4. Remove the Latch Fasteners
Use the correctly sized Torx bit to remove the latch screws from the edge of the door. Fastener size and torque vary by model year, so confirm both before starting. Press the bit fully into the screw to reduce the risk of stripping it. A magnet pickup tool helps recover dropped hardware inside the door.
Once the screws are out, guide the latch/actuator assembly out through the access opening. Do not force it past the window track or door shell. Rotate it slowly until the rods and cables clear the opening.
How to Install the New Door Lock Actuator
Before installing the new actuator, compare it with the old one on the bench. The connector, mounting points, latch shape, cable anchors, and rod clips should match. If anything is different, stop and verify the part number before continuing.
[Products Worth Considering]
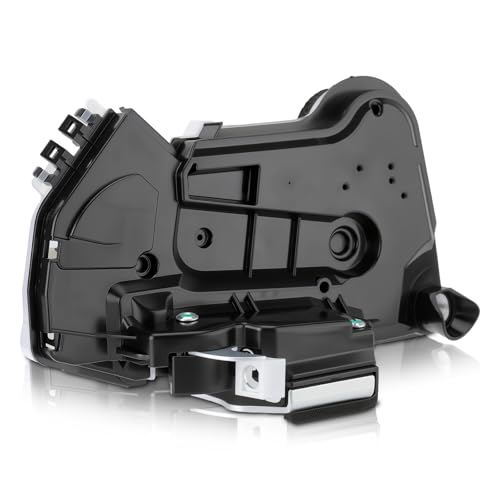
🚘Replaces OE Number: For 6904002440, 6904053130 front driver left side door lock latch actuator
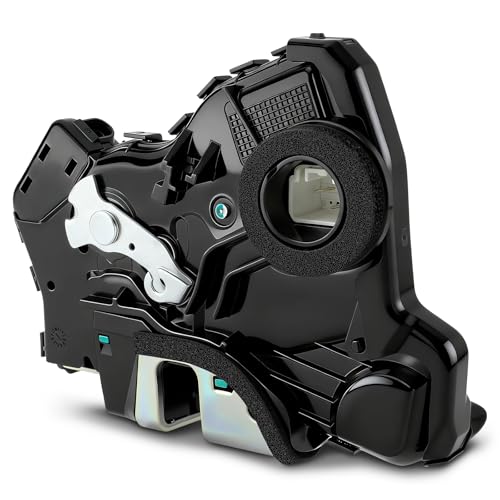
🚘Replaces OE Number: For 69030-06200, 69030-0C050, 69030-42230, 931-403 front right passenger side door lock latch actuator. Compatible with Scion tC 2011-2016, iQ 2012-2015, xB 2008-2015, xD 2008-2012, iM 2016
Installation Steps
- Transfer any reusable clips, seals, or brackets from the old unit if the replacement does not include them.
- Guide the new latch/actuator assembly into the door in the same orientation as the old one.
- Start the latch screws by hand, then tighten them to the model-year service specification.
- Reconnect the lock rods, handle cables, and retainers exactly as photographed.
- Plug in the actuator connector until it clicks.
- Reconnect the battery temporarily for testing before reinstalling the door panel.
Proper alignment matters. If the actuator rod is not seated, the door may lock but not unlock, unlock but not lock, or feel stiff at the inside handle. If the outside handle cable is not seated correctly, the door may fail to open from the outside.
Pro Tip: With the door open and your hands clear of the latch, use a screwdriver shaft to rotate the latch to its closed position, then release it with the handle. Return the latch fully to the open position before closing the door.
How Do You Test the New Actuator?
Testing before final reassembly is the step that saves the most frustration. Keep hands clear of moving latch parts, reconnect the battery, and test the lock system while the door panel is still off.
Testing Procedure Overview
- With the door open, press lock and unlock from the key fob.
- Press lock and unlock from the interior switch.
- Confirm the lock knob or linkage moves fully in both directions.
- Check that the inside handle opens the latch.
- Check that the outside handle opens the latch.
- Close the door gently and confirm the door latches, locks, unlocks, and opens normally.
- Repeat the test several times before reinstalling the trim panel.
If the new actuator does not respond, recheck the connector and fuse before assuming the new part is bad. If it responds backward, sticks, or only partly moves, inspect the rods and cables for misrouting or binding.
Should You Measure Actuator Resistance?
Resistance testing can support the diagnosis, but it is easy to misread a multi-pin latch assembly because some pins serve position switches rather than the motor. Use the model-year wiring diagram to identify the motor circuit. Never apply an ohmmeter to a powered connector.
Compare only matching parts at the same pins and meter setting. An open circuit or a major difference from a known-good matching unit can support replacement, but the stronger test is whether the vehicle supplies the correct command and the actuator still fails to move under normal load.
Confirming Lock Operation
After the actuator passes electrical testing, reinstall the vapor barrier, cables, and door panel. Make sure the window switch connector is fully seated and all clips line up before pressing the panel into place.
Run one final test:
- Lock and unlock with the key fob.
- Lock and unlock with the driver’s switch.
- Use the manual lock knob.
- Open the door from inside and outside.
- Confirm the window switch and mirror switch still work if they were unplugged.
How Much Does a RAV4 Door Lock Actuator Replacement Cost?
RepairPal’s August 7, 2026 estimate lists an average Toyota RAV4 door lock actuator replacement at $483 to $635 before taxes and fees. Its model-year table lists a 2014 RAV4 at $511 to $689. Those are repair-estimate benchmarks, not guaranteed prices. Your total can change with labor rates, door position, part source, location, diagnostic time, and whether related latch or wiring repairs are needed.
If you are doing the repair yourself, do not choose a replacement only because it is cheaper. Confirm the exact fit by VIN, door position, left or right side, connector, and Toyota part number before ordering. See the current RepairPal RAV4 actuator estimate for its latest published benchmark.
Can You Drive With a Bad RAV4 Door Lock Actuator?
A power-lock-only failure may not stop the RAV4 from moving, but it can leave a door unsecured or make normal access harder. Repair it promptly. If the affected door will not latch securely, will not stay closed, or cannot be opened safely, do not drive the vehicle until the latch and linkage are repaired. Do not assume a failed electrical actuator is the only problem when the door also has a mechanical opening or closing fault.
Why Does the Door Lock Still Fail After Replacement?
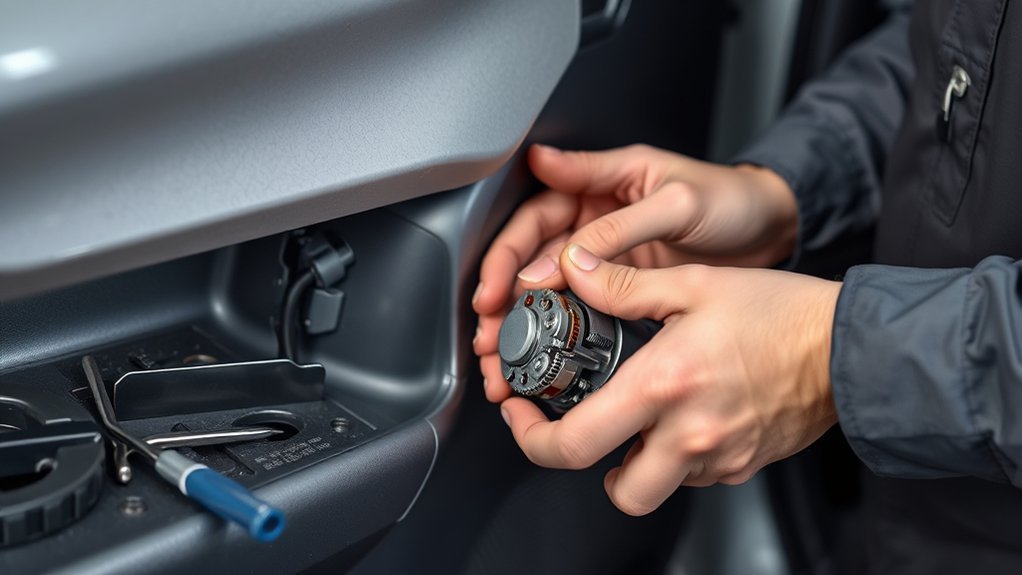
Although replacing a RAV4 door lock actuator can seem straightforward, several problems can slow the repair. Most are caused by skipped photos, misrouted cables, an incorrect replacement assembly, or testing too late.
The Door Still Does Not Lock After Replacement
Recheck the connector, fuse, and wiring in the door jamb boot. If there is no power pulse at the connector, the actuator is not the root cause. Inspect the lock switch and wiring before replacing another part.
The Door Locks but Does Not Unlock
A cable or rod may be clipped into the wrong position, or the latch may be binding against the striker. Compare the linkage routing with your photos and make sure the latch screws are seated evenly.
The Door Panel Rattles After Reassembly
One or more trim clips may be broken, missing, or left in the door shell. Replace damaged clips and confirm the upper door panel lip is seated in the window channel before snapping in the lower clips.
The Window or Switch Panel Stopped Working
Reconnect the switch harness and check for bent pins. If the battery was disconnected, some vehicles may need window or other system initialization. Check your Toyota owner information for the correct procedure for your model year.
The Replacement Part Does Not Fit
RAV4 latch and actuator assemblies vary by model year, side, door position, trim, connector, and market. Stop if the connector, cable anchors, mounting points, or latch shape differ. Confirm the replacement by VIN and Toyota part number rather than relying on a marketplace fitment banner or visual similarity.
Frequently Asked Questions
What is the Toyota door actuator lawsuit?
The phrase usually refers to Mixon et al. v. Toyota Motor Corporation et al., a putative class action alleging that door lock actuators in several Toyota models can stop responding to the key fob or interior power-lock switches. On March 9, 2026, the court denied Toyota motions seeking partial dismissal and to strike class allegations. That procedural ruling did not decide liability, prove the alleged defect, establish a recall, or certify a class.
Is there a Toyota RAV4 door lock actuator recall?
A general article cannot confirm recall status for your exact vehicle. Check the 17-character VIN through Toyota’s recall and service-campaign lookup and the NHTSA recall tool. NHTSA’s VIN result focuses on unrepaired safety recalls, while Toyota’s tool can also show Toyota service campaigns.
How much does it cost to replace a Toyota RAV4 door lock actuator?
RepairPal’s August 7, 2026 estimate lists an average Toyota RAV4 door lock actuator replacement at $483 to $635 before taxes and fees. Its model-year table lists a 2014 RAV4 at $511 to $689. Your price can differ with location, labor rate, door position, part source, diagnostic time, and related repairs.
Can I replace only the motor inside the actuator?
Some DIYers rebuild actuator motors, but the more reliable repair is usually replacing the correct lock/latch assembly. The latch contains small springs, gears, switches, and retainers, and opening it can create new reliability or safety problems if it is not reassembled perfectly.
Why does my RAV4 door lock work sometimes and fail other times?
Intermittent lock operation can come from a weak actuator motor, dirty or sticky latch, loose connector, broken wire in the door-jamb boot, low battery voltage, or moisture inside the door. Test the connector during lock and unlock commands before replacing parts.
Can you test a RAV4 door lock actuator without removing the door panel?
You can compare all doors, listen for motor noise, test the manual lock, and watch the lock knob without removing trim. A conclusive circuit test usually requires access to the actuator connector or the exact circuit at an accessible test point.
Which fuse controls the RAV4 power door locks?
Fuse names and locations vary by model year and market, so use the fuse-box cover and Toyota owner information for your exact RAV4. If every door fails, check the shared circuit early. If only one door fails while the others work, a shared fuse is less likely.
Can a bad actuator stop the door from opening?
A failed motor usually affects power locking, but a jammed latch, disconnected cable, bent rod, or misaligned linkage can also prevent normal opening. Do not close the door after repair until the latch releases correctly from both handles during an open-door test.
Can you drive with a bad RAV4 door lock actuator?
A power-lock-only failure may not stop the vehicle from moving, but it can leave a door unsecured or make normal access harder. Repair it promptly. If the door will not latch securely, will not stay closed, or cannot be opened safely, do not drive until the latch and linkage are repaired.
Do I need to replace all RAV4 door lock actuators at once?
No. Diagnose each door separately and replace only an actuator or latch assembly that is confirmed faulty. One failed door does not prove that the other actuators need replacement.
Does this repair apply to a RAV4 Hybrid?
The general door-lock diagnosis is similar, but the 2014 U.S. RAV4 was not a RAV4 Hybrid. Toyota introduced the first RAV4 Hybrid for the 2016 model year. Always verify the procedure and part number for your exact year, trim, and VIN.
Conclusion
Diagnose the RAV4 door lock in order: identify whether the key fob only, one door, or all doors fail; check manual latch movement; inspect the door-jamb wiring; and confirm the actuator connector receives both commands. If the circuit is healthy but the latch/actuator does not move correctly, replace the VIN-matched assembly. Photograph every linkage, test the latch with the door open, and complete several lock, unlock, and handle checks before reinstalling the panel. If the fault is system-wide rather than actuator-specific, diagnose the shared lock or remote circuit before buying another actuator.
Sources
- Toyota Owners: 2014 RAV4 Manuals and Warranties — supports owner-manual and model-specific reference guidance.
- Toyota Technical Information System — provides model-specific service information, wiring diagrams, and repair procedures by subscription.
- Toyota Genuine Parts Catalog — supports VIN-based parts lookup and model-specific fitment confirmation.
- Toyota Recall and Service Campaign Lookup — supports checking open Toyota safety recalls and campaigns by VIN.
- NHTSA Recall Lookup — supports checking unrepaired safety recalls and reporting vehicle safety problems.
- Justia: Mixon et al. v. Toyota Motor Corporation et al., Document 82 — supports the March 9, 2026 lawsuit ruling and the description of the alleged door lock actuator defect.
- Toyota USA Newsroom: 2016 RAV4 Hybrid — supports the correction that the first RAV4 Hybrid was introduced for the 2016 model year.
- RepairPal: Toyota RAV4 Door Lock Actuator Replacement Cost — supports the August 7, 2026 replacement-cost benchmarks used in this guide.