If your Toyota Camry’s blower motor is not blowing air, do not replace the motor first. Start with the simple checks: fan-speed settings, the cabin air filter, the HVAC fuse or fusible link, and the blower motor connector. Then test for power and ground at the motor before deciding whether the blower motor, blower resistor, wiring, or control circuit is actually the problem.
Quick Answer
A Toyota Camry blower motor that is not working is usually caused by a blown fuse or fusible link, failed blower motor, bad blower resistor, weak ground, damaged connector, or blocked cabin air filter. Check the fuse and airflow first, then test power and ground at the blower motor before replacing parts.
Key Takeaways
- If the blower does not work on any speed, check the HVAC fuse or fusible link, motor connector, power, and ground first.
- If the blower only works on high speed or only works on some speeds, the blower resistor or speed-control circuit is more likely than the motor.
- Weak airflow can come from a clogged cabin air filter or debris in the blower wheel, even when the motor itself still runs.
- Do not judge the motor by a simple continuity test alone. A good DC blower motor can show resistance through its windings.
- If a new fuse blows immediately, stop testing and look for a shorted motor, melted connector, pinched wire, or professional electrical diagnosis.
At a Glance
| Time Required | 20–60 minutes for diagnosis; 30–90 minutes for replacement |
| Difficulty | Beginner to moderate DIY |
| Tools Needed | Digital multimeter, fuse puller or needle-nose pliers, trim tool, Phillips screwdriver, small socket set, flashlight, fused jumper leads for bench testing |
| Cost | Usually about $292–$342 for a 2013 Camry blower motor replacement at a shop; DIY cost depends on OEM vs. aftermarket parts and whether the resistor or connector also needs repair |
Warning: Turn the ignition off before unplugging HVAC electrical connectors. Disconnect the negative battery cable before removing the blower motor. Never install a higher-rated fuse, and never keep replacing a fuse that blows again immediately.
Understanding Your Toyota Camry’s Blower Motor
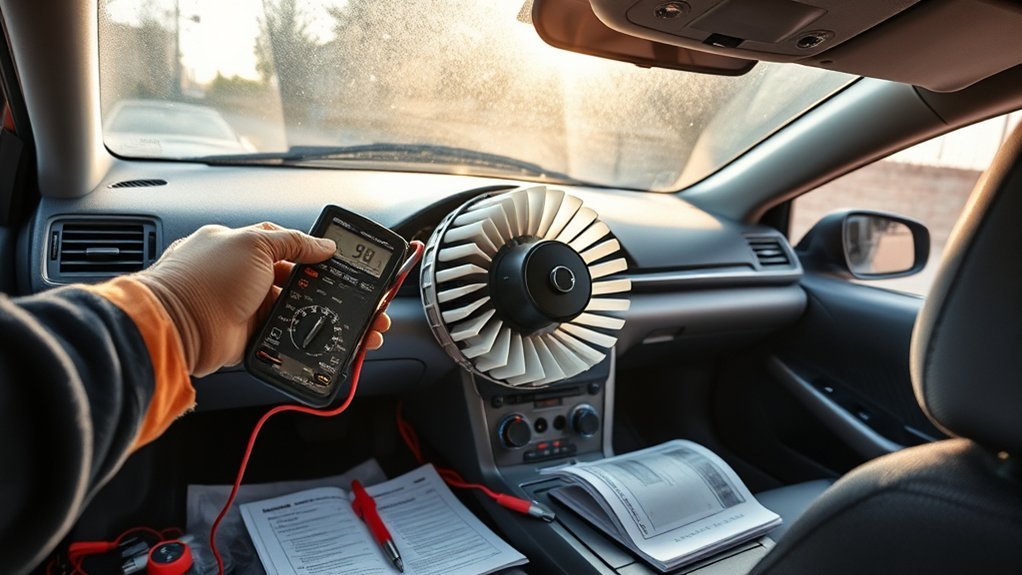
The blower motor is the electric fan that moves air through your Toyota Camry’s heating, ventilation, and air conditioning system. Toyota describes the blower motor with fan as a climate-control component that moves air through the heating and air conditioning system for cabin airflow, heating, cooling, and ventilation performance. You can see Toyota’s official part description for the Toyota blower motor sub-assembly with fan.
On many Camry models, the blower motor is located behind or below the glove box on the passenger side. Access can vary by model year, trim, and market, so use the owner’s manual, a repair manual, or a VIN-based parts lookup before buying parts or removing panels.
When the blower motor is working properly, it should run smoothly at each selected fan speed and push air through the vents, defroster, and floor outlets. When it fails, the cabin may get no airflow at all, airflow may work only on certain speeds, or the fan may make grinding, rattling, or squealing noises.
Identify the Symptom Before Testing Parts
The fastest way to fix a Camry blower motor problem is to match the symptom to the most likely cause. A completely dead fan, a fan that works only on high, and a fan that runs but barely moves air are different problems.
| Symptom | Most Likely Causes | First Check |
|---|---|---|
| No airflow on any fan speed | Blown fuse or fusible link, failed motor, bad ground, damaged connector, failed control circuit | Fuse/fusible link, then power and ground at the blower connector |
| Fan works only on high speed | Blower resistor or speed-control circuit | Blower resistor and connector |
| Fan works on some speeds only | Blower resistor, HVAC control, wiring, or connector damage | Resistor plug and fan-speed command signal |
| Weak airflow but motor runs | Clogged cabin air filter, leaves in blower wheel, blocked vents, dirty evaporator case | Cabin air filter and blower cage |
| Grinding, rattling, or vibration | Debris in fan wheel, worn blower bearing, cracked fan cage | Remove and inspect blower motor assembly |
| Fuse blows again after replacement | Shorted motor, shorted wiring, melted connector, incorrect fuse, water intrusion | Stop replacing fuses and diagnose the short |
Pro Tip: If the fan runs on high but not on lower speeds, do not rush to replace the blower motor. The blower resistor or fan-speed control circuit is usually the better place to start.
Step-by-Step: Checking the Blower Motor Fuse or Fusible Link
If your Camry has no airflow on any speed, start with the fuse or fusible link because it is faster and cheaper to inspect than the blower motor. Your exact fuse label and amperage can vary by model year, engine, trim, and market, so use the fuse-box cover diagram and the Toyota 2013 Camry owner manuals page for vehicle-specific reference.
- Turn the ignition off. Make sure the blower switch is off before opening fuse boxes.
- Open the engine-compartment fuse box. Many high-current HVAC circuits use a fuse or fusible link in the under-hood fuse area.
- Read the fuse-box lid. Look for HVAC, HTR, heater, A/C, or blower-related labels. Do not rely only on a generic online diagram.
- Inspect the fuse or fusible link. A blown element may look melted, open, fogged, or burned.
- Replace only with the correct rating. Never use a higher-amperage fuse to “get by.” That can overheat wiring and create a fire risk.
- Test the blower again. If the replacement fuse blows immediately, stop and diagnose the short before installing another fuse.
The original article mentioned part number 82620-33070. Toyota lists this as a Fusible Link Block Assembly, which routes power through protected circuits. Treat it as a possible fusible-link-block reference, not as a universal plug-in blower fuse. Confirm fit with your VIN or a Toyota dealer before buying it.
Note: A blown fuse is a symptom, not always the root cause. If the blower fuse or fusible link keeps failing, the motor may be drawing too much current, the connector may be melted, or a wire may be shorted to ground.
[Products Worth Considering]

The ANCEL AD410 PRO combines engine diagnostics and 12V battery testing in one easy-to-use tool, helping you read and clear check engine codes while checking battery health, cranking, and charging performance. It also provides live data, freeze frame details, and I/M readiness checks to help you diagnose issues faster and prepare for emissions testing. With plug-and-play operation, a clear screen, and broad vehicle compatibility, it is a practical solution for home mechanics and everyday drivers.

𝟴𝟮𝟲𝟮𝟬-𝟯𝟯𝟬𝟳𝟬 OE Compatible Replacement Fusible Block Link Fuse

82620-33030 Fusible Link Block Assembly for Toyota Camry & Venza: Replacement fusible link block assembly designed to restore proper high-current protection and electrical distribution in compatible Toyota vehicles using this configuration.
Testing Your Blower Motor for Problems
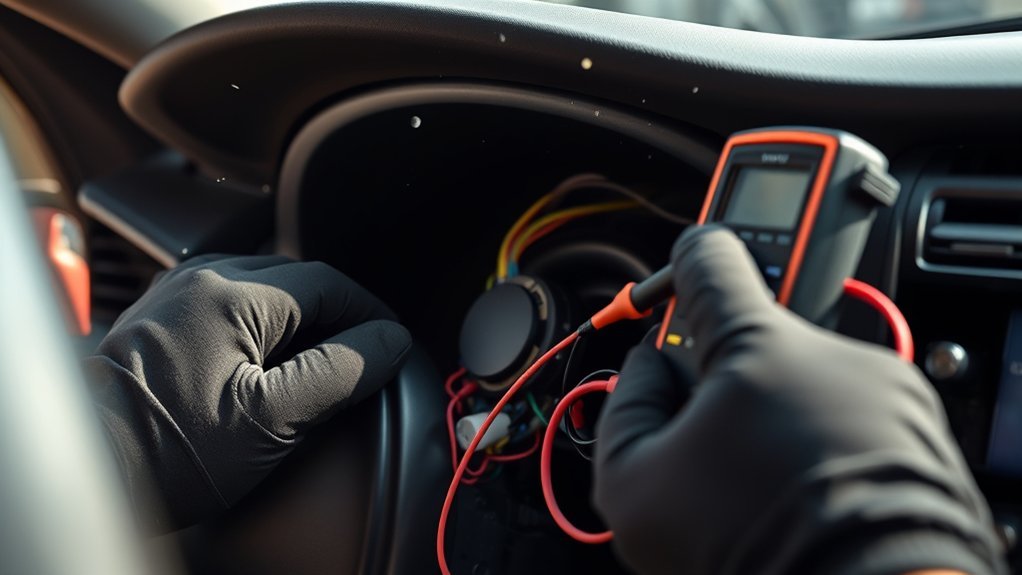
After the fuse or fusible link checks out, test the blower motor circuit. A digital multimeter is the safest first tool because it tells you whether the motor is receiving the voltage and ground it needs.
[Products Worth Considering]

【Fitment:】 Fit for 2005-2016 Toyota Blower Motor 87103-04044 87103-04043, Fit for Aftermarket TYC 700188, SKP 700188, GPD 2311678, FOUR SEASONS 75846, VDO PM9297;

Application For Toyota: Front HVAC Blower Motor compatible for 2010-2020 4Runner, 2005-2018 Avalon, 2007-2017 Camry, 2008-2019 Highlander, 2007-2020 Tundra, 2010-2016 Venza

Feature: The Blower Motor Pigtail Connector is aDirect replacement for a proper fit and easy installation, meets or exceeds OEM standards
1. Check for Power at the Blower Motor Connector
Locate the blower motor under the passenger side dash area. With the connector plugged in or back-probed when possible, turn the ignition and HVAC fan command on. Use your multimeter to check for battery voltage at the blower motor power wire. If there is no voltage, the issue may be upstream: fuse, relay, control module, switch, wiring, or connector.
2. Check the Ground Side
A blower motor needs a solid ground path. A weak ground can make the motor run slowly, intermittently, or not at all. Check voltage drop on the ground side if you know how to do it safely. If you are not comfortable testing live circuits, stop here and use a qualified technician.
3. Inspect the Connector Before Condemning the Motor
Unplug the motor and look closely at the terminals. Melted plastic, green corrosion, loose pins, or burned terminals can interrupt current even when the motor itself is still good. Repair damaged connectors before installing a new blower motor, or the new part can fail early.
4. Use Continuity Carefully
A simple continuity test can be misleading. A good DC blower motor may show resistance through the motor windings, so continuity between the two motor terminals does not automatically mean the motor is shorted. What you do not want is a short from the power terminal to the metal case, an obviously open motor winding, a seized fan, or an extremely low-resistance short that blows the fuse.
5. Bench Test Only With Fused Jumper Leads
If power and ground are present at the connector but the motor will not run, remove the blower motor and test it with fused jumper leads from a 12-volt battery. The fuse in the test lead protects the wiring if the motor is shorted. If the motor does not spin, spins slowly, makes noise, or blows the test fuse, replace the blower motor assembly.
Warning: Do not use unfused jumper wires for a blower motor bench test. A shorted motor can pull high current quickly and overheat the test leads.
How to Properly Replace Your Blower Motor
Replacing your blower motor in a Toyota Camry is usually straightforward because the motor is commonly accessed from the passenger side under-dash area. Before ordering parts, confirm fit by year, trim, engine, and VIN. Toyota’s blower motor listings and dealer parts systems can help verify the correct part number.
Here are the basic installation steps:
| Step | Action | Notes |
|---|---|---|
| 1. Disconnect battery | Remove the negative battery cable. | This helps prevent accidental shorts while you unplug the motor. |
| 2. Access the motor | Remove the lower passenger-side trim or glove-box-related panels as needed. | Use a trim tool so plastic tabs do not snap. |
| 3. Unplug connector | Disconnect the blower motor electrical connector. | Inspect for heat damage before installing the new motor. |
| 4. Remove fasteners | Remove the screws or bolts holding the motor to the HVAC case. | Support the motor so it does not drop suddenly. |
| 5. Compare parts | Compare the old and new blower motor assemblies. | Connector shape, fan wheel size, mounting holes, and rotation must match. |
| 6. Install new motor | Seat the new motor evenly and tighten fasteners snugly. | Do not overtighten plastic HVAC housing screws. |
| 7. Reconnect and test | Reconnect the battery, start the HVAC system, and test all speeds and modes. | Check vent, floor, defrost, heat, and A/C airflow. |
[Products Worth Considering]

Attention: This blower motor is a front blower motor. If you need a rear blower motor, then this product is not suitable for you

Attention: This blower motor is a front blower motor. If you need a rear blower motor, then this product is not suitable for you.

[Replaces Part Numbers] - 87103-06031, 87103-06030, 87103-08051, 87103-08050, 87103-06041, 87103-06040, TO3126111, 700054, PM9199
Complete Your Repair Process Successfully
After the blower motor is replaced or repaired, do not stop at “the fan turns on.” A good final test confirms that the entire HVAC airflow system works correctly.
- Test every fan speed. Low, medium, and high should all respond normally. Missing speeds point back to the blower resistor or control circuit.
- Test every airflow mode. Check dash vents, floor vents, defrost, recirculation, heat, and A/C.
- Listen for noise. Rubbing, ticking, or vibration means the blower wheel may not be seated correctly or debris may still be inside the housing.
- Check for heat at the connector. After a few minutes on high speed, the connector should not smell burned or feel unusually hot.
- Recheck the cabin air filter. A new motor can still feel weak if the filter is clogged.
A blower motor repair is only complete when the fan works at every speed, airflow changes correctly between modes, and the fuse does not blow again.
Common Blower Motor Issues and How to Avoid Them
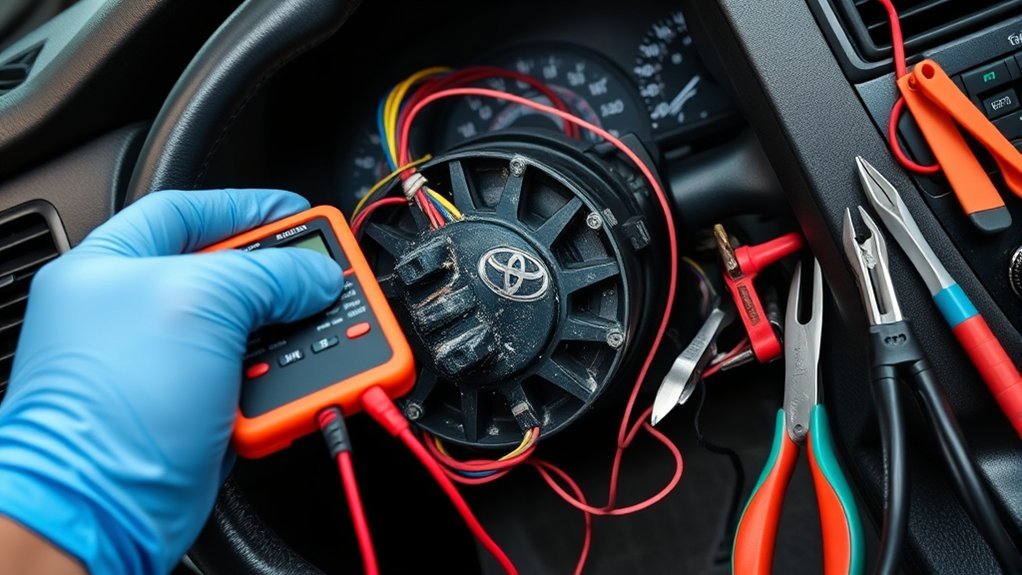
Blower motor issues can come from electrical faults, airflow restrictions, water intrusion, and worn moving parts. Preventive maintenance helps the blower last longer and makes diagnosis easier when something does fail.
Common Causes Explained
- Blown fuse or fusible link: A fuse protects the circuit. If it opens once, replace it with the correct rating. If it opens again, diagnose the short instead of replacing it repeatedly.
- Failed blower motor: Worn brushes, seized bearings, debris in the fan cage, or internal electrical failure can stop the motor or make it noisy.
- Faulty blower resistor: Toyota describes the blower resistor as the part that helps control blower motor speed. If some speeds work but others do not, inspect the resistor and connector.
- Damaged wiring or connector: High current, loose terminals, corrosion, or heat can damage the blower plug and reduce power to the motor.
- Clogged cabin air filter: A dirty filter can make airflow feel weak even when the motor works.
- Water or debris intrusion: Leaves, dust, or water in the HVAC case can damage the fan wheel, motor bearing, or electrical contacts.
Preventive Maintenance Tips
- Replace the cabin air filter regularly. A clogged filter strains airflow and can make the blower sound louder than normal.
- Keep the cowl area clean. Leaves and debris near the windshield can end up in the HVAC intake.
- Do not ignore new noises. A light ticking sound may be leaves in the blower wheel; a grinding sound may be a failing bearing.
- Fix water leaks quickly. Moisture near the passenger-side footwell can corrode blower wiring and connectors.
- Use the correct fuse rating. Oversized fuses can damage wiring and create a safety risk.
When to Get Professional Help
Some blower motor problems are safe for a careful DIYer. Others need a technician with a wiring diagram, scan tool, and current-draw testing equipment. Get professional help if you notice any of these signs:
- The blower fuse or fusible link blows again immediately after replacement.
- The connector is melted, burned, or discolored.
- You smell burning plastic from the dash or passenger footwell.
- The blower works only intermittently when you move the harness.
- There is water on the passenger floor or inside the blower housing.
- You are not comfortable back-probing connectors or testing live 12-volt circuits.
- The vehicle may have an open recall or service campaign. Use the NHTSA recall lookup or Toyota recall lookup with your VIN.
Frequently Asked Questions
What can cause my Toyota Camry blower motor to stop working?
Common causes include a blown HVAC fuse or fusible link, failed blower motor, bad blower resistor, weak ground, damaged connector, faulty control circuit, or debris blocking the fan wheel. Start with the fuse, cabin air filter, and connector before replacing the motor.
Why is my Toyota Camry AC not blowing air?
If the A/C gets cold but no air comes from the vents, the issue is usually in the blower system, not the refrigerant system. Check the fan speeds, blower fuse, cabin air filter, blower motor connector, and blower resistor. If the blower runs but airflow is weak, inspect the cabin air filter and blower wheel for debris.
How much does it cost to replace a blower motor on a Toyota Camry?
RepairPal’s January 2026 estimate lists Toyota Camry blower motor replacement at about $312–$342 on average, with 2013 Camry estimates around $292–$332. Your final cost can change with labor rates, diagnosis time, OEM vs. aftermarket parts, taxes, and whether the resistor or connector also needs repair.
How do I know if the blower motor or blower resistor is bad?
A blower motor is more likely if the fan does not run at any speed even though power and ground are present at the motor connector. A blower resistor or speed-control issue is more likely if the fan works only on high speed or only on certain speeds.
Can I drive with a bad blower motor?
You may be able to drive, but it can become unsafe if you need defrost to clear the windshield. If the blower motor is shorted, smells burned, melts the connector, or keeps blowing fuses, stop using the HVAC fan until the electrical fault is repaired.
Conclusion
A Toyota Camry blower motor not working does not always mean the motor itself is bad. Start with the symptom, then check the cabin air filter, fuse or fusible link, connector, power, and ground. If the fan works only on some speeds, inspect the blower resistor before replacing the motor. If a fuse blows again, the connector is melted, or you smell burning plastic, stop and get the circuit diagnosed. A careful test sequence saves money, protects the wiring, and gets your Camry’s heat, A/C, and defrost working again safely.
Sources
- Toyota Owners — 2013 Camry Manuals and Warranties — owner-manual access and vehicle-specific reference guidance
- Toyota Genuine Blower Motor Sub-Assembly with Fan #87103-0E040 — blower motor function and Toyota part reference
- Toyota Genuine Fusible Link Block Assembly #82620-33070 — fusible link block function and part-number clarification
- Toyota Genuine Blower Resistor #87138-35040 — blower resistor function and fan-speed control reference
- RepairPal — Toyota Camry Blower Motor Replacement Cost — current repair-cost estimate and common diagnostic process
- NHTSA Recall Lookup — VIN-based recall and safety-campaign checking