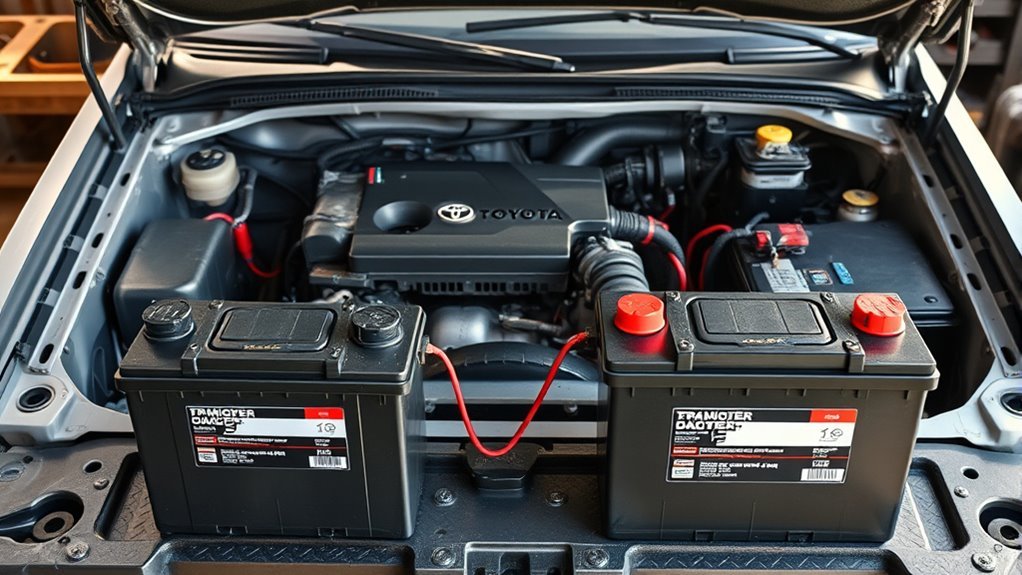
You’ll typically fit Group 35 in 1996–2002 V6 4Runners for a stock, reliable install (500–650 CCA). If your tray/tie‑down allows, a taller Group 24F boosts capacity and CCA (650–800+). Group 34/35 fits with less capacity; Group 27 offers larger cold‑cranking for harsh climates but may require special ordering. Group 31 gives max reserve for winches but needs tray/mods and upgraded wiring. Continue for exact fitment, terminal orientation, and upgrade trade‑offs.
Quick Answer: Recommended 4Runner Battery Sizes and When to Change Them
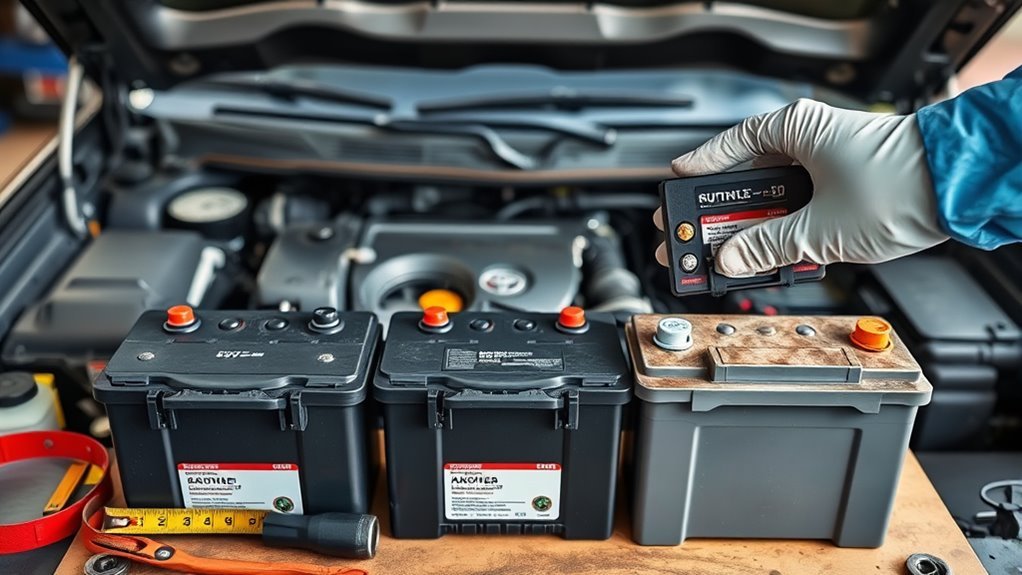
For 1996–2002 V6 4Runners you’ll usually use a Group 35 or Group 24F battery (Group 35 commonly provides 500–650 CCA); choose Group 24F only if the extra 9 1/8″ height fits your tray. You’ll prefer Group 35 for standard fitment and reliable cold starts; in cold climate conditions consider larger-capacity options such as Group 27 for improved low-temperature performance. Monitor battery lifespan: expect replacement every 3–5 years under normal use. You’ll act sooner if you notice hard starts, slow cranking, or poor charge retention. Inspect terminals regularly for corrosion, which signals electrical resistance and imminent failure. When you replace the unit, verify tray clearance, terminal orientation, and CCA rating to maintain starting margin and accessory operation. Choose a battery that balances liberation from roadside failures with the technical constraints of your vehicle; prioritize higher CCA for cold environments and maintain clean connections to extend useful service life.
[Products Worth Considering]

This battery terminal cleaning and repair kit helps restore worn or damaged top-post battery connections for cars, RVs, boats, and other vehicles. It includes lead shims for improving fit, stainless steel brushes for removing corrosion and debris, and fiber washers to help reduce future buildup and maintain a reliable electrical connection.
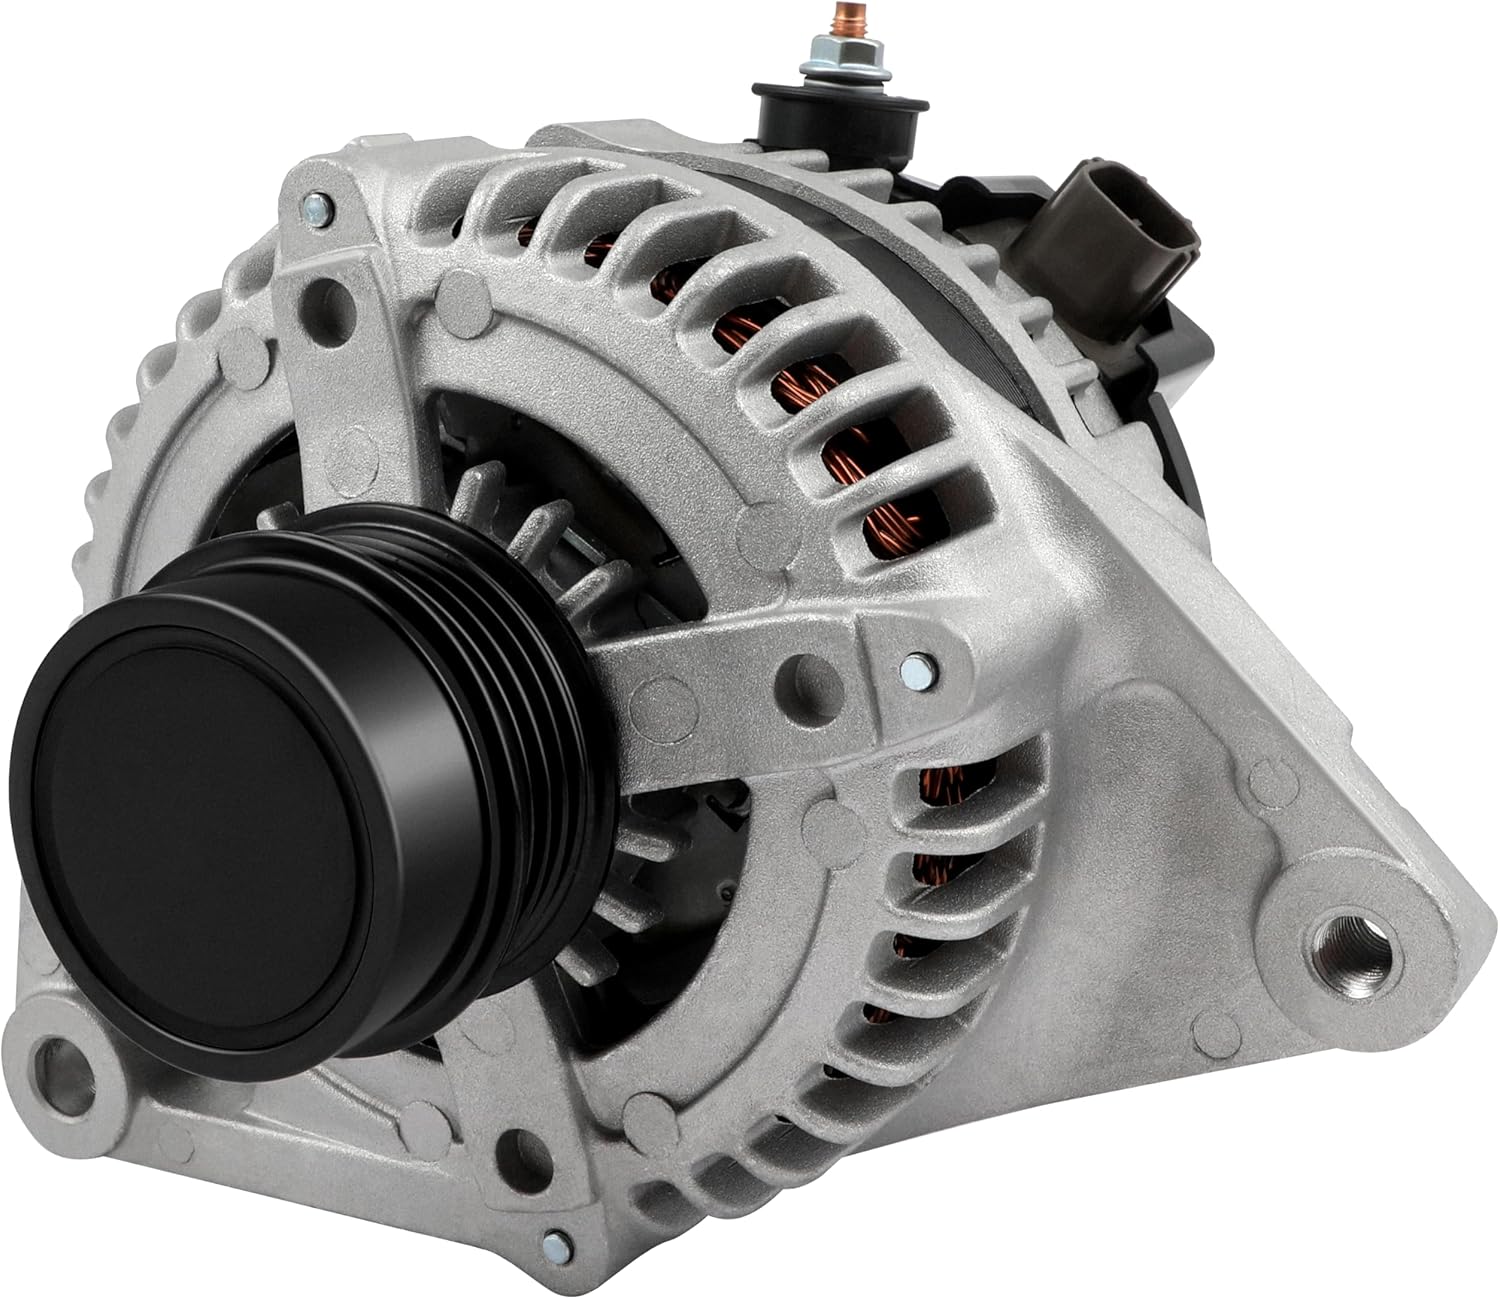
This high output alternator is designed to fit select Toyota, Scion, and RAV4 2.5L applications, delivering reliable charging performance for everyday driving. Built with a 12-volt, 100-amp design and precision-engineered components, it helps support battery recharge, stable electrical output, and consistent operation when your vehicle shows signs of charging issues.

The ANCEL BA101 helps diagnose 12V batteries quickly with clear readings for battery health, charge level, voltage, CCA, cranking, and charging system performance. Designed for a wide range of vehicles and battery types, it offers easy-to-read results, reliable clamp connections, and built-in protection to make testing safer and more convenient.
Which 1996–2002 V6 4Runners Take Group 24F, 27, 34/35, or 31
Which 4Runners accept which battery sizes depends on tray dimensions, terminal orientation, and under-hood clearance, so you’ll usually see Group 35 as the direct-fit choice while Group 24F fits where the extra 9 1/8″ height is available. For 1996–2002 V6 models you’ll most often install Group 35 (500–650 CCA), balancing compact size and serviceable cold weather performance without major alterations. Group 24F is the taller alternative when clearance allows and you want slightly different capacity characteristics. Group 27 will fit some units but is less common and typically requires a special order; use it only if you need higher amp-hour capacity. Group 34/35 are physically smaller than 27 and offer lower CCA and amp hours, which can shorten battery lifespan in sustained cold weather or heavy accessory use. Group 31 is significantly larger and may force modifications, so reserve it for radical setups where increased capacity justifies installation changes.
Will the Battery Fit? Fit, Terminal Orientation, and Installation Traps
Before you buy, measure the tray and confirm the correct group size—typically 27, 24F, or 35—to guarantee physical fitment. Check terminal orientation against the OEM layout, since reversed or offset posts on aftermarket units can foul cables or require extensions. Inspect the tray and mounting hardware for clearance issues and be aware that Group 34R may need a spacer and Group 31 can require negative post modification to avoid cracked lugs or damaged terminals.
Physical Fitment Check
Start by confirming the exact battery group size your 4Runner requires—commonly Group 27, 24F, or 35—so you’re sure the tray, hold-down, and cable reach match the replacement. Measure length, width, and height against the original; battery measurements matter—note even a 1/4-inch height variance can bind the clamp or foul the hood. Use fitment tips: verify tray clearances, hold-down type, and terminal post spacing before buying. Visually inspect the tray for corrosion or deformation that alters sizing. Beware installation traps: incorrect size stresses lugs, forces angled terminal connections, and can damage cables or trays. Choose the exact group size listed in the vehicle spec, and you’ll avoid mechanical surprises while keeping control of your vehicle’s power system.
Terminal Orientation Matters
Because terminal orientation determines whether your cables reach and clear metal, you should confirm polarity and post location before buying a replacement battery for your 4Runner. Terminal alignment affects electrical safety and mechanical clearance; incorrect orientation can cause shorts, stretched cables, or accessory strain. Verify Group 27F fits like stock, note Group 34R’s lower height may need a spacer, and assess Group 31 for potential negative-post modification. For international models, confirm adapters and terminal positions to maintain battery compatibility and liberated mobility.
- Check post polarity and physical post location against the factory battery.
- Measure cable reach and clearance with the hood closed.
- Inspect negative-post access for Group 31 modifications.
- Source adapters only when they preserve safe terminal alignment.
Common Installation Pitfalls
When you install a replacement battery, verify physical dimensions and terminal layout against the factory tray and cables so you don’t force a fit that cracks lugs, stretches wiring, or creates shorts. Confirm Group 35 or 24F sizing for 1996–2002 4Runners: Group 35 = 8 7/8″ height, 24F = 9 1/8″. Measure tray width and hold-down clearance; some battery brands (Odyssey 34R noted) change terminal position and may need a spacer. Don’t swap batteries by assumed voltage alone. Use correct installation tools—insulated wrenches, a torque wrench, and a pry bar to seat the clamp—avoid levering on terminals. Inspect the tray and cable ends for corrosion before fitting. Proper prep liberates you from repeat installs and electrical risk.
Battery Performance for 4Runner: CCA, Reserve Capacity, and Amp‑Hours Compared
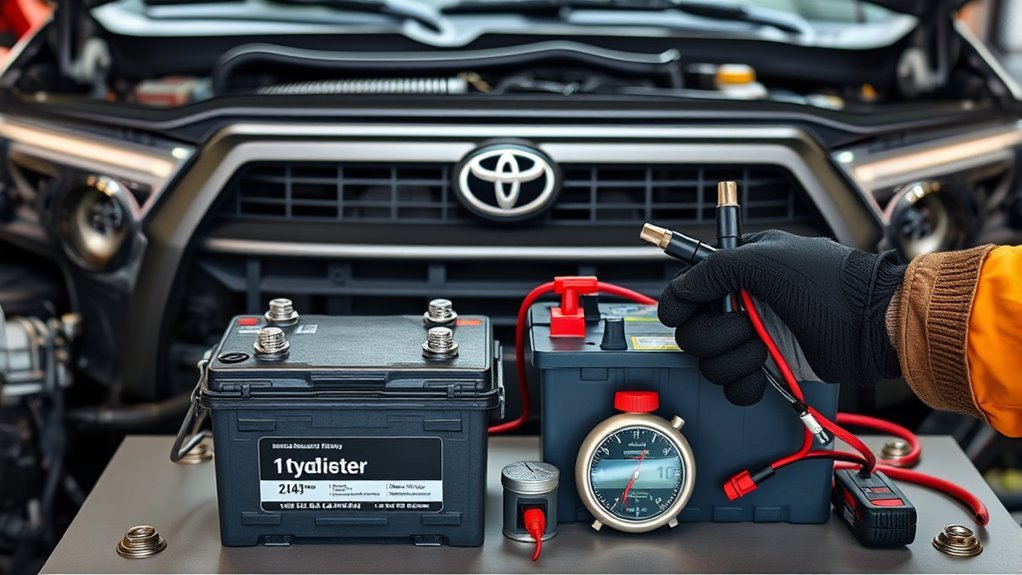
Anyone planning electrical upgrades for a 4Runner should compare Cold Cranking Amps (CCA), Reserve Capacity (RC), and Amp‑Hours (Ah) because each spec addresses a distinct performance need: CCA defines starting power in cold conditions, RC estimates minutes of auxiliary operation with the engine off, and Ah quantifies sustained current delivery for accessories. You’ll balance battery lifespan, CCA importance, RC advantages, and Ah benefits when selecting cells. Group 35 offers 500–650 CCA; Group 24F/34R can exceed 800 CCA for tougher starts. RC gives run-time—Odyssey 34R’s 135 minutes ≈ 67.5 Ah—so use RC to plan auxiliary draw. Higher CCA suits starting, not deep cycling. Ah scales with physical capacity; larger batteries support more accessories and longer duty cycles. Brand and chemistry affect real-world performance; AGM units (Odyssey, NorthStar) show reliable output in demanding, dual-battery setups.
- Match CCA to climate and starter load
- Use RC to size run-time expectations
- Prioritize Ah for accessory endurance
- Factor chemistry for real-world durability
[Products Worth Considering]

This custom-fit cargo liner is designed for the Toyota 4Runner gas 5-seater, offering full trunk coverage without trimming. Made from durable TPE with raised edges and an anti-slip surface, it helps protect against spills, mud, snow, and everyday cargo movement while remaining easy to clean and built for all-weather use.

This tire inflator attachment combines accurate pressure reading and easy inflation in one heavy-duty tool for maintaining tire pressure with less hassle. A longer hose and 360-degree swivel air chuck help create a secure seal while giving you better control during use. Designed for universal compressor compatibility, it measures, inflates, and deflates without batteries.
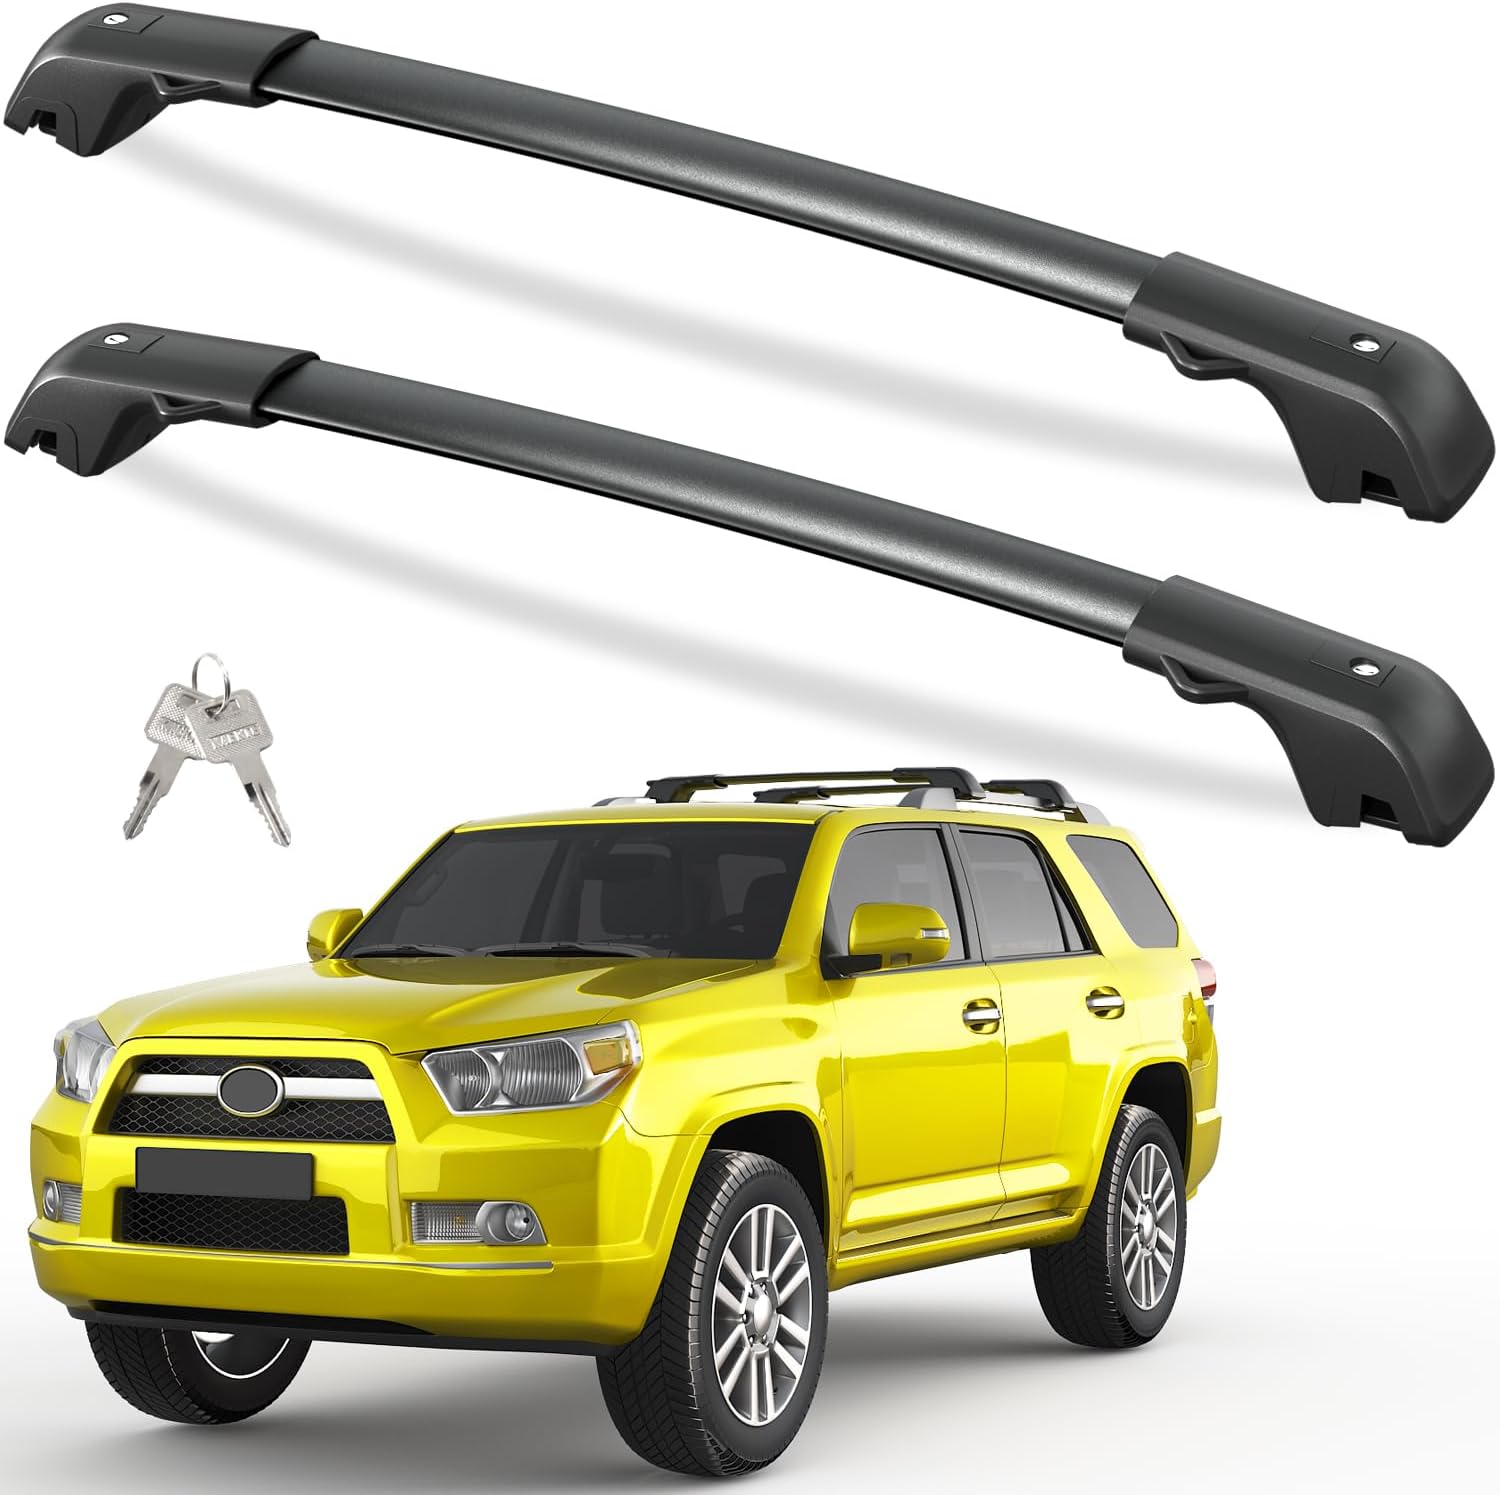
Designed specifically for Toyota 4Runner models with side roof rails, these lockable cross bars provide a secure and practical way to carry luggage, ladders, and other cargo. The aluminum construction, anti-theft metal lock, and tie-down loops add durability and confidence, while the low-profile design helps reduce wind noise during travel. Easy to install and backed by a 12-month warranty, they offer a dependable upgrade over standard crossbars.
Upgrades & Trade‑Offs: Choosing Group 31, 34/35, 24F, AGM, or Lithium
If you need more runtime or reserve for accessories, upgrading to a larger Group 31 or a Group 24F gives measurable gains in reserve capacity and amp‑hours, but you’ll trade fitment ease and possibly need tray or hold‑down modifications; conversely, sticking with Group 34/35 keeps weight and packaging tidy at the cost of lower CCA and RC. You’ll value Group 31 advantages when you run winches, fridges, or long accessory draws: higher Reserve capacity and greater amp‑hours improve endurance and starting reliability. Group 24F hits a middle ground with 650–800 CCA, balancing performance factors and packaging. Group 34/35 suits minimalists who prize Weight trade offs and simplicity. Consider AGM durability if you want long life and robust vibration tolerance, but remember AGM requires compatible charging. Respect Lithium limitations: excellent weight and life benefits, yet Temperature sensitivity and unique charging mean they’re not ideal as drop‑in starters. Always weigh CCA importance, Reserve capacity, and system compatibility before upgrading.
Installation Checklist: Wiring, Alternator/Charging Notes, and Maintenance
When you install a new 4Runner battery, verify correct terminal orientation, secure fitment in the tray, and tight, corrosion-free connections while following wiring and grounding best practices. Check alternator output—stock units often deliver under 14.7 V—so plan for a higher‑output alternator or the “big 3” cable upgrade if you’ll run AGM or heavy accessories. Maintain the system with periodic terminal cleaning, torque checks, and voltage/charge audits to preserve battery health and charging efficiency.
Wiring And Grounding Best Practices
Because your 4Runner’s charging system depends on low-resistance paths, prioritize solid wiring and grounding: adopt proven wiring techniques and grounding methods to liberate performance and reliability. Use Oxygen-Free Copper (OFC) for main runs, avoid CCA, and size conductors to minimize voltage drop. Perform the “big 3” upgrade: reinforce battery-to-chassis ground, battery-to-engine block, and alternator-to-battery positive link. Keep terminals clean, tight, and corrosion-free; torque lugs to spec. Extend positive and negative leads for accessory installs to avoid tension and terminal damage. Inspect joints periodically and secure cables away from heat or abrasion.
- Use OFC wiring, correct gauge, and neat routing
- Execute the “big 3” with short, direct runs
- Clean and torque all connections
- Bond chassis grounds and avoid paint under straps
Alternator Output And Charging
1 key step in optimizing your 4Runner’s charging system is matching alternator output and wiring to your battery and load demands; stock alternators usually sit below 14.7V and may not fully charge AGM batteries, so upgrade or reprogram to a higher-voltage unit (around 14.0–14.7V depending on battery chemistry) and follow precise wiring practices. You’ll boost alternator efficiency by performing the “big 3” upgrade: beefen the alternator-to-battery, battery-to-chassis, and engine-ground conductors with short, large-gauge cables and secure terminals. For dual-battery installs, use a reliable isolator or CTEK-managed system to prevent backfeed and guarantee proper charging. Verify voltage under load, eliminate parasitic drains, and torque connections to spec. These steps directly support battery longevity and system reliability.
Maintenance And Battery Health
If you want reliable starting and long battery life, follow a strict installation checklist covering wiring, alternator/charging setup, and ongoing maintenance. You’ll secure wiring, insulate any extended cables, and verify tray fitment to prevent shorts and mechanical damage. Upgrade the alternator to ≥14V for AGM compatibility; that preserves charge acceptance and extends battery longevity. Regularly inspect terminals for corrosion, clean contacts, and confirm torque on clamps. Use a maintainer during storage to stop parasitic drains and sustain state-of-charge.
- Verify wiring runs, heat-shrink splices, and secure clamps to prevent shorts.
- Confirm battery tray fitment and mount hardware; avoid size-induced stress.
- Upgrade alternator output to at least 14V for proper AGM charging.
- Regular terminal cleaning and long-term maintainer use for battery longevity and maintenance tips.
Frequently Asked Questions
What Is the Difference Between 24F and 27F Battery Group Size?
You’ll find Group 24F is taller, offers higher CCA and tighter fitment, while 27F gives greater capacity and reserve. Battery compatibility and performance comparison show 24F for cold starts, 27F for sustained accessory loads, empowering your choice.
What Size Battery for 2015 Toyota 4runner?
You’ll fit a Group 24F or Group 27 battery; 27 gives more capacity for accessories. Follow battery maintenance tips, check CCA/RC, and replace every 3–5 years as replacement frequency guidance to keep freedom driving.
Conclusion
Want the right 4Runner battery without guesswork? You’ll pick between Group 24F, 27, 34/35, or 31 based on year, engine bay space, and terminal layout — and decide if AGM or lithium trade weight and cycle life for cold‑cranking power and reserve capacity. Match CCA and RC to your climate and accessories, confirm fit and cable orientation, and verify alternator charging and venting. Ready to swap with confidence?
[Products Worth Considering]

ANCEL BS200 is a permanently connected super capacitor jump starter that delivers fast starting assistance for vehicles with heavy cranking demands, including trucks, classics, and start/stop systems. Once installed, it stays ready without charging or maintenance and automatically helps every engine start while supporting battery health. A smart app adds real-time monitoring, alerts, and jump history so you can stay ahead of battery issues in any climate.

The TOPDON BT100 helps you quickly check the health and charge status of 12V lead-acid batteries with clear analytical results, including state of health, state of charge, voltage, and cranking performance. It supports a wide range of battery types and vehicles, making it a practical tool for diagnosing starting and charging issues at home or in the shop. Compact and easy to use, it provides fast, reliable testing without needing to charge the device first.

This bike torque wrench kit delivers precise, reliable tightening for bicycle maintenance and assembly, helping prevent damage from over-tightening. It includes a dual-direction click wrench, multiple hex and Torx bit sockets, an extension bar, and an adapter for versatile use. With a clear dual-range scale, durable construction, and pre-calibrated accuracy, it is designed for dependable workshop performance.