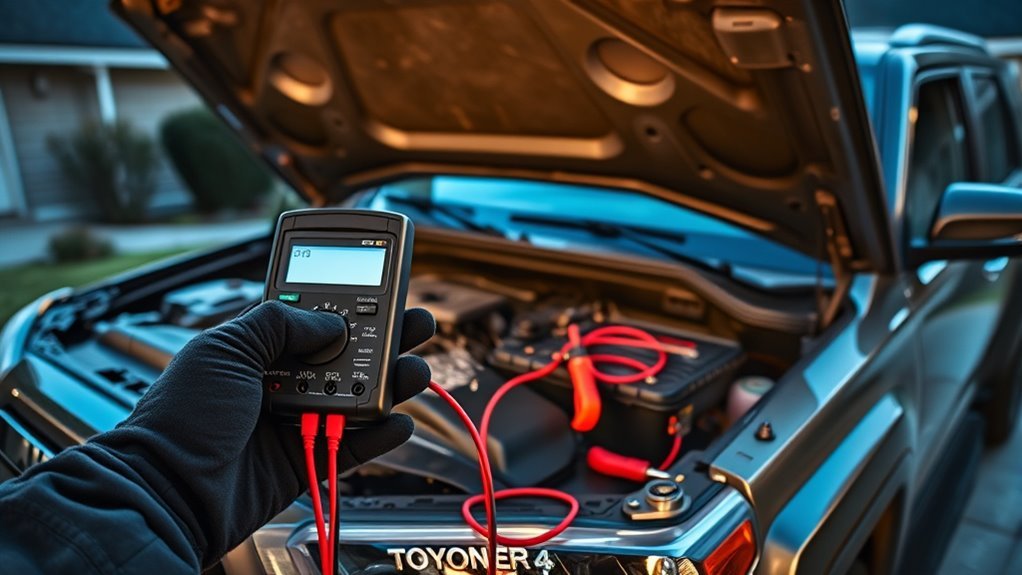
If your 4Runner dies overnight, start by jump-starting it and checking battery resting voltage (below 12.4V needs attention) and alternator output (13.4–14.6V nominal). Clean terminals, tighten clamps, and inspect for visible wiring damage. Use a multimeter to measure parasitic draw (aim ≤0.02A) and isolate circuits fuse-by-fuse to find offenders like stereos, relays, or power-seat circuits. Test alternator under load and consider battery or alternator replacement if specs aren’t met — continue for step-by-step diagnostics and fixes.
Quick Fix: What to Try First If Your 4Runner Dies Overnight

If your 4Runner won’t start after sitting overnight, start by jump‑starting it to confirm whether the battery’s weak—if it runs temporarily, you’ll need further testing; then proceed methodically. First, perform basic battery maintenance: inspect and clean terminals and cable ends, remove corrosion, and tighten clamps to restore solid connections. Next, measure resting voltage—below 12V is suspect—and measure running voltage; below 13.4V points to charging issues. Conduct an electrical inspection for obvious drains: interior lights, glovebox, or aftermarket stereos that stay on. If no visible culprit appears, set up a parasitic draw test with a multimeter in series; normal is ~20mA, while >50mA signals a significant drain requiring component isolation. Work systematically: disconnect circuits one at a time until draw drops, log findings, and replace or repair the faulty circuit. This approach frees you from guesswork and gets you back on the road with confidence.
[Products Worth Considering]

This automotive test light combines a bright LED voltage display with quick polarity indication for fast, accurate circuit checks in a wide range of vehicle systems. It helps diagnose battery, charging, lighting, and fuse issues with a sharp stainless probe, long spring wire, and easy-to-use alligator clip for efficient troubleshooting.

This automotive circuit tester checks low-voltage DC systems from 3-65V, making it useful for diagnosing headlights, taillights, fuses, sockets, and other vehicle wiring issues. The digital backlit display provides clear voltage readings with fine accuracy, while the bidirectional polarity indicator helps you test from either ground or positive. Built with a durable probe, insulated tip, and extra-long spring wire, it is designed for dependable everyday use in automotive and household electrical work.

The ANCEL BA101 helps diagnose 12V batteries quickly with clear readings for battery health, charge level, voltage, CCA, cranking, and charging system performance. Designed for a wide range of vehicles and battery types, it offers easy-to-read results, reliable clamp connections, and built-in protection to make testing safer and more convenient.
Check Battery Health and Alternator Output Step-by-Step
Start by measuring the battery voltage at the terminals; if it’s below 12.0 V, you’ll need to recharge and test or consider replacement. With the engine running, measure alternator output — it should be about 14 V to confirm charging system function. Finally, perform a load and parasitic-draw test with a multimeter; normal draw is ~0.02 A and anything above ~0.05 A warrants further diagnosis.
Battery Voltage Check
Because a healthy battery and charging system are the foundation of any electrical diagnosis, you’ll begin by measuring static and running voltages with a multimeter to distinguish between a weak battery, poor connections, or an underperforming alternator. You’re doing disciplined battery maintenance to remove surprises and reclaim control.
- With engine off, measure battery voltage; under 12.0V indicates the battery needs testing or replacement.
- Start engine, re-measure; below 13.4V flags charging issues (see alternator test next).
- Inspect and clean terminals; tight, corrosion-free connections prevent voltage fluctuations and poor charging.
- Perform a voltage drop test across cables; notable drops show internal resistance from damaged or worn wiring.
Monitor voltage after short drives—12.6V or higher confirms the battery holds charge.
Alternator Output Test
Before checking alternator output, make sure the battery’s fully charged and terminals are clean—otherwise readings will be misleading. With a charged battery, use a multimeter: engine off should read about 12.6 V. Start the engine and measure at the battery again. A healthy alternator will show 13.4–14.6 V; that confirms basic voltage regulation. If it stays below 13.4 V, proceed with alternator troubleshooting: inspect the alternator belt for wear and proper tension, then recheck output. Tighten or replace a slipping or glazed belt before condemning the alternator. If voltage remains low with a good belt, the alternator likely needs bench testing or replacement. You’ll regain freedom from roadside dependence by methodically verifying these steps.
Load And Draw Test
When you suspect a weak battery or charging issue, perform a load test and parasitic draw check to separate battery failure from alternator or wiring faults. Use a multimeter and load tester, follow safety protocols, and proceed methodically.
- Measure resting voltage with a multimeter; below 12.4 V needs charge or replacement.
- Apply a load tester at ~50% CCA for 15 seconds; a healthy battery stays ≥9.6 V.
- Start the engine and verify alternator output at the battery: 13.8–14.4 V indicates proper charging.
- With vehicle off, connect ammeter in series to measure parasitic draw; >0.02 A requires fuse-by-fuse analysis to isolate the drain.
This procedure empowers you to free yourself from repeated failures via disciplined battery maintenance.
Measure 4Runner Parasitic Draw With a Multimeter and Fuse Test
Start by setting your multimeter to the appropriate DC amperage range and connect it in series with the 4Runner’s battery negative terminal to read the parasitic current while the vehicle is off; this gives a direct measurement of draw that should be about 20 mA (0.02 A) in a healthy system and flags any reading above ~50 mA for further investigation. You’ll confirm all doors closed and accessories off before measuring to avoid false positives. Record the steady-state parasitic draw using proper multimeter usage technique—secure leads, good contact, and allow the vehicle to enter sleep mode. If the total draw exceeds the threshold, perform a fuse-by-fuse check: measure voltage drop across each fuse or remove fuses sequentially to isolate the circuit causing the drain. A significant voltage drop or a marked reduction in overall draw when a fuse is pulled identifies the problematic circuit. Once isolated, trace wiring and components for faults. This methodical approach frees you from guesswork and restores electrical autonomy.
Common Culprits and How to Confirm Each One (Stereo, Relays, Seats, Alternator)
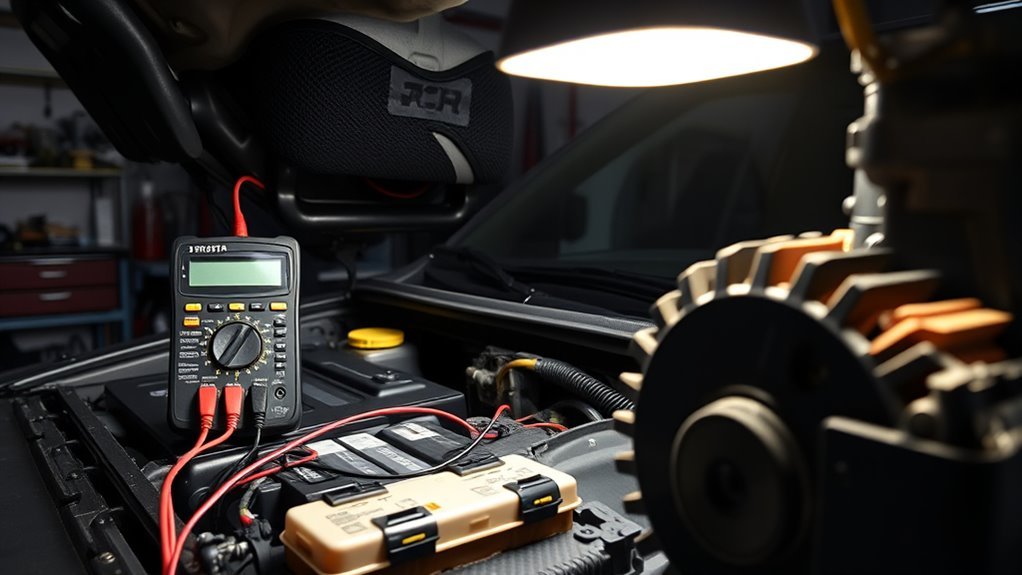
Start by isolating likely sources: check the stereo and any aftermarket amplifier for parasitic power draw with the fuse removed, then verify relays for stuck contacts that feed accessories. Test the alternator output while the engine runs — anything below ~13.4V indicates charging trouble that can mask as a drain. Use a multimeter to measure quiescent current; readings above ~50mA mean you should systematically pull fuses to pinpoint the circuit.
[Products Worth Considering]

The TOPDON BT100 helps you quickly check the health and charge status of 12V lead-acid batteries with clear analytical results, including state of health, state of charge, voltage, and cranking performance. It supports a wide range of battery types and vehicles, making it a practical tool for diagnosing starting and charging issues at home or in the shop. Compact and easy to use, it provides fast, reliable testing without needing to charge the device first.

This compact relay tester quickly checks the condition of most common 12-volt 4- and 5-pin automotive relays outside the vehicle. It provides self-contained testing without needing to connect to the battery, helping you identify coil and contact issues fast. Clear green and red LED indicators make pass or fail results easy to read, and the included batteries let you start using it right away.

This CANBUS wiring harness is designed to connect compatible Android head units to select Toyota models with mid-trim OEM JBL systems, helping simplify installation and reduce cutting or splicing. It supports retained factory features such as steering wheel controls, factory backup camera, original USB, and JBL amplifier functions when the vehicle and radio are compatible. Built for select Toyota fitments, it offers a plug-and-play upgrade path for a smoother stereo replacement.
Stereo And Amplifier
One common source of overnight drain is the stereo/amplifier circuit, and you can methodically isolate it by measuring current and removing fuses. Check stereo wiring and amplifier settings first: a bad head unit or wrong remote-turn-on wiring will let the amp stay live. Measure current at the battery with everything off; note baseline, then pull the stereo/amplifier fuse and watch for change.
- Pull the stereo/amplifier fuse and re-measure current to see if drain falls.
- Probe amplifier power and remote-turn-on leads for voltage after shutdown.
- Inspect under-seat wiring for pinches or exposed conductors that short when you move seats.
- Swap suspected components or fuses to confirm the circuit is culpable before replacing.
Alternator And Relays
When diagnosing alternator and relay-related drains, focus on measurable outputs and confirmed relay states so you can rule components in or out quickly. Start with alternator maintenance: run the engine and read voltage at the battery—expect ~14V; anything below 13.4V signals poor charging and potential overnight drain. Next, perform relay troubleshooting: with the vehicle off, listen for stuck relays and use a test light or multimeter to verify contacts open. Check aftermarket stereo current draw and isolate its fuse to confirm parasitic load. Inspect power-seat switches and harnesses for inadvertent closure that keeps motors energized. Finally, examine alternator and circuit connections for looseness or corrosion; clean and torque terminals. Systematic measurements free you from guesswork and restore reliability.
Repair or Replace: Battery, Alternator, or Wiring Harness – Costs & Signs
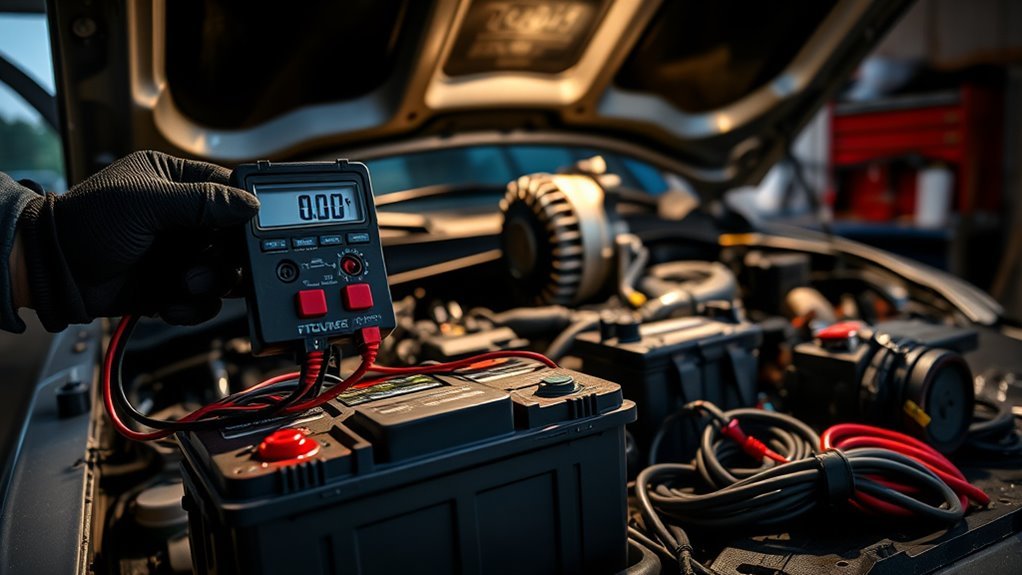
How do you determine whether to repair or replace the battery, alternator, or wiring harness? You’ll follow measured tests, compare battery replacement options and alternator repair costs, then act decisively.
- Test battery voltage: below 12V at rest or age >3 years → consider replacement; typical battery replacement options run $100–$200.
- Measure alternator output: engine-running voltage <13.4V suggests failure; alternator repair costs or replacement typically range $300–$800.
- Check parasitic draw: normal ≈20mA; >50mA demands tracing for shorts or device drains before replacing components.
- Inspect wiring harness: visual fraying, melted insulation, or intermittent shorts indicates repair or full harness replacement to stop continuous drains.
You’ll prioritize the cheapest effective fix that restores specifications. Replace the battery for low resting voltage; repair or replace the alternator if output is low; fix harness faults when draws persist. This method frees you from repeated failures and unnecessary expense.
Five Preventive Fixes to Stop Overnight Battery Drain
If you want to stop overnight battery drain, follow five preventive fixes that target the most common causes and give you measurable checkpoints: Inspect and clean battery terminals regularly to remove corrosion; a clean connection preserves voltage and extends life. Turn off all lights and accessories before you exit; confirm dome, trunk, and aftermarket devices are fully off. Perform routine parasitic draw tests with a multimeter — aim for ~0.02 A or less; anything higher needs tracing. Reduce short trips; combine errands so the alternator can recharge the battery effectively. Keep a concise log of battery performance and inspections to spot trends.
| Action | Metric | Freedom gain |
|---|---|---|
| Terminal cleaning | Low resistance | Reliable starts |
| Draw test | ≤0.02 A | Confidence |
| Trip length | Longer drives | Fewer failures |
These preventive maintenance steps are practical battery care that free you from surprise dead batteries.
Frequently Asked Questions
How to Fix Garmin Battery Drain Overnight?
Charge it fully, then adjust Garmin settings: disable Bluetooth/Wi‑Fi, lower screen brightness and timeout, update firmware, enable Battery optimization, and store cool. You’ll reclaim power, reduce overnight drain, and maintain device autonomy.
How to Prevent Your RV Battery From Draining Overnight?
An apple a day keeps surprises away: You’ll use battery maintenance tips and energy saving techniques—power down appliances, install a disconnect switch, add solar charging, monitor voltage, and clean terminals so you’re free from overnight drains.
Conclusion
You’ve got this: start with the easy checks and don’t panic if the battery’s being “forgetful.” Measure parasitic draw methodically, confirm suspect circuits with the fuse pull test, and verify charging output—then decide whether the battery, alternator, or wiring needs replacing. Expect modest repair costs for common fixes; save time by prioritizing relays and aftermarket stereo gear. With routine inspections and a disciplined diagnostic approach, overnight drains become a rare inconvenience.
[Products Worth Considering]
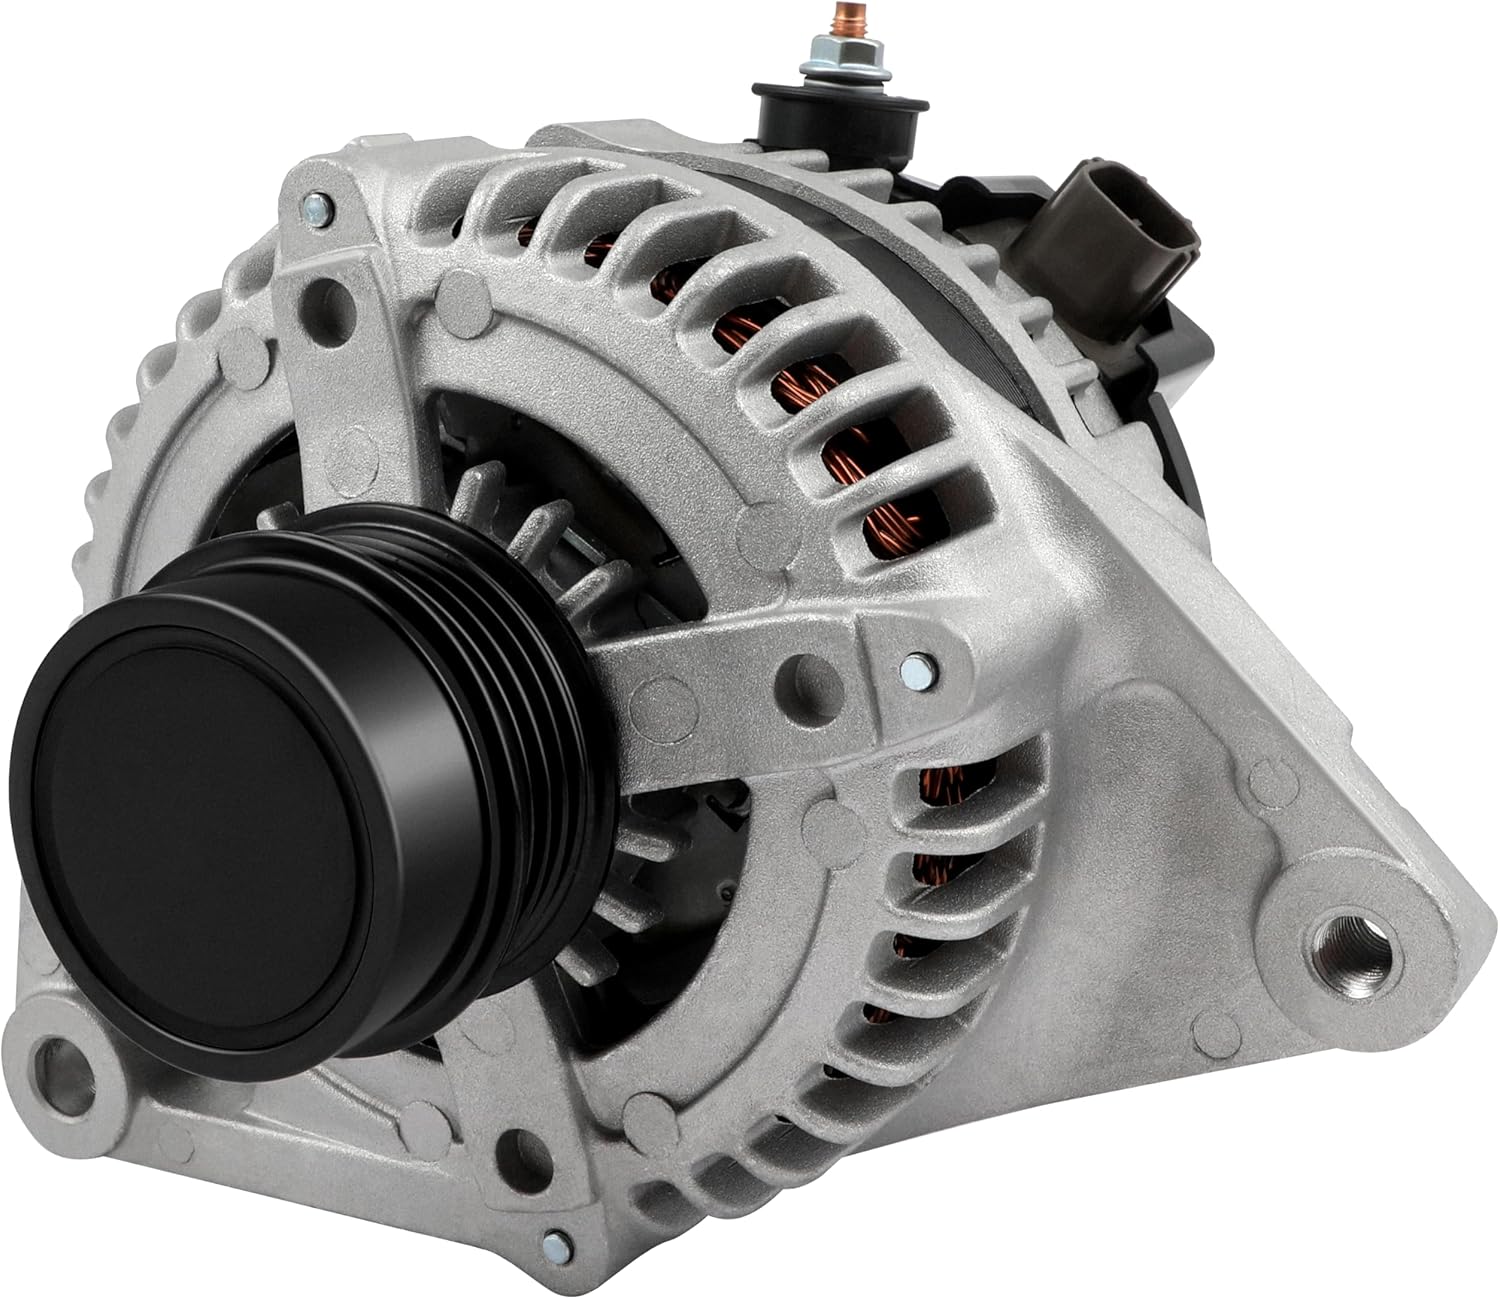
This high output alternator is designed to fit select Toyota, Scion, and RAV4 2.5L applications, delivering reliable charging performance for everyday driving. Built with a 12-volt, 100-amp design and precision-engineered components, it helps support battery recharge, stable electrical output, and consistent operation when your vehicle shows signs of charging issues.

This battery terminal care kit helps clean corroded connections and protect them from future buildup, making routine maintenance simpler for cars, marine batteries, and RVs. It includes two dual-ended terminal cleaners plus color-coded anti-corrosion fiber washers for positive and negative terminals. The kit is compatible with top post and side terminal batteries and is designed for quick, practical cleaning and protection.

This battery terminal maintenance kit helps remove corrosion fast and adds ongoing protection for cleaner, more reliable electrical connections. The dual-ended brushes restore terminal contact surfaces while the color-coded anti-corrosion washers help prevent future buildup on cars, trucks, RVs, boats, and other 6V or 12V batteries.