
Last updated: July 14, 2026. [VERIFY: add the real author name and relevant credentials in the CMS byline field.]
To change the differential and transfer case fluid on a 2010–2024 Toyota 4Runner 4WD, loosen every fill plug before draining, keep the vehicle level, use the component-specific fluid, install new crush washers, and refill to the bottom of each fill opening. The front and rear differentials generally use 75W-85 GL-5 gear oil, while the transfer case uses its own SAE 75W transfer gear oil specification. This guide covers the common fifth-generation 4WD layout. Owners of 2WD, earlier-generation, or 2025-and-newer 4Runners should confirm all specifications in the VIN-specific Toyota manual or repair information before starting.
Quick Answer
On a fifth-generation 4Runner 4WD, service the front differential, rear differential, and transfer case one housing at a time. Loosen the fill plug first, drain the old fluid, fit new crush washers, refill on level ground to the bottom of the fill opening, torque the plugs to the VIN-specific Toyota specification, clean the housings, and check for fresh seepage after a short drive.
Key Takeaways
- Use the correct fluid: most 2010–2024 4Runner front and rear differentials call for Toyota Genuine differential gear oil LT 75W-85 GL-5 or a verified equivalent. The transfer case uses Toyota Genuine Transfer Gear Oil LF SAE 75W or an equivalent that matches the manual.
- Always loosen the fill plug before draining. A drained housing with a seized fill plug can leave the 4Runner undrivable.
- Set the final level at the fill opening while the vehicle is level. Bottle count is only a planning estimate.
- Toyota’s maintenance schedule varies by use. Towing or heavy loading can trigger front and rear differential replacement at 15,000 miles, while later special-condition entries also call for transfer case service.
- Use new crush washers, a calibrated torque wrench, and a post-drive leak inspection.
At a Glance
| Time Required | About 1.5–3 hours for all three housings |
| Difficulty | Moderate DIY; easier with a fluid pump and torque wrench |
| Tools Needed | 12mm socket, 10mm hex bit, 24mm socket, ratchet, breaker bar, torque wrench, drain pan, fluid pump, jack stands, wheel chocks, rags, gloves [VERIFY: exact hardware sizes] |
| Fluid Planning Estimate | Keep about 6–7 quart- or liter-size bottles available for all three housings; confirm the exact capacity by VIN |
Warning: Never work under a 4Runner supported only by a jack. Park on level ground, chock the wheels, use rated jack stands, and keep the truck level while filling so the fluid level is accurate.
What Fluid, Tools, and Quantities Does a 5th-Gen 4Runner Need?
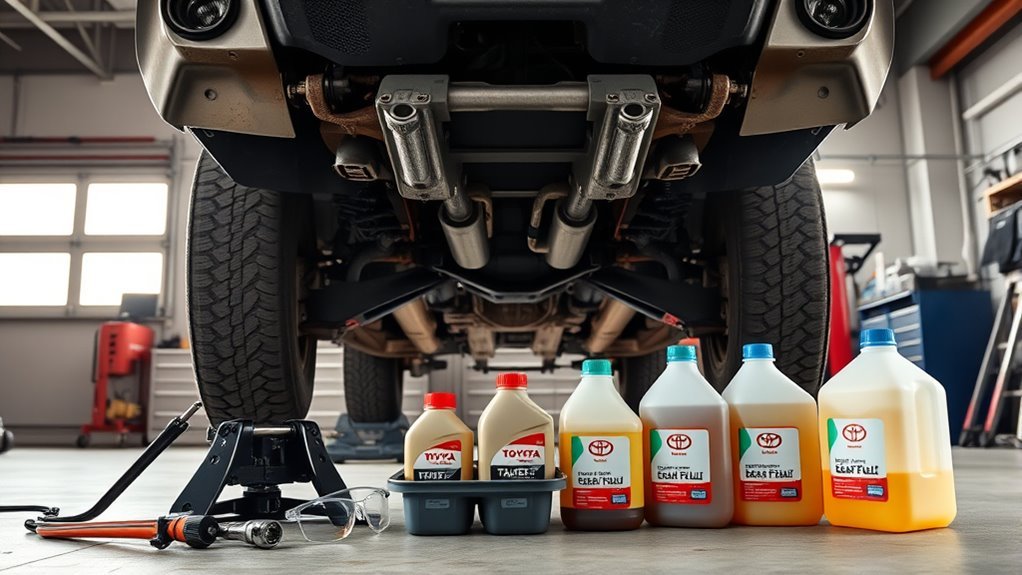
Lay out the tools, fluids, and washers before you work under the vehicle. Many 2010–2024 4Runner 4WD models use a 12mm socket for factory skid plates, a 10mm hex bit socket for the front differential plugs, and a 24mm socket for the rear differential and transfer case plugs. [VERIFY: confirm plug and skid-plate hardware sizes for the exact model year and any aftermarket armor.] A hex bit socket gives a breaker bar and torque wrench better control than a loose L-shaped hex key.
Fluid choice is the first specification to confirm. The common fifth-generation 4Runner front and rear differentials use Toyota Genuine Differential Gear Oil LT 75W-85 GL-5 or a verified equivalent with the required axle-oil service rating. The transfer case uses Toyota Genuine Transfer Gear Oil LF SAE 75W or an equivalent that matches the owner’s manual. Do not assume the differential oil is also approved for the transfer case.
| Component | Typical Fluid for 2010–2024 4WD 4Runner | Planning Amount |
|---|---|---|
| Front differential | 75W-85 GL-5 differential gear oil | About 1.4–1.7 qt [VERIFY: exact front differential type and VIN-specific capacity] |
| Rear differential | 75W-85 GL-5 differential gear oil | About 2.75–2.9 qt [VERIFY: exact rear differential and VIN-specific capacity] |
| Transfer case | SAE 75W transfer gear oil or equivalent per manual | About 1.1–1.5 qt [VERIFY: transfer case type and VIN-specific capacity] |
Buy more than the planning total because pumps, hoses, and bottles retain some oil. Keeping roughly 6–7 quart- or liter-size bottles available usually prevents a mid-job shortage, but that is not a fill specification. Confirm the exact capacities first, then set the final level at the fill opening while the 4Runner is level.
VIN-Specific Confirmation Checklist
- Confirm the vehicle is 4WD and identify the exact front differential, rear differential, and transfer case.
- Confirm fluid type, capacity, fill-level procedure, and plug torque in Toyota owner or repair information.
- Match each new crush washer to its original plug before draining.
- Check whether aftermarket skid plates change tool access or hardware sizes.
Bring new crush washers or gaskets for every fill and drain plug. Do not reuse the old washers; they flatten during the first installation and may seep if reinstalled. A VIN-matched Toyota washer kit is the cleanest option because washer sizes can vary by plug and model year.
Note: SAE viscosity and API service ratings are not the same thing. The differentials need a GL-5 axle oil because hypoid gears carry high sliding loads; the transfer case has its own fluid requirement, so do not assume one bottle type is correct for every housing.
[Products Worth Considering]

This A-Premium windshield washer pump is designed to restore reliable windshield cleaning performance across a wide range of compatible vehicles. It supports numerous Toyota, Honda, Lexus, Mazda, Ford, Lincoln, and other models, making it a versatile replacement choice for maintaining clear visibility in all driving conditions. Built for straightforward fitment, it helps ensure consistent washer fluid delivery when you need it most.

The Funnel King 32950 Oil Drain Pan is a compact fluid catch basin designed for clean, easy draining during routine maintenance. Its open shape and pour edge help transfer used oil, coolant, and other shop fluids with less mess, while the lightweight polypropylene construction stands up to common automotive chemicals. Sized to fit under many cars and small engines, it is a practical choice for garages, workshops, and DIY oil changes.

These genuine Toyota oil drain plug gaskets are designed to help maintain a reliable seal during oil changes, reducing the chance of leaks and supporting proper engine maintenance. With an OEM fit and trusted Toyota quality, they are a practical choice for routine service on compatible vehicles. The convenient quantity pack is ideal for keeping multiple maintenance intervals covered.
Where Are the Fill and Drain Plugs on a 5th-Gen 4Runner?
Before you drain anything, remove the front skid plates with a 12mm socket. Support each plate as you back out the final bolts so the plate does not fall. If you have aftermarket skid plates, check the hardware size first because it may not match the factory 12mm bolts.
Use your phone to photograph skid plate orientation, bolt locations, plug faces, and the area around each seal before you clean anything. Those quick photos give you a reference point if you later find a wet spot and need to decide whether it is an old stain, fresh gear oil, or residue from filling.
Locate and positively identify each fill and drain plug before turning a wrench. Many fifth-generation front differential plugs use a 10mm hex bit, while the rear differential and transfer case plugs commonly use a 24mm socket. [VERIFY: confirm all plug sizes for the exact vehicle.] The rear differential may be easier to reach if you lower the spare tire slightly, but do not move parts unless they block safe access.
Pro Tip: Wipe around each fill plug before loosening it. Dirt that falls into a differential or transfer case during filling is the exact grit you are trying to remove.
The rule is simple: loosen the fill plug first on every housing. Use a fully seated six-point socket or hex bit, and avoid hammering the plug with an impact tool unless the Toyota procedure specifically allows it. If a fill plug is seized or beginning to round, stop before opening the drain plug. Once the housing is empty, the vehicle should not be driven until the correct fluid and level are restored.
[Products Worth Considering]

The Scepter AM07029 Oil Drain Pan makes oil changes cleaner and easier by helping contain spills and reducing mess in the garage or driveway. Its lidded opening, removable drain screen, and gasketed pour spout support convenient collection, transport, and disposal of fluids. Built from durable high-density polyethylene, it resists rust, dents, and corrosion for reliable use with engine oil, transmission fluid, hydraulic fluid, and antifreeze.

CHAPIN’s low-profile oil drain pan is designed to slide under low-clearance vehicles and equipment, making fluid changes easier in tight spaces. The large splash-free target area helps reduce mess while the molded carry handles support easier lifting, pouring, and storage. Built for draining oil, coolant, and other automotive fluids, it offers a practical high-capacity solution for routine maintenance.

This 12-pack oil filter and drain plug washer set is designed for a wide range of Toyota and Scion vehicles, helping support clean oil flow and dependable engine performance. It replaces several common OE part numbers and offers an easy-fit solution for routine maintenance. Built with corrosion-resistant materials and efficient filtration, it helps keep engine contaminants out and supports longer service life.
How Do You Drain and Fill the Rear Differential and Transfer Case?
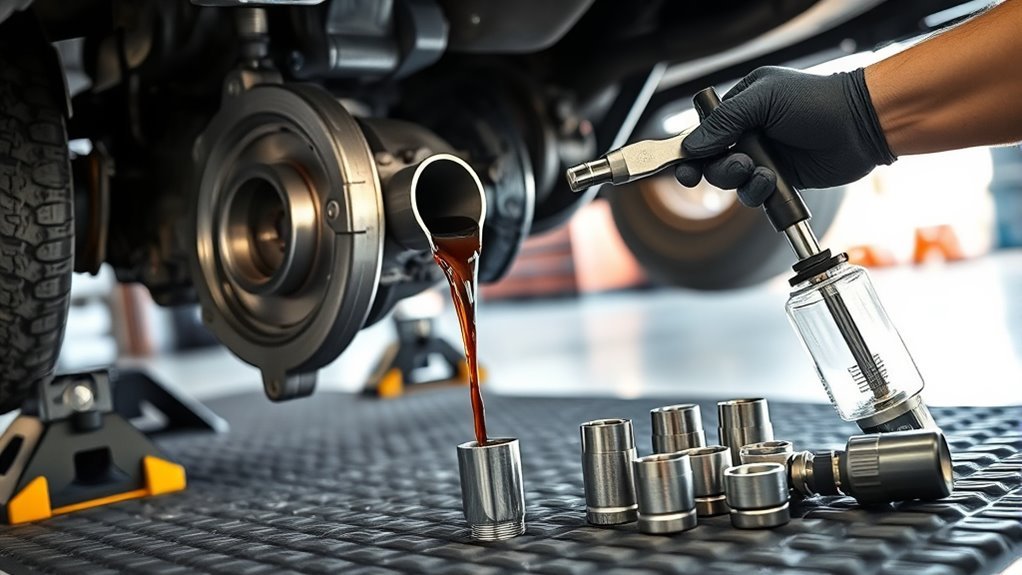
Start with the rear differential and transfer case because they are usually the easiest plugs to identify and access. Keep the 4Runner level, place a wide drain pan under the housing, and wear gloves because used gear oil has a strong odor and clings to everything.
[Products Worth Considering]

This brake bleeder bottle is designed to make fluid bleeding easier for one-person use with a built-in check valve and magnetic mount. The flexible hose fits most bleeder valves and helps reduce the chance of air entering the system during service. With a practical fluid capacity and universal fit, it is a handy tool for brake maintenance and repair.

This 32-piece hex bit socket set delivers a versatile mix of SAE and metric sizes for fastening tasks across automotive, repair, and home projects. Built with premium S2 alloy steel bits and chrome vanadium steel sockets, it is designed for strong torque, long service life, and resistance to wear, rust, and corrosion. The included storage case keeps sizes organized and easy to identify for quick selection on the job.

This flexible oil funnel is designed to make fluid changes cleaner and easier by guiding oil around obstacles like skid plates and crossmembers. Its shape-retaining core and silicone body can be molded for custom positioning, while the heat-resistant, leak-proof design helps prevent spills during draining and filter removal. Reusable and easy to clean, it works well for cars, trucks, motorcycles, and other hard-to-reach fluid fill or drain applications.
Rear Differential Service
- Clean the area around the rear differential fill and drain plugs.
- Loosen the fill plug with a 24mm socket, but do not remove it completely until you are ready.
- Move the drain pan under the drain plug, remove the drain plug, and let the oil drain for 10–15 minutes.
- Inspect the old oil. Fine gray paste on a magnetic plug is common; shiny flakes, chunks, or a burnt smell call for closer diagnosis.
- Install a new crush washer on the drain plug and torque it to the factory specification for the exact year and differential. Common fifth-generation references list about 36 ft-lb for the rear differential plugs. [VERIFY: confirm the VIN-specific value in Toyota TIS before tightening.]
- Pump in 75W-85 GL-5 gear oil until the level reaches the bottom edge of the fill opening and a slight dribble appears.
- Install a new washer on the fill plug and torque it to spec.
Transfer Case Service
- Clean around the transfer case fill and drain plugs.
- Loosen the fill plug first with a 24mm socket.
- Place the drain pan, remove the drain plug, and let the fluid drain until it slows to an occasional drip.
- Install a new washer on the drain plug. Common fifth-generation references list about 27 ft-lb for transfer case fill and drain plugs. [VERIFY: confirm the exact transfer case and VIN-specific torque in Toyota TIS before tightening.]
- Add the correct SAE 75W transfer gear oil slowly. Pause for a few minutes as the level settles, then top off until the fluid is at the bottom of the fill hole.
- Install a new washer on the fill plug, torque it, and wipe the case clean.
Warning: Do not overfill or underfill the transfer case. Toyota service information uses the fill-hole level as the reference because too much or too little oil can cause transfer case problems.
How Do You Change the Front Differential Fluid?
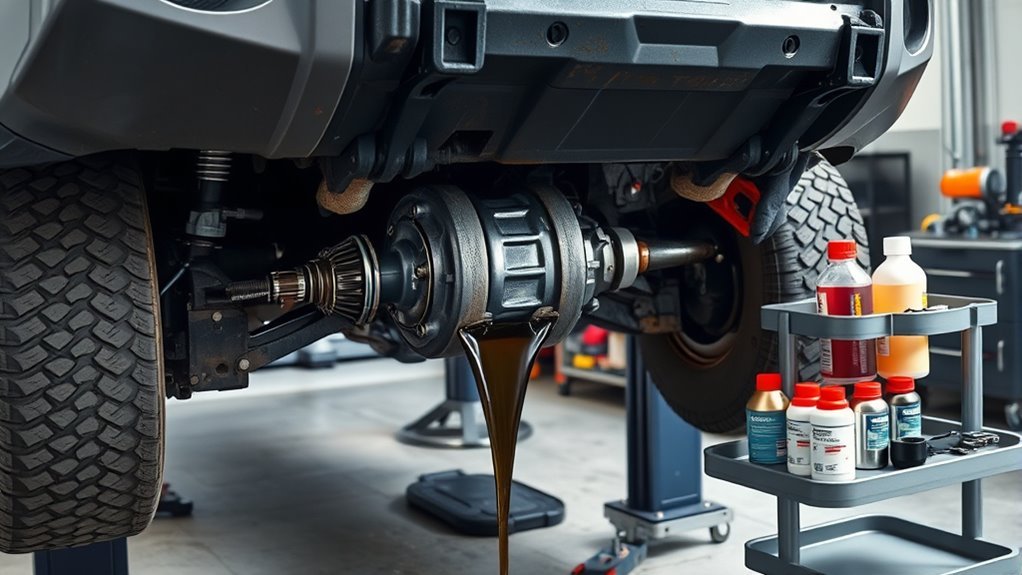
With the rear differential and transfer case drained and filled, move to the front differential. The front diff is tighter, so patience matters more than force. A 10mm hex bit socket, short extension, and breaker bar usually make the job cleaner than a handheld hex key.
- Remove the front skid plates if you have not already done so, supporting each plate as the last bolt comes out.
- Clean the front differential fill and drain plug areas.
- Loosen the front differential fill plug first with the 10mm hex bit.
- Place the drain pan under the front differential and remove the drain plug.
- Let the old oil drain for 10–15 minutes. Watch the fluid color: dark oil can be normal, but milky oil suggests water intrusion and glittery or chunky metal points to internal wear.
- Install a new washer on the drain plug. Common fifth-generation references list about 48 ft-lb for the front differential drain plug. [VERIFY: confirm the VIN-specific value in Toyota TIS.]
- Pump in 75W-85 GL-5 gear oil until the oil is level with the bottom of the fill opening. Most front differentials take about 1.4–1.7 qt depending on the exact front differential type. [VERIFY: VIN-specific capacity]
- Install a new washer on the fill plug. Common fifth-generation references list about 29 ft-lb for the front differential fill plug. [VERIFY: confirm the VIN-specific value in Toyota TIS.]
- Clean the housing, reinstall the skid plates, and secure all hardware.
After all three housings are filled, wipe them dry, drive the 4Runner slowly for a few minutes, and return to level ground. Inspect each fill plug, drain plug, pinion seal, axle seal, and transfer case output seal for fresh oil. Record the date, mileage, fluids used, approximate quantity added, plug condition, and any metal or water found in the drained oil. That service record makes the next inspection more useful.
Toyota does not publish one universal replacement interval for every 4Runner use pattern. The maintenance schedule separates normal inspections from earlier replacement under towing, heavy loading, dirt-road, and dusty-road conditions.
How Often Should You Change 4Runner Differential and Transfer Case Fluid?
Toyota’s 2024 4Runner Warranty & Maintenance Guide repeatedly lists front differential oil, rear differential oil, and transfer case oil as inspection items. It then adds replacement tasks for special operating conditions rather than giving every driver one blanket mileage interval.
For the 2024 schedule, towing, using a car-top carrier, or heavy vehicle loading triggers front and rear differential oil replacement at 15,000 miles or 18 months. At 30,000 miles or 36 months, the special-condition schedule calls for transfer case oil replacement for dirt- or dusty-road driving and calls for front differential, rear differential, and transfer case oil replacement when towing, using a car-top carrier, or carrying heavy loads. Use the maintenance guide for your own model year because the listed tasks and timing can differ.
Water crossings are condition-based rather than mileage-based. Check the fluids soon after deep water exposure, and replace any oil that looks milky, foamy, or coffee-colored. For normal highway use, follow Toyota’s inspection schedule and replace fluid when the manual calls for it or when level, contamination, leakage, or service history justifies the work.
What the Old Fluid Tells You
- Dark but smooth oil: Usually normal wear, especially if the service is overdue.
- Fine gray paste on a magnet: Common gear wear residue; clean the plug thoroughly.
- Milky or coffee-colored oil: Water contamination, often after water crossings or a bad breather/seal.
- Chunks, flakes, or heavy glitter: Possible bearing, gear, or internal wear that needs diagnosis.
- Burnt odor: Heat or lubrication breakdown; shorten the next interval and inspect for driveline issues.
Where to Check for Leaks
- Rear differential drain and fill plugs
- Rear pinion seal and axle seals
- Front differential drain and fill plugs
- Front CV axle seal areas
- Transfer case drain and fill plugs
- Transfer case front and rear output seals
- Breathers and vent hoses, especially after mud or water exposure
Note: Dispose of used gear oil responsibly. The U.S. EPA recommends recycling used oil rather than dumping it, and many auto-parts stores, service shops, and municipal collection centers accept used oil in sealed containers.
What Mistakes Should You Avoid During the Service?
- Using one fluid for everything: The differentials and transfer case have different requirements. Match the fluid to the component.
- Draining before testing the fill plug: Always loosen the fill plug first.
- Filling on a steep driveway: The fill-hole method only works accurately when the truck is level.
- Reusing crush washers: Old washers are a common source of slow seepage.
- Skipping the post-drive inspection: A clean plug can still seep after heat expands the housing and fluid.
- Overtightening plugs: Aluminum housings and plug threads can be damaged. Use the correct torque spec and a calibrated wrench.
Frequently Asked Questions
How often should you change differential and transfer case fluid in a 4Runner?
Use the maintenance guide for your model year and driving conditions. In Toyota’s 2024 schedule, towing or heavy loading triggers front and rear differential oil replacement at 15,000 miles or 18 months. At 30,000 miles or 36 months, special-condition entries add transfer case service and, for towing or heavy loading, replacement of all three driveline fluids.
Do you need to change all three fluids at the same time?
Not always. The front differential, rear differential, and transfer case have separate maintenance requirements and may show different fluid conditions. Servicing them together is convenient when the schedule, service history, or operating conditions justify it, but each housing still needs the correct fluid, washer, fill level, and torque specification.
Why must you loosen the fill plug before the drain plug?
Loosening the fill plug first confirms that you can refill the housing after it is drained. If the fill plug is seized, rounded, or inaccessible, stop and solve that problem before removing the drain plug.
Can you use 75W-90 instead of 75W-85 in a 4Runner differential?
Toyota specifies 75W-85 GL-5 differential gear oil for many fifth-generation 4Runners. Use that specification or a verified equivalent unless Toyota repair information for the exact VIN approves another viscosity. Do not substitute based only on availability, especially when warranty compliance or cold-weather performance matters.
Should you change the fluid after water crossings?
Inspect it soon after deep water exposure. If the oil looks milky, foamy, or coffee-colored, replace it promptly and inspect the breathers and seals. Water-contaminated oil cannot protect gears and bearings properly.
Can you perform the service without lifting the 4Runner?
You may be able to reach the plugs at stock ride height, but access depends on the vehicle, skid plates, tools, and your working space. The 4Runner must remain level for the fill-hole method. If you lift it, support it with rated jack stands at equal height and never work beneath a vehicle held only by a jack.
Conclusion
A safe 4Runner differential and transfer case fluid change depends on five details: verify the VIN-specific specifications, loosen each fill plug first, keep the vehicle level, use new washers, and torque every plug correctly. After the drive check, investigate fresh leaks, milky oil, metal chunks, or new driveline noise instead of waiting for the next service. Save the date, mileage, fluid details, and observations with the vehicle’s maintenance records.
Sources
- Toyota Owners Manuals and Warranties — vehicle-specific owner manual and warranty/maintenance guide access
- 2024 Toyota 4Runner Warranty & Maintenance Guide — factory maintenance inspection and special operating condition intervals
- Toyota Genuine Differential Gear Oil LT 75W-85 — OEM product reference from the source article [VERIFY: confirm current VIN applicability]
- Toyota Technical Information System — factory repair manual and year-specific service procedure access
- American Petroleum Institute Publication 1560 — API gear lubricant service designations such as GL-4 and GL-5
- U.S. EPA: Managing, Reusing, and Recycling Used Oil — safe used-oil recycling and disposal guidance




[…] transfer case fluid, wiring, grounds, and connectors for simple […]
[…] warranty disputes. Keep your receipt, fluid brand, specification, and service mileage after each transfer case service. That record helps if a warranty question or resale issue comes up […]
[…] Tacoma transfer case needs the exact fluid Toyota lists for its model year, drivetrain, and transfer case. Some older […]