How to Check and Top Off 4Runner Coolant Safely
What’s in This Article
- How to Check Coolant Safely With the Engine Cold
- Before You Begin: Tools, Coolant, and Safety
- How to Read MIN and MAX on the 4Runner Overflow Tank
- How to Top Off Coolant on a 4Runner
- How to Choose the Right 4Runner Coolant
- How to Inspect for Coolant Leaks and Head Gasket Warning Signs
- When to Flush or Replace 4Runner Coolant
- Troubleshooting Low Coolant or a Missing Cap
- Frequently Asked Questions
- Conclusion
A low coolant level can turn a normal drive into an overheating problem fast. With the engine cold, locate the coolant reservoir and confirm the level sits between the MIN and MAX marks. If it looks low, top it to the MAX mark with the Toyota-approved coolant your owner’s manual lists. This guide shows you how to check, top off, inspect, and decide when your 4Runner needs service.
Quick Answer
Check your 4Runner coolant only when the engine feels fully cold. The coolant should sit between the MIN and MAX marks on the overflow tank. If the level sits at or below MIN, add the Toyota-approved coolant listed in your owner’s manual until it reaches MAX.
Key Takeaways
- Check coolant only when the engine is cold so you avoid burns and get a clear reading.
- Keep the coolant level between the MIN and MAX marks on the overflow tank.
- Use the coolant type your owner’s manual lists, such as Toyota Long Life Coolant or Super Long Life Coolant.
- Inspect hoses, the cap, the reservoir, and the water pump area when the level drops.
- Schedule service if coolant keeps falling after short drives.
How to Check Coolant Safely With the Engine Cold
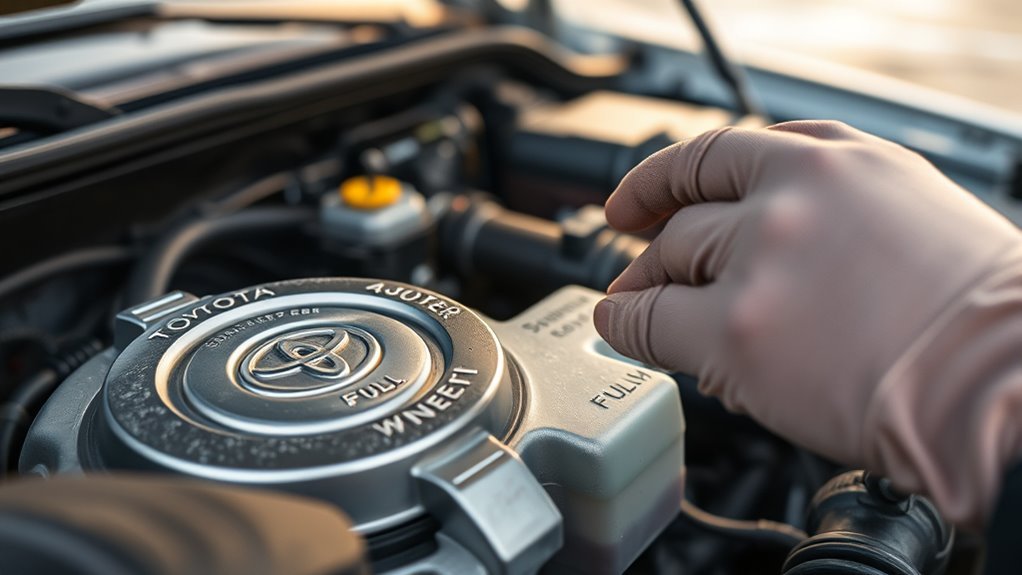
Let the engine cool completely before you touch the cooling system. Hot coolant and steam can cause severe burns. Open the hood, then find the coolant reservoir, which may show a coolant symbol or label.
Read the coolant level from the side of the translucent tank. The fluid should sit between the MIN and MAX marks when cold. Don’t remove the radiator cap unless the engine feels fully cold.
Warning: Never open a hot radiator cap, because trapped pressure can spray hot coolant and steam.
If you need to remove the radiator cap, cover it with a rag and turn it slowly. Stop if you hear pressure release. Inspect for damp spots, pink crust, or oily fluid before you add coolant.
[Products Worth Considering]

Ensure accurate engine cooling with Toyota's genuine water temperature sensor, designed for precise coolant monitoring and reliable performance. This OEM part fits seamlessly into your vehicle, offering durability and consistent temperature readings for optimal engine health.

Secure your vehicle's fuel tank with this durable ABS locking gas cap that provides a tight, waterproof seal to prevent leaks and theft. The key‑operated lock offers peace of mind while meeting OEM part numbers for a wide range of makes and models. Ideal for harsh weather conditions, it protects the tank from rust and corrosion, ensuring safe and reliable driving.
This genuine Toyota fuel tank cap assembly ensures a perfect fit for your vehicle, delivering reliable sealing and protection against fuel leaks. It meets OEM specifications, offering Toyota‑quality assurance and a manufacturer warranty for peace of mind. Ideal for drivers seeking authentic parts that maintain performance and safety.
Before You Begin: Tools, Coolant, and Safety
Estimated time: 10 to 15 minutes for a basic level check and top-off. Plan more time if you find leaks, stains, or a level that keeps dropping.
Gather your tools before you start. You need the right coolant, a funnel, a clean rag, gloves, safety glasses, and a drip tray. Keep pets and children away from spilled coolant.
- Use coolant that matches your owner’s manual.
- Use a clean funnel so dirt does not enter the tank.
- Wipe spills right away and rinse painted surfaces with water.
- Store coolant in a sealed container away from people and pets.
How to Read MIN and MAX on the 4Runner Overflow Tank
Locate the translucent overflow tank, then line up your eyes with the side of the tank. Read the fluid at the level surface, not from above. The coolant should sit between the molded MIN and MAX marks.
If the level sits below MIN, top off with the owner’s specified coolant. If the tank looks empty, inspect for leaks before you drive far. A sudden drop can point to a loose hose, cracked tank, weak cap, water pump leak, or internal engine problem.
[Products Worth Considering]

Upgrade your RAV4 roof rack with these heavy‑duty aluminum crossbars featuring an anti‑theft lock and tie‑down loops for secure cargo transport. The matte‑powder‑coated bars resist corrosion and reduce wind noise, while easy installation fits existing rails without drilling. Ideal for bike mounts, roof boxes, kayaks and more.

Protect your Toyota RAV4 interior with this custom‑fit windshield sun shade that blocks 99% of harmful UV rays and reduces cabin heat. The mirror cut‑out ensures a seamless fit without gaps, while durable 240T polyester and bendable wire keep it sturdy through repeated use. Foldable and stored in a convenient pouch, it offers easy installation and removal for everyday comfort.
Where to Find the MIN and MAX Marks
Your 4Runner’s translucent coolant overflow tank has molded MIN and MAX markings on the side. Check the marks with the engine cold so coolant expansion does not distort your reading. Use a flashlight if dirt or age makes the markings hard to see.
- Confirm the engine feels cold before you read the level.
- Check that coolant sits between MIN and MAX.
- Inspect the tank for cracks, stains, or oily contamination.
- Review your owner’s manual for the correct coolant type.
How to Read Coolant Levels Cold
With the engine cold, sight down the overflow tank and find the coolant line. A normal cold reading sits between MIN and MAX. The level may rise after the engine warms up because coolant expands with heat.
Check the fluid condition while you read the level. Clean Toyota coolant should look clear and bright, not muddy, oily, or full of debris. Record the level if you plan to monitor a slow leak.
| Item | Action |
|---|---|
| Level | Read between MIN and MAX |
| Condition | Check for oil, dirt, or discoloration |
When to Top Off
Top off the coolant when the cold level sits at or below the MIN mark. Add coolant only to the MAX mark, then stop. Overfilling can push coolant out as the system heats.
- Inspect the level when the engine feels cold.
- Use the specified coolant type from your owner’s manual.
- Top to MAX only when cold.
- Track leaks, contamination, or sudden level loss.
How to Top Off Coolant on a 4Runner
Use a clear, steady process when you add coolant. The goal is simple: restore the cold level to MAX without adding dirt, air, or the wrong fluid. Work slowly and stop if you see signs of a larger problem.
- Park on level ground and set the parking brake.
- Cool the engine until the radiator, hoses, and cap no longer feel hot.
- Find the coolant reservoir and read the MIN and MAX marks.
- Inspect the tank, cap, hoses, and water pump area for leaks or pink crust.
- Remove the reservoir cap slowly, then place it where it stays clean.
- Add the correct coolant through a clean funnel until the level reaches MAX.
- Reinstall the cap firmly and wipe up any spilled coolant.
- Recheck the level after a short drive once the engine cools again.
If the level falls again, don’t keep topping it off without diagnosis. Find the leak source or schedule a pressure test.
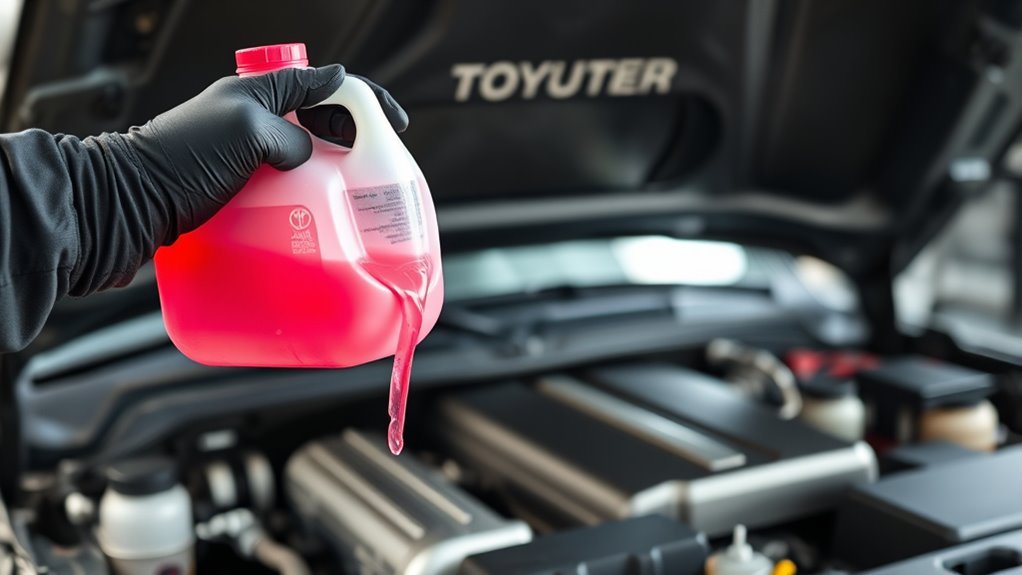
How to Choose the Right 4Runner Coolant
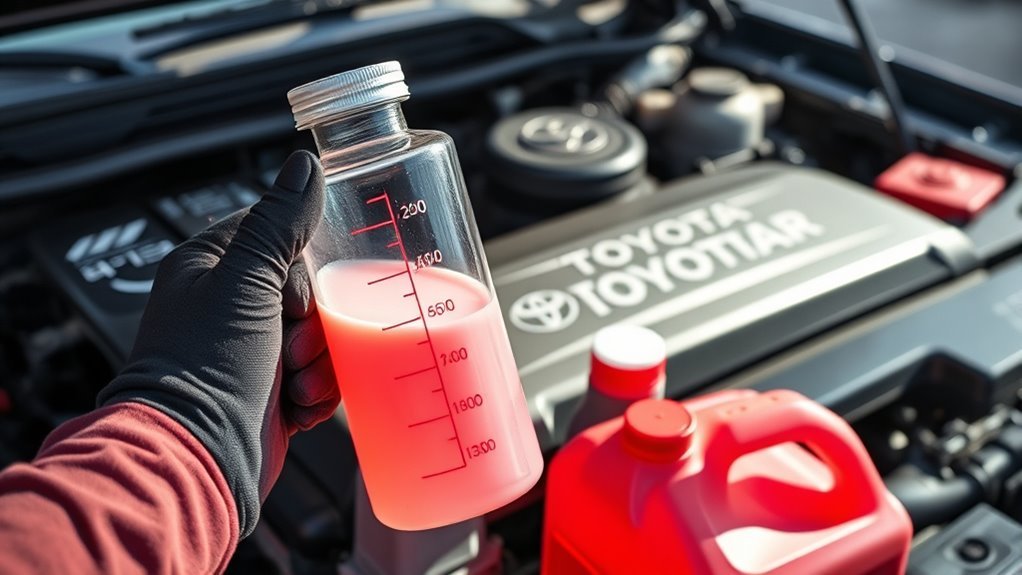
Check your owner’s manual before you buy coolant. Toyota models may call for Toyota Long Life Coolant (LLC), often red, or Toyota Super Long Life Coolant (SLLC), often pink. Color helps, but the specification matters more than color.
Do not mix coolant types unless Toyota guidance confirms compatibility. Different formulas can reduce corrosion protection and cooling performance. If you need to switch types, flush the system first and refill with the correct coolant.
Toyota LLC vs. SLLC
Toyota Long Life Coolant (LLC) and Toyota Super Long Life Coolant (SLLC) use different service guidance. Your owner’s manual gives the correct type, dilution, and interval for your model year. Follow that document before you rely on color alone.
- Verify coolant compatibility against Toyota specifications.
- Follow the owner’s manual for dilution and service intervals.
- Flush the system before switching coolant types.
- Test coolant condition during routine service.
Coolant Mixing Rules
Avoid mixing unmatched coolant types. If you add the wrong fluid by mistake, schedule a flush rather than hoping the blend will protect the system. Check the level and condition again after any coolant change.
| Action | Result |
|---|---|
| Use the specified coolant | Best corrosion control |
| Mix without approval | Possible loss of protection |
| Verify manual guidance | Safer compatibility choice |
Note: Coolant color can vary by brand, so match the Toyota specification instead of relying on color alone.
How to Inspect for Coolant Leaks and Head Gasket Warning Signs
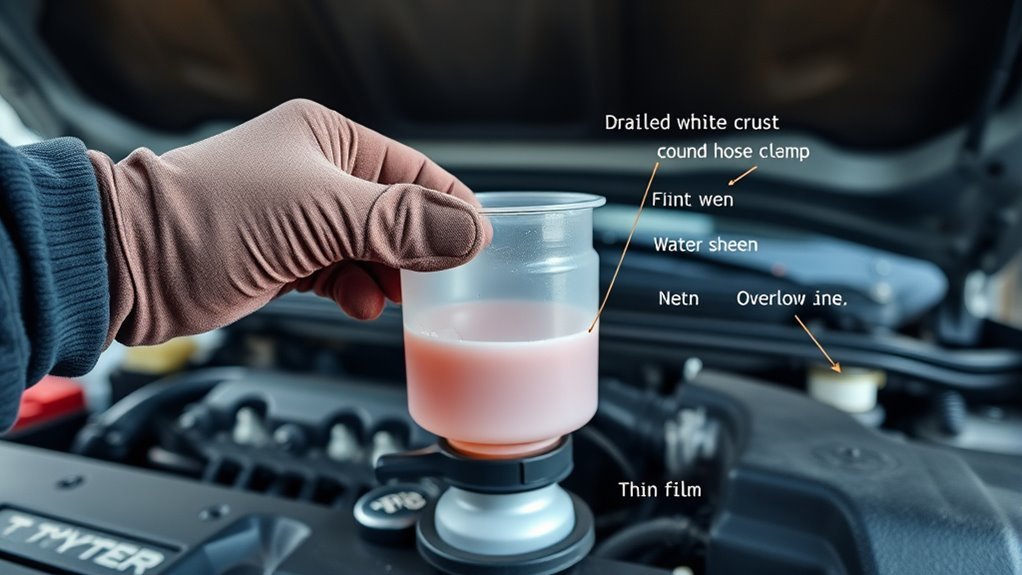
A coolant leak can reduce engine cooling fast. Inspect around the water pump, hoses, radiator, reservoir, and cap each time you check the level. Look for wet spots, coolant pooling, dried pink crust, or a sweet smell near the engine bay.
Check the fluid for an oily sheen or sludge. Those signs can point to contamination and may need professional diagnosis. White exhaust smoke, repeated overheating, or coolant loss with no visible leak can also suggest a head gasket issue.
- Check the water pump area for pooling or steady drips.
- Inspect hose connections and clamps for wet spots or soft lines.
- Look for pink crust at the reservoir cap and oily film in the coolant.
- Note level drops between cold checks.
Document the date, mileage, coolant level, and any stains you see. Clear notes help you spot patterns before a small leak turns into a large repair.
When to Flush or Replace 4Runner Coolant
Follow the coolant service schedule in your owner’s manual for your exact model year and coolant type. Many Toyota maintenance schedules list a long first service interval for factory fill coolant, then shorter repeat intervals after that. Use the manual as the final source because model years and coolant formulas can differ.
Between scheduled services, run three simple checks:
- Check clarity and color, then replace coolant that looks cloudy, dark, rusty, or oily.
- Test freeze protection with a coolant tester or refractometer before cold weather.
- Track reservoir level changes between cold checks.
If any test fails, flush and replace the coolant with the manufacturer-specified fluid. Record the date, mileage, test result, and coolant type used.
Troubleshooting Low Coolant or a Missing Cap
If the coolant cap is missing, replace it before you drive far. A missing or loose cap can let coolant escape and can allow dirt into the system. Use an original equipment cap or an equivalent cap that matches the correct pressure rating.
If the reservoir looks low after a drive, let the engine cool and refill to MAX with approved coolant. Then inspect for obvious leaks, such as pink crust at the filler neck, wet spots near the water pump, or damp areas under the vehicle.
- Replace a missing cap with the correct cap.
- Top off to MAX with the specified coolant after the engine cools.
- Inspect hoses, clamps, radiator, reservoir, and water pump.
- Log cold levels over several short drives.
- Schedule pressure testing if the level keeps dropping.
If you see repeated loss, don’t ignore it. Ask a qualified mechanic to run pressure and combustion-gas tests so you can find the leak source.
Frequently Asked Questions
How do you check the coolant level on a 4Runner?
Check the coolant reservoir when the engine feels fully cold. The fluid should sit between the MIN and MAX marks on the tank. If it sits below MIN, add the coolant your owner’s manual specifies.
Why does my car say turn off engine and check coolant level?
The warning usually means the car detected low coolant or high engine temperature. Pull over safely, turn off the engine, and let it cool before you check the reservoir. Inspect for leaks before you keep driving.
Can you add water instead of coolant in an emergency?
Use the correct coolant whenever you can. In an emergency, clean water may help you reach a safe place, but it does not provide the same freeze, boil, or corrosion protection. Flush and refill with the correct coolant as soon as possible.
What happens if you overfill the coolant reservoir?
Coolant expands as the engine warms up. If you fill above MAX, the tank may push extra coolant out through the overflow. Remove excess coolant when the engine is cold if the level sits too high.
Why does my 4Runner keep losing coolant?
Common causes include a loose cap, cracked reservoir, leaking hose, radiator leak, water pump leak, or internal engine problem. Check cold levels over several short drives. Schedule diagnostic testing if the level keeps falling.
Safety Disclaimer: This article gives general information about vehicle maintenance. Coolant can burn skin, poison people or pets, and damage engines when used incorrectly. Consult a qualified mechanic if you feel unsure or if your 4Runner keeps losing coolant.
Conclusion
The most important rule is simple: check 4Runner coolant only when the engine is cold. Keep the level between MIN and MAX, use the coolant your owner’s manual lists, and watch for leaks after every top-off. If the level keeps dropping, stop guessing and schedule a pressure test. A few careful checks can help you avoid overheating and larger repairs.
References
- Toyota Owner’s Manuals and Warranty Guides — Toyota
- Toyota Maintenance Schedule — Toyota