If your 4Runner cranks but won’t start, do not guess at parts. A crank-no-start problem means the starter is turning the engine, but one of the essentials for combustion is missing: correct battery voltage, fuel delivery, spark, injector control, compression, timing, or security authorization. Work through the checks below in order and record each result before replacing anything.
Quick Answer
A 4Runner that cranks but will not start usually has a fuel, spark, sensor, timing, compression, battery/ground, or immobilizer issue. Start with battery voltage, fuses, security light behavior, fuel pressure, spark, injector pulse, and OBD-II codes before moving to compression, leak-down, or timing checks.
Key Takeaways
- Confirm the basics first: strong battery, clean terminals, good grounds, fuel in the tank, and no flashing security warning during start.
- Do not replace the fuel pump just because you cannot hear it. Check fuses, relays, power, ground, and fuel pressure with a gauge.
- No spark and no injector pulse together often points toward a crankshaft/camshaft signal, wiring, immobilizer, or ECU input problem.
- Compression and timing checks matter when fuel and spark are present but the engine still will not fire.
- Use your exact model year, engine, and service data from Toyota Technical Information System before trusting any universal spec.
At a Glance
| Time Required | 30 minutes for basic checks; 2–4 hours for full fuel, spark, sensor, and compression testing |
| Difficulty | Beginner to intermediate; advanced if oscilloscope, timing, or leak-down testing is needed |
| Tools Needed | OBD-II scanner, multimeter, spark tester, fuel pressure gauge, basic hand tools, compression tester, service information |
| Cost | Often $0–$50 for basic diagnosis; more if fuel, ignition, sensor, or mechanical repairs are confirmed |
Quick Check: Fuel, Spark, Compression, and Security
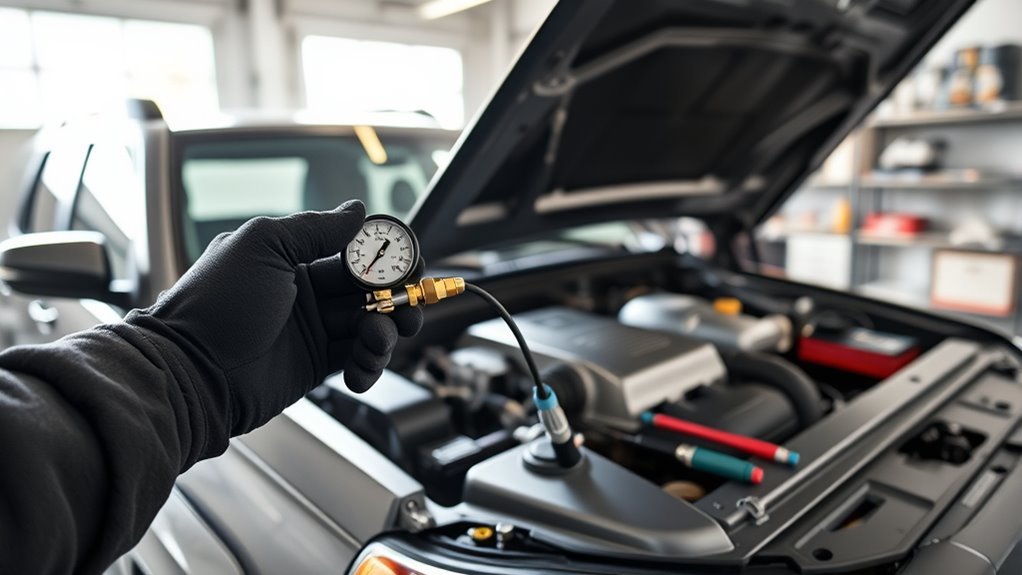
Start by proving which system is missing instead of guessing. A gasoline engine needs the right air-fuel mixture, spark at the right time, enough compression, and an ECU that sees the correct crank/cam signals. On many 4Runners, the immobilizer can also block starting if the key or security system is not recognized.
Warning: Work in a ventilated area, keep sparks and flames away from fuel, wear eye protection, and disconnect the battery when working near exposed wiring. Battery acid and charging gases can be hazardous; OSHA battery-handling guidance calls for ventilation and protective equipment when working around batteries.
| What You Notice | Likely Area | First Test |
|---|---|---|
| Cranks fast but never tries to fire | Fuel, spark, injector pulse, or immobilizer | Scan codes, check spark, check fuel pressure, watch security light |
| Cranks unevenly or too fast | Compression or timing | Compression test and timing mark inspection |
| Starts briefly with starting fluid, then dies | Fuel delivery or injector control | Fuel pressure and injector pulse test |
| No RPM shown on scanner while cranking | Crank sensor signal or wiring | CKP live data, resistance, wiring, and waveform checks |
| Security light stays active or flashes abnormally | Key, transponder, immobilizer, or related wiring | Try a known-good key and scan body/immobilizer codes |
Confirm the Starting Basics First
Before digging into sensors and fuel pumps, remove the easy failures. A weak battery can still spin the starter but drop voltage low enough to confuse modules, weaken coil output, or reduce fuel pump speed.
- Check battery voltage before cranking. A fully charged 12-volt battery is typically near 12.6 volts at rest.
- Watch voltage while cranking. If it falls sharply, charge and load-test the battery before chasing other faults.
- Clean and tighten the battery posts, clamps, engine ground strap, body grounds, and starter connections.
- Check the EFI, ignition, starter, fuel pump, and ECU-related fuses with a test light or meter, not just by looking at them.
- Make sure the engine has fresh fuel and that the fuel gauge is not misleading you.
Pro Tip: A voltage-drop test is better than a visual inspection. Test from battery negative to the engine block while cranking, then battery positive to the starter feed. Excessive drop means resistance in a cable, clamp, ground, or connection.
Scan for Codes and Live Data Before Removing Parts
Plug in an OBD-II scanner before unplugging sensors or swapping parts. Save stored codes, pending codes, freeze-frame data, and live data while cranking. Even if the check engine light is off, a no-start can leave clues.
Useful live data during cranking includes engine RPM, coolant temperature, intake air temperature, throttle position, immobilizer status if available, fuel trim history, and cam/crank synchronization on more capable scan tools. If RPM stays at zero while the starter is clearly turning the engine, focus on the crankshaft position sensor circuit, wiring, connector, sensor gap, or tone wheel before replacing the fuel pump.
Note: Generic code readers may miss immobilizer, body, and manufacturer-specific Toyota codes. If the security light behavior is abnormal, use a scan tool that can read Toyota-specific systems or have a shop scan it.
Test Fuel Delivery: Pump, Relay, Wiring, and Rail Pressure
Do not diagnose the fuel system by sound alone. Some pumps are quiet, and some Toyota systems do not run the pump continuously with the key in ON. The reliable test is pressure, volume, power, and ground under the right conditions.
[Products Worth Considering]

This two-piece front door lock actuator motor set is designed to restore reliable power door lock operation for a wide range of Toyota, Lexus, and Scion vehicles. It includes left driver and right passenger side actuators and is made as a direct replacement for common factory part numbers. With broad vehicle compatibility and a one-year warranty, it offers a practical solution for fixing faulty door locking issues.
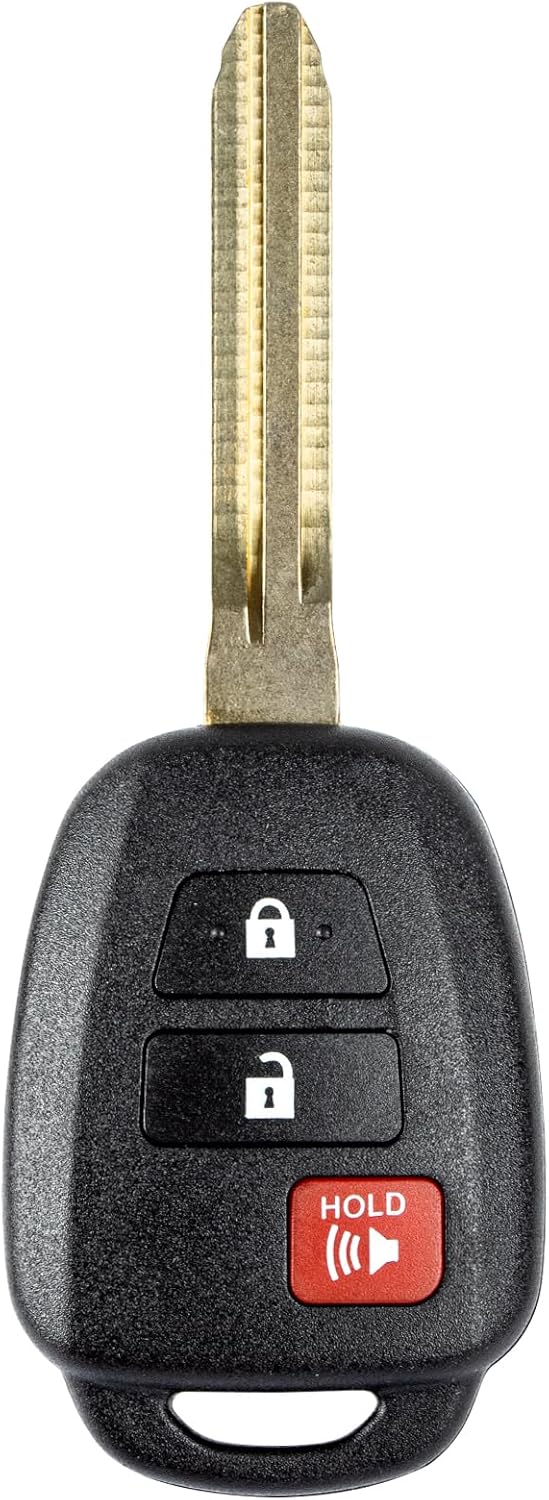
This replacement key fob is designed for select Toyota models and provides reliable keyless entry functionality with a factory-like fit and operation. It comes pre-tested with electronics and battery installed, making it a convenient solution when your original remote is lost, damaged, or worn out. Professional programming and cutting are required, and compatibility should be confirmed against the original remote and vehicle fitment details.

This new starter is designed to fit a wide range of Toyota, Lexus, Pontiac, and Scion vehicles for reliable engine starting performance. It features a 12V PMGR design with 13 teeth and counterclockwise rotation, and it is built from quality-tested components to meet OEM standards. Backed by a one-year free replacement warranty, it offers dependable fitment and peace of mind.
Fuel Pump Operation
Begin with fuel pump testing. Turn the ignition to ON and listen near the tank, then crank the engine while a helper watches the scanner and gauge. If you hear nothing, do not jump straight to a pump replacement. Check the fuse, EFI relay, circuit opening relay or fuel pump relay where equipped, connector condition, and power feed during crank.
Connect a fuel pressure gauge to the correct test point or use the proper adapter for your engine. Compare the reading with the factory specification for your exact 4Runner year and engine in Toyota service information. Low pressure can come from a weak pump, clogged filter or strainer, bad regulator, restricted line, poor pump ground, or low voltage at the pump.
Relay and Wiring
If pressure is low or the pump does not run, test the electrical side. Swap only with a matching known-good relay, and mark relays before moving them. Probe for battery voltage and ground at the pump connector while cranking. If power and ground are present but the pump is silent or pressure is low, the pump or in-tank wiring becomes more suspect. If voltage is missing, trace backward through fuses, relays, wiring, ECU control, and safety logic.
- Check fuel pump fuse and EFI-related fuses with a test light.
- Inspect relay terminals for heat marks, looseness, or corrosion.
- Check voltage at the pump during cranking, not only with the key ON.
- Verify the pump ground can carry load.
- Measure actual rail pressure and compare it to the factory spec.
- Retest pressure after repairs so you know the fault is fixed.
Injector Pulse and Fuel Quality
Fuel pressure alone does not prove fuel is entering the cylinders. Use a noid light, lab scope, or scan tool data to confirm injector pulse while cranking. If you have pressure but no injector pulse, look at crank/cam inputs, immobilizer status, ECU power and grounds, injector fuse power, and harness damage.
Bad fuel can also cause a crank-no-start. If the 4Runner sat for months, was filled from a questionable container, or started acting up immediately after refueling, draw a sample safely. Water, rust, diesel contamination, or stale fuel can stop combustion even when the pump runs.
Check Ignition Signals: CKP/Cam Sensors, Coils, and ECU Inputs
After fuel checks, verify spark and the signals that trigger spark. Toyota 4Runner engines vary by year, but the logic is the same: the ECU needs valid crankshaft and camshaft position information before it can command spark and injector timing.
[Products Worth Considering]

This keyless entry remote replacement is designed for a wide range of Toyota, Scion, and Lexus-compatible vehicles, offering a convenient way to restore remote locking and unlocking functions. Each fob is pre-tested, comes with the battery and electronics already installed, and is ready to be programmed for supported standard-key vehicles. It is a practical replacement choice for drivers who need a reliable, compatible remote for everyday use.

This keyless entry remote replacement is designed for select Toyota models and comes pre-tested with battery and electronics installed for ready-to-program convenience. It supports compatible part numbers and FCC IDs, making it a practical solution for replacing a lost or damaged fob. Programming and cutting by a qualified locksmith or dealership are required, and it is intended for regular key vehicles rather than push-start systems.
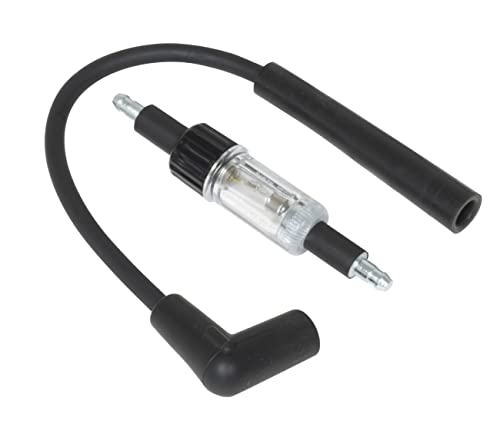
Gives a Visual Check of the Ignition System.
Crankshaft and Camshaft Signal Integrity
Scan for DTCs related to crankshaft position, camshaft position, misfire, ignition, immobilizer, or ECU power. Then inspect the CKP and CMP connectors for oil intrusion, broken locks, backed-out terminals, corrosion, or rodent damage. Measure resistance only if the service procedure calls for it, because sensor designs vary. A waveform test with an oscilloscope is best when the problem is intermittent.
- Check for RPM on the scan tool while cranking.
- Inspect CKP/CMP wiring near hot exhaust, moving belts, and sharp brackets.
- Confirm sensor power, ground, and signal as designed for that engine.
- Compare crank and cam waveforms if the engine has synchronization data available.
- Repair wiring or replace a confirmed failed sensor, then clear codes and retest.
Coil and ECU Power
Use an inline spark tester or adjustable spark tester rather than holding a plug wire near metal. Confirm ignition coil power, ground, and trigger signal while cranking. If one cylinder has no spark, test that coil, plug, connector, and wiring. If all cylinders have no spark, focus on shared power feeds, grounds, ignition switch input, crank/cam signals, immobilizer authorization, and ECU command.
If spark is present but weak, inspect spark plugs for fuel fouling, oil fouling, incorrect gap, cracked porcelain, or heavy wear. Replace fouled plugs after fixing the cause; otherwise the engine may still refuse to start even after the original fault is repaired.
Check the Immobilizer, Key, and Security System
A 4Runner with a transponder key or smart key system may crank but not start if the immobilizer does not recognize the key. Toyota owner information explains that the security indicator changes behavior when the immobilizer is set or canceled, so the security light is an important clue.
- Try a known-good spare key before replacing parts.
- Move other keys, RFID tags, and metal key rings away from the ignition or start button.
- Watch the security light when the key is inserted or the engine switch is turned ON.
- Check the key battery on smart-key models, but remember the transponder function may be separate from remote-lock operation.
- Scan for immobilizer or body control codes if the security light stays active or behaves differently than normal.
Do not bypass the immobilizer or cut security wiring. If the key, antenna, certification ECU, immobilizer ECU, or wiring is suspected, use Toyota service information and proper key registration procedures.
Check Timing and Compression: What a Bad Result Looks Like
If fuel pressure, injector pulse, and spark are present, move to mechanical checks. Low compression, incorrect valve timing, a slipped timing belt, a stretched chain, or a major vacuum leak can keep the engine from firing even when the electrical system looks normal.
Do not use one universal compression number for every 4Runner. Compression specifications and allowed cylinder-to-cylinder variation depend on the engine. Use your exact Toyota repair manual or Toyota’s repair information guidance to verify the correct spec.
- Low compression on one cylinder: suspect a valve, ring, head gasket, or cylinder-specific mechanical issue.
- Low compression on adjacent cylinders: suspect a head gasket leak or valve timing problem.
- Low compression on all cylinders: suspect incorrect cam timing, washed cylinders from flooding, severe wear, or testing error.
- Uneven cranking sound: perform compression testing before replacing sensors.
- Compression low but unclear why: follow with a leak-down test to locate air escaping through the intake, exhaust, crankcase, or cooling system.
Timing Belt vs. Timing Chain by Engine
Different 4Runner engines use different timing designs. For example, many 3.4L V6 and 4.7L V8 engines use timing belts, while many 2.7L and 4.0L V6 engines use chains. A belt engine can suffer a no-start from a slipped or broken belt; a chain engine can still have timing problems from wear, guide failure, tensioner issues, or incorrect service work.
Note: If you own a newer hybrid-assisted 4Runner, do not probe high-voltage components. Treat orange high-voltage cables and hybrid hardware as professional-service areas.
Fix Common Electrical Gremlins: Grounds, Battery Terminals, and Relays
Many crank-no-start problems come from poor electrical connections. Clean the obvious connections, but also test them under load. A ground can look fine and still fail when the starter pulls current.
| Item | Action | Pass Criteria |
|---|---|---|
| Grounds | Clean, tighten, and voltage-drop test | Minimal voltage drop while cranking |
| Battery | Remove corrosion and load-test | Stable voltage at posts and clamps |
| Relays | Inspect sockets and verify control/load sides | Reliable click, continuity, and delivered voltage |
| Fuses | Test both sides with power applied | Voltage on both test points |
| Connectors | Check for corrosion, spread terminals, and rodent damage | Tight fit and clean terminals |
Use contact cleaner on electrical connectors when appropriate and let them dry before reconnecting. Use dielectric grease sparingly around weather seals, not as a substitute for repairing loose or corroded metal terminals.
[Products Worth Considering]

WD-40 Specialist Contact Cleaner is ideal for removing oil, dirt, flux residue, and condensation from sensitive electrical equipment. This quick drying, residue-free formula is safe on metal and plastic

QD ELECTRONICS CLEANER: A precise cleaner made from petroleum distillate and alcohol that is fast evaporating and leaves no residue.
![WD-40 Specialist Contact Cleaner, Fast-Dry, No-Residue, 13.3 OZ [1-Pack]](https://m.media-amazon.com/images/I/31WHvxvHHiL._SL500_.jpg)
ONE-STEP ELECTRICAL CONTACT CLEANER: High-performance contact cleaner removes oil, dirt, flux residue, and condensation for reliable electrical connections.
Diagnose a Flooded Engine or Air Problem
A flooded engine can crank and refuse to start because the spark plugs are wet with fuel. You may smell raw fuel, see wet plug tips, or notice the engine tries to start only after sitting. On many fuel-injected vehicles, holding the accelerator fully open during cranking may activate clear-flood mode, but always follow your owner’s manual for your model year.
- Remove and inspect spark plugs if flooding is suspected.
- Dry or replace fuel-fouled plugs.
- Check for leaking injectors if flooding returns.
- Confirm the engine coolant temperature sensor is not falsely reading extreme cold.
- Inspect the intake tube, throttle body, and major vacuum hoses for disconnection or cracks.
A badly restricted air intake, stuck throttle issue, severe vacuum leak, or contaminated mass airflow sensor can also create a no-start or start-and-stall condition.
When a Clogged Exhaust or Catalytic Converter Can Stop Starting
A severely restricted exhaust can make an engine start briefly and die, or crank without starting after a major catalyst failure. This is less common than fuel, spark, sensor, or compression faults, so test before replacing expensive exhaust parts.
Clues include a history of power loss before the no-start, glowing exhaust components, rattling catalyst material, or very low intake vacuum while cranking. A shop can confirm restriction with backpressure testing, vacuum testing, or temporary upstream oxygen sensor removal for diagnosis.
Cold Weather and Long-Storage Checks
Extreme cold lowers battery output and makes oil thicker, so a marginal electrical system may become a no-start overnight. Long storage adds stale fuel, weak batteries, corrosion, rodent damage, and stuck injectors to the list.
- Charge and load-test the battery before deep diagnosis.
- Use the correct engine oil viscosity listed for your model and climate.
- Check for frozen water contamination in fuel lines if bad fuel is possible.
- Inspect wiring nests, air box debris, and chewed harnesses after storage.
- Replace stale fuel if the vehicle sat for an extended period.
Escalate Smart: Tools to Capture the Fault, Recordings, and Shop Handoff
Record clear evidence before handing the 4Runner to a shop. You want the technician diagnosing the fault, not repeating every step from zero. Film the dash lights and cranking sound, save the OBD-II report, and write down every test result.
- Video of start attempts showing dashboard indicators, security light, and starter sound
- Saved OBD-II codes, pending codes, freeze-frame data, and live-data notes
- Fuel pressure readings with key position and cranking condition noted
- Spark test results and which cylinders were tested
- Battery voltage and voltage-drop readings while cranking
- Compression or leak-down readings by cylinder
- Parts swapped, cleaned, repaired, or replaced, with dates
If the vehicle has open recalls or safety campaigns, check the VIN through NHTSA’s recall lookup and Toyota’s owner resources. Recalls are not the most common cause of a crank-no-start, but they are worth checking before paying for repairs.
Step-by-Step Diagnostic Order
- Verify the concern: the engine cranks normally but does not start.
- Check fuel level, battery state of charge, terminals, grounds, and main fuses.
- Watch the immobilizer/security light and try a spare key if available.
- Scan all available modules and save codes and live data.
- Check for RPM signal while cranking.
- Test fuel pressure and injector pulse.
- Test spark with a proper spark tester.
- If spark and fuel are present, perform compression testing.
- If compression is low or uneven, inspect timing and perform leak-down testing.
- Document results and repair only the system that failed a test.
Frequently Asked Questions
Could bad fuel quality cause a 4Runner to crank without starting?
Yes. Water, stale fuel, diesel contamination, rust, or debris can prevent combustion even when the pump runs. Suspect fuel quality if the problem started right after refueling or after long storage. Safely inspect a fuel sample and replace contaminated fuel before condemning injectors or sensors.
Can a flooded engine crank but refuse to start?
Yes. A flooded engine may have wet spark plugs and a strong fuel smell. Inspect the plugs, dry or replace fouled plugs, check for leaking injectors, and use the correct clear-flood starting procedure for your model year if the owner’s manual provides one.
Will a clogged catalytic converter prevent startup?
A severely restricted catalytic converter or exhaust can cause a start-and-stall or no-start, but it is not the first part to replace. Look for a history of power loss, exhaust restriction symptoms, abnormal backpressure, or poor vacuum readings before replacing the converter.
Could the immobilizer or chipped key stop a 4Runner from starting?
Yes. If the immobilizer does not recognize the key, the engine may crank but not start. Try a spare registered key, watch the security indicator, move other keys or RFID devices away from the ignition area, and scan for Toyota-specific immobilizer codes.
Does extreme cold affect cranking-to-start behavior?
Yes. Cold weather lowers battery performance, thickens oil, and can expose weak cables, grounds, plugs, or fuel issues. Charge and load-test the battery first, then check voltage drop, fuel pressure, spark, and plugs if the engine still will not start.
Should I replace the fuel pump if I cannot hear it prime?
Not immediately. Some systems are quiet or only run the pump under specific conditions. Check fuel pressure, pump power and ground, fuses, relays, and ECU control before replacing the pump.
Conclusion
A 4Runner that cranks but won’t start is usually diagnosable when you test in order: battery and grounds, fuses, immobilizer behavior, scan data, fuel pressure, injector pulse, spark, compression, and timing. The big win is discipline. One clear test at a time will either reveal the failed part or give a repair shop the proof it needs to finish the job quickly.
Sources
- Toyota Technical Information System — official Toyota repair manuals, wiring diagrams, service procedures, and diagnostic information.
- Toyota Support: Repair Information and Publications — where Toyota explains access to repair manuals, wiring diagrams, owner’s manuals, and TSB information.
- Toyota 4Runner Manuals and Warranties — official Toyota owner manual and warranty/maintenance resources by model year.
- Toyota 4Runner Engine Immobilizer System — Toyota owner information on immobilizer indicator behavior and system operation.
- OSHA Battery and Battery Charging Standard — safety guidance for ventilation and protective equipment around batteries.
- NHTSA Recall Lookup — official VIN-based recall checking before repair decisions.