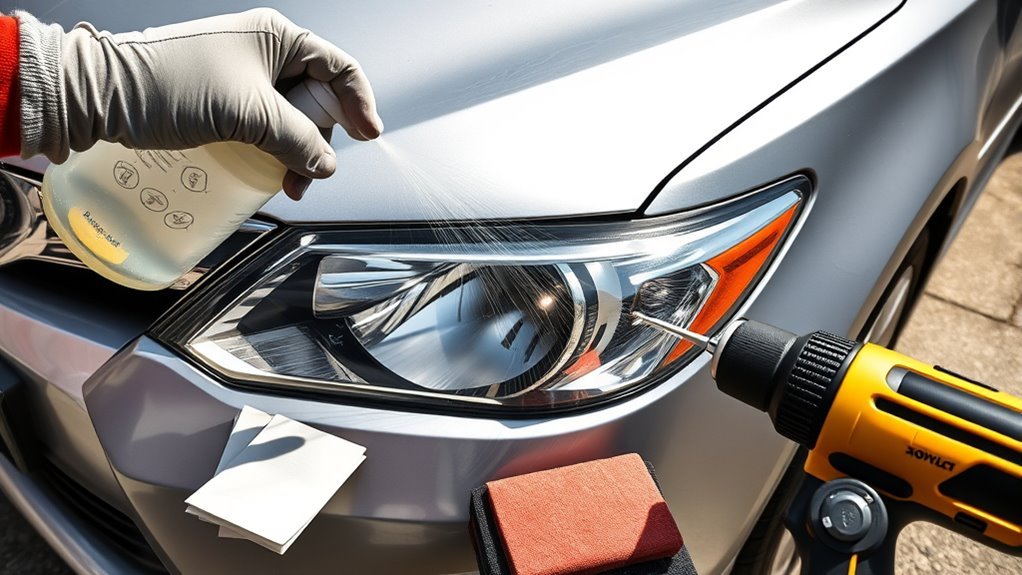
Restore cloudy Toyota Camry headlights only when the haze is on the outside of the plastic lens. Wash and mask the area, remove the failed surface with the grit sequence specified by your restoration system, refine the sanding marks, dry the lens fully, and apply a headlight-safe UV coating exactly as directed. Replace or reseal the assembly instead if the lens is cracked, moisture is inside, or the reflector is damaged. Confirm that the lens is plastic before sanding; do not use a plastic-headlight restoration process on glass.
Last updated: August 31, 2026
Author: [VERIFY: add the real author name and relevant automotive-maintenance experience or credentials]
Update note: Verified the 3M and Sylvania restoration workflows, clarified final-surface compatibility before UV coating, added a restore-vs-replace decision table, strengthened two-component coating safety guidance, added current Camry LED context, and expanded the FAQ.
Quick Answer
To restore cloudy Toyota Camry headlights, first confirm that the haze is on the outside of a plastic lens and that the assembly is dry and structurally sound. Wash the lens, mask the paint, and use the complete sanding and surface-preparation sequence specified by one compatible headlight-restoration system. The lens must reach the exact finish required by the UV coating you will use, then be clean and fully dry before coating. Keep it untouched and away from water until the product’s stated cure time has passed.
Key Takeaways
- Sanding removes exterior oxidation and failed coating; it does not fix cracks, internal condensation, weak bulbs, bad aim, or reflector damage.
- Do not choose one universal sandpaper grit. Follow the full progression specified by the kit or coating system you are using.
- The coating manufacturer’s required final surface matters: some systems include polishing, while others need a finely abraded surface before the UV coating.
- Use a UV-protective product made for plastic headlight lenses. Generic automotive clear coat is not automatically lens-safe.
- Coating methods and cure times vary. Some products use spray coats, while others require one continuous wipe-on application.
At a Glance
| Time Required | Varies by kit and lens condition; budget for every preparation step plus the coating manufacturer’s stated cure time |
| Difficulty | Beginner to intermediate when you follow one compatible system exactly |
| Tools Needed | Painter’s tape, clean water, microfiber towels, the specified abrasives, a headlight-safe UV coating, gloves, eye protection, and any respiratory protection required by the product label or safety data sheet |
| Best Candidate | Exterior yellowing, chalkiness, or haze on a plastic lens without cracks, internal moisture, or damaged optics |
Experience note: [VERIFY: add the actual Camry model year, restoration system used, starting lens condition, and one real before/after observation or measurement if this procedure was personally tested.]
How to Restore Cloudy Toyota Camry Headlights: Is Sanding the Right Fix?
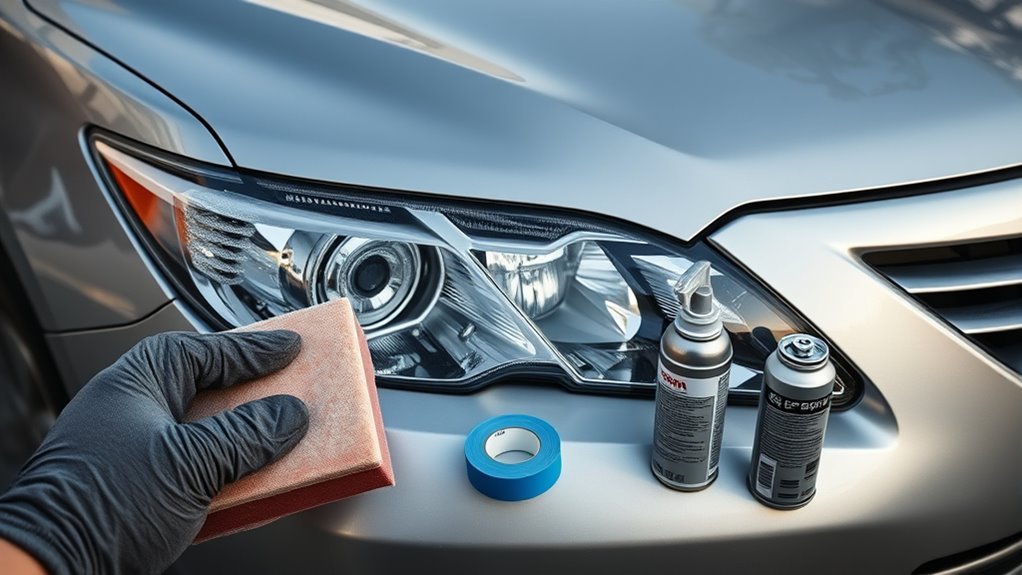
Sanding and a new UV-protective coating can help when the damage is limited to the outside of a plastic lens. Sunlight and UV exposure, road debris, weather, and age can degrade the original protective surface, leaving the lens yellow, chalky, or hazy.
This method is a good fit when both the discoloration and roughness are on the exterior. It is not the right repair for water inside the assembly, a cracked lens, a loose housing seal, damaged aim adjusters, a burnt reflector, or cloudiness on the inner surface. Those faults require diagnosis, resealing, component repair, or headlight replacement.
Note: Before sanding, turn on the headlights at night and compare both beams against a wall or garage door. If one beam is dim because of a weak bulb, electrical issue, or damaged reflector, lens restoration will not solve the whole problem. If the lamp flickers, use the site’s Camry headlight flickering guide. If you need to identify a replaceable light source, check the Camry headlight bulb size guide.
Headlight appearance and road illumination are related, but they are not the same measurement. In AAA’s 2018 laboratory study of headlamp assemblies from two approximately 11-year-old sedans, deteriorated low beams averaged about 22% of the OEM baseline light output; restoration brought average output back to roughly 70%. That was a small, non-Camry-specific test, so those figures are evidence of the possible effect of deterioration, not a guaranteed improvement for your car.
A 2026 Car and Driver road test adds useful context: the restored lens looked dramatically clearer, while the recorded change in projected roadway light was more modest. Treat lens clarity and beam performance as two separate checks. A clear-looking lens cannot correct poor aim, a weak light source, internal optical damage, or an electrical fault.
[Products Worth Considering]
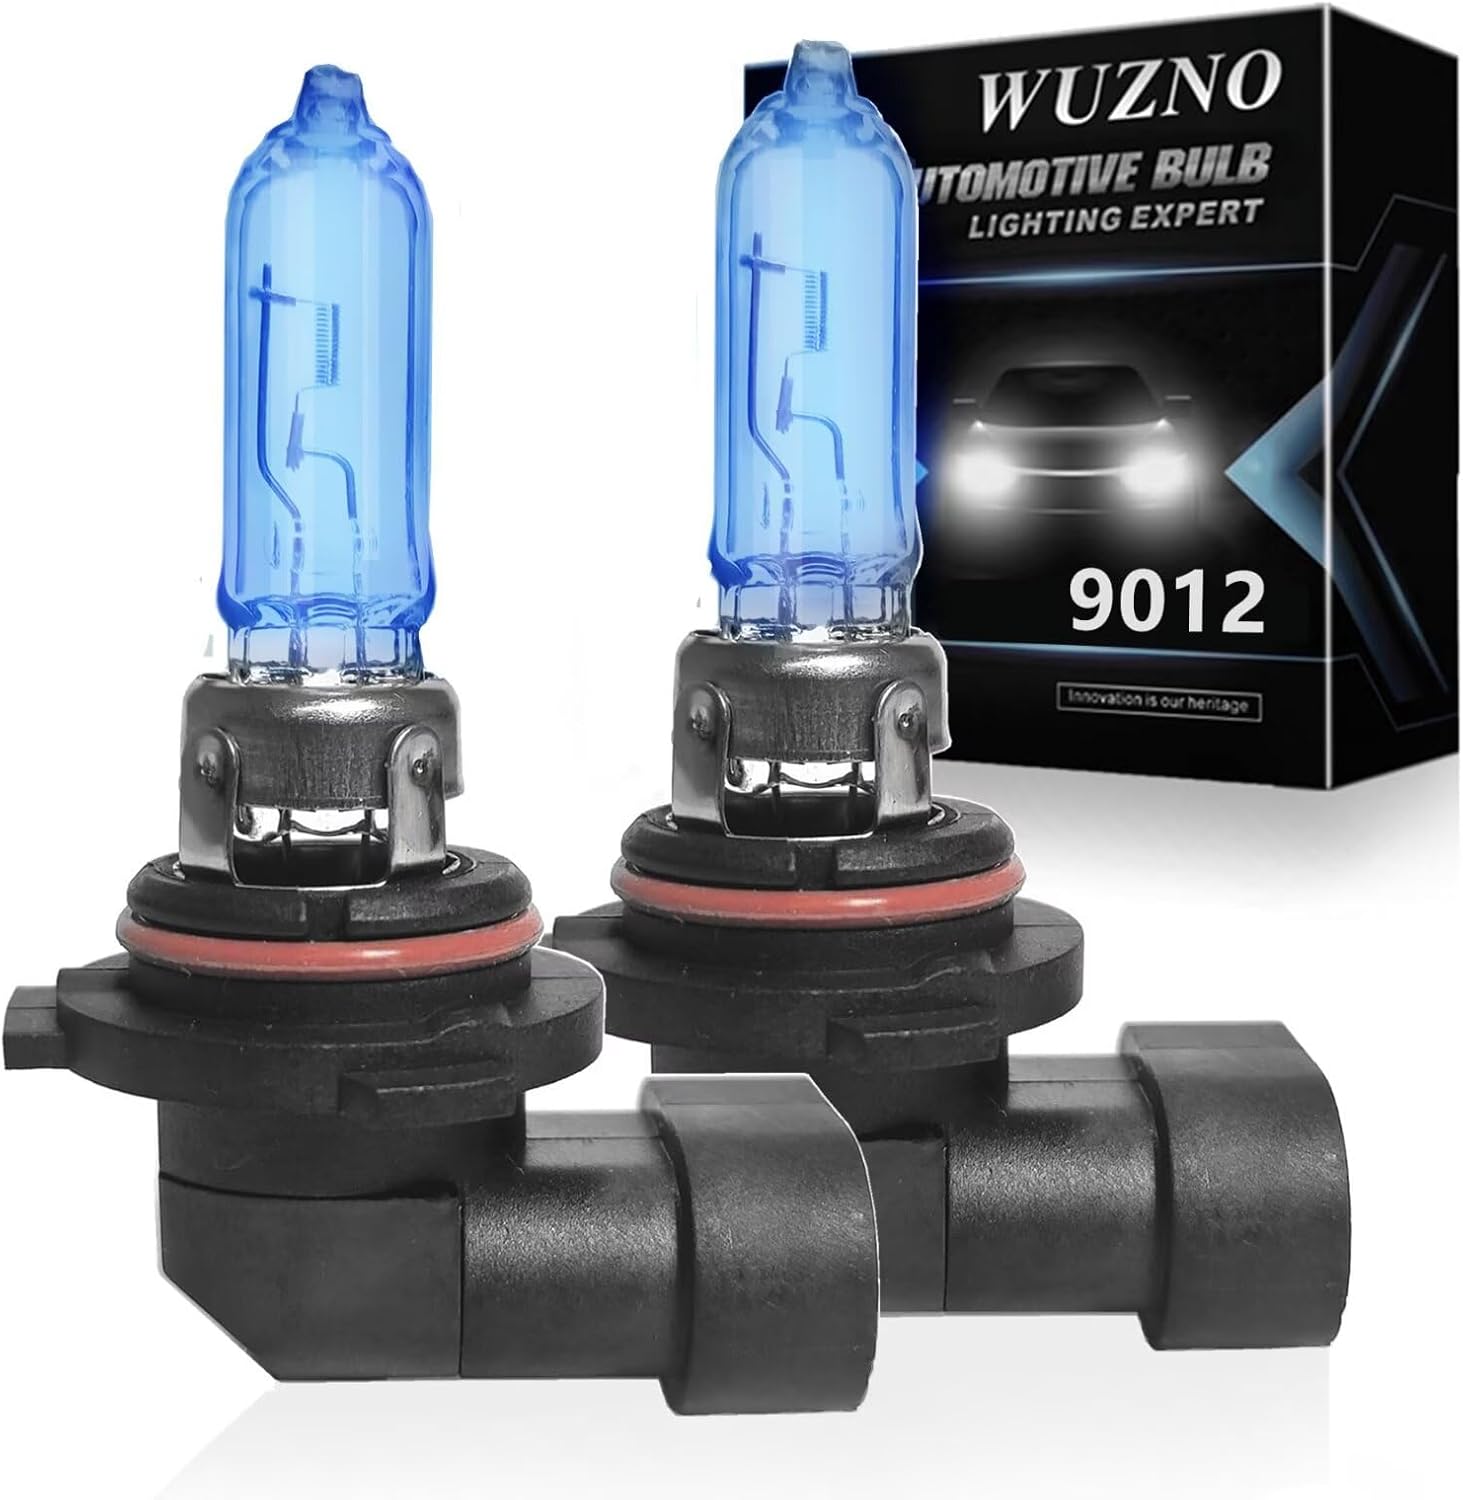
These halogen headlight bulbs are designed as a direct replacement for compatible Toyota models, offering plug-and-play installation with the same base and connector as the original bulbs. They deliver brighter, whiter light for improved visibility and a more modern look while helping reduce eye fatigue during night driving. Built for long life and reliable performance, this two-pack is ideal for restoring or upgrading your vehicle's headlight output.

These SYJIIP halogen headlight bulbs are designed for Toyota RAV4 models from 2013 to 2015, offering a plug-and-play replacement with stock-size fitment for easier installation. They deliver brighter warm white light for improved night visibility while maintaining a safe beam pattern with reduced flicker and fewer CANBUS issues. The four-pack makes it convenient to refresh multiple bulbs or keep spares on hand for reliable driving performance.
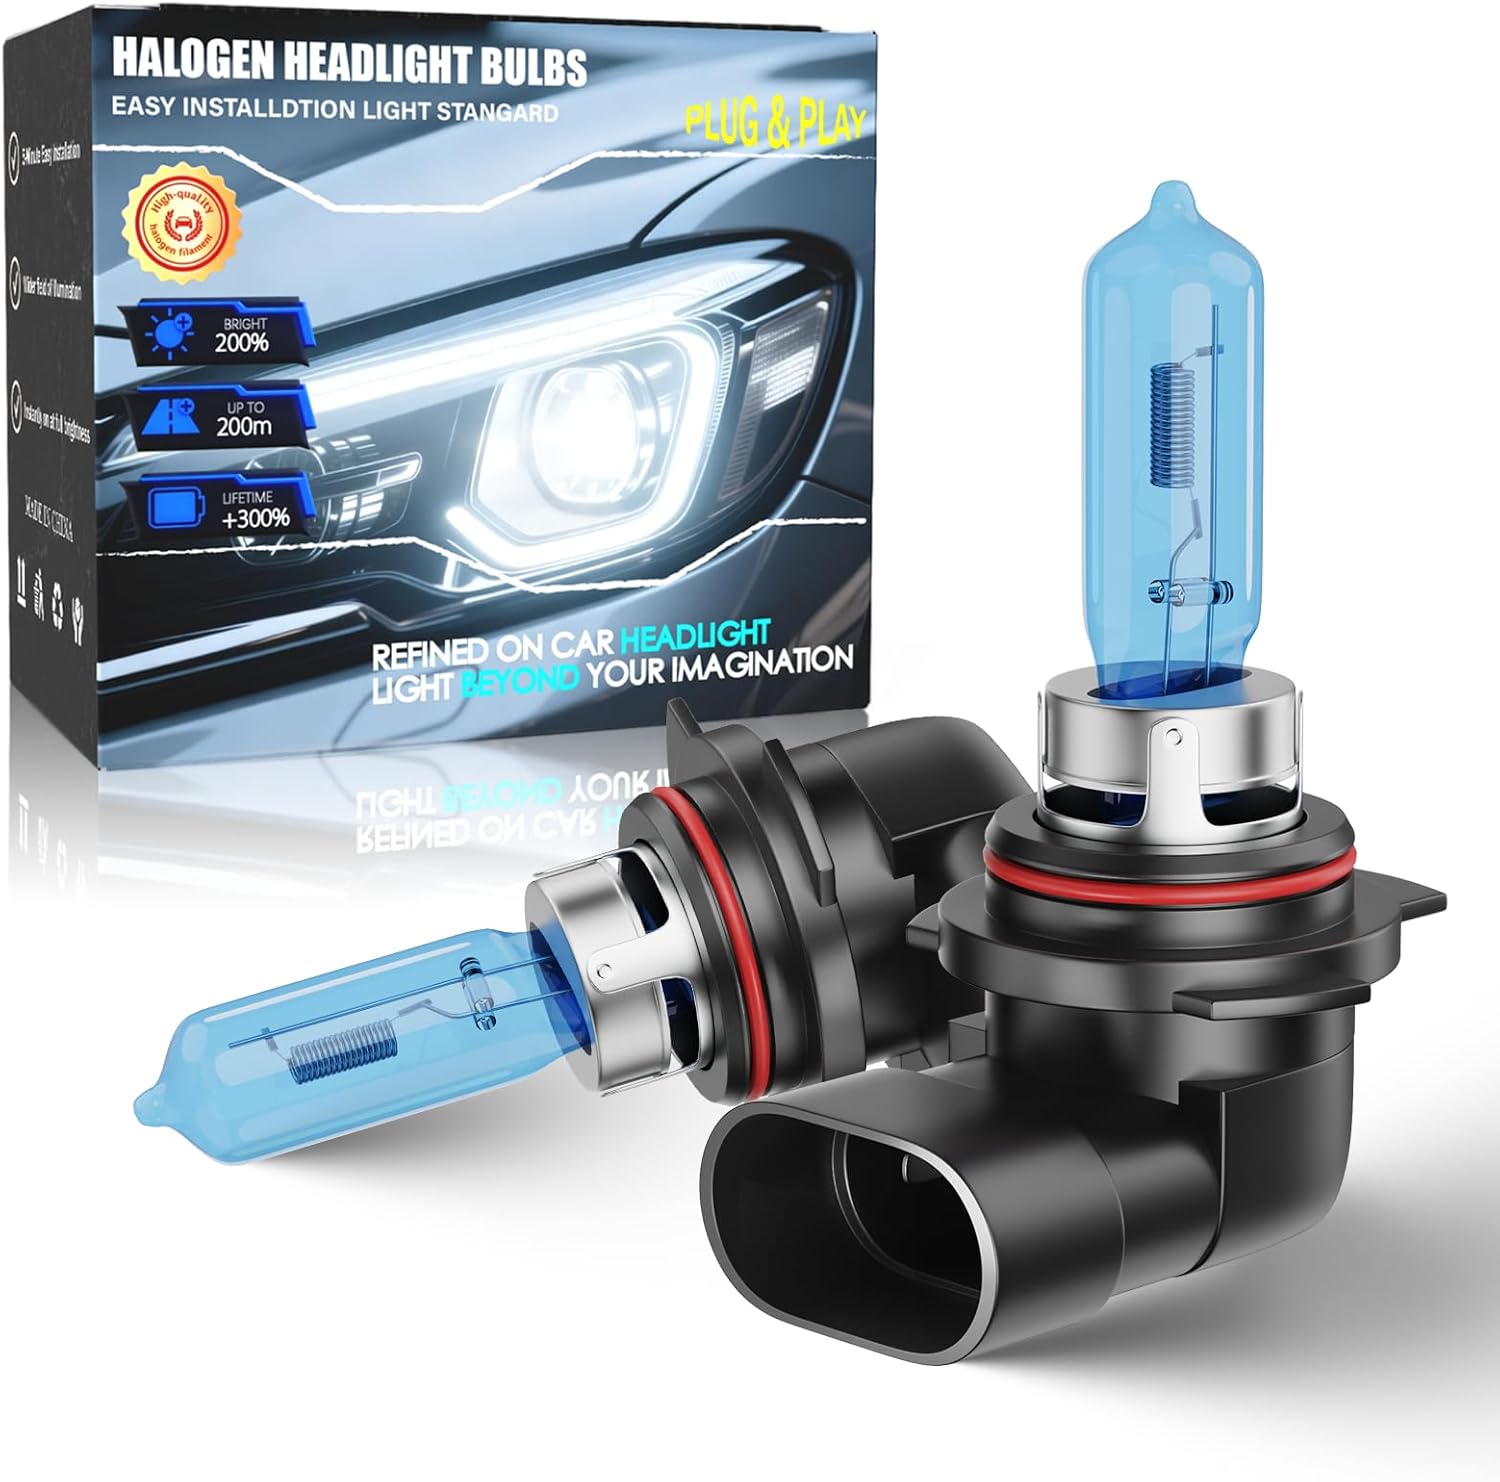
Upgrade your nighttime driving with these halogen headlight bulbs designed for 2016-2019 Toyota RAV4 models. The HIR2/9012 high and low beam combo delivers a brighter white light, a safer beam pattern, and broader road coverage for improved visibility. With plug-and-play installation and durable construction, this two-bulb set is built for a fast, hassle-free replacement.
What Tools Do You Need to Restore Camry Headlights?
Gather everything before you start so you do not touch the prepared lens with dirty hands or rush the coating step. The simplest approach is a complete headlight-restoration kit that includes both surface preparation and a compatible final UV-protection step. If you combine separate abrasives and a separate coating, the coating manufacturer’s preparation requirements control the final lens surface.
Manufacturer systems are not interchangeable. 3M’s professional headlight lens restoration process uses staged P500, P800, P1000, and P3000 abrasives followed by compound and polish. Sylvania’s headlight restoration kit instructions use 400, 1000, and 2000 grit wet sanding, clarifying compound, another surface-activator step, and a dedicated UV-block coating. Follow the exact order, preparation method, application method, and cure time for the system you choose.
Compatibility Check: Do not assume that polishing the lens until it is glossy is correct for every coating. Sylvania’s system includes clarifying compound and another activator step before its UV coating, while 3M’s Quick Headlight Clear Coat Wipes use a 3000-grit abrasive to leave very fine scratches that help the wipe-on coating adhere. Prepare the final surface exactly as the coating manufacturer specifies.
[Products Worth Considering]

Upgrade your Toyota RAV4 with bright, road-clarifying LED lighting designed for 9012/HIR2 sockets and compatible with both high and low beam applications. These plug-and-play bulbs deliver cool white illumination, quick installation, and dependable performance in challenging weather, while the built-in cooling system helps support long service life.

This brand new replacement hubcap is designed for Toyota Rav4 models from 2013 through 2018 with 17-inch factory wheels. It features sturdy mounting clips and a heavy-duty steel retention ring for a secure, OEM-style fit, plus a durable ABS construction with a shiny painted finish for a clean factory look. Sold as a single piece, it is a reliable aftermarket alternative to the original wheel cover.
Essential Sanding Supplies
- Automotive painter’s tape
- Plastic sheeting, paper, or extra tape to cover the bumper and fender edges
- Spray bottle with clean water
- The complete abrasive sequence specified by your kit or coating system; do not assume 1000 grit is the correct starting or finishing grit
- Clean microfiber towels
- Mild car-wash soap and water
- Isopropyl alcohol or a plastic-safe surface prep cleaner, if allowed by your coating instructions
- Nitrile gloves, eye protection, and the ventilation and respiratory protection required by the coating label and safety data sheet
Clear Coat Options
Choose a clear coat, sealant, or ceramic-style coating that specifically says it is safe for plastic headlight lenses and provides UV protection. That coating is functional, not cosmetic: sanding removes damaged material and can also remove remaining factory protection.
For most DIY jobs, use a complete headlight restoration kit or a headlight-specific coating with clear lens-compatibility instructions. Do not substitute ordinary paint clear coat just because it is labeled “automotive.” AAA Club Alliance warns that generic clear-coat paint was not designed for headlight lenses and may crack, oxidize, or reduce visibility as it fails.
Warning: Read the safety data sheet before spraying any two-component or 2K coating. If the SDS lists isocyanates or requires a spray booth, supplied-air respiratory protection, or exposure controls you do not have, do not spray that product as a casual driveway repair. OSHA guidance for isocyanate-containing paint spray describes substantial respiratory-protection requirements. Choose a safer headlight-specific DIY system or have a properly equipped professional apply the coating.
Safety and Prep
Work in a shaded, dry, low-dust area within the temperature and humidity range on the product label. Direct sun can interfere with some restoration steps, while wind can carry dust and overspray. Do not assume that an open garage door provides enough ventilation for every aerosol coating.
Wear gloves and eye protection during sanding. For spray products, use only the respiratory protection and ventilation specified by the label and safety data sheet; a thin dust mask does not protect against solvent vapor. Keep children, pets, flames, heaters, pilot lights, and smoking materials away until the area is safe.
Should You Restore or Replace the Headlight?
Look closely at each Camry headlight before sanding. First determine whether you are dealing with exterior oxidation, failed surface coating, deeper pitting, or damage that sanding cannot fix. Also confirm that the lens is plastic. 3M specifically states that its plastic-headlight restoration system should not be used on glass.
| What You Find | Restore the Exterior? | Best Next Step |
|---|---|---|
| Yellow, chalky, or hazy outer plastic | Usually yes | Use a compatible sanding/refinement and UV-protection system |
| Water droplets or fog inside | No | Diagnose the housing, vent, seal, or crack |
| Cracked lens or broken housing | No | Repair or replace the assembly as appropriate |
| Cloudiness on the inner surface or damaged reflector/projector | No | Diagnose internal optics or replace the assembly |
| Clear lens but weak, flickering, or abnormal beam | No | Check the light source, power supply, wiring, aim, and internal optics |
| Glass lens | Not with a plastic-lens sanding kit | Use a repair method specifically approved for that lens material |
- Light haze: Use the least aggressive preparation step explicitly permitted by your restoration system.
- Heavy yellowing: Use the starting grit specified by your system; heavy failed coating may require a coarser first step than light haze.
- Peeling clear coat: Remove the failed coating as directed until the surface reaches the system’s specified finish.
- Deep pitting: Small craters from road debris can remain after restoration. You may improve clarity without making the lens cosmetically perfect.
- Internal moisture: Fog or water droplets are inside the assembly. Drying, diagnosis, resealing, repair, or replacement is needed.
Compare both headlights side by side. If one lens has deep cracks, cloudy plastic on the inside, or a loose housing, exterior restoration alone will have limited value.
How Do You Prep and Mask a Camry Headlight?
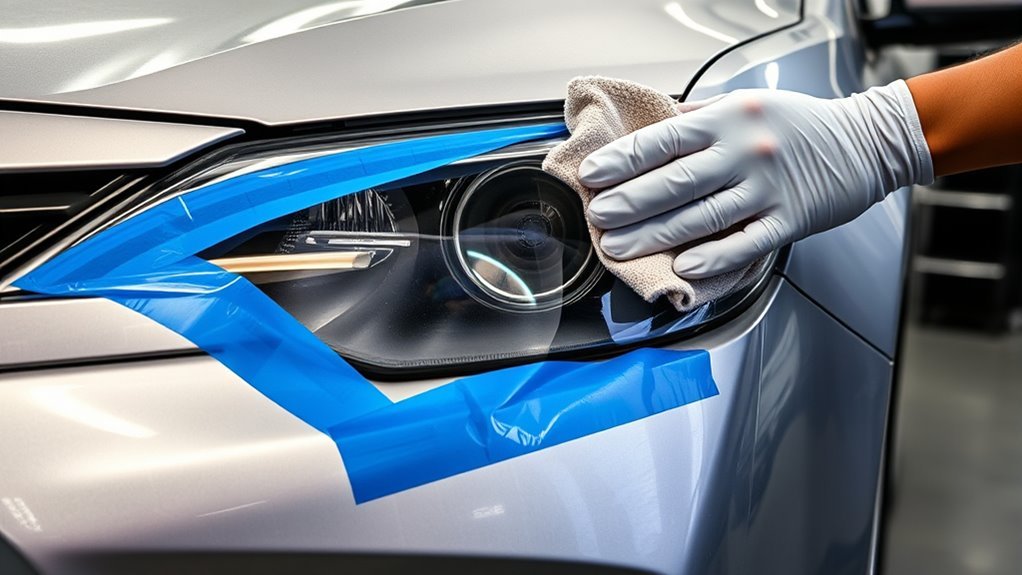
Start by washing the headlight and the paint around it with mild soap and water. Road film and grit can scratch the lens or the bumper if they get dragged under the sandpaper. Rinse well and dry the area with a clean microfiber towel.
Next, mask the paint. Apply painter’s tape tightly around the headlight edge, then add a second layer if you are working close to painted panels. Cover the nearby bumper, fender, and grille with paper or plastic. Press the tape down firmly so water and sanding residue do not creep underneath.
Good masking is cheaper than paint repair. Take five extra minutes here, especially on newer Camrys with tight headlight-to-bumper gaps.
How Do You Wet-Sand Cloudy Headlights Correctly?
Soak waterproof abrasive paper only if the manufacturer directs you to do so. Keep the lens and abrasive wet whenever your selected process calls for wet sanding. Water carries away removed material, helps you inspect the surface, and reduces localized heat.
- Start with the specified grit. Use the first abrasive named by your kit or coating system. Apply even pressure and the stroke pattern stated in its instructions.
- Work the whole lens. Move across the full surface instead of concentrating on one spot. Pay attention to corners and curved edges without sanding through nearby paint or trim.
- Rinse and inspect often. Yellow or milky residue can appear as oxidation and failed coating are removed. Clean the surface before judging progress.
- Reach the stated finish sign. Many systems call for an evenly hazy or matte lens with no yellow or clear islands before you move to the next step.
- Complete every refinement step. Remove the scratch pattern from the previous grit before advancing. Some systems finish with very fine abrasive; others also require compound, polish, activator, or another dedicated preparation step.
Do not treat 1000 grit as a complete universal method. It may be one middle step in a manufacturer’s sequence, not the correct starting or final surface for your coating. Mixing an arbitrary grit with an unrelated clear coat can leave visible scratches, reduce adhesion, or create a surface the coating manufacturer did not specify.
Pro Tip: When your chosen system permits directional sanding, change direction with each finer grit. The cross-pattern makes leftover scratches from the previous step easier to spot.
How Clean and Dry Should the Lens Be Before UV Coating?
After sanding, rinse the lens thoroughly. Remove all sanding slurry from the headlight edges, tape seams, grille gaps, and bumper area. Any residue left behind can contaminate the coating or create rough spots.
Dry the lens completely with a clean microfiber towel. If your coating instructions allow it, use the specified plastic-safe prep cleaner or isopropyl alcohol to remove oils. Do not use wax, silicone dressing, tire shine, household glass cleaner, or an unrelated polishing product before coating unless the coating instructions specifically permit it.
Inspect the surface one more time under good light. The final appearance at this stage depends on the system. If its instructions require a uniformly matte lens, glossy islands or yellow patches show that preparation is incomplete. If its process includes polishing, activator, or another finishing step before coating, complete that step exactly as directed instead of applying a generic “matte lens” rule.
How Do You Apply the UV Coating Without Runs or Streaks?
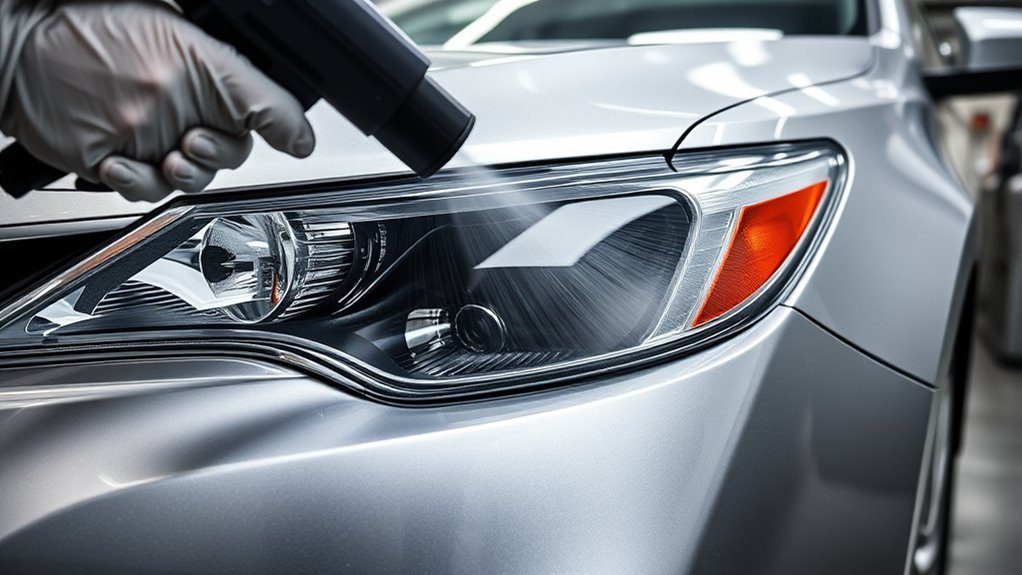
Read the coating label before you open the package. Application style, coat thickness, temperature range, flash time, and cure time vary. A spray coating may call for multiple controlled passes, while a wipe-on coating may require one continuous application with no return passes.
- Finish preparation on both headlights. Complete sanding, cleaning, and drying before coating either lens if the manufacturer instructs you to coat both in one uninterrupted stage.
- Prepare the product exactly as directed. Shake an aerosol for the full stated time, activate a two-part package only as instructed, or saturate the supplied applicator for a wipe-on coating.
- Use the specified motion. Test an aerosol pattern on suitable scrap material if the instructions allow. For wipe-on products, overlap each stroke only as directed and avoid dragging the applicator back over an area that has started to set.
- Control the amount. Keep the spray distance and pass speed on the label, or maintain the required applicator wetness. Too much product can run; insufficient or uneven application can leave poor coverage.
- Add another coat only when instructed. Observe the exact flash window for a multi-coat spray. Do not add a second coat to a one-pass wipe-on system unless the manufacturer permits it.
- Leave the coating untouched. Do not wipe, polish, or test it with a finger while it dries.
If you notice a missed area, follow the product’s correction instructions. Trying to repair a setting coating with extra strokes or an unscheduled heavy spray pass can create streaks, texture, or runs.
How Long Should Restored Headlights Cure?
A coating can feel dry before it reaches its stated full cure. Keep the headlights untouched and away from water for the exact period on the label. Sylvania’s wipe-on system, for example, specifies at least one hour before touching and four to six hours for full cure, while other headlight products use different timelines.
Do not replace the manufacturer’s timeline with a generic waiting period. Avoid rain, condensation, washing, wax, polish, and pressure washing until the stated water-exposure and full-cure times have passed. Cure time describes the coating’s initial drying or hardening period; it does not tell you how many months or years the UV protection will last.
Handling Timeframe Before Touch
Remove masking tape at the stage specified by the coating manufacturer. When removal is allowed, pull the tape back on itself slowly at a low angle so you do not lift or smear the coating edge. Stop if the finish strings, moves, or transfers.
- Park in a dry, sheltered place while the coating cures.
- Do not cover the lens tightly with plastic because trapped moisture can affect curing.
- Do not polish the coating until the product says it is fully cured.
- Do not use pressure washers directly on the restored lens during the early cure period.
Washing and Protection Timeline
Once the coating has fully cured, wash the headlights with mild car-wash soap and a soft microfiber mitt. Avoid harsh abrasives, household scouring pads, aggressive compounds, and any polish or sealant the coating manufacturer does not approve.
For long-term care, clean bugs and road salt promptly, park in shade when practical, and inspect the lenses every few months. If early haze appears, check the coating maker’s maintenance instructions before polishing because abrasive correction can remove the protective layer.
Why Are Restored Headlights Still Cloudy or Streaky?
If the result is not clear, identify the problem before sanding everything again. Common causes include incomplete sanding or refinement, trapped moisture, contamination, incompatible surface preparation, coating application errors, or a problem on the inside of the headlamp assembly.
| Problem | Likely Cause | Fix |
|---|---|---|
| Cloudy after coating | Uneven preparation, trapped moisture, contamination, incompatible products, or conditions outside the coating’s limits | Let it cure fully, then follow the coating maker’s removal and reapplication process if the haze remains |
| Runs or drips | Too much coating, repeated wipe strokes, or an aerosol applied outside the specified technique | Allow full cure, then follow the coating maker’s correction or reapplication instructions |
| Wrong surface appearance before coating | Old coating remains, refinement is incomplete, or the final surface does not match the coating instructions | Return to the exact preparation stage required by the selected system |
| Yellowing returns quickly | Incomplete oxidation removal, failed or missing UV protection, poor preparation, or severe environmental exposure | Follow the coating maker’s inspection, removal, maintenance, or reapplication instructions |
| Moisture inside the lens | Failed seal, cracked housing, or another assembly problem | Diagnose and repair the assembly or replace it as appropriate |
Does Headlight Restoration Work on Every Camry Model Year?
The same basic exterior-restoration principle works on many Toyota Camry headlight assemblies with restorable plastic lenses, but the lens material, shape, internal optics, and lighting technology vary by model year, trim, market, and replacement history. Always check your owner’s manual through Toyota’s official manuals and warranties page before using cleaners or chemicals around exterior lighting, trim, sensors, or painted surfaces.
Current Camrys use modern LED headlamp systems. Toyota states that all 2026 Camry grades feature LED headlights and daytime running lights. The LED light source does not change the basic need to diagnose whether haze is on the outer lens, but these assemblies can contain integrated electronics and expensive optical components, so masking, chemical control, and correct diagnosis matter.
Do not sand sensors, camera lenses, radar covers, gloss-black trim, or painted bumper sections near the headlight. If you cannot confirm that the hazy surface is a restorable plastic headlight lens, stop and identify the assembly before using abrasives.
When Should You Replace a Camry Headlight Instead?
Restore the lens only when the outer plastic surface is the main problem. Replacement or a different repair path is the better option when the headlight assembly has structural, internal, or optical damage.
- The lens is cracked or has holes.
- Water keeps returning inside the assembly.
- The reflector bowl or projector is damaged, peeling, burnt, or dull.
- The headlight aim adjusters are broken.
- The lens remains milky because the defect is on the inside.
- The beam remains weak, badly scattered, or improperly aimed after the exterior lens is clear.
- The assembly fails inspection because of beam-pattern or optical problems rather than exterior haze alone.
AAA’s headlamp testing is another reason not to judge success only by appearance. Restoration substantially improved the deteriorated test lamps, but replacement with new OEM assemblies produced the strongest tested output. If the lens looks clear and the beam still performs poorly, stop sanding and diagnose the rest of the headlight system.
Frequently Asked Questions
How do you clean headlights on a Toyota Camry?
Wash the headlights with mild car-wash soap and water first. If exterior oxidation remains on a plastic lens, mask the paint and follow one compatible headlight-restoration system through preparation, sanding or refinement, cleaning, UV coating, and curing. Washing removes surface dirt; it does not repair failed lens coating or internal damage.
Does a Magic Eraser clean cloudy headlights?
A Magic Eraser is abrasive, so it can alter the lens surface while removing grime. It does not provide controlled scratch refinement or UV protection and is not a complete restoration system. Use mild soap for ordinary cleaning and a purpose-built headlight system for exterior oxidation.
Can I use only 1000 grit sandpaper on headlights?
Do not assume 1000 grit is a complete process. In some manufacturer systems it is a middle refinement step; other systems use different starting and finishing abrasives. Use the complete surface-preparation and coating sequence specified by a compatible headlight-restoration system.
How long should I wait before washing restored headlights?
Follow the water-exposure and full-cure times on the coating label. Sylvania’s current instructions specify at least one hour before touching its coating and four to six hours for full cure, but another product may use a different timeline. Do not wash, wax, polish, or pressure-wash the lenses before your coating’s stated time has passed.
Will toothpaste restore Camry headlights?
Toothpaste may remove light grime or create a short-lived cosmetic change because it is mildly abrasive. It does not provide a controlled scratch-refinement sequence or replace the lens’s UV protection. Use a purpose-built headlight-restoration system when the outer protective surface has failed.
Do headlights need UV protection after sanding?
Yes. Sanding removes damaged material and can remove remaining factory surface protection. Apply the compatible UV-protective coating specified for the final surface you prepared; leaving freshly restored plastic without suitable protection can allow deterioration to return sooner.
Why is a headlight still cloudy after restoration?
Persistent cloudiness can come from remaining oxidation, scratches from incomplete refinement, trapped moisture, coating contamination, incompatible preparation, inner-lens haze, or internal optical damage. Let the coating reach its stated cure before judging it, then identify whether the remaining problem is on the outside or inside of the assembly.
How long does headlight restoration last?
There is no reliable universal lifespan for every restoration. Durability depends on the coating system, surface preparation, UV exposure, climate, outdoor parking, washing, and maintenance. Use the coating manufacturer’s stated durability, warranty, and maintenance instructions instead of assuming that every DIY restoration lasts the same number of months or years.
Conclusion
You can restore cloudy Toyota Camry headlights at home when the damage is limited to the outside of a compatible plastic lens. Confirm that the assembly is structurally sound, clean and mask carefully, follow one compatible abrasive and surface-preparation sequence, remove residue and moisture, apply the specified headlight-safe UV coating, and respect its cure time.
After curing, compare both beams again. A clearer lens can improve headlamp performance, but restoration cannot fix a weak light source, poor aim, wiring trouble, internal moisture, or damaged reflectors and projectors. If the lens is clear but the beam remains weak, scattered, flickering, or improperly aimed, stop treating the lens and diagnose the rest of the headlight system.
Sources
- 3M Headlight Lens Restoration Process — staged sanding, scratch refinement, compounding, polishing, masking, and restoration workflow.
- 3M Quick Headlight Clear Coat Wipes — headlight-safe UV-resistant wipe-on coating and 3000-grit surface preparation for coating adhesion.
- Sylvania Headlight Restoration Kit Installation Guide — 400/1000/2000-grit wet sanding, clarifying compound, UV Block Clear Coat application, moisture removal, and cure time.
- AAA Headlamp Lens Deterioration Research Summary — laboratory comparison of deteriorated, restored, aftermarket, and new OEM headlamp performance.
- Toyota Owners Manuals and Warranties — official source for model-specific Toyota owner information.
- Toyota 2026 Camry Newsroom — current Camry lighting context, including LED headlights and daytime running lights across the lineup.
- AAA Club Alliance Headlight Cleaning Advice — practical guidance on restoration methods and the limitations of generic clear-coat paint and household hacks.
- OSHA Respirator Guidance for Isocyanate Paint Spray — respiratory-protection guidance relevant when an automotive spray coating contains isocyanates.
- Car and Driver Headlight Restoration Visibility Test — before-and-after observations showing that visible lens improvement can be greater than the recorded change in projected roadway light.