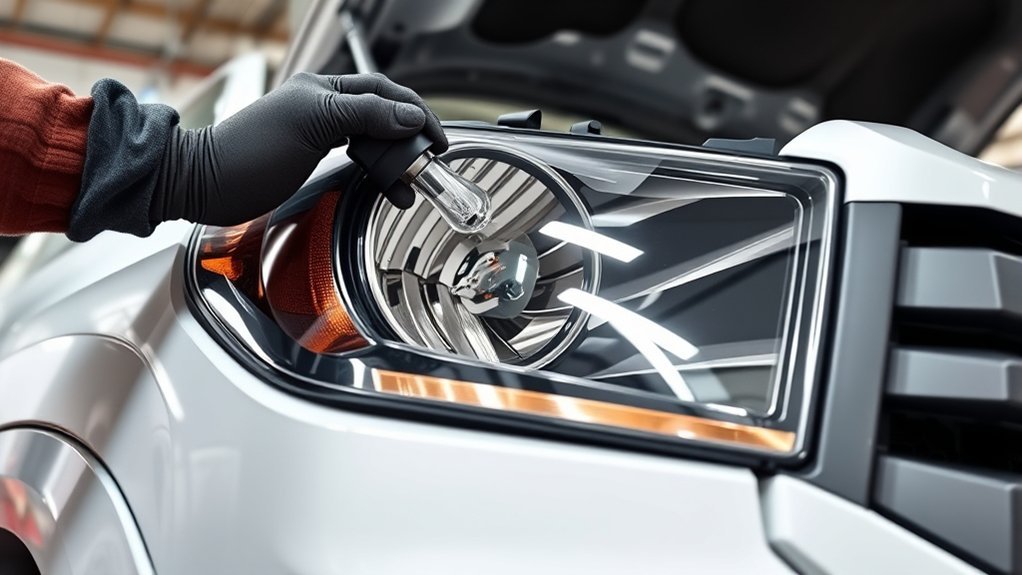
Before you buy a bulb or pull the grille, confirm what front light your Toyota Tundra actually has. On many 2023–2026 Tundras, the headlight is a sealed or integrated LED assembly, so there is no simple headlight bulb to twist out. The common DIY job is usually the front turn signal/parking light bulb on models equipped with a bulb-type front signal lamp, reached through the fender liner. This guide shows you how to identify the light, decide whether it is a DIY job, replace the serviceable front bulb safely, and know when the dealer or a qualified technician is the smarter choice.
Quick Answer
Most 2023–2026 Toyota Tundra headlights are integrated LED assemblies, not 9003-style DIY bulb swaps. If your truck has a bulb-type front turn signal/parking light, you can usually replace that bulb through the fender liner with basic hand tools. For LED headlights, DRLs, fog lights, or water-damaged assemblies, use Toyota service guidance or a dealer.
Key Takeaways
- Do not assume a 9003 headlight bulb fits a 2023–2026 Tundra; verify the lamp type by VIN, trim, and the Toyota owner’s manual.
- Toyota describes the 2026 Tundra’s premium headlights as fully LED with LED low beams, high beams, DRL, and available dynamic sequential turn signals.
- The practical DIY replacement on current models is typically the front turn signal/parking light when your truck has the bulb-type version.
- If the LED headlight, DRL, fog light, or LED signal fails, plan on assembly-level diagnosis or dealer service rather than a bulb swap.
- After any front-light work, test every function, check for moisture, and confirm the beam or lamp is aimed and seated correctly.
At a Glance
| Time Required | 15–45 minutes for a bulb-type front turn signal/parking light; longer for assembly-level work |
| Difficulty | Easy to moderate for the bulb-type front signal; advanced for LED headlight assembly removal |
| Tools Needed | 10 mm socket, ratchet, trim tool or small flathead screwdriver, gloves, flashlight, parts tray |
| Cost | Usually about $10–$40 for a small front signal/parking bulb; LED assemblies and dealer labor can cost much more |
Identify Your Tundra Headlight Type (LED vs. Replaceable Bulb)
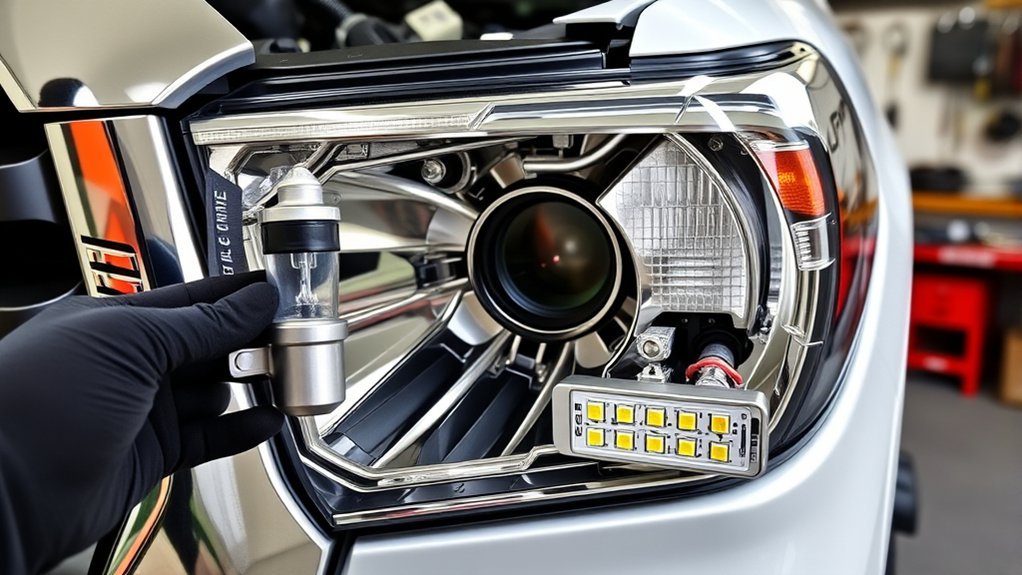
Start by deciding whether you are dealing with a headlight assembly or a small serviceable front bulb. This matters because an integrated LED headlight is not repaired the same way as an older replaceable-bulb headlamp.
On Toyota’s current 2026 Tundra information page, the truck’s premium front lighting is described as fully LED headlights with LED low beams, high beams, Daytime Running Lights, and available dynamic sequential turn signals. That is your first clue: if your Tundra has the factory LED headlight setup, you normally replace or service the assembly, not a small headlight bulb.
Open the hood and look behind the headlight housing. A serviceable bulb has a visible bulb base, connector, and twist-lock socket. An integrated LED unit usually has no simple access cap for a standard bulb. The legal lighting standard also separates integral-beam headlamps and replaceable-bulb headlamps, so the part design—not just the lens shape—determines what can be replaced.
Note: For 2023–2026 trucks, do not buy a generic “Tundra headlight bulb” until you check the Light Bulbs section of your owner’s manual or search by VIN in an official parts catalog such as Toyota Genuine Parts.
If your manual lists only a front turn signal/parking light as bulb-type, that is the DIY bulb this guide covers. If it lists the headlights, DRLs, fog lights, side markers, or LED front signal lights as dealer-service items, do not force the housing apart.
[Products Worth Considering]
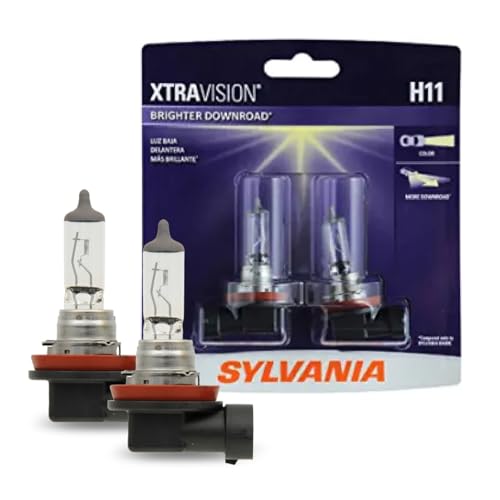
Lights Dim Over Time, Replace In Pairs: Your lights are a pair, one is never turned on without the other. If one bulb burns out, the other isn't far behind. Replace your H11 XtraVision Halogen bulbs in pairs for optimum performance.

Lights Dim Over Time, Replace In Pairs: Your lights are a pair, one is never turned on without the other. If one bulb burns out, the other isn't far behind. Replace your 9003 XtraVision Halogen bulbs in pairs for optimum performance.
Should You DIY or Take It to the Dealer?
DIY makes sense when you have a bulb-type front turn signal/parking light, the fender liner is accessible, and you are comfortable working around plastic clips. The job usually requires only basic tools and careful handling.
Dealer or professional service makes more sense when the failed lamp is an LED headlight, DRL, fog light, LED signal, side marker, or a water-damaged assembly. Those parts can require diagnostic work, assembly replacement, calibration checks, or warranty handling.
Toyota’s basic new-vehicle warranty is listed as 36 months/36,000 miles for covered components other than normal wear and maintenance items, so check your in-service date and mileage before paying out of pocket. A burned-out wear bulb, broken clip, impact damage, or water intrusion from damage may not be covered, but an LED assembly defect might be worth asking a dealer about.
Warning: Never pry open a sealed LED headlight to “change the bulb.” You can damage the housing, create leaks, affect beam aim, and turn a warranty or parts issue into a much more expensive repair.
Tools and Parts to Have Before You Start
Gather everything before you loosen the fender liner. You want the truck parked on a flat surface, the lights switched off, and the bulb cool enough to touch safely.
- 10 mm socket and ratchet for liner screws or bolts
- Trim tool or small flathead screwdriver for plastic retainers
- Nitrile or clean cotton gloves to keep oil off bulb glass
- Flashlight or work lamp to see the socket clearly
- Parts tray for screws, clips, and retainers
- Correct replacement bulb verified by owner’s manual, VIN, or Toyota parts lookup
- Small amount of bulb-safe dielectric grease only if the bulb or grease instructions allow it
Skip the old 9003-bulb assumption for current-generation Tundras. A 9003 may apply to some older vehicles or different applications, but it should not be presented as the default part for a 2023–2026 Tundra front-light job.
Pro Tip: Take a photo of the fender-liner screws and clips before removal. It makes reassembly faster and helps you avoid putting a long screw or push clip in the wrong spot.
[Products Worth Considering]
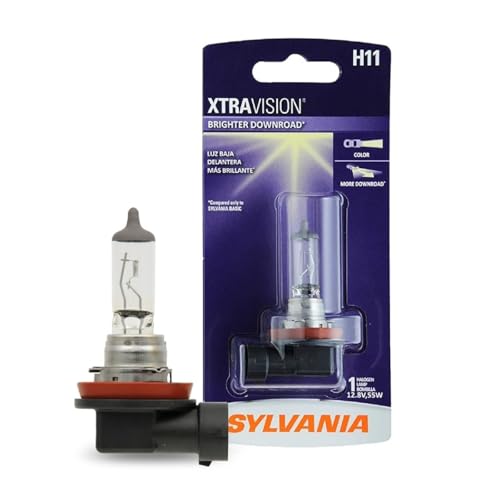
Lights Dim Over Time, Replace In Pairs: Your lights are a pair, one is never turned on without the other. If one bulb burns out, the other isn't far behind. Replace your H11 XtraVision Halogen bulbs in pairs for optimum performance.
![TOPIK H11/H9/H8 Bulbs [40,000LM Super Bright] 900% Brighter Than Halogen, 6500K Cool White, Anti-Flicker, 50,000 Hours Lifespan, Perfect for Cars, Trucks, SUVs (Pack of 2)](https://m.media-amazon.com/images/I/51pGOjHfOcL._SL500_.jpg)
【800% Brighter — See the Road Like Daylight】Get a massive upgrade with 40,000 lumens of intense 6500K white light. These H11 H9 bulbs are 800% brighter than old halogen lights, lighting up the road farther and wider so you can spot obstacles earlier and drive with way more confidence at night
Check the Correct Bulb Before Buying
The fastest way to waste money is to buy a bulb by forum post or generic chart only. Use this order instead:
- Check your owner’s manual. Look for the Light Bulbs section and confirm which lamps are user-replaceable.
- Check your trim and build. LED type and bulb type can differ by trim, package, and market.
- Use your VIN. A Toyota dealer or official parts lookup can match the bulb or assembly to your exact truck.
- Inspect the lamp before disassembly. If there is no bulb socket, do not force it.
If the manual says the light should be replaced by a Toyota dealer, treat that as assembly-level service rather than a driveway bulb swap.
[Products Worth Considering]

Get the best lighting performance and an increased visibility and comfort on the road compared to basic bulbs

⭐【Super Bright H11 Bulbs】Our H11 headlight bulbs deliver over 1000LM brightness and a 3800K color temperature, ensuring optimal visibility in foggy and rainy conditions. Upgrade your automotive headlight bulbs for safer nighttime driving.

Perfect Fit: Specifically fits for the 2007 2008 2009 2010 2011 2012 2013 Toyota Tundra models, ensuring a perfect fit and easy installation. (Please check your tundra models before purchasing.)
Tundra Headlight: Grille Removal Step-by-Step
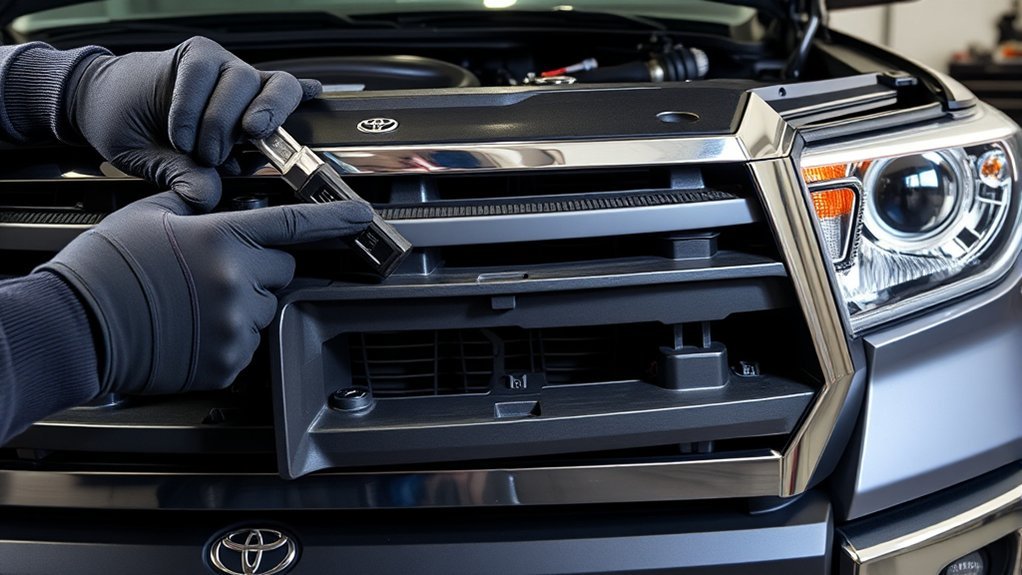
For a normal bulb-type front turn signal/parking light replacement, you usually do not need to remove the grille. Use the fender-liner access method in the next section first.
Grille or headlight assembly removal is more appropriate when you are replacing a damaged assembly, checking mounting points after a collision, installing a compliant complete lighting assembly, or following a Toyota service procedure. If you do remove it, work slowly:
- Park on level ground, switch the lights off, and let all lamps cool.
- Open the hood and remove the visible upper fasteners with the correct socket.
- Release plastic retainers with a trim tool, prying along the clip axis instead of twisting.
- Pull the grille forward gently and stop if it catches; hidden clips break easily.
- Inspect mounting tabs, wiring, and seals before reinstalling.
- Reinstall every clip and fastener snugly, then check grille alignment.
Avoid using grille removal as a shortcut for sealed LED headlights. If the lamp is an integrated LED assembly, the fix is usually diagnosis or assembly replacement, not a bulb swap.
Swap Front Turn Signal/Parking Bulb via the Fender Well
If your Tundra has the bulb-type front turn signal/parking light, the fender-well method is the cleanest DIY access path. Turn the steering wheel away from the side you are working on to create space. For example, turn the wheel left when working on the right-side lamp and right when working on the left-side lamp.
- Switch the lights off and wait until the bulb and housing are cool.
- Remove the fender-liner screws or 10 mm fasteners that block access.
- Use a trim tool or small flathead screwdriver to release plastic retainers carefully.
- Fold the liner back only as far as needed; do not crease or sharply bend it.
- Find the bulb base, then turn it counterclockwise to unlock it.
- Pull the old bulb straight out of the base.
- Install the new bulb without touching the glass. If you touch it, clean it with a dry, lint-free cloth before installation.
- Turn the bulb base clockwise until it locks fully.
- Test the parking light and turn signal before reinstalling the liner.
- Reinstall the liner, screws, and retainers in their original positions.
Warning: Bulbs can be hot enough to burn skin after use. Oil from your fingers can also shorten bulb life, so handle the glass only with gloves or a clean cloth.
Use dielectric grease sparingly. A tiny film on the rubber seal or bulb base may help resist corrosion, but do not coat the bulb glass, smear grease across electrical contact surfaces, or use products the bulb maker does not recommend.
Prevent Broken Fender Liners and Plastic Clips
Fender liners and plastic retainers are easy to damage when cold, dirty, or brittle. Work slowly and support the liner with one hand while removing clips with the other. If a clip feels stuck, clean around it and pry in small movements instead of twisting hard.
| Action | Purpose |
|---|---|
| Slow pry | Prevents sudden snaps |
| Support tab | Distributes pressure |
| Use flat tool | Controlled release |
| Inspect clips | Find fatigue before stress |
| Replace damaged | Restore secure fit |
Remove and reinstall clips along their original axis. Avoid bending the liner farther than needed. If a tab or clip breaks, replace it before driving so the liner cannot rub the tire or flap at highway speed.
Troubleshooting After Replacement
If the new bulb does not work right away, do not keep cycling the switch without checking the basics. Use this quick troubleshooting table first.
| Problem | Likely Cause | What to Check |
|---|---|---|
| No light after replacement | Bulb not seated, connector loose, wrong bulb, blown fuse | Re-seat the bulb base, confirm the part number, inspect connector and fuse |
| Fast turn-signal blink | Incorrect bulb, failed bulb, LED resistance mismatch | Use the correct bulb type; avoid noncompliant LED swaps in factory bulb housings |
| Dim or uneven light | Poor connection, wrong wattage, dirty lens | Check socket corrosion, verify wattage, clean lens exterior |
| Moisture inside lens | Temporary condensation or water intrusion | Small temporary fog can clear; water droplets or pooled water need professional inspection |
| Liner rattle after repair | Missing clip or loose screw | Recheck every fastener and replace damaged retainers |
Final Checks and Optional Lighting Upgrades
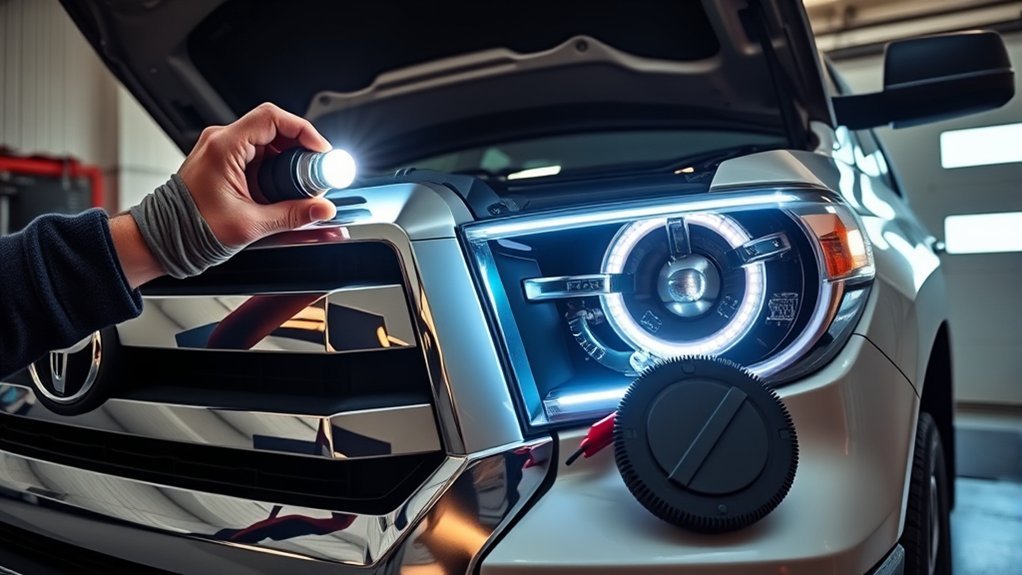
After reinstalling the liner, grille, or lamp assembly, test the truck before driving. Check the low beams, high beams, parking lights, turn signals, hazard lights, DRLs, and fog lights if equipped. Stand in front of the truck at a safe distance and confirm the left and right sides look balanced.
Final Functionality Checks
- Confirm the bulb base or connector is fully locked.
- Make sure the fender liner is secure and clear of the tire.
- Check for warning messages or fast blinking.
- Look for moisture, water droplets, or light leakage around the housing.
- Verify that the beam pattern still points at the road, not into oncoming drivers’ eyes.
If you replaced or removed a complete headlight assembly, have the aim checked on level ground. FMVSS lighting rules include requirements related to headlamp aim and optical-axis markings, and poor aim can create glare even when the lamp itself works.
Consider Aftermarket Upgrades
Aftermarket lighting can improve appearance or off-road visibility, but choose carefully. For road use in the United States, lighting equipment must comply with applicable rules under FMVSS No. 108. NHTSA also explains that manufacturers self-certify vehicle lighting equipment to the applicable federal safety standards.
That means a cheap “plug-and-play LED” or HID bulb in a housing not designed for it may create glare, warning-light issues, or compliance problems. If you want an upgrade for road driving, look for a complete, properly labeled headlight assembly designed for your exact Tundra. Use auxiliary LED bars and marker lights only where they are legal, properly wired, fused, and aimed.
Brighter is not automatically better. A properly aimed, compliant light helps you see without blinding other drivers.
Frequently Asked Questions
How much does it cost to replace a headlight bulb in a Toyota Tundra?
For a small bulb-type front turn signal or parking light, parts often cost about $10–$40 if you do the job yourself. A dealer visit can add labor. If the failed part is a sealed LED headlight assembly, the cost can be much higher because the assembly, diagnosis, and aiming may be involved.
Can I replace a 2023–2026 Tundra headlight bulb myself?
Usually not if you mean the main headlight. Many current Tundras use integrated LED headlight assemblies. You can usually DIY only the lamps that your owner’s manual identifies as bulb-type and user-replaceable, such as the front turn signal/parking light on certain setups.
What bulb size does a Toyota Tundra headlight use?
It depends on the model year, trim, market, and lamp design. Do not assume a 9003 bulb for a 2023–2026 Tundra. Check the Light Bulbs section of your owner’s manual or search by VIN through Toyota Genuine Parts before buying anything.
Is condensation inside the Tundra headlight normal?
A light temporary fog can happen with temperature changes and may clear on its own. Large water drops, pooled water, repeated fogging, or a failed light needs inspection because the housing seal or assembly may be damaged.
Can I install LED or HID bulbs in my Tundra’s factory housing?
Be careful. A bulb that physically fits is not automatically legal or safe. For road use, choose lighting equipment designed and certified for the vehicle and housing. Poor LED or HID conversions can create glare, poor beam patterns, electrical issues, and inspection problems.
Sources
- Toyota 2026 Tundra official page — supports the current Tundra LED headlight, DRL, low-beam, high-beam, and sequential-signal feature description.
- Toyota Owners Manuals and Warranties for 2026 Tundra — supports owner-manual lookup and basic warranty reference.
- Toyota Genuine 2026 Tundra Parts and Accessories — supports VIN/vehicle-specific parts verification.
- NHTSA interpretation on LED headlights and FMVSS No. 108 — supports legal and compliance cautions for LED headlamp equipment.
- 49 CFR 571.108, Lamps, reflective devices, and associated equipment — supports headlamp categories, aiming, and federal lighting requirements.
Conclusion
The safest way to handle Toyota Tundra front lighting is to identify the lamp before touching tools. On many 2023–2026 Tundras, the main headlights and DRLs are integrated LEDs, so they are not simple driveway bulb swaps. If your truck has a bulb-type front turn signal/parking light, you can usually replace it through the fender liner with a 10 mm socket, trim tool, gloves, and the correct VIN-verified bulb. Work slowly, protect the clips, test every function, and keep any lighting upgrades compliant, properly aimed, and safe for other drivers.