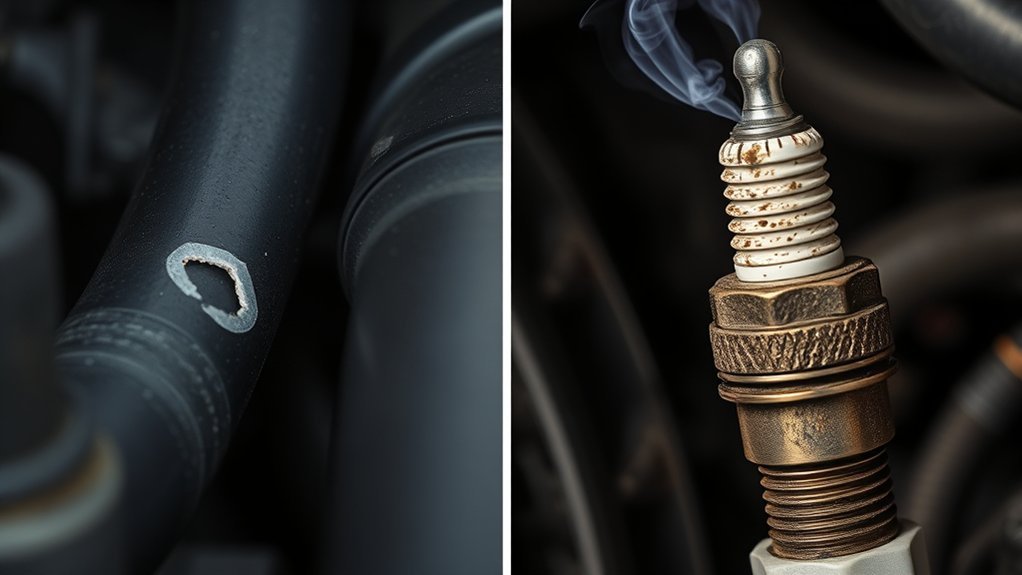
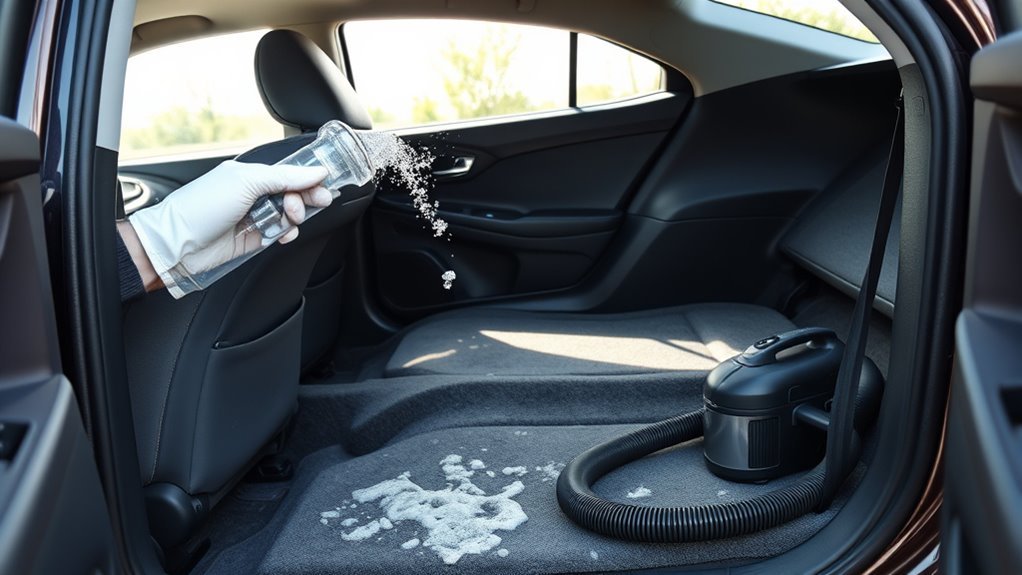
Corroded Toyota Camry battery terminals can cause slow starts, flickering electronics, charging problems, and a loose or unreliable connection. The fix is usually simple: work safely, disconnect the battery in the right order, clean the posts and cable clamps, dry everything, reconnect securely, and protect the metal so corrosion is less likely to come back.
Quick Answer
To clean battery terminals on a Toyota Camry, turn the car off, wear gloves and eye protection, disconnect the negative cable first, then the positive. Scrub the posts and clamp interiors with baking soda paste and a wire brush, rinse carefully, dry completely, reconnect positive first, then negative, and apply terminal protectant.
Key Takeaways
- Always disconnect the negative terminal first and reconnect it last to reduce short-circuit risk.
- Use a baking soda and water paste to loosen and neutralize residue, then scrub the battery posts and cable clamp interiors.
- Do not let water, baking soda, or cleaner enter battery vents or cells.
- Replace cable clamps that are cracked, badly pitted, swollen, loose, or unable to tighten securely.
- If corrosion returns quickly or the Camry still starts poorly, have the battery and charging system tested.
At a Glance
| Time Required | 15–30 minutes |
| Difficulty | Easy DIY, as long as the battery is not leaking, swollen, cracked, or badly damaged |
| Tools Needed | Gloves, safety glasses, wrench, wire brush or terminal brush, baking soda, water, rag, and terminal protectant |
| Cost | Usually $0–$20, depending on supplies you already have |
Quick Steps: Safely Disconnect and Clean Camry Battery Terminals
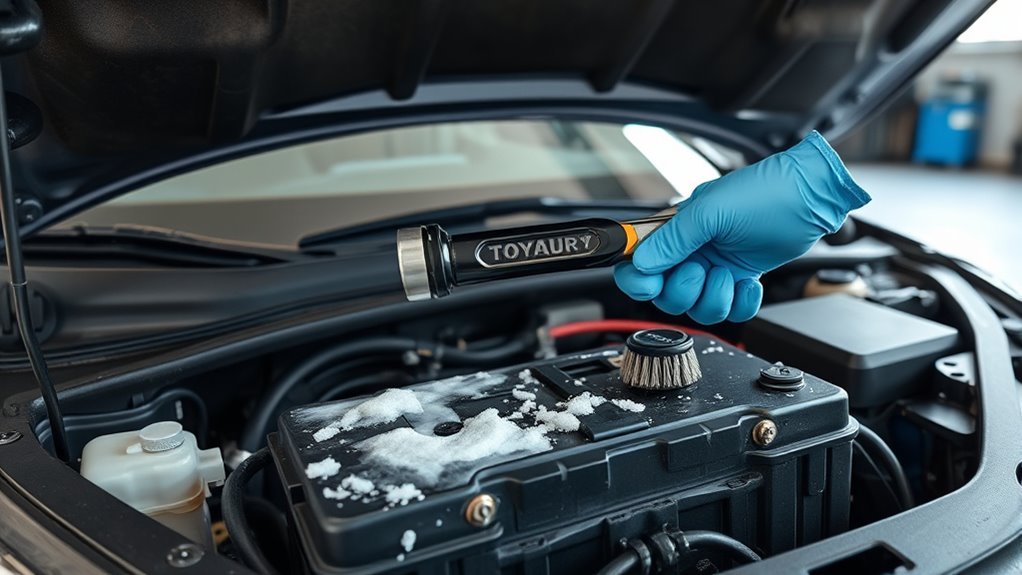
Park your Camry on a level surface, set the parking brake, turn the ignition completely off, remove the key or keep the smart key away from the car, and make sure all lights and accessories are off. Let the engine bay cool before you work around the battery.
Warning: Lead-acid batteries can contain sulfuric acid and may produce flammable hydrogen gas, especially during charging. Work in a well-ventilated area, keep sparks and flames away, remove metal jewelry, and wear gloves and eye protection.
- Find the 12-volt battery or service point. Many gasoline Camrys have the 12-volt battery under the hood. Some Camry Hybrid models place the 12-volt battery elsewhere, such as the trunk, and may use under-hood jump-start terminals. Check your owner’s manual before cleaning actual battery posts.
- Disconnect the negative terminal first. Loosen the clamp nut just enough to lift the black negative cable from the battery post. Move the cable aside so it cannot spring back and touch the post.
- Disconnect the positive terminal second. Lift the red positive cable from the post. Avoid letting your wrench touch the positive terminal and any metal body part at the same time.
- Inspect before cleaning. Look for cracks, swelling, leaking fluid, a rotten-egg smell, melted insulation, missing vent caps, or badly damaged cables. Stop and get the battery tested or replaced if you see any of these signs.
- Brush off loose corrosion. Use a wire brush or battery terminal brush to remove dry buildup from the posts, clamp interiors, and hold-down area.
- Apply baking soda paste. Mix a small amount of baking soda with water until it forms a paste. Dab it onto the corroded areas, let it fizz briefly, then scrub with a brush.
- Rinse carefully and dry fully. Wipe the area with a damp rag or use a small amount of clean water, keeping liquid away from battery vents and nearby electrical connectors. Dry the battery top, posts, clamps, and surrounding area completely.
- Reconnect positive first. Place the positive clamp fully down on the positive post and tighten it until snug. Do not crush or over-tighten the clamp.
- Reconnect negative last. Reinstall the negative clamp and tighten it securely. The cable should not twist or move by hand.
- Protect the connection. Apply a light coat of battery terminal protectant, corrosion spray, petroleum jelly, or dielectric grease to the outside of the assembled connection to help seal out moisture.
Note: Cleaning battery terminals may reset saved radio presets, clock settings, window auto-up calibration, or other memory functions on some vehicles. A memory saver can help, but only use one if you know how to connect it safely.
Tools & Supplies for Camry Battery Terminal Cleaning
A compact cleaning kit makes battery terminal maintenance faster and safer. Keep the tools together so you can act as soon as you see white, blue, or green buildup around the Camry’s battery posts.
- Safety glasses and chemical-resistant gloves — protect your eyes and skin from corrosive residue.
- Box wrench or socket — usually 10 mm on many Toyota battery clamps, though size can vary by model year or replacement clamp.
- Wire brush or battery terminal cleaner — cleans the round battery posts and the inside of the cable clamps.
- Baking soda and water — makes a simple paste that helps neutralize acidic residue and loosen corrosion.
- Old toothbrush or nylon brush — reaches small corners without splashing cleaner.
- Clean rags or paper towels — wipe and dry the battery top, tray, posts, and clamps.
- Battery terminal protectant, corrosion spray, treated washers, petroleum jelly, or dielectric grease — helps slow future corrosion after the clamps are reconnected.
- Small cup or disposable container — mix the baking soda paste away from the battery.
Pro Tip: Take a quick phone photo before disconnecting anything. It gives you a simple reference for cable routing, clamp orientation, battery hold-down position, and any protective covers.
[Products Worth Considering]

This battery cable crimper kit is built for creating secure, low-resistance connections on automotive, marine, solar, and DIY wiring projects. It includes multiple die sizes for a wide range of cable gauges, a rotating head for quick size changes, and durable carbon steel construction for dependable performance. The kit also comes with copper lugs, heat shrink tubing, and a cable cutter for convenient all-in-one wiring work.

The ANCEL BA101 helps diagnose 12V batteries quickly with clear readings for battery health, charge level, voltage, CCA, cranking, and charging system performance. Designed for a wide range of vehicles and battery types, it offers easy-to-read results, reliable clamp connections, and built-in protection to make testing safer and more convenient.

This 4-piece automotive electrical disconnect pliers set helps safely remove stubborn push-tab connectors from mass air flow sensors, fuel injectors, and ignition coils without damaging delicate tabs. It includes straight and 60-degree angled pliers, a hose clamp plier, and a dual-ended terminal pin remover to handle a wide range of under-hood wiring tasks. Organized in a rugged storage case, it is built for mechanics and DIYers who need reliable access to tight engine bay spaces.
Before You Start: Signs, Risks, and Safety Tips
Battery terminal corrosion often appears as white, blue, or green powder around the posts or cable clamps. Small amounts are common over time, but heavy buildup can block electrical flow and make the starter, alternator, and battery work harder than they should.
| Sign | What It Can Mean | What To Do |
|---|---|---|
| White, blue, or green powder | Corrosion on the terminal or clamp | Clean and protect the connection |
| Slow crank or clicking | Weak connection, low charge, or aging battery | Clean terminals and test the battery |
| Loose clamp | Worn, stretched, or incorrect clamp | Tighten or replace the clamp |
| Moisture or grime on battery top | Dirt path that can encourage discharge or corrosion | Wipe clean and dry |
| Cracked case, swelling, or leakage | Possible battery failure or acid leak | Do not clean; replace or service professionally |
Check the battery area every few months. Inspect more often if you drive in coastal air, salted winter roads, heavy rain, dusty conditions, or repeated short trips that keep the battery from fully recharging.
Camry and Camry Hybrid Battery Location Notes
Before cleaning, confirm which battery you are working on. A traditional gasoline Camry commonly has a 12-volt battery in the engine bay. Camry Hybrid models can have different 12-volt battery locations and separate jump-start points, depending on model year. Toyota’s 2025 Camry Hybrid owner information, for example, places the 12-volt battery in the right-hand side of the trunk and gives separate procedures for a discharged 12-volt battery.
Warning: Do not touch orange high-voltage cables, hybrid battery components, inverter parts, or any covered high-voltage connectors. This article is only about cleaning the 12-volt battery terminals or 12-volt cable clamps.
How to Clean Heavy Corrosion With Baking Soda
For light buildup, a dry wire brush may be enough. For heavier corrosion, baking soda paste helps loosen the crust and neutralize acidic residue before you scrub.
- Mix the paste away from the battery. Use about 1 tablespoon of baking soda with just enough water to make a paste.
- Apply slowly. Dab the paste on the corroded clamp and post with a toothbrush. Avoid splashing.
- Let it react briefly. Foaming is normal when the paste contacts acidic residue. A minute or two is usually enough.
- Scrub the post and clamp interior. Use a terminal brush for round battery posts and the inside of the cable clamp. Bare metal should look clean and bright enough for solid contact.
- Clean the battery top and tray. Wipe away residue so it cannot collect moisture or create a conductive path.
- Dry everything. Moisture left around the battery can restart corrosion quickly.
Do not pour baking soda water directly over the battery. On serviceable batteries with vent caps, cleaner that enters the cells can contaminate the electrolyte and shorten battery life.
Prevent Corrosion on Camry Battery Terminals (Sprays, Greases, Seals)

Once the terminals are clean, dry, and reconnected, seal the exposed metal against moisture and corrosive vapors. Use a product made for battery terminals, such as terminal protectant spray, anti-corrosion washers, battery terminal grease, petroleum jelly, or a very light film of dielectric grease.
- Reconnect first, protect second. The clamp needs firm metal-to-metal contact. Do not pack a thick layer of grease between the post and clamp.
- Coat the outside lightly. After the clamp is tight, cover the exposed post, nut, clamp edge, and cable end with a thin protective layer.
- Use treated washers if buildup returns often. Felt anti-corrosion washers can help reduce vapor contact around the post.
- Recheck after a week. Make sure the clamp stayed tight and no fresh residue is forming.
In harsh environments, such as coastal areas or salted winter roads, inspect monthly and refresh protection as needed. In normal conditions, inspection every few months and cleaning about every six months is a practical routine.
[Products Worth Considering]
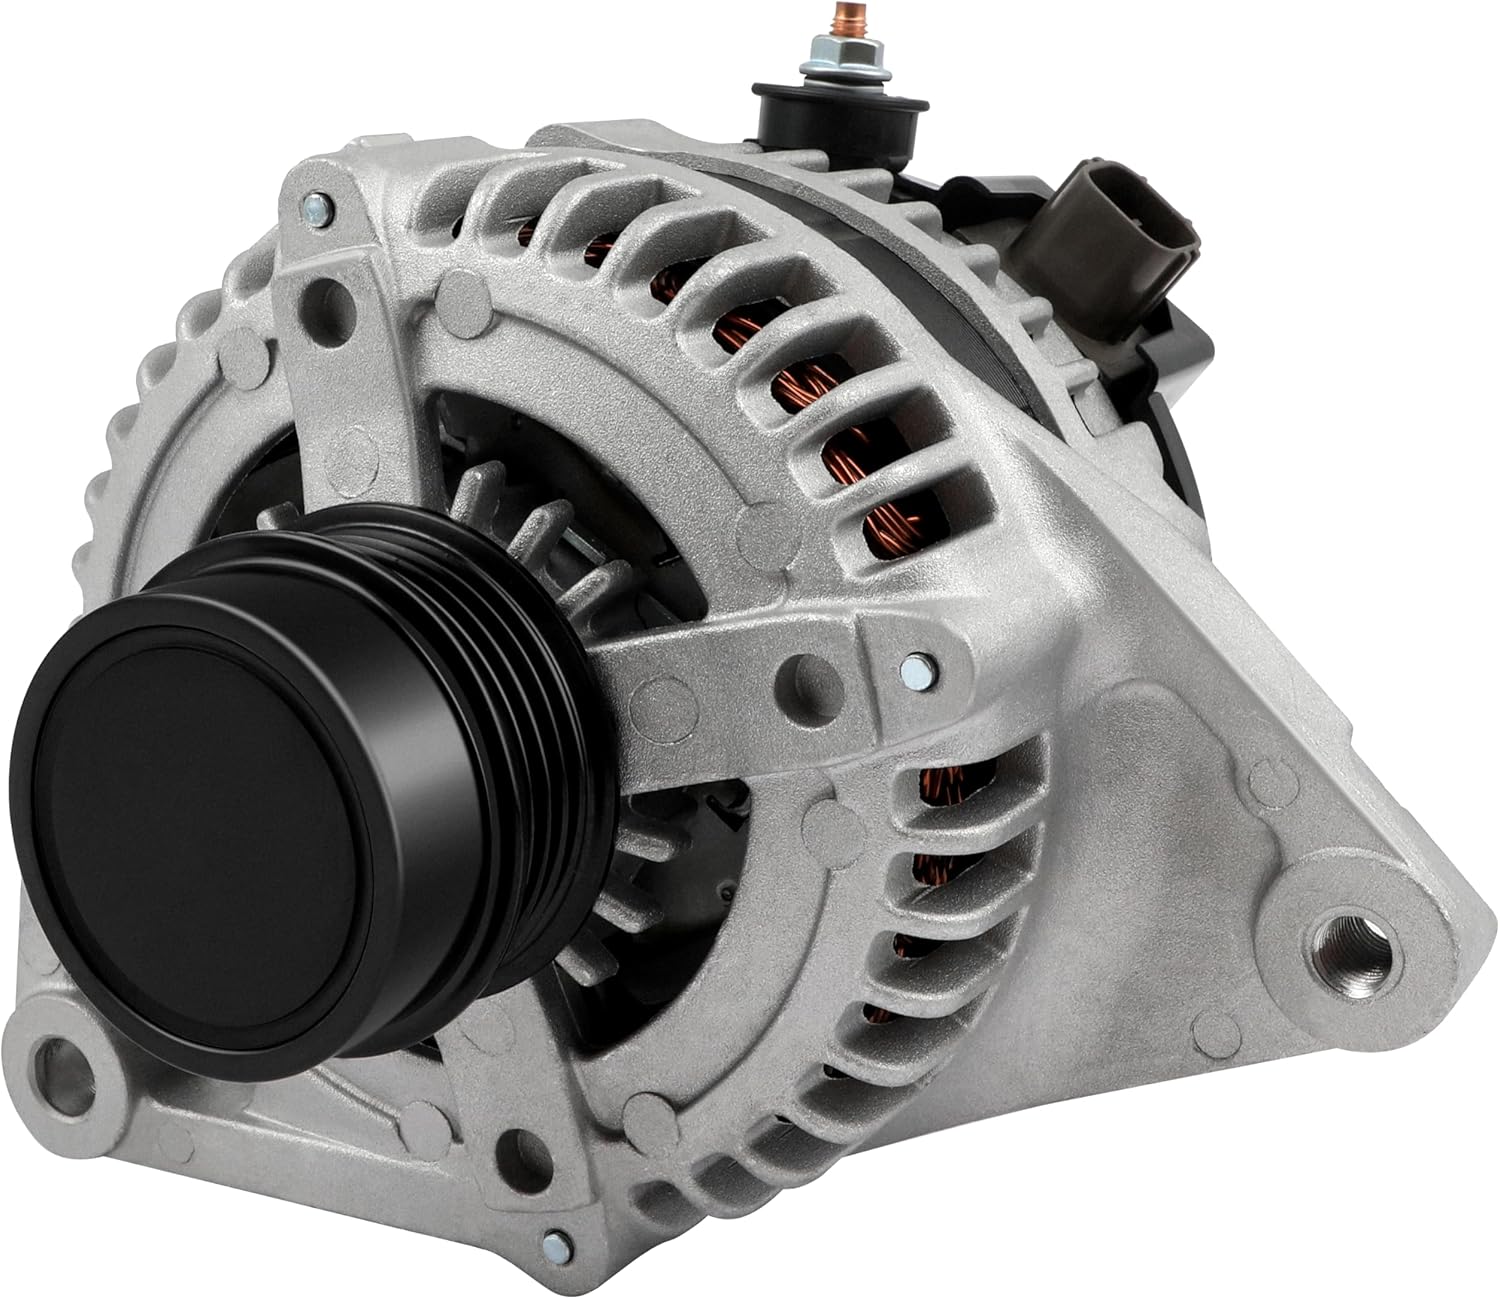
This high output alternator is designed to fit select Toyota, Scion, and RAV4 2.5L applications, delivering reliable charging performance for everyday driving. Built with a 12-volt, 100-amp design and precision-engineered components, it helps support battery recharge, stable electrical output, and consistent operation when your vehicle shows signs of charging issues.

This automotive test light combines a bright LED voltage display with quick polarity indication for fast, accurate circuit checks in a wide range of vehicle systems. It helps diagnose battery, charging, lighting, and fuse issues with a sharp stainless probe, long spring wire, and easy-to-use alligator clip for efficient troubleshooting.

The V500 Pro is an all-in-one automotive electrical diagnostic tool that combines circuit testing, wire tracing, oscilloscope analysis, multimeter functions, injector testing, relay and fuse checks, and component activation in one device. It helps technicians and DIY users quickly find open circuits, short circuits, broken wires, and current leaks while reducing disassembly and guesswork. With a rotating screen, built-in flashlight, and adjustable low-voltage power supply, it is designed to speed up troubleshooting in tight and low-light work areas.
What Not To Do When Cleaning Camry Battery Terminals
- Do not pry hard on the battery posts. A cracked post seal can cause leaks and repeat corrosion.
- Do not use excessive water. Water can enter vents, soak wiring, or carry residue into sensitive areas.
- Do not use a steel tool across both terminals. This can create a short circuit and a dangerous spark.
- Do not ignore a loose clamp. A clean but loose clamp can still cause no-start problems.
- Do not clean a leaking or swollen battery. Replace it or have it handled by a qualified technician.
- Do not assume a jump terminal is the battery post. On some Camry Hybrid models, under-hood jump points are not the actual 12-volt battery terminals.
Troubleshooting: When to Replace Clamps or the Battery
If your Camry still struggles to start after cleaning, look beyond surface corrosion. The problem may be a worn cable clamp, weak battery, poor ground connection, alternator issue, parasitic drain, or corrosion hidden under cable insulation.
| Symptom | Likely Cause | Action |
|---|---|---|
| Clamp stays loose after tightening | Worn, stretched, or deformed clamp | Replace clamp or cable end |
| Clamp is cracked, pitted, or missing metal | Corrosion damage | Replace clamp |
| Corrosion returns within days or weeks | Leaking post seal, overcharging, or battery aging | Test battery and charging system |
| Resting voltage is below about 12.4 volts | Battery is low or weakening | Charge and load-test the battery |
| Voltage is roughly 13.5–14.7 volts while running | Charging system may be normal | Check battery health and cable connections |
| Voltage is too low or too high while running | Possible alternator or voltage regulator problem | Have charging system diagnosed |
| Battery case is swollen, cracked, leaking, or smells like sulfur | Battery failure or overcharging risk | Stop and replace the battery safely |
A resting voltage reading is most useful after the Camry has been off for several hours. Around 12.6 volts often indicates a well-charged 12-volt battery, while about 12.4 volts suggests a partial charge. Voltage alone does not prove the battery is good, so use a proper load test if starting problems continue.
[Products Worth Considering]

This heavy-duty windshield wiper arm removal tool kit is built to help you quickly and safely detach stubborn wiper arms on many cars, trucks, SUVs, and RVs. Made from high-hardness carbon steel with a practical lever-style design, it offers strong gripping power, smooth force distribution, and reliable performance for routine automotive maintenance.

This 6 pack wire brush set helps remove rust, corrosion, paint, spatter, and scale from metal surfaces with ease. It includes cup, wheel, and pen brushes with a quick-change hex shank for use on most drills and die grinders. Designed for smooth operation and hard-to-reach areas, it is a practical choice for garage, workshop, and restoration tasks.

This Yuirote universal car motor diagnostic tool helps drivers quickly detect engine fault codes and identify system issues for routine inspections and maintenance. It also supports electronic parking brake reset and emergency release functions, making it useful for handling EPB-related problems without a repair shop visit. Its compact, ergonomic design and broad vehicle compatibility make it a practical choice for car owners and DIY repair enthusiasts.
How Often Should You Clean Camry Battery Terminals?
Inspect the battery terminals at least every few months and before long trips. Clean them whenever you see visible buildup, slow starts, intermittent power, or a loose-looking clamp. In normal driving conditions, cleaning about every six months is a good baseline. In salty, wet, coastal, dusty, or high-heat conditions, inspect monthly.
A clean battery post is not enough. The inside of the cable clamp must also be clean, tight, and free of pitting so the starter gets full current when you turn the key or press Start.
Frequently Asked Questions
How do you clean battery terminals on a Toyota Camry?
Turn the Camry off, wear gloves and safety glasses, disconnect the negative cable first, then the positive. Brush away loose corrosion, apply a baking soda and water paste, scrub the posts and clamp interiors, wipe and dry everything, reconnect positive first, then negative, and apply terminal protectant.
Why do Toyota Camry battery terminals corrode?
Battery terminals corrode when moisture, road salt, dirt, heat, battery vapors, or small amounts of acidic residue react with the metal. Repeated corrosion can also point to a leaking battery post seal, overcharging, a weak battery, or poor cable fit.
Which battery terminal do you disconnect first on a Camry?
Disconnect the negative terminal first. The negative cable connects to the vehicle ground, so removing it first lowers the chance of creating a short if a tool touches metal. When reconnecting, install the positive cable first and the negative cable last.
Can I use Coke or vinegar to clean battery terminals?
Baking soda and water is the better choice for lead-acid battery terminal corrosion because it helps neutralize acidic residue. Coke, vinegar, or harsh household cleaners can leave sticky residue, encourage more corrosion, or damage nearby finishes and components.
Should dielectric grease go between the battery post and clamp?
Use only a very light film if applying it before assembly. The clamp still needs solid metal-to-metal contact. The safest approach is to clean and tighten the clamp first, then apply dielectric grease, petroleum jelly, or terminal spray to the outside of the finished connection.
When should I replace the battery clamp instead of cleaning it?
Replace the clamp if it is cracked, severely pitted, missing metal, stretched, loose after tightening, or corroded into the cable strands. Cleaning can restore surface contact, but it cannot repair a clamp that no longer grips the battery post securely.
Conclusion
Keeping your Camry’s battery terminals clean is a small job that can prevent big starting and electrical problems. Disconnect the negative cable first, clean both posts and clamp interiors, keep cleaner out of the battery vents, dry everything fully, reconnect positive first, and seal the finished connection with a light protective coating. If corrosion keeps returning, the clamp will not tighten, or the battery tests weak, replace the damaged part instead of relying on another cleaning.
Sources
- Toyota: How To Replace a Car Battery — Toyota’s general guidance on disconnecting, cleaning, installing, and securing a vehicle battery.
- Toyota 2025 Camry Hybrid Owner’s Manual: 12-Volt Battery — Camry Hybrid 12-volt battery location notes and hydrogen gas precautions during charging.
- Toyota 2025 Camry Hybrid Owner’s Manual: If the 12-Volt Battery Is Discharged — Toyota jump-start and discharged 12-volt battery procedures for Camry Hybrid.
- Canadian Centre for Occupational Health and Safety: Garages — Lead-Acid Batteries — battery acid, explosive gas, ventilation, glove, and eye-protection safety guidance.
- Interstate Batteries: How to Clean Car Battery Corrosion Safely — baking soda cleaning method, drying steps, and reconnecting the battery positive terminal first.
- AAA: Bad Alternator vs. Bad Battery — signs that starting and electrical problems may be caused by the battery, alternator, or related charging system issues.