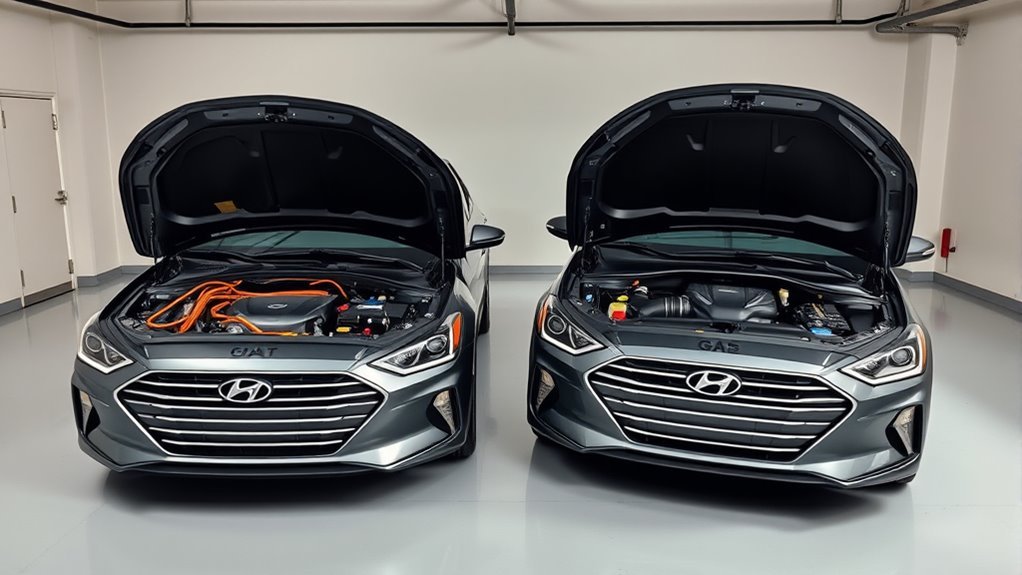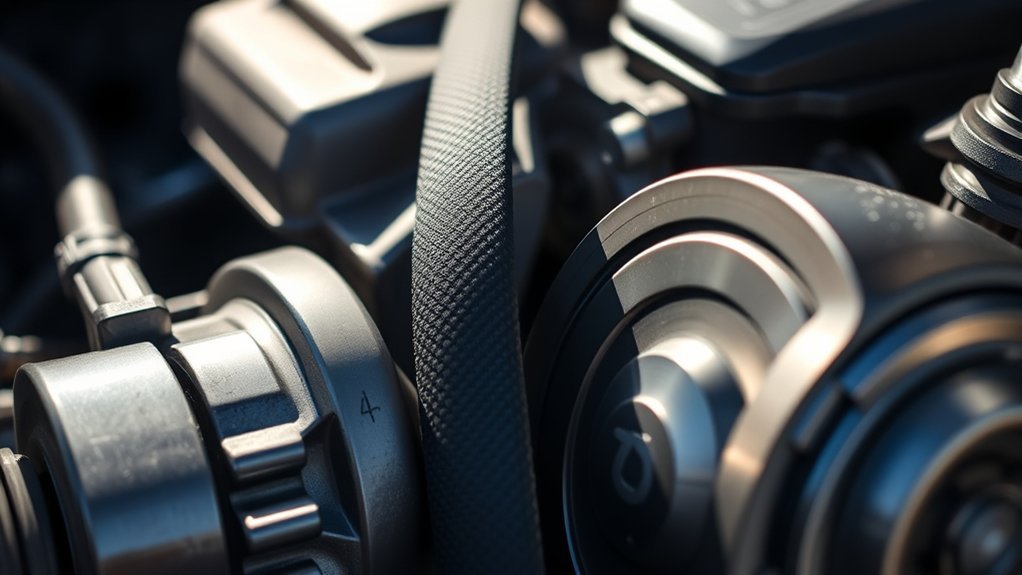
Inspecting the belts on a Hyundai Sonata is a smart driveway check, especially once the car is near the factory drive-belt inspection interval. This guide covers the external accessory or drive belts you can see from the engine bay or wheel-well area, not internal timing components. Because Sonata belt layouts vary by model year, engine, and hybrid/non-hybrid setup, confirm your exact belt routing before removing anything.
Quick Answer
To inspect Hyundai Sonata belts, turn the engine off, let it cool, and check the belt ribs, edges, back side, and pulley alignment. Replace a belt if you see cracks, fraying, missing rib material, oil saturation, glazing, poor tension, squealing, or signs that it is not tracking straight.
Key Takeaways
- For the 2016 Sonata, Hyundai lists the first drive-belt inspection at 96,000 km or 72 months, then every 24,000 km or 24 months, which is roughly 60,000 miles first and about every 15,000 miles after that.
- Cracks matter, but modern EPDM belts can wear without obvious cracks. Check rib wear, rib rounding, belt seating, glazing, edge damage, and contamination.
- A noisy new belt often points to a deeper problem, such as a weak tensioner, worn idler, misaligned pulley, bad bearing, or oil/coolant leak.
- Never work near a running belt, and never rely on a jack alone if you remove a wheel for access.
At a Glance
| Time Required | 15–30 minutes for inspection; 45–90 minutes for replacement, depending on engine and access |
| Difficulty | Beginner for visual inspection; intermediate for replacement |
| Tools Needed | Flashlight, gloves, safety glasses, belt-wear gauge, metric sockets/wrenches, serpentine belt tool or breaker bar, jack stands if wheel removal is needed |
| Cost | Usually low for DIY inspection; belt replacement cost varies by engine, belt count, labor rate, and whether the tensioner or idlers also need service |
Why Belt Inspections Are a Must
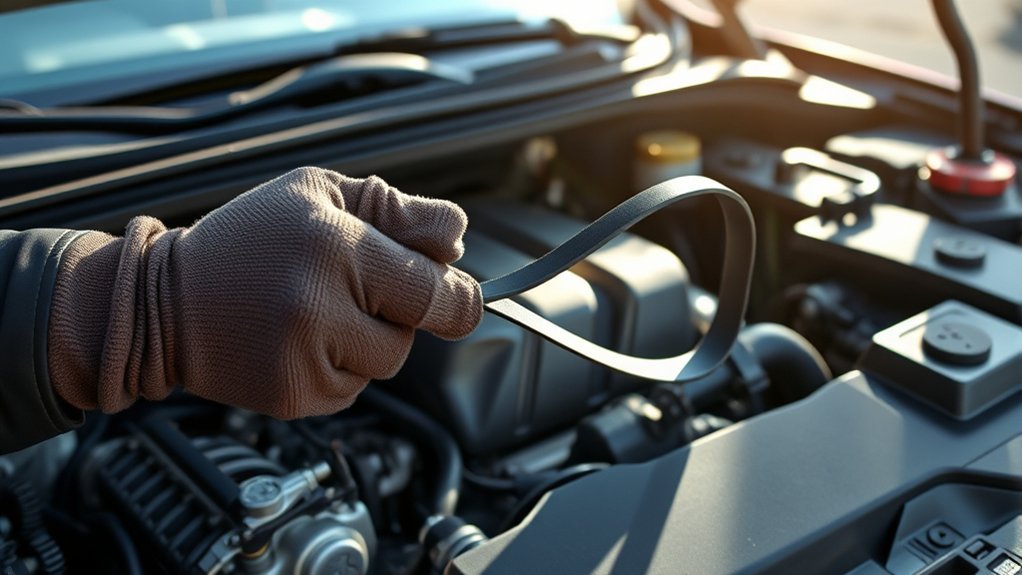
Belt inspections help reduce the chance of getting stranded because the drive belt powers important accessories such as the alternator and air conditioning compressor, and on some vehicles may also drive the water pump. If the belt slips, shreds, or comes off a pulley, you may see warning lights, battery charging issues, poor cooling, squealing, or sudden accessory failure.
For the 2016 Sonata, the official Hyundai maintenance manual lists the first drive-belt inspection at 96,000 km or 72 months, then every 24,000 km or 24 months. That is about 60,000 miles for the first inspection and about every 15,000 miles after that. Hyundai also states that the drive belt should be replaced when cracks occur or belt tension is reduced excessively.
Note: Your exact Sonata may have a different belt layout than another Sonata. Always verify the year, engine, and belt routing before ordering parts or removing a belt.
Know Which Belts You’re Checking
Most readers searching for Hyundai Sonata belt inspection are talking about the external accessory drive belt, often called the serpentine belt. Some Sonata engines or configurations may use more than one accessory belt, and some belts may be stretch-fit designs that need a different installation method than a spring-tensioned serpentine belt.
| Belt or Component | What It Does | Inspection Focus |
|---|---|---|
| Serpentine / drive belt | Runs engine accessories such as the alternator and A/C compressor | Rib wear, cracks, fraying, glazing, oil saturation, tension, tracking |
| Separate accessory or stretch belt | May drive a specific accessory on some layouts | Edge condition, rib seating, stretch-belt damage, correct installation path |
| Tensioner, idlers, and pulleys | Keep the belt aligned and correctly tensioned | Noise, wobble, rough bearings, weak tension, misalignment |
Before removal, take a clear photo of the belt path. If there is a belt-routing decal under the hood, compare your photo to that decal. If the decal is missing or unclear, check the owner information, repair manual, or a trusted parts diagram for your exact engine.
Identifying Wear: Cracks, Fraying, Glazing, and Rib Loss
When inspecting your Hyundai Sonata’s drive belt, look at the ribbed side, smooth back side, edges, and how the belt sits in each pulley groove. A belt can look decent from above but be worn on the rib side where it actually contacts the pulleys.
| Wear Type | Indicator | What to Do |
|---|---|---|
| Cracks | Visible cracks across the belt ribs or back side | Replace if cracks are present, especially with noise or poor tension |
| Fraying | Tattered edges, stringy material, or missing chunks | Replace the belt and check pulley alignment |
| Glazing | Shiny, hardened, polished surface | Check for slipping, weak tension, or pulley issues |
| Rib material loss | Rounded ribs, flattened ribs, or belt sitting too deep in pulley grooves | Use a belt-wear gauge and replace if the gauge fails |
| Oil or coolant contamination | Wet, swollen, soft, or sticky belt surface | Fix the leak and replace the contaminated belt |
| Misalignment | Belt walks toward one edge or does not sit evenly on pulleys | Inspect pulleys, brackets, idlers, and tensioner before installing another belt |
A belt with no visible cracks is not automatically healthy. Modern EPDM belts often wear by losing rib material, so a belt-wear gauge can catch problems your eyes may miss.
Belt makers such as Gates and Continental both point out that modern EPDM belts can wear before obvious cracking appears. That means your inspection should include rib profile, pulley seating, and belt tension, not just surface cracks.
When to Replace Your Belts: Spotting the Signs?
Replace the belt immediately if it has visible cracks, missing ribs, frayed edges, oil saturation, heavy glazing, exposed cords, poor tracking, or reduced tension. Also replace it if it squeals repeatedly after startup or when the A/C is turned on, because that can indicate slipping.
Mileage is only one clue. A Sonata belt can age faster if the car is driven in heat, dust, road salt, stop-and-go traffic, or short trips. A belt can also fail early if a tensioner, idler pulley, alternator pulley, or accessory bearing is worn. If the belt is original and the car is near 90,000–100,000 miles, it is wise to inspect it carefully and consider replacement if any wear signs or service-history doubts exist.
Warning: Stop driving as soon as it is safe if the belt shreds, comes off, the battery light comes on, the engine temperature rises, you lose power steering assist, or you smell burning rubber. Continuing to drive can turn a simple belt repair into a larger engine or charging-system problem.
[Products Worth Considering]

This reusable stretch belt installation and removal tool helps guide stretch-fit belts on and off pulleys with greater control during service. It is designed to improve alignment, reduce belt damage, and make installation easier on compatible vehicles. Built for repeated use, it offers a practical solution for mechanics and DIY repairs working with stretch belt systems.
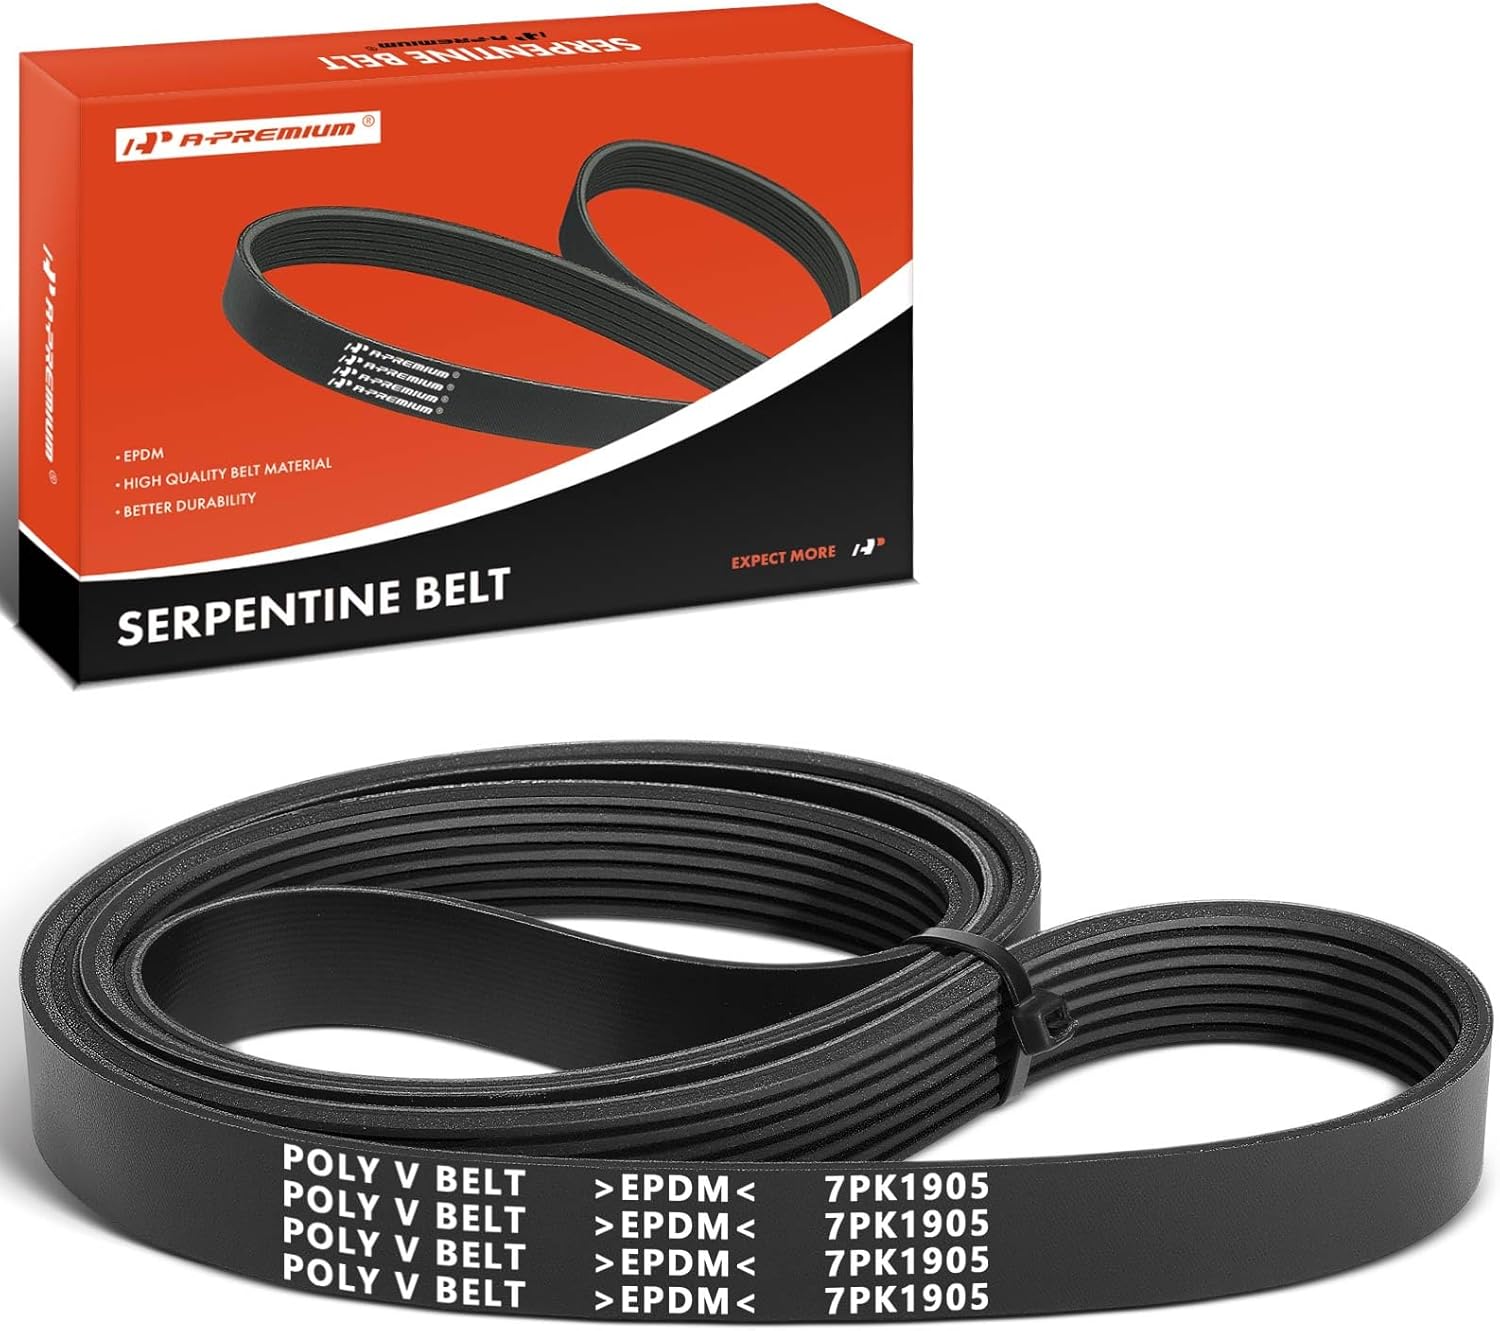
This A-Premium serpentine belt is engineered for select Toyota, Scion, and Pontiac vehicles with the L4 2.4L gas engine, delivering dependable air conditioning drive performance. Made with durable EPDM and precision dimensions, it helps resist cracking, reduce noise, and maintain stable tension for smooth operation. It's designed for straightforward installation and backed by a one-year unlimited-mileage guarantee for added confidence.

This A-Premium serpentine belt drive kit is designed for compatible Toyota Camry, RAV4, and Scion tC models with a DOHC 2.5L L4 engine. It includes a serpentine belt and belt tensioner to help maintain smooth engine operation, reduce noise, and support reliable power transfer. Built for dependable replacement performance, it also comes with a one-year unlimited-mileage guarantee for added peace of mind.
Tools and Safety Gear for Hyundai Sonata Belt Replacement
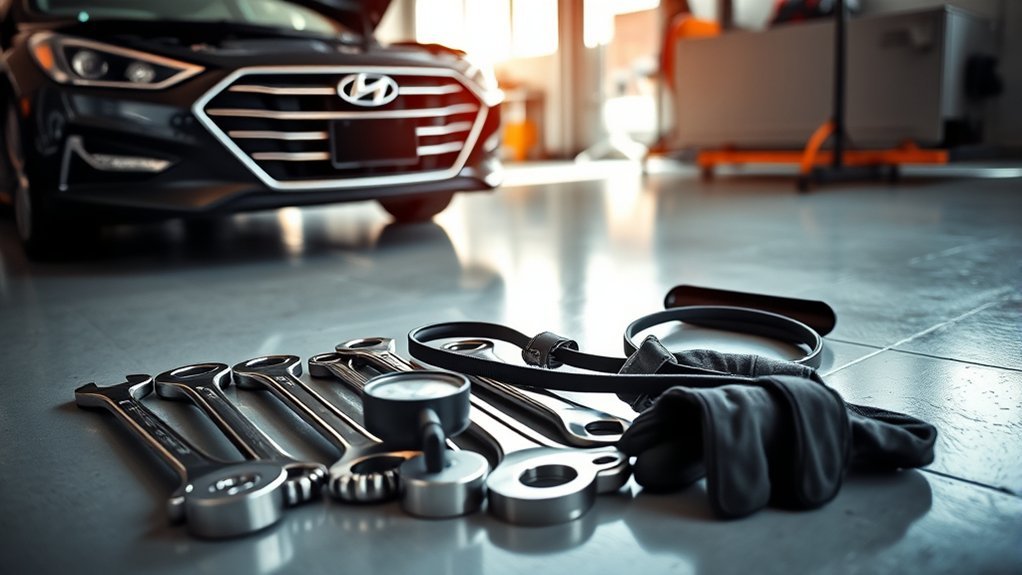
Before starting a belt replacement on your Hyundai Sonata, gather the tools first. Many Sonata belt jobs require working from the passenger-side wheel-well area, so safe lifting equipment may be needed. Some engines use a spring-loaded tensioner, while other belt positions may require a stretch-belt tool.
[Products Worth Considering]

This A-Premium serpentine belt is designed to deliver dependable drive performance for a wide range of compatible Toyota, Hyundai, Kia, Lexus, and Scion vehicles. Built with EPDM construction and precision dimensions, it helps promote stable tension, reduced noise, and reliable operation in demanding driving conditions. It is a practical replacement choice for maintaining accessory system performance and long-term confidence.
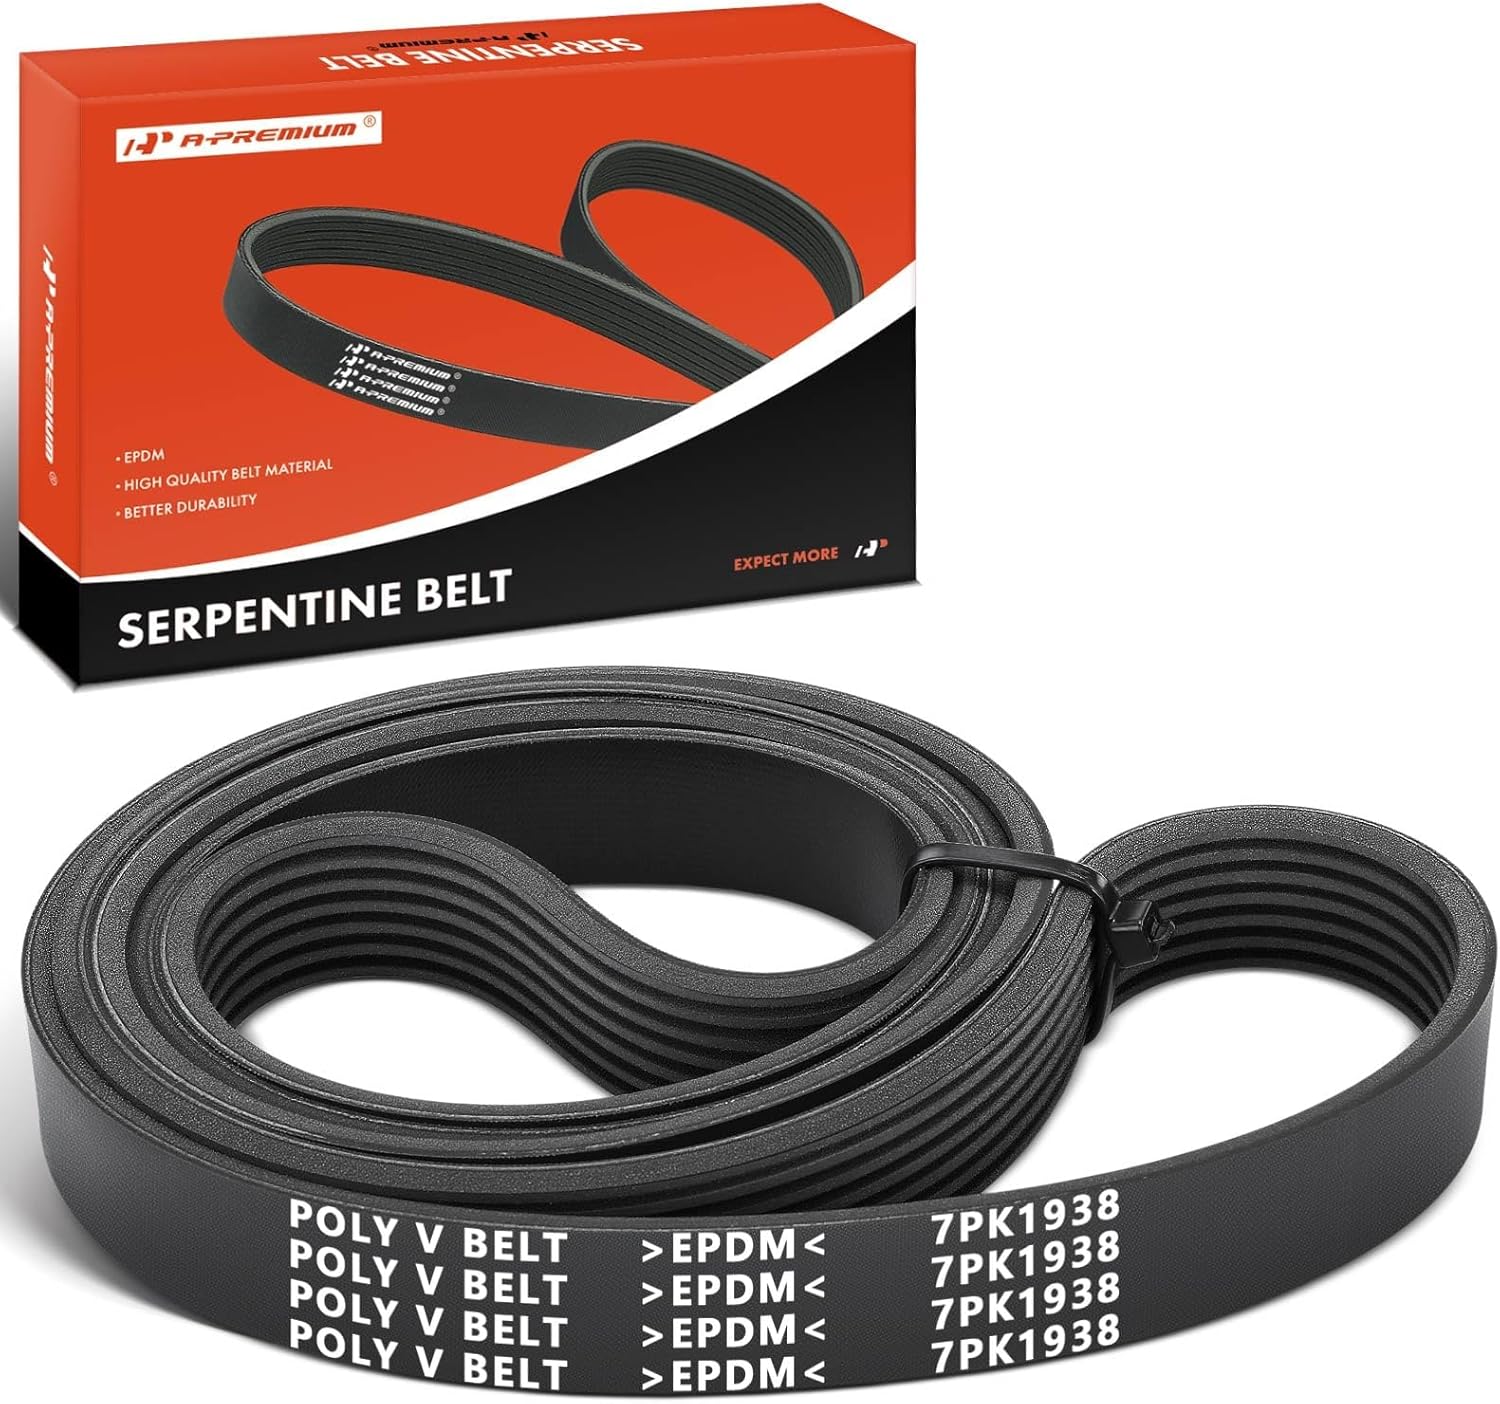
This A-Premium serpentine belt is designed to deliver dependable drive performance for compatible Toyota and Scion vehicles with exact-fit sizing for smooth operation. Built with premium EPDM and polyester cord construction, it helps resist cracking, reduce noise, and maintain stable tension in demanding engine conditions. It is a practical replacement choice for restoring reliable accessory drive performance and long-term confidence.

This engine water pump kit is designed to help maintain reliable cooling performance across a wide range of compatible Toyota, Lexus, Scion, and Pontiac vehicles. Built with aluminum and tested for leak-free operation, it offers a direct replacement solution that supports engine efficiency and long-term service life. The kit includes a professional water pump and gasket for a convenient installation-ready repair.
Essential Tools Needed
- Flashlight or work light: Helps you see cracks, rib wear, oil contamination, and belt seating.
- Safety glasses and gloves: Protect your eyes and hands while working around pulleys and brackets.
- Metric socket set and wrenches: Common Sonata belt jobs may use metric tools; confirm the exact size for your engine.
- Serpentine belt tool or breaker bar: Helps rotate the belt tensioner safely on spring-tensioned setups.
- Belt-wear gauge: Useful for modern EPDM belts that may not show obvious cracks.
- Jack, jack stands, and wheel chocks: Needed only if wheel or splash-shield removal is required for access.
- Phone camera: Take belt-routing photos before removal.
- Zip ties: Can help hold a stretch belt in position during installation, but a proper stretch-belt tool is safer and more controlled when the belt design calls for one.
Recommended Replacement Parts
Choose a belt that matches your Sonata’s year, engine, and accessory layout. OEM Hyundai belts are designed for the vehicle, and Hyundai Genuine Parts are engineered for Hyundai fitment. High-quality aftermarket brands such as Gates and Continental can also be good choices when the part number is correct.
Do not order by vehicle name alone. A 2016 Sonata 2.4L, 2.0T, 1.6T, hybrid, and plug-in hybrid may not use the same belt layout or length. Match the belt by VIN, engine, rib count, length, and accessory configuration.
Safety Equipment Considerations
When preparing for belt inspection or replacement, use safety equipment that keeps the vehicle stable and keeps you away from moving parts.
| Equipment | Purpose | Tips |
|---|---|---|
| Safety goggles | Protects your eyes from debris | Wear whenever working near pulleys or under the car |
| Gloves | Shields your hands from sharp edges | Use snug gloves that will not snag easily |
| Wheel chocks | Helps keep the car from rolling | Chock the wheels that stay on the ground |
| Jack and jack stands | Raises and supports the vehicle if wheel-well access is needed | Use rated stands on a firm, level surface; never rely on the jack alone |
| Flashlight | Illuminates hard-to-see areas | Check the underside and ribbed side of the belt |
Warning: Turn the engine off, let it cool, remove loose jewelry, keep sleeves away from pulleys, set the parking brake, and work on level ground. If you raise the vehicle, support it with properly rated jack stands before reaching into the wheel-well area.
Step-by-Step Guide to Inspecting and Changing Your Belts
Use these steps as a practical overview. For torque specs, belt routing, and engine-specific removal details, use the repair information for your exact Sonata engine.
- Park safely and cool the engine: Park on level ground, shift to Park, set the parking brake, turn the ignition off, and let the engine cool. Block the wheels if you will raise the vehicle.
- Open the hood and identify the belt path: Locate the serpentine belt, tensioner, idlers, and driven accessories. Take photos before loosening anything.
- Improve access if needed: If your Sonata requires wheel-well access, loosen the lug nuts slightly before lifting, raise the vehicle at the proper lift point, support it with jack stands, and remove the right front wheel and splash shield as needed.
- Inspect before removal: Look for cracks, fraying, glazing, missing rib material, oil saturation, coolant contamination, uneven tracking, and belt dust around pulleys.
- Check pulleys and tensioner: Look for wobble, rough bearing noise, rust buildup, damaged pulley grooves, weak tension, or a tensioner arm that sits outside its normal range.
- Relieve tension: Use the correct serpentine belt tool, breaker bar, or wrench on the tensioner. Move it slowly and keep fingers away from pinch points.
- Remove the old belt: Slide the belt off one smooth pulley first if possible, then remove it from the rest of the route. Compare the old belt with the new one for length, width, and rib count.
- Install the new belt: Route the belt around the pulleys according to your photo or routing diagram. Leave the easiest smooth pulley for last, then rotate the tensioner and slide the belt into place.
- Seat every rib: Make sure the belt ribs sit fully in every grooved pulley. One rib off can shred a new belt quickly.
- Install any separate stretch belt correctly: If your engine uses a stretch-fit belt, use the correct stretch-belt installation tool when possible. Do not pry against pulley grooves or force the belt with sharp tools.
- Recheck alignment: Before starting the engine, inspect each pulley from multiple angles. The belt should sit flat and centered.
- Start and observe briefly: Start the engine and watch from a safe distance. The belt should run smoothly without wandering, chirping, squealing, or flapping. Shut the engine off immediately if it tracks incorrectly.
- Reassemble and test drive: Reinstall any splash shields, wheel, and fasteners. Torque the wheel nuts to the correct specification for your vehicle, then take a short test drive and recheck for noise.
Pro Tip: If a new belt squeals right away, do not keep spraying belt dressing on it. Diagnose the cause. Most repeat belt noise comes from tension, alignment, contamination, pulley wear, or a bearing problem.
Troubleshooting After Installation
A belt replacement should run quietly. If the same noise returns, the belt may not have been the root cause.
| Symptom | Likely Cause | Next Step |
|---|---|---|
| Squeal at startup | Weak tensioner, slipping belt, contamination, or overloaded accessory | Check tensioner movement, pulley grooves, and fluid leaks |
| Chirp that changes with engine speed | Misaligned pulley or belt not seated in grooves | Recheck routing and pulley alignment |
| Belt walks toward one edge | Pulley misalignment, bad idler, bent bracket, or wrong belt | Stop the engine and correct alignment before driving |
| Burning rubber smell | Seized pulley, severe slip, or incorrect routing | Shut the engine off and inspect immediately |
| Battery light after replacement | Belt not driving alternator correctly or incorrect routing | Do not continue driving until belt routing and charging are checked |
Choosing Quality Replacement Parts
Quality replacement parts help your Sonata’s belt system last longer. The belt must match the pulley grooves, length, rib count, and accessory layout. A belt that is only slightly wrong can run noisy, sit poorly in the pulleys, or fail early.
OEM Hyundai belts are a safe choice when you want factory fitment. Quality aftermarket belts from established manufacturers can also work well if the catalog match is exact. If your Sonata has a noisy tensioner, rough idler, or wobbling pulley, replacing the belt alone may not solve the problem.
When buying parts, consider replacing related wear items at the same time if inspection shows a problem. A fresh belt on a weak tensioner or rough idler can fail quickly.
[Products Worth Considering]

This all-in-one car emergency kit helps drivers stay prepared for roadside breakdowns, flat tires, and dead batteries with essential tools in one compact package. It includes a portable air compressor, heavy-duty jumper cables, a first aid kit, and other safety items designed for year-round peace of mind. Compact enough for easy trunk storage, it makes a practical safety solution and thoughtful gift for drivers of all ages.

These Amazon Basics steel jack auto stands provide dependable support for vehicle maintenance with a self-locking ratchet design for easy height adjustment. Built from durable steel with a rustproof coating, they meet recognized safety standards and are designed for sedans and urban SUVs. The pair offers a stable, easy-to-read solution for routine garage work and comes backed by a limited warranty.

This precision straight edge is designed for accurate engine block and cylinder head inspections, helping machinists and mechanics check flatness with confidence. Made from thick cold rolled steel and finished with a protective powder coat, it offers durability, rigidity, and long-term reliability in demanding shop environments. A reusable edge cover and hang hole add convenience for storage and care.
Tips for Maintaining Your Belts Longer
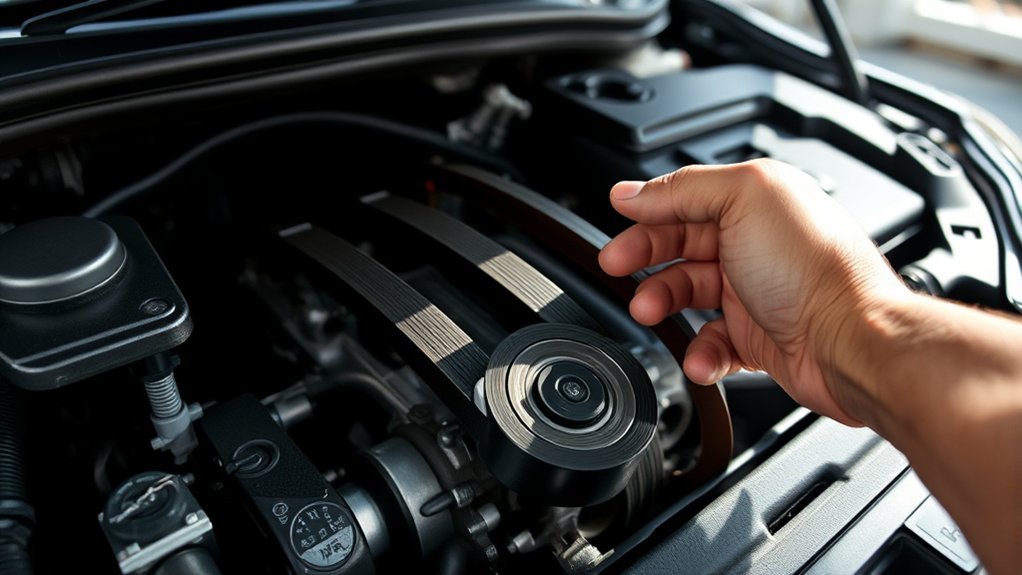
Maintaining your belts is just as important as selecting quality replacement parts. To extend belt life and avoid repeat repairs, follow these maintenance habits:
- Inspect on schedule: For the 2016 Sonata, use the factory drive-belt inspection interval of about 60,000 miles first, then about every 15,000 miles or 24 months after that.
- Check more often in harsh conditions: Heat, dust, road salt, short trips, stop-and-go traffic, and oil leaks can shorten belt life.
- Fix leaks quickly: Oil or coolant on a belt can soften rubber and make the belt slip or deteriorate.
- Listen for early warning noises: Squeal, chirp, grinding, or rattling from the belt area should be checked before the belt fails.
- Inspect the whole belt drive system: Belt tensioners, idlers, and pulleys are wear items too, not permanent parts.
- Use the right belt: Match the belt by exact engine, VIN, rib count, and routing rather than guessing by model name alone.
Frequently Asked Questions
How much does it cost to replace a serpentine belt on a Hyundai Sonata?
Cost depends on model year, engine, labor rate, and whether the tensioner or idler pulleys also need replacement. A DIY belt may cost much less than a shop repair, but shop totals often include labor and diagnosis. RepairPal’s 2026 estimate lists a 2016 Hyundai Sonata serpentine belt replacement at about $241–$276, before taxes, fees, location differences, or related repairs.
How long do Hyundai Sonata serpentine belts last?
There is no single mileage that fits every Sonata. Hyundai’s 2016 maintenance schedule calls for drive-belt inspection first at about 60,000 miles, then about every 15,000 miles or 24 months after that. Many modern belts can last near 100,000 miles, but replace yours sooner if it shows cracks, rib wear, fraying, glazing, oil saturation, poor tension, or noise.
Can I drive with a squealing Hyundai Sonata belt?
A brief squeak in wet weather may not always mean immediate failure, but repeated squealing should be inspected soon. Stop driving as soon as it is safe if you see the battery warning light, rising engine temperature, burning rubber smell, loss of power steering assist, or a belt that is shredding or walking off the pulleys.
Is the serpentine belt the same as the timing belt?
No. This guide covers the external accessory drive belt or belts that run engine accessories. Timing components are internal or covered engine components and require different service information. Do not confuse a visible serpentine belt inspection with timing-system service.
Conclusion
Regularly inspecting and maintaining the belts in your Hyundai Sonata helps protect the charging system, accessory drive system, and overall reliability of the vehicle. Check the belt surface, ribs, edges, tension, and pulley alignment instead of relying on mileage alone. Replace worn belts promptly, use the correct part for your exact engine, and inspect the tensioner and pulleys so the same problem does not return. If the belt is noisy, misaligned, contaminated, or difficult to access safely, have a qualified technician inspect it.
Sources
- Hyundai Canada 2016 Sonata Maintenance Manual — factory drive-belt inspection interval, replacement condition, and maintenance safety precautions
- Hyundai Genuine Parts — OEM parts quality and fitment guidance
- Gates Tech Tip: Accessory Belt Drive System — EPDM belt wear, material loss, and visual inspection limitations
- Continental Belt Wear Gauge — modern EPDM belt inspection and wear-gauge guidance
- OSHA 1926.305 Jacks Standard — jack capacity and securing lifted loads
- RepairPal 2016 Hyundai Sonata Serpentine Belt Replacement Estimate — current repair-cost reference for FAQ pricing