
Sonata door weatherstripping keeps wind noise, rain, dust, and hot or cold outside air from creeping into the cabin. The best maintenance routine is to inspect the seals during regular cleaning, wash them gently, use only a rubber-safe protectant, and replace weatherstripping that is torn, shrunken, badly flattened, loose, or no longer sealing against the door frame. If the noise or leak is concentrated around the moving window glass, inspect the glass run or belt weatherstrip before replacing the perimeter door seal.
Last updated: September 16, 2026 — leak-diagnosis guidance, Hyundai service-resource references, protectant directions, external-link markup, and structured data were rechecked.
Quick Answer
Inspect your Sonata door weatherstripping whenever you clean the door openings and whenever new wind noise, moisture, sticking, or visible damage appears. Clean the rubber with mild automotive soap and water, dry it fully, then apply a protectant specifically labeled safe for automotive rubber. Replace a seal that is torn, badly cracked, shrunken, permanently flattened, or loose. If the seal still looks healthy, check door alignment, the window glass-run or belt weatherstrip, and drain paths before buying another seal.
Key Takeaways
- Check the rubber for cracks, tears, flat spots, shrinkage, loose sections, and gaps around the corners.
- Use mild automotive soap, water, a soft brush, and a microfiber towel. Avoid harsh solvents and general-purpose oily products unless the label says they are safe for automotive rubber.
- Use a rubber-safe protectant or compatible silicone lubricant only as directed, and test a small hidden area first.
- Do not assume every wind or water leak comes from the perimeter door seal; window channels, belt weatherstrips, door alignment, and drain paths can create similar symptoms.
- Before buying or removing a replacement seal, confirm the exact Sonata model year, door position, seal type, fitment, and attachment procedure.
- After replacement, use paper resistance, visual checks, a gentle water test, and a short road test to confirm the leak or noise is actually fixed.
At a Glance
| Time Required | Inspection and cleaning are short DIY maintenance tasks; replacement time varies by model year, seal location, attachment method, and trim access |
| Difficulty | Beginner for inspection and cleaning; replacement difficulty depends on the exact seal and attachment procedure |
| Tools Needed | Flashlight, microfiber towels, mild automotive soap, warm water, soft brush, rubber-safe protectant, plus any trim tools or adhesive specifically required by the model-year repair procedure |
| Cost | Low for routine cleaning; replacement cost varies by Sonata model year, seal location, OEM vs aftermarket part, and labor |
Which Sonata Seal Should You Inspect First?
Before replacing weatherstripping, identify where the noise or water actually enters. A Hyundai door uses more than one sealing area, and replacing the perimeter seal will not fix a problem that comes from the moving-window channel, belt weatherstrip, door alignment, or a blocked drain path.
| Symptom | Inspect First | Also Check |
|---|---|---|
| Air or water entering around the door-opening perimeter | Perimeter door weatherstrip for tears, compression, gaps, or loose sections | Door alignment and previous body repair |
| Wind noise or moisture concentrated at the moving window glass | Glass run channel and belt weatherstrip around the window | Glass alignment and mirror-area trim |
| Water collecting around the lower door area | Lower seal condition and the exact point where water enters | Door drain paths and internal water-management issues |
Decision rule: If the rubber is intact and flexible, clean it, seat it correctly, and retest before replacing it. If it is torn, shrunken, permanently flattened, hardened, or no longer stays attached, replacement is more appropriate. If an apparently healthy seal still leaks, investigate alignment, window sealing, and drainage before buying another part.
Why Regular Maintenance of Sonata Door Weatherstripping Matters
Regular maintenance matters because the door seal is part of your Sonata’s comfort system. It helps reduce wind noise, blocks water and dust, and helps the cabin stay more stable when the heat or air conditioning is running.
EPDM is widely used in automotive weather-stripping and seals because it resists heat, ozone, oxidation, and weather aging. However, do not assume every seal on every Sonata model year uses the same material or construction. Age, sun, dirt, freezing temperatures, repeated door closing, and poor cleaning practices can still flatten, crack, or damage automotive seals over time.
If you catch small problems early, you may be able to clean and protect an otherwise healthy seal before it fails. If the rubber is already torn, shrunken, hardened, permanently flattened, or loose, replacement is usually the better fix.
Note: Weatherstripping maintenance can improve cabin comfort and reduce drafts, but it should not be treated as a guaranteed fuel-economy repair. The main benefits are less wind noise, fewer leaks, and a better door seal.
How to Inspect Your Sonata Weatherstripping for Damage
Start with the door open and the vehicle parked in good light. Use a flashlight to inspect the full seal path, especially the upper corners, lower door edge, and areas where the rubber bends around curves.
- Look for visible cracks, cuts, tears, or missing chunks of rubber.
- Press the seal gently with your finger. Healthy rubber should remain flexible rather than feeling brittle, sticky, or permanently crushed flat.
- Check whether the weatherstripping sits evenly against its channel or contact surface.
- Look for pulled-back corners, loose clips or adhesive where applicable, and areas where the seal has shrunk away from its intended position.
- Check the door frame and sill for water stains, dust trails, or dirt lines that may help locate an air or water path.
Paper Slip Test
Close the door on a strip of paper, then pull the paper out slowly. Compare the resistance at several points around the suspected sealing area. If one section releases with little or no resistance while nearby areas grip more firmly, inspect that spot for compression, misalignment, or damage. I-CAR training material also describes paper resistance testing as one method for locating poor weatherstrip contact.
Flashlight Test
At night or in a dim garage, have someone sit inside the Sonata while you shine a flashlight around the door edge from outside. If light shows through a closed gap, inspect that section closely for a folded, loose, misaligned, or damaged seal.
Water Test
After cleaning the seal, close the door and run a gentle stream of water over the suspected area. Do not use a pressure washer for leak diagnosis because high pressure can force water through places that may not leak under normal conditions. Check the inside edge and nearby trim for moisture, working methodically to pinpoint where water enters. If water reaches the cabin, the seal, glass channel, door alignment, or drainage path may need attention.
Signs It’s Time to Replace Your Weatherstripping
If the seal is only dirty or slightly dry but remains intact and flexible, cleaning and a compatible protectant may help. If the rubber is physically damaged or no longer makes consistent contact, replacement is usually more appropriate.
Visible Cracks Or Tears
Cracks, splits, and torn corners are clear signs that the weatherstripping is losing its sealing ability. Once the rubber opens up, it can allow water, dust, and outside air past the intended sealing surface.
| Sign of Damage | What It Can Cause |
|---|---|
| Cracks or tears | Water entry, drafts, and extra cabin noise |
| Hard or brittle rubber | Poor or inconsistent contact with the mating surface |
| Permanently flattened sections | Weak sealing pressure in one area |
| Loose or shrunken corners | Wind noise and possible leaks near the affected edge |
Excessive Wind Noise
Excessive wind noise can mean outside air is passing a door or window sealing surface. The sound may be a hiss, whistle, or flutter that becomes more noticeable at road speed. Before replacing the perimeter door weatherstrip, check whether the sound is actually concentrated around the moving glass, mirror area, or a folded or dirty seal.
If cleaning and reseating the affected rubber do not help, inspect door and glass alignment. A healthy seal cannot work correctly if the door or glass does not meet it evenly.
Cleaning Tips for Effective Weatherstripping Care
Clean your Sonata weatherstripping as part of regular door-jamb care and whenever you see dirt, road salt, grit, or sticky buildup. Vehicles parked outside or driven on dusty or salted roads may need attention more often.
- Open the door and wipe loose dirt from the seal with a dry microfiber towel.
- Mix a small amount of mild automotive wash soap or another rubber-safe cleaner with warm water.
- Use a soft cloth or soft brush to clean the rubber and the painted contact surface.
- Wipe away the cleaner with a damp cloth. Do not soak interior trim.
- Dry the seal fully before applying any protectant.
Warning: Do not use harsh solvents, abrasive cleaners, or general-purpose oily sprays on door weatherstripping unless the product label says they are safe for automotive rubber. Keep protectants off pedals, the steering wheel, glass, tire tread, and fabric.
Choosing and Applying the Right Protectants for Your Weatherstripping
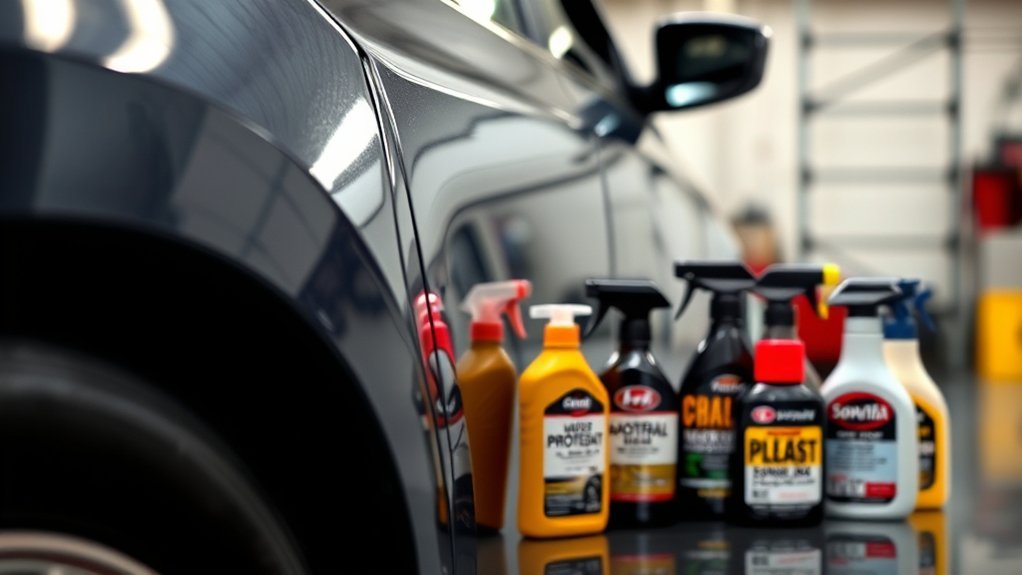
Choose a product that clearly states it is safe for automotive rubber or weather seals. For example, 303 Rubber Seal Protectant is specifically marketed for rubber seals on doors, windows, hoods, and trunks. Its current directions call for a clean, dry surface, even application, full drying, and reapplication as needed, with a 3–5 week interval listed for best results.
WD-40 Specialist Silicone states that it is safe on most common rubbers and vinyl when used as directed and recommends testing a small area if compatibility is uncertain. Use the label for the exact product in your hand rather than assuming every silicone or multipurpose spray has the same rubber compatibility.
If freezing is your main problem, see how to prevent Sonata door seals from freezing without turning this general maintenance job into a trial-and-error chemical treatment.
Recommended Protectant Types
- Use protectants specifically labeled for automotive rubber, weather seals, or compatible rubber/vinyl surfaces.
- Use silicone lubricant only when its label confirms compatibility with the material you are treating.
- Avoid petroleum-based grease, harsh solvents, and oily general-purpose sprays unless Hyundai guidance or the product manufacturer confirms compatibility with the specific seal material.
- Do not overapply. Follow the manufacturer’s application and wipe-off directions.
Application Techniques Explained
Apply protectant only after the seal is clean and dry. If the product directions allow cloth application, put a small amount on a microfiber towel, wipe the rubber evenly, then remove or buff away excess as instructed. Pay attention to corners and lower areas where grime collects.
Check the seal again after a few door openings. If product transfers heavily to the painted contact surface or leaves an unintended wet residue, remove the excess according to the product directions.
Pro Tip: When the product label allows it, applying protectant to a cloth instead of spraying directly at the door opening gives you more control and reduces overspray on glass, paint, seats, and interior trim.
Step-by-Step Guide to Replacing Sonata Door Weatherstripping
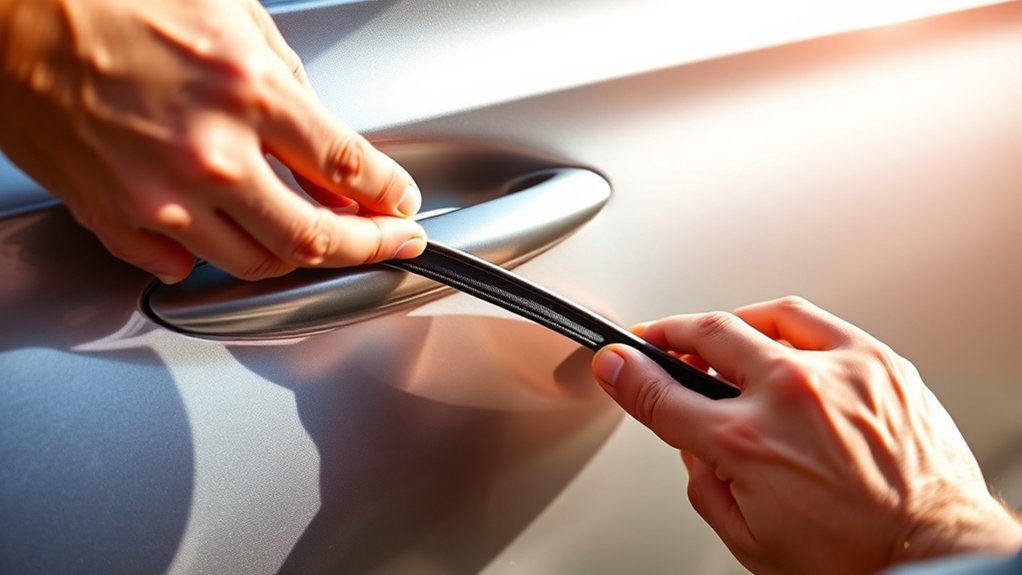
Replace the weatherstripping when the rubber is torn, badly flattened, loose, shrunken, hardened, or still proven to be the leak source after cleaning and alignment checks. Before buying or removing anything, use your VIN, model year, door position, and the exact seal location to confirm the correct part and procedure. Hyundai provides official manuals and warranty resources, its service-information website provides access to Hyundai shop manuals and technical information, and a Hyundai dealer can help confirm parts fitment by VIN.
Before removal: Do not assume the seal simply pulls off. Depending on the Sonata model year and weatherstrip location, the procedure may involve clips, retainers, door-check access, trim removal, molded channels, or another attachment method. Confirm the model-specific procedure before pulling, prying, cutting, or applying adhesive.
- Identify the exact leak or noise source. Use the paper-slip, visual, gentle-water, and road-noise checks before removing a seal.
- Identify the exact sealing component. Confirm whether you are working on the perimeter door weatherstrip, a belt weatherstrip, a glass-run component, or another seal.
- Confirm the replacement part and procedure. Match the Sonata model year, door position, body side, attachment style, and VIN where possible. Check model-specific service information before removal.
- Take reference photos. Photograph corners, seams, clips, retainers, molded marks, and where the original seal starts and ends.
- Remove the old weatherstripping only as the procedure specifies. Release clips, retainers, trim, or other hardware in the required order. Avoid pulling harder simply because the seal does not release immediately.
- Clean the mounting surface. Remove dirt and any old residue using products appropriate for the painted or trimmed surface. The mounting area must be clean and dry before installation.
- Compare the old and new parts. Check overall shape, molded corners, clip positions, seam position, and attachment features before committing to installation.
- Dry-fit where the design allows. Confirm that corners, retainers, and the seam align without stretching the rubber.
- Apply adhesive only when required. Some weatherstrips rely on clips or molded channels rather than adhesive. If the repair procedure calls for adhesive, a product such as 3M Black Super Weatherstrip Adhesive is designed to bond rubber weatherstripping to metal. Follow the adhesive label, ventilation precautions, surface-preparation directions, and cure instructions.
- Install without stretching the seal. Follow the original routing and attachment points. Stretching can move molded corners or leave too little material elsewhere.
- Inspect the finished fit. Corners should not be twisted or bunched, and clips or channels should be fully seated.
- Close the door gently and retest. Repeat the paper, visual, gentle-water, and road-noise checks so you know the original problem was corrected.
Warning: Work in a ventilated area when using adhesive or aerosol products. Do not apply adhesive merely because a seal feels loose; use it only where the service procedure or replacement-product instructions call for it. Follow all product temperature, surface-preparation, and cure-time requirements.
[Products Worth Considering]

This 8-piece auto trim removal kit is designed to help you remove interior panels, moldings, clips, and fasteners without scratching or damaging surfaces. Made from durable nylon fiber, the tools are shaped for easy access to tight spaces and are suitable for cars, boats, and RVs. It is a practical choice for stereo installs, dash work, and other interior trim tasks.

This rear trunk lid weatherstrip is designed to fit select Toyota Camry and RAV4 models, helping restore a secure seal around the trunk area. It supports protection against dust, moisture, and road noise while offering a reliable replacement for worn or damaged factory seals. Made for straightforward installation, it provides a practical fit-and-finish upgrade for everyday driving.

Armor All Multi-Purpose Car Cleaner Spray delivers an all-in-one clean for interior surfaces, helping restore that just-detailed look throughout your vehicle. It is designed for dashboards, vinyl, fabric, carpet, clear plastic, and consoles, and it helps remove tough dirt, dust, grime, and stubborn stains while providing odor control. Scientifically engineered for automotive surfaces, this cleaner helps refresh your car interior without drying out or damaging delicate materials.
What to Expect in Weatherstripping Replacement Costs
Replacement cost depends on the Sonata model year, exact weatherstrip, door position, part source, and whether the repair requires additional trim or alignment work. Avoid relying on a single generic price because two parts both described online as “door weatherstripping” may be completely different components.
Use these cost factors when comparing quotes or listings:
| Cost Factor | Why It Matters |
|---|---|
| Model year and body generation | A seal from one Sonata generation may not fit another. |
| Seal location | Perimeter, belt, glass-run, front, rear, left, and right components can differ. |
| OEM vs aftermarket | OEM can simplify exact-fit matching; aftermarket parts still require careful compatibility checks. |
| Labor and access | A readily accessible seal is different from a repair requiring clips, trim removal, adhesive cleanup, or alignment work. |
[Products Worth Considering]

This car door threshold protection set helps shield door sills and entry areas from scratches, scuffs, and everyday wear. Made from soft, flexible, and durable material, it features an anti-slip groove design that helps keep items from sliding while adding reliable protection for most sedan and SUV models. Installation is simple and does not require drilling or welding, making it an easy upgrade for cleaner, better-protected door entry points.

This multi-purpose suction cup dent removal kit helps lift dents from car panels while also handling smooth surfaces like tiles, glass, and furniture. It includes one large puller and two smaller repair tools for versatile use, with strong suction designed for efficient pulling on clean, flat, non-porous surfaces. The easy-grip design makes it useful for dent repair and moving lightweight smooth objects around the home or garage.

This front inner roof pull handle is a direct replacement for compatible Toyota models, designed to restore a secure and comfortable grip inside the cabin. Made from durable ABS plastic, it offers reliable wear resistance, easy installation, and a factory-style fit without the need for drilling.
Where to Find Quality Replacement Weatherstripping
Fit matters more than how similar two seals look in a listing photo. Start with the exact Sonata model year, VIN, door position, and seal location before comparing sources.
- Hyundai dealer parts department: Useful for VIN-specific OEM fitment confirmation.
- Trusted online OEM parts sellers: Prefer sellers that allow VIN verification before purchase.
- Reputable aftermarket suppliers: Consider them only when the listing clearly identifies the matching Sonata generation, door position, and seal location.
- Local body or glass shop: Useful when the leak may involve door alignment, previous body repair, glass adjustment, or a window-channel component rather than a simple perimeter seal.
Before ordering, check the return policy. Weatherstripping can look nearly identical in photos while differing in length, cross-section, molded corners, clip positions, or seam location.
[Products Worth Considering]
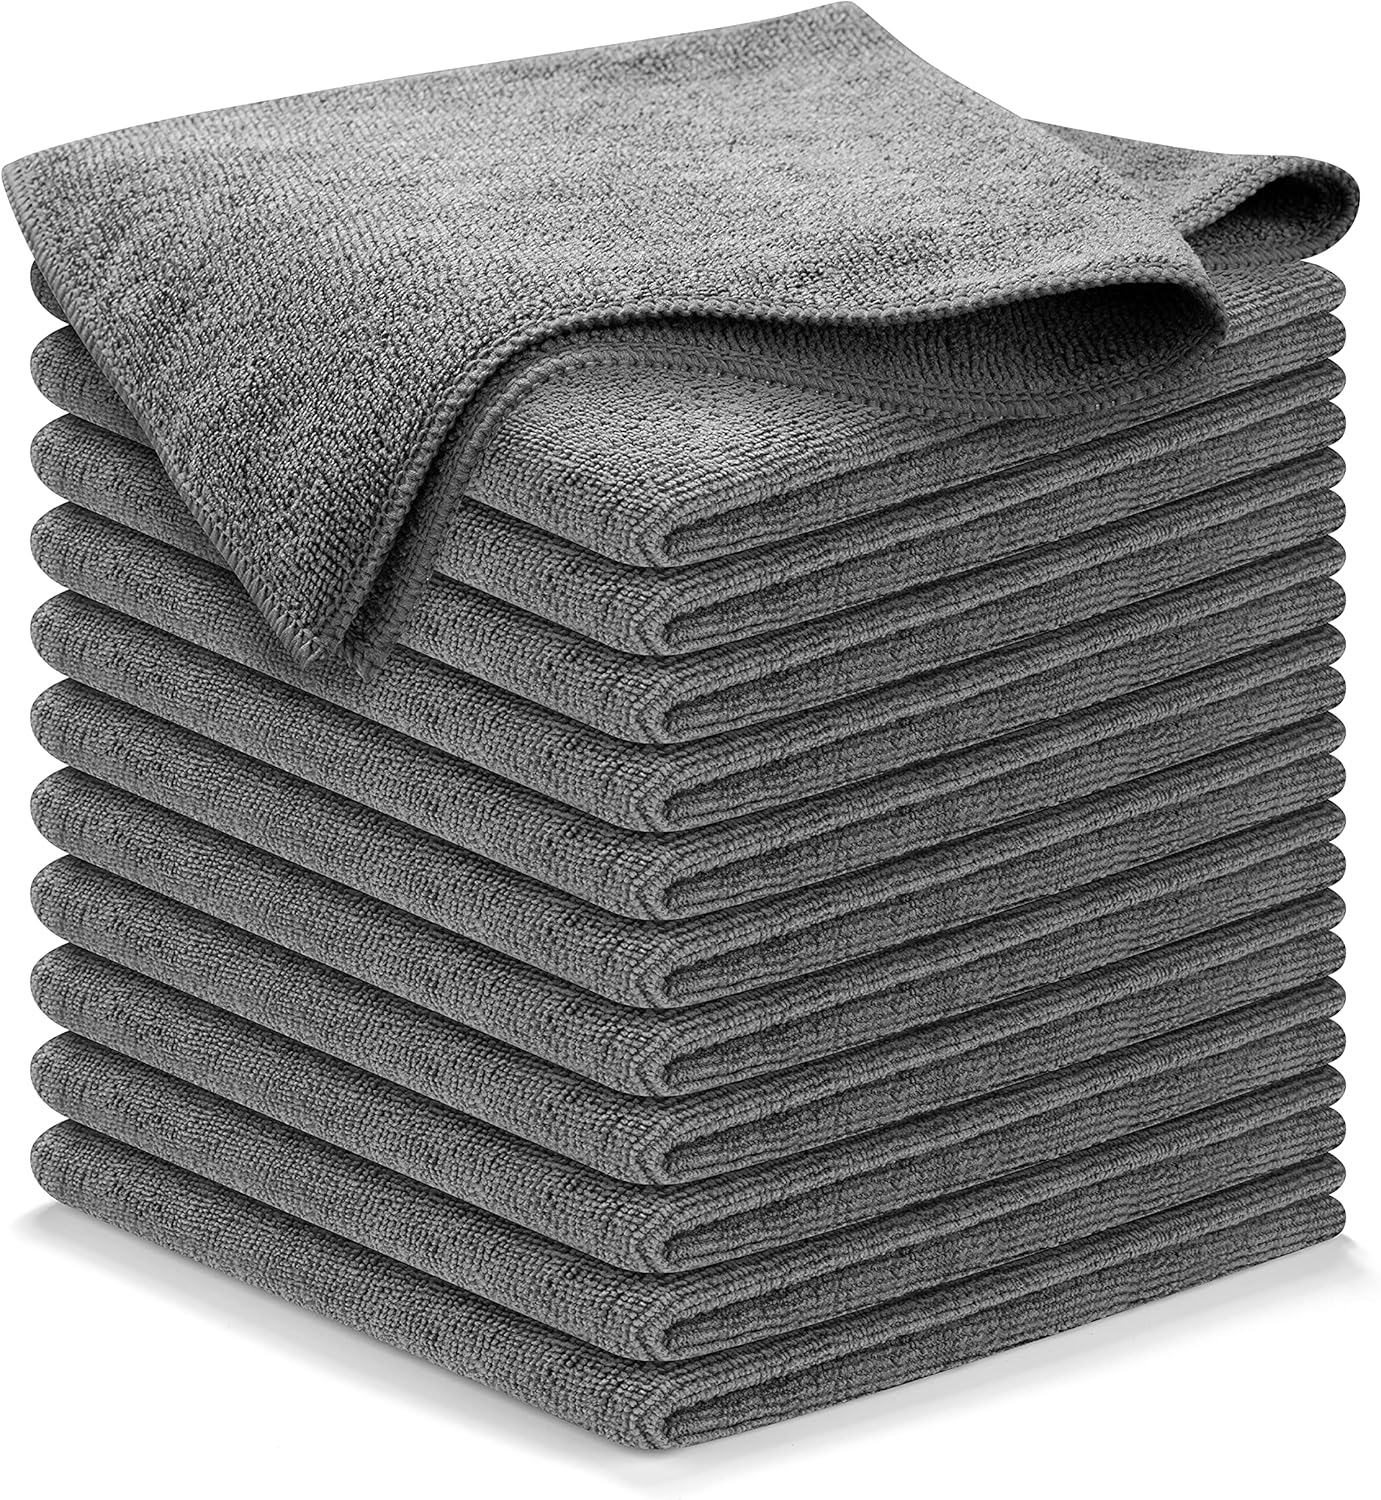
These high-performance microfiber cleaning cloths are designed to lift grime, liquid, dust, and dirt quickly while leaving a streak-free shine on glass, mirrors, and car surfaces. The thick, durable weave is built for repeated use, fast drying, and gentle cleaning that helps avoid linting, scratching, or swirling. Ideal for automotive detailing and all-purpose household cleaning, this reusable 12-pack delivers dependable absorbency and long-lasting value.
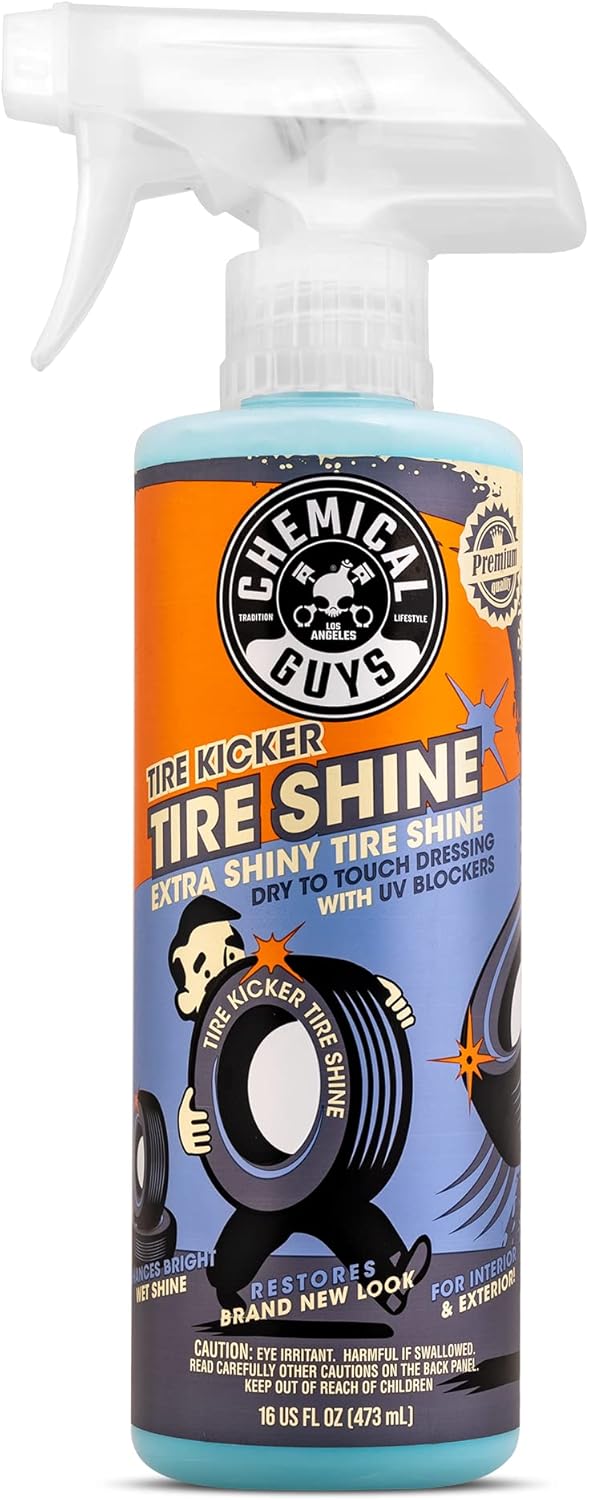
Chemical Guys Tire Kicker is a sprayable tire shine that restores a deep, wet-looking gloss to rubber, vinyl, and plastic surfaces while helping protect against fading, cracking, and discoloration. Its easy spray application leaves a dry-to-the-touch, streak-free finish on tires, trim, bumpers, and weatherstripping for a freshly detailed appearance that lasts between washes.

This pressure washer gun and foam cannon combo is designed for efficient vehicle and outdoor cleaning with strong spray control and quick-change convenience. It connects to compatible pressure washer hoses and includes multiple nozzle tips plus an adjustable snow foam lance for washing cars, motorcycles, driveways, siding, and more. Built for flexible detailing and deep cleaning, it helps create thick foam and targeted spray patterns for better results.
Top 5 Mistakes to Avoid in Weatherstripping Maintenance
Small mistakes can create repeat leaks or shorten the life of a Sonata door seal. Avoid these common problems:
| Mistake | Consequence | Better Move |
|---|---|---|
| Ignoring early damage | A small loose or damaged area can become a larger sealing problem | Inspect seals during regular door-jamb cleaning and after harsh weather |
| Using harsh cleaners | The rubber or surrounding finishes can be damaged | Use mild automotive soap or a rubber-safe cleaner |
| Overapplying protectant | Excess residue can transfer to nearby surfaces | Follow the label and remove excess as directed |
| Buying by photo only | Wrong seal, poor fit, and unnecessary returns | Verify model year, VIN, door position, and exact seal location |
| Replacing the wrong sealing component | The original wind noise or water leak remains | Pinpoint the leak before replacing the perimeter seal, belt weatherstrip, or glass-run component |
Troubleshooting After Cleaning or Replacement
If your Sonata still has wind noise or water leaks after cleaning or replacing weatherstripping, do not immediately replace another seal. Recheck the location of the leak and inspect the systems that determine how the door and glass meet the weatherstripping.
- Door alignment: A sagging, repaired, or misaligned door may not compress the seal evenly.
- Window run channel: Noise concentrated near the moving glass may come from the glass-run sealing area instead of the perimeter door seal.
- Belt weatherstrip: A problem along the lower edge of the side glass is a different component from the perimeter weatherstrip.
- Folded or stretched rubber: A newly installed seal can sit incorrectly around corners or attachment points.
- Drain paths: Water in the lower door area may involve blocked drainage rather than a failed perimeter seal.
- Previous body repair: A repaired door, hinge, frame, or opening may need alignment work before any weatherstrip can seal correctly.
- Wrong replacement part: A visually similar seal can still have the wrong profile, clips, molded corners, or length.
Frequently Asked Questions
How do you maintain car weather stripping?
Inspect it during regular cleaning and whenever you notice wind noise, leaks, sticking, or damage. Wash it gently, dry it fully, and use only a protectant labeled safe for automotive rubber or weather seals. Replace rubber that is torn, shrunken, permanently flattened, hardened, or no longer attached correctly.
How do you rejuvenate car weather stripping?
Clean the rubber first, then apply a rubber-seal protectant according to its label. A compatible product can condition an intact seal and improve its appearance or surface feel, but it cannot repair a tear, missing section, incorrect fit, or permanently crushed rubber.
Can I use silicone spray on Sonata door seals?
Use silicone only when the specific product label says it is compatible with the rubber or weather seal you are treating. Apply it according to the manufacturer’s directions, test a hidden area if instructed, and avoid assuming that every product sold as silicone spray has the same material compatibility.
Can I use petroleum jelly on Sonata door weatherstripping?
It is safer to avoid petroleum-based products unless Hyundai guidance or the product manufacturer clearly confirms compatibility with the specific seal material. A product specifically labeled for automotive rubber or weather seals is the more defensible choice.
How do I know which Sonata door seal is leaking?
Pinpoint the leak before buying parts. Test the suspected area with paper resistance, visual inspection, a gentle water stream, and a road-noise check. A leak around the door-opening perimeter points you toward the perimeter weatherstrip, while noise or moisture concentrated at the moving glass should also prompt inspection of the glass run and belt weatherstrip.
Why does my Sonata still have wind noise after replacing the seal?
The replacement may be twisted, stretched, incorrectly seated, or simply not the component causing the noise. Wind noise can also come from door alignment, the moving-window channel, a belt weatherstrip, mirror-area trim, glass alignment, or previous body damage.
Should I buy OEM or aftermarket Sonata weatherstripping?
OEM can make exact-fit matching easier, especially for molded corners, profiles, and clips. An aftermarket seal can also work when the supplier clearly confirms compatibility with your Sonata model year, door position, seal location, and preferably VIN.
How often should I clean Sonata door weatherstripping?
Clean it whenever visible dirt, salt, grit, or sticky buildup appears and include it in routine door-jamb care. Inspect it sooner if you notice new wind noise, water entry, sticking, or damage, especially after harsh winter or dusty-road use.
Conclusion
Keeping your Sonata door weatherstripping in good condition starts with diagnosing the right sealing area. Inspect and clean intact rubber, use only compatible protectants, and replace a seal when physical damage or poor fit prevents it from doing its job. If a healthy or newly replaced perimeter seal does not stop the noise or water, check the window sealing areas, door alignment, and drainage instead of repeatedly replacing weatherstripping. Confirm the exact part and model-year installation procedure before removing anything.
Sources
- Hyundai Manuals & Warranties — official Hyundai owner resources for model-year guidance.
- Hyundai Service Information — official U.S. Hyundai service-information portal providing access to shop manuals, troubleshooting manuals, and technical service information.
- Hyundai Dealer Locator — helps readers locate a dealer for VIN-based parts and service guidance.
- I-CAR Movable Glass Training — supports paper-resistance testing, visual inspection, gentle water-leak diagnosis, wind-noise diagnosis, and post-repair retesting.
- AZoM: EPDM Properties and Applications — supports the widespread use of EPDM in automotive weather-stripping and seals.
- 303 Rubber Seal Protectant — current manufacturer directions and rubber-seal application guidance.
- WD-40 Specialist Silicone — manufacturer compatibility guidance for most common rubbers and vinyl and small-area testing advice.
- 3M Black Super Weatherstrip Adhesive — manufacturer guidance for bonding rubber weatherstripping to metal when adhesive is required.



[…] stop Camry door seals from freezing, wash the rubber weatherstripping with mild car-wash soap, dry it completely, then wipe on a thin coat of rubber-safe silicone spray […]