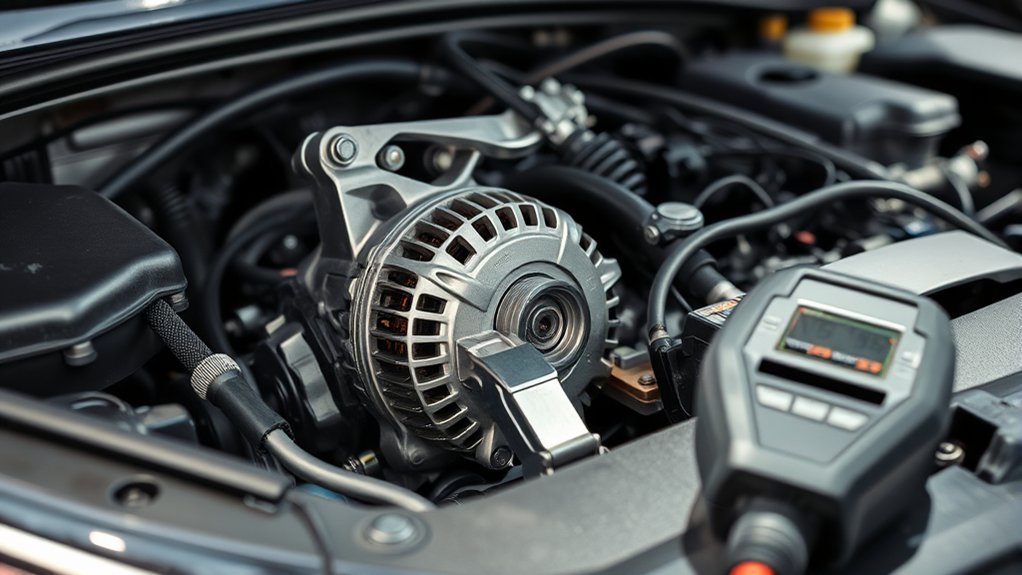
A charging system warning light in a Hyundai Sonata is not something to ignore. It usually means the battery is not being charged correctly, or the vehicle has detected a problem with the alternator, belt, wiring, battery, fuse, or related charging circuit. Start with simple checks, then move to voltage testing before replacing parts.
Quick Answer
To diagnose charging system issues in a Hyundai Sonata, check the warning light behavior, inspect the serpentine belt and battery terminals, test battery voltage with the engine off, then test charging voltage with the engine running. A typical healthy charging system often reads about 13.5–14.7 volts, but exact behavior can vary by model year and charging strategy.
Key Takeaways
- A charging system warning light can point to the alternator, electrical charging system, belt, battery, fuse, wiring, or poor connections.
- A resting 12-volt battery near 12.6 volts is usually well charged; below about 12.4 volts means it should be charged and tested.
- With the engine running, a conventional charging system commonly measures about 13.5–14.7 volts at the battery, though some modern systems vary output.
- Do not disconnect the battery cable while the engine is running; use a multimeter or scan tool instead.
- If the warning light stays on while driving, Hyundai recommends stopping safely, checking the alternator drive belt, and having the vehicle inspected if the issue remains.
At a Glance
| Time Required | 15–45 minutes for basic checks |
| Difficulty | Beginner to intermediate |
| Tools Needed | Digital multimeter, safety glasses, gloves, flashlight, basic hand tools, optional OBD2 scanner |
| Cost | Free if you already have tools; usually low cost for a basic multimeter or scan tool |
Understanding the Charging System Warning Light

The charging system warning light is your Sonata’s way of telling you the 12-volt electrical system may not be charging correctly. According to the Hyundai owner’s manual warning light guidance, this light can illuminate when there is a malfunction with the alternator or electrical charging system.
If the light comes on while driving, Hyundai advises driving carefully to the nearest safe location, stopping the vehicle, turning the engine off, and checking the alternator drive belt for looseness or breakage. If the belt is not the problem and the light remains on, the vehicle should be inspected by an authorized Hyundai dealer or a qualified repair shop.
Warning: A charging light can mean the battery is running the vehicle without being recharged. If the battery drains while driving, the car may stall and electrical systems may shut down. Avoid long drives until the cause is found.
Top Reasons for Charging System Warning Lights
Several problems can trigger the charging system warning light in a Hyundai Sonata. The most common causes include:
- Weak or failed alternator: The alternator charges the battery and powers the electrical system while the engine is running. Dim lights, slow cranking, a dead battery after driving, or low charging voltage can point to alternator trouble.
- Loose, worn, or broken serpentine belt: On gas-powered Sonata models, the alternator is belt driven. If the belt slips or breaks, the alternator cannot charge properly.
- Weak or discharged battery: Most car batteries wear down over time. AAA notes that battery deterioration commonly takes about three to five years, depending on heat, vibration, driving habits, and use pattern.
- Corroded or loose battery terminals: Corrosion increases resistance and can prevent current from flowing cleanly between the battery, cables, alternator, and starter.
- Damaged wiring, poor grounds, or blown fusible links: A charging system can test badly even when the alternator itself is good if the power or ground path is damaged.
- Control module or sensor issue: Some Sonatas use computer-controlled charging logic. A scan tool may be needed when voltage readings do not tell the whole story.
A new battery will not fix a charging problem if the alternator, belt, cable, fuse, or ground connection is the real cause.
Symptoms of a Bad Charging System
Before reaching for tools, pay attention to the symptoms. These clues help you decide where to test first:
- Battery light or charging system warning light: The vehicle has detected a charging fault or related electrical problem.
- Dim or flickering headlights: Voltage may be dropping under load.
- Slow engine crank: The battery may be weak, discharged, or not being recharged after driving.
- Clicking sound when starting: Often points to low battery voltage or poor cable connections.
- Burning rubber smell or squealing noise: The serpentine belt may be slipping, misaligned, or damaged.
- Multiple warning lights: Low system voltage can cause unrelated warning lights to appear because control modules are not receiving stable power.
Tools and Safety Before Testing
You can do a basic charging system check at home, but work carefully. You will be working around a battery, belts, pulleys, and electrical circuits.
- Digital multimeter: Needed for battery and charging voltage checks.
- Safety glasses and gloves: Batteries can leak acid, spark, or vent gas.
- Flashlight: Useful for inspecting belts, wiring, and corrosion.
- OBD2 scanner: Helpful for retrieving diagnostic trouble codes and live voltage data.
- Battery terminal brush or cleaner: Useful if the terminals are corroded.
Warning: Never remove a battery cable while the engine is running to “test” the alternator. That old shortcut can create voltage spikes and damage modern vehicle electronics.
[Products Worth Considering]
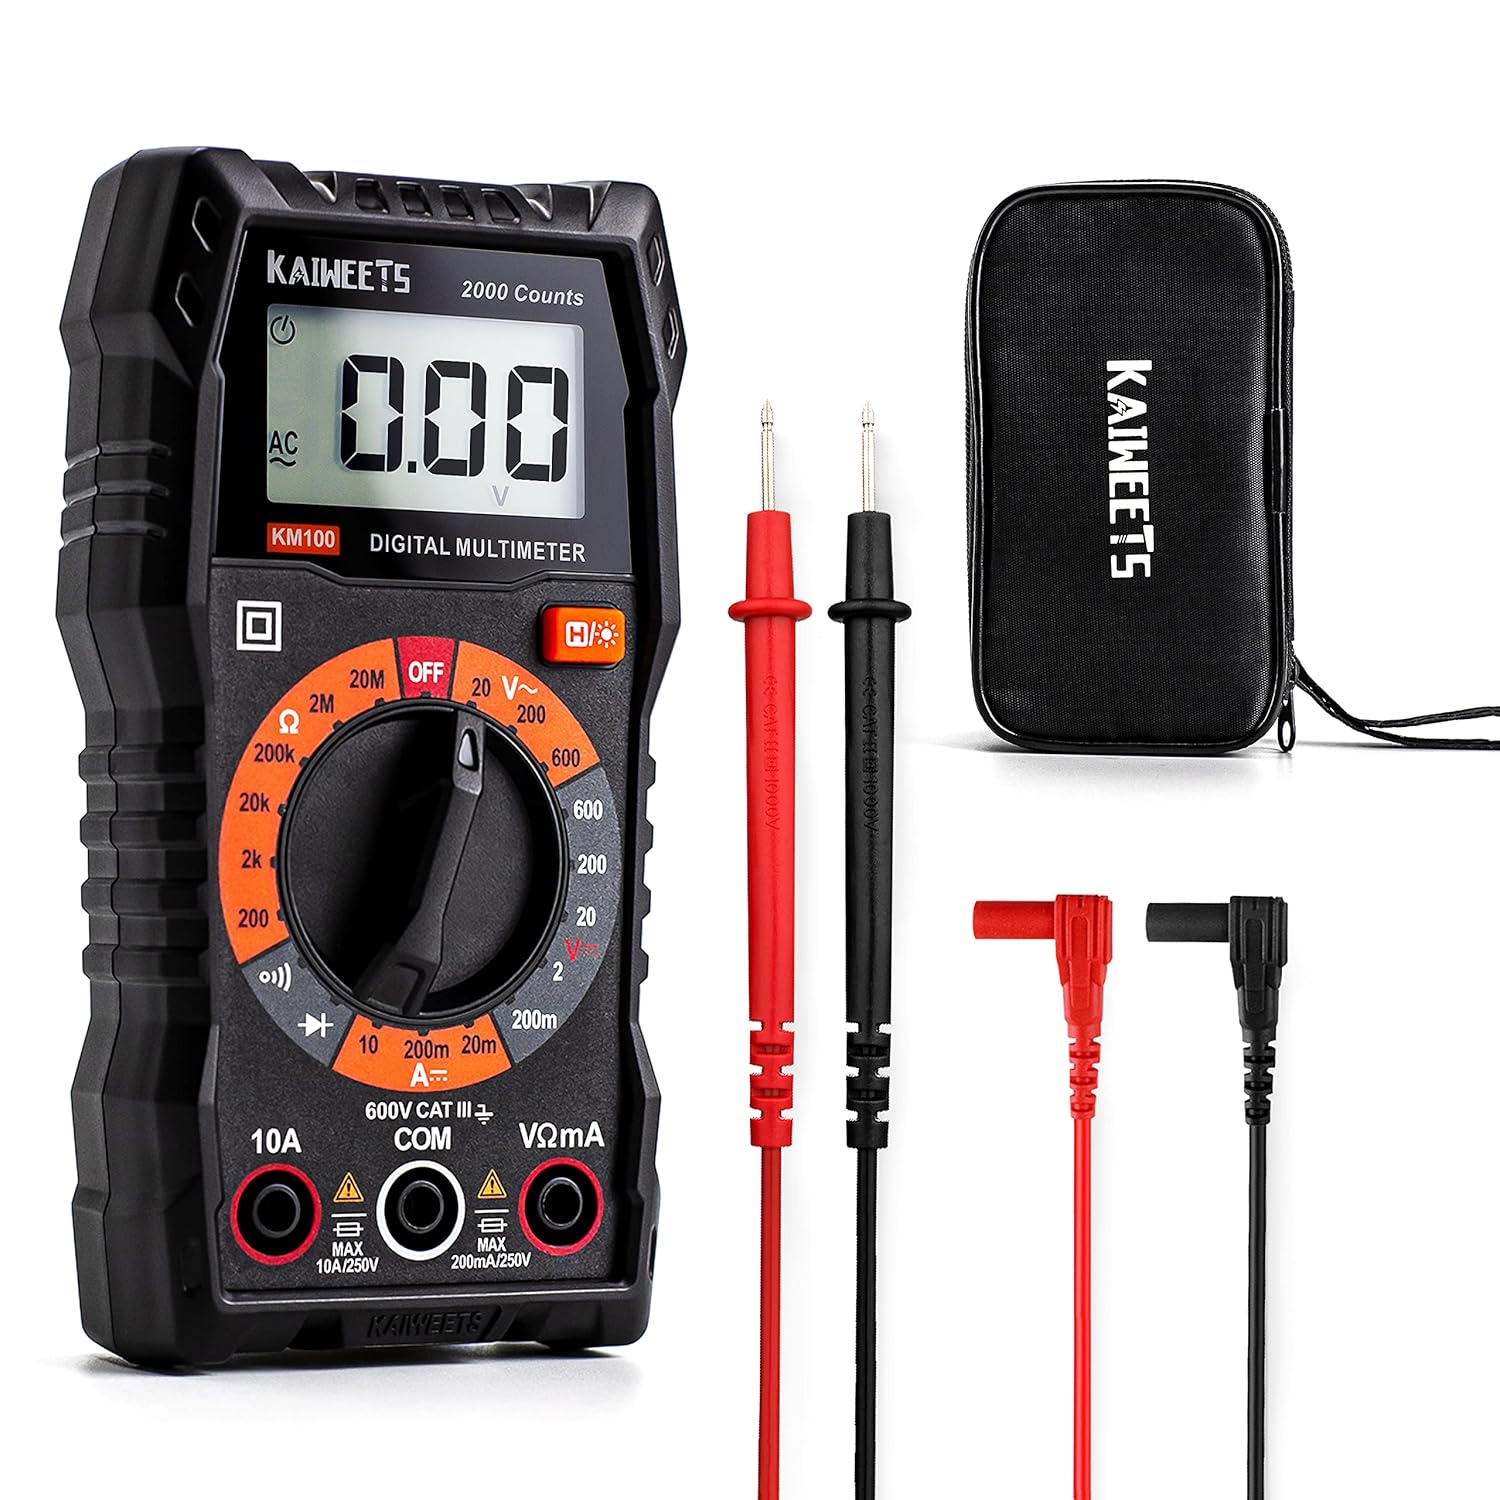
This KAIWEETS digital multimeter is a versatile tool for measuring AC/DC voltage, DC current, resistance, continuity, and diodes in home, automotive, and electrical applications. It includes pre-installed batteries, a carrying case, test leads, data hold, backlight, and overload protection for easier and safer everyday testing. Built with double fuses and rated for broad household and light professional use, it helps users diagnose electrical issues with confidence.

The ANCEL AD410 PRO combines engine diagnostics and 12V battery testing in one easy-to-use tool, helping you read and clear check engine codes while checking battery health, cranking, and charging performance. It also provides live data, freeze frame details, and I/M readiness checks to help you diagnose issues faster and prepare for emissions testing. With plug-and-play operation, a clear screen, and broad vehicle compatibility, it is a practical solution for home mechanics and everyday drivers.

This automotive circuit tester checks low-voltage DC systems from 3-65V, making it useful for diagnosing headlights, taillights, fuses, sockets, and other vehicle wiring issues. The digital backlit display provides clear voltage readings with fine accuracy, while the bidirectional polarity indicator helps you test from either ground or positive. Built with a durable probe, insulated tip, and extra-long spring wire, it is designed for dependable everyday use in automotive and household electrical work.
How to Check Your Alternator’s Voltage Output
Testing alternator output with a multimeter is one of the fastest ways to confirm whether your Sonata is charging. This test is most useful after the battery terminals are clean and tight.
[Products Worth Considering]

This premium leather seat gap filler helps stop dropped items from disappearing between your seat and console while adding convenient storage to your cabin. Its universal fit is designed for most sedans, SUVs, and trucks, and the slim profile helps preserve legroom while keeping essentials close at hand. Built-in card slots and cable management make it a practical upgrade for everyday driving.
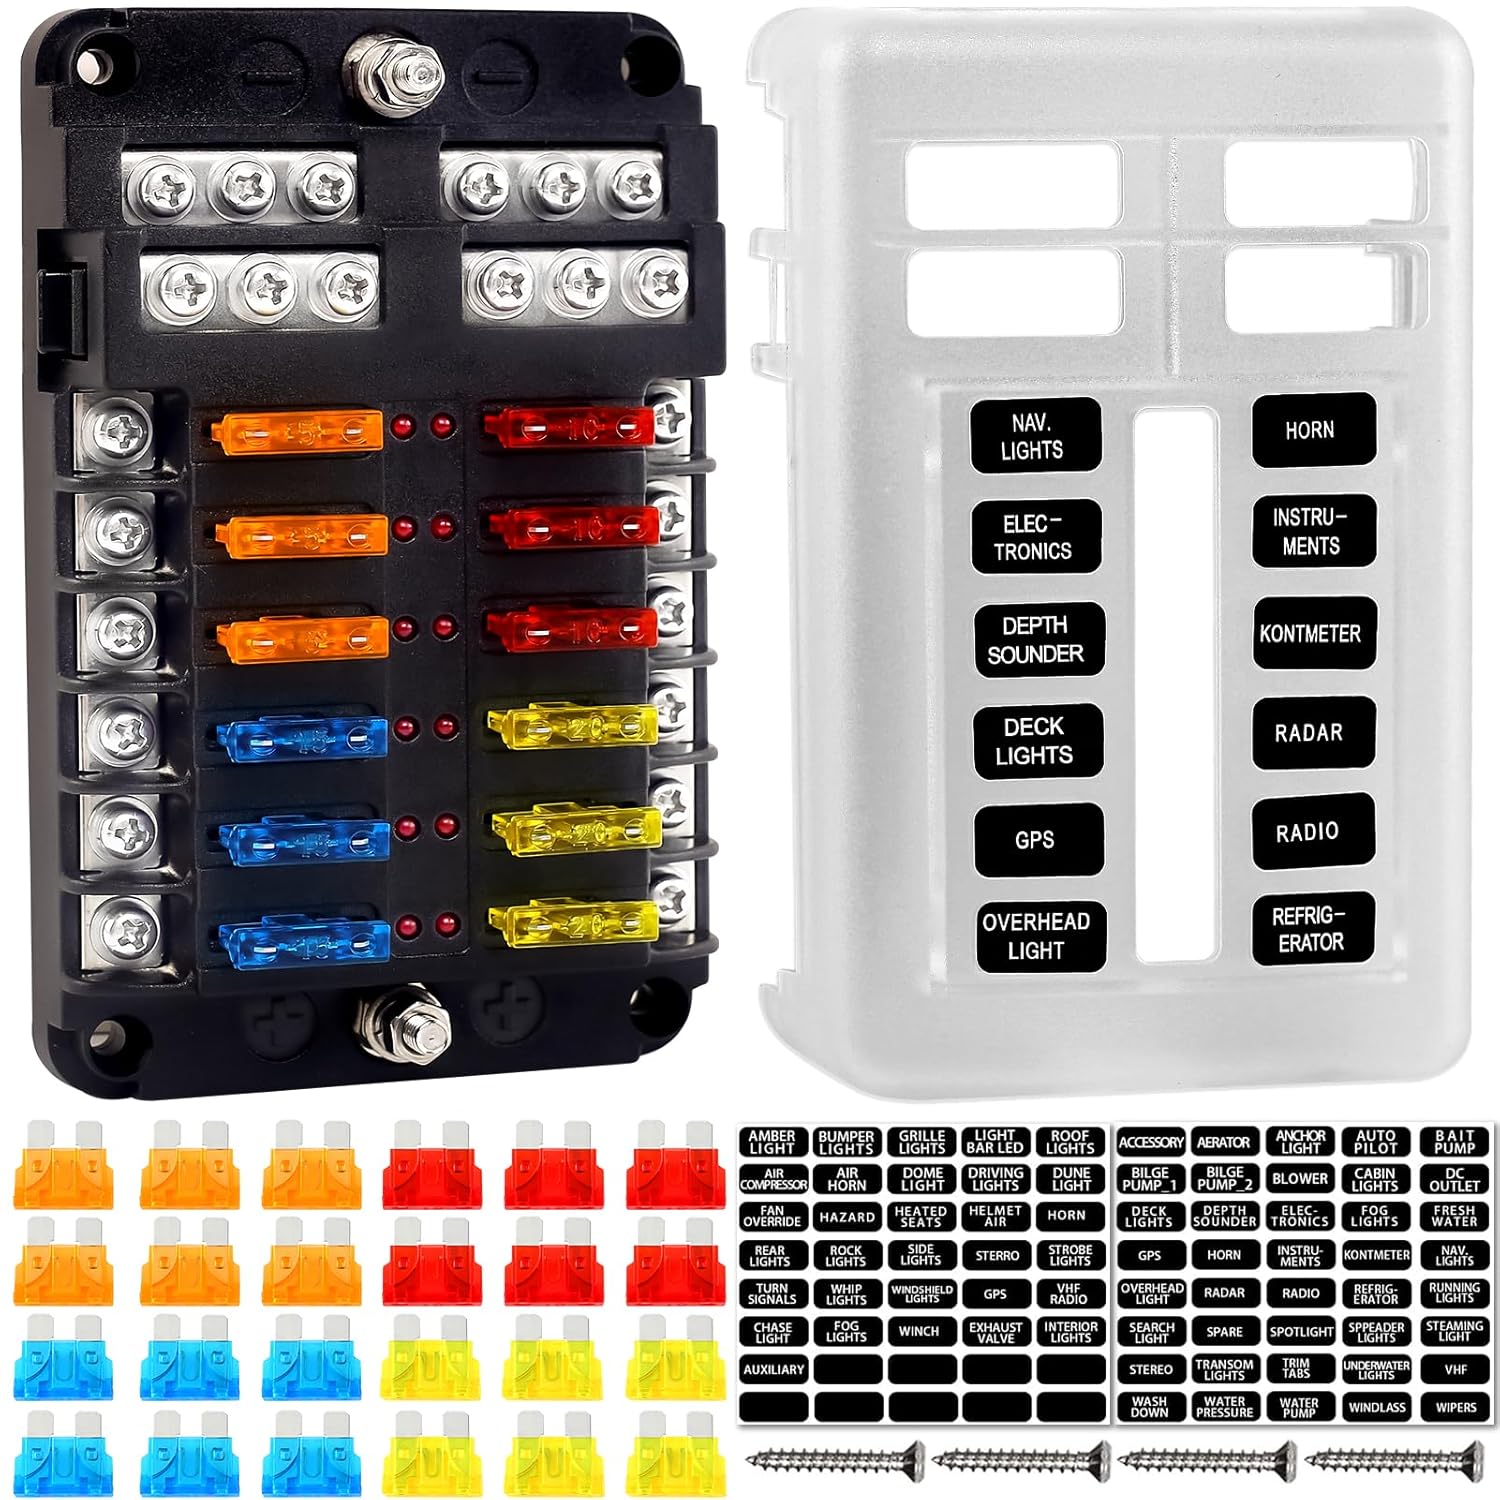
This 12-circuit fuse block provides organized, independent protection for vehicle and marine electrical systems, helping keep wiring neat and easier to maintain. Built with flame-retardant materials, nickel-plated copper components, and a protective cover, it offers reliable conductivity, corrosion resistance, and splash protection. LED indicators quickly identify blown fuses, while the included labels and extra blade inserts simplify installation and future service.
Tools Needed for Testing
- Digital multimeter: Set it to DC volts.
- Safety gloves and eye protection: Wear them before working near the battery.
- Basic hand tools: Use only if you need to tighten a loose terminal or ground connection.
Step-by-Step Charging Voltage Test
- Park on a level surface, set the parking brake, and turn off all accessories.
- Open the hood and inspect the battery terminals. Clean heavy corrosion before testing.
- Set your multimeter to DC volts.
- Touch the red meter lead to the battery’s positive terminal and the black lead to the negative terminal.
- With the engine off, record the battery voltage.
- Start the engine and let it idle. Record the voltage again.
- Turn on headlights, rear defroster, and the blower motor. Watch whether voltage drops sharply or remains stable.
Interpreting Voltage Readings
Use these readings as a guide for a typical 12-volt Sonata charging system. Exact specifications can vary by model year, engine, battery condition, temperature, and charging strategy, so always compare your results with the service information for your vehicle.
| Test Condition | Typical Reading | What It May Mean |
|---|---|---|
| Engine off, battery rested | About 12.6 volts when well charged | Battery is likely charged enough for testing |
| Engine off | Below about 12.4 volts | Battery is undercharged; charge and retest before condemning parts |
| Engine running | About 13.5–14.7 volts on many conventional systems | Charging system is likely operating |
| Engine running | Near or below battery voltage | Alternator, belt, fuse, wiring, or control issue may be present |
| Engine running | Consistently above about 15 volts | Possible overcharging; stop testing and have the system inspected |
Note: Some newer vehicles use smart charging, so voltage may not stay fixed at one number. Look for the full pattern: warning light status, battery condition, load response, scan data, and voltage drop results.
How to Diagnose Battery Problems in Your Charging System
A weak battery can imitate a bad alternator. Test the battery before replacing the alternator, especially if the car has been sitting, the battery is older, or the terminals are corroded.
- Check battery age: If the battery is around three to five years old, it is more likely to fail under heat, cold, or high electrical demand.
- Measure resting voltage: A rested battery near 12.6 volts is usually well charged. Below about 12.4 volts means it should be charged and tested.
- Inspect terminals: Look for white, blue, or green corrosion, loose clamps, damaged cables, or swollen battery casing.
- Perform a load test: A voltage check only shows state of charge. A load test shows whether the battery can deliver current under starting demand.
- Charge before retesting: If the battery is low, charge it fully first. Hyundai’s owner guidance notes that discharged batteries may need slow charging or higher-rate charging depending on how they became discharged.
Pro Tip: Many auto parts stores and repair shops can test the battery and charging system under load. This is more reliable than replacing parts from voltage readings alone.
Identifying Wiring Issues Affecting Your Charging System
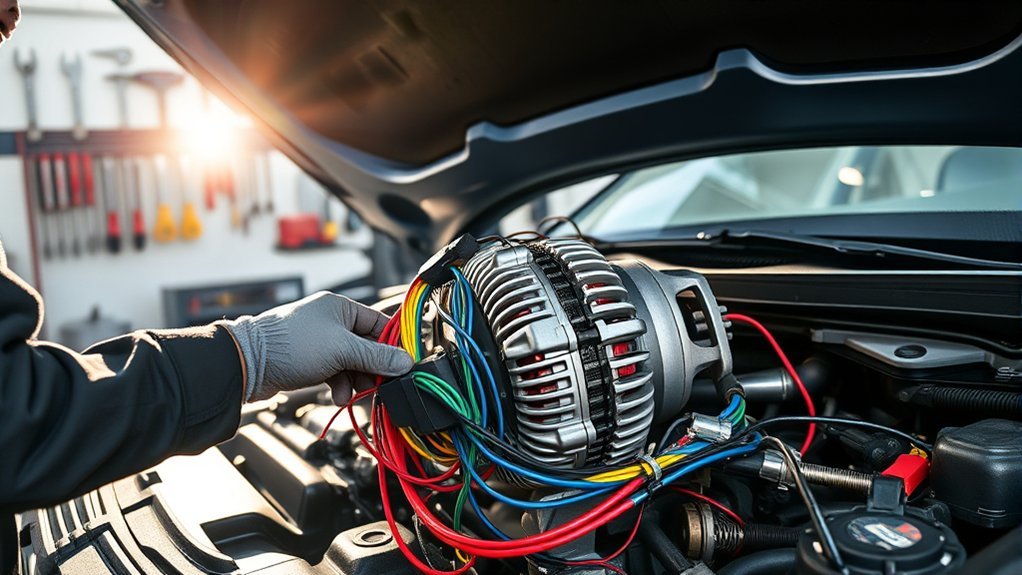
Wiring problems can make a good alternator look bad. Inspect the wiring harness connected to the alternator, battery, fuse box, and engine grounds. Look for frayed insulation, melted connectors, loose terminals, corrosion, or previous repair work.
Pay close attention to these areas:
- Battery cable ends: Loose or corroded terminals can reduce charging current.
- Engine and chassis grounds: A poor ground can cause erratic voltage and strange warning lights.
- Alternator connector: A loose plug or damaged control wire may stop proper charging.
- Main charging cable: Corrosion or damage can create voltage drop between the alternator and battery.
- Fusible links and high-amperage fuses: If the circuit is open, the alternator may produce power that never reaches the battery.
Simple Voltage Drop Test
A voltage drop test checks whether too much voltage is being lost through a cable or connection.
- Start the engine and turn on headlights and the blower motor.
- Place one meter lead on the alternator output stud and the other on the battery positive post. A high reading may indicate resistance on the positive side.
- Place one meter lead on the alternator case and the other on the battery negative post. A high reading may indicate a poor ground path.
- If either side shows excessive drop, inspect and clean the cable ends, grounds, fuses, and connections.
Because acceptable voltage drop limits can vary by circuit and test condition, use this test as a clue, not a final verdict. A professional technician can confirm the exact fault with a charging system analyzer and wiring diagram.
How to Check Your Serpentine Belt for Wear
The serpentine belt drives the alternator on many gas-powered Hyundai Sonata models. If the belt slips, the alternator may not spin fast enough to charge the battery.
Check the belt with the engine off:
- Look for cracks: Small cracks across the ribs can indicate age and wear.
- Check for fraying: Frayed belt edges may mean misalignment or pulley damage.
- Look for glazing: A shiny, slick belt surface can slip under load.
- Listen for squealing: Noise at startup or when accessories are on may point to belt slip.
- Check tensioner movement: A weak tensioner can let the belt slip even if the belt looks acceptable.
Do not put your hands near the belt with the engine running. If the belt is broken, badly cracked, soaked with oil, or slipping, replace it before continuing alternator diagnosis.
How to Use a Code Scanner for Diagnostics
An OBD2 scanner can help when the charging system warning light is paired with check engine lights, communication codes, sensor codes, or low-voltage codes. Federal OBD rules require systems to store diagnostic trouble codes for detected malfunctions, and a scanner is the easiest way to retrieve them.
- Locate the OBD2 port under the driver-side dashboard area.
- Plug in the scanner with the ignition on or the engine running, depending on the scanner instructions.
- Read stored, pending, and history codes.
- Look for low-voltage, charging, alternator control, battery sensor, or communication codes.
- View live data if your scanner supports it. Battery voltage, module voltage, and commanded charging data can help identify the fault.
- Record all codes before clearing anything.
A code does not automatically identify the failed part. For example, a low-voltage code may be caused by a weak battery, loose cable, bad alternator, blown fuse, or poor ground.
[Products Worth Considering]

Turn your iPhone, Android device, or Windows PC into a professional grade diagnostic scan tool.
Resetting Warning Lights After Repairs

After you repair the cause of the charging issue, the warning light may turn off on its own after the vehicle sees normal voltage again. In other cases, you may need to clear stored diagnostic trouble codes with an OBD2 scanner.
Understanding Diagnostic Trouble Codes
Diagnostic trouble codes are starting points. They can tell you which system noticed the fault, but they do not replace physical testing. Always confirm the battery, alternator output, belt, wiring, fuses, and grounds before replacing expensive components.
Using an OBD2 Scanner
- Connect the scanner to the OBD2 port.
- Read and save the codes first.
- Repair the charging system problem.
- Clear codes only after repairs are complete.
- Restart the vehicle and verify that the charging light stays off.
- Retest voltage with accessories on.
If the warning light returns after clearing codes, the underlying fault has not been fixed.
When to Seek Professional Help for Charging System Issues
Seek professional help if the charging system warning light remains on after basic checks, if the vehicle stalls, if voltage is extremely high or low, or if you find damaged wiring. You should also stop DIY testing and call a mechanic if you smell burning, see smoke, hear belt squealing that does not stop, or notice the battery case swelling.
Professional diagnosis is also smart when:
- The battery repeatedly dies after being charged.
- The alternator tests good off the car but the vehicle still does not charge.
- Multiple dashboard warning lights appear at the same time.
- The vehicle is a Sonata Hybrid or has a more complex charging setup.
- You do not have access to a wiring diagram, scan data, or a load tester.
Preventive Measures for Maintaining Your Charging System
Preventive maintenance reduces the chance of being stranded by a dead battery or charging fault. A few simple inspections can catch problems early.
Regular Battery Checks
Check your battery at least twice a year, especially before summer heat and winter cold. Confirm that the battery is secure, the terminals are clean, and the case is not cracked or swollen. If the battery is older or slow to crank, have it load-tested.
Inspect Wiring Connections
Inspect the positive and negative battery cables, alternator connector, main grounds, and fuse box connections. Clean corrosion carefully and tighten loose terminals. If corrosion returns quickly, have the battery and charging voltage checked because overcharging or battery leakage may be contributing to the problem.
Replace Worn Components
Replace worn belts, weak tensioners, damaged cables, cracked battery terminals, and failing batteries before they cause a breakdown. Do not wait for a warning light if the belt is visibly damaged or the battery fails a load test.
Hyundai Sonata Charging System Diagnosis Checklist
Use this order to avoid replacing good parts:
- Confirm the charging system warning light is on while the engine is running.
- Stop safely if the light appears while driving.
- Inspect the serpentine belt for looseness, breakage, glazing, or squealing.
- Check battery terminals for corrosion or looseness.
- Measure resting battery voltage.
- Charge and load-test the battery if it is low.
- Measure charging voltage with the engine running.
- Turn on electrical loads and watch for a major voltage drop.
- Inspect alternator wiring, grounds, fusible links, and high-amperage fuses.
- Scan for diagnostic trouble codes and live voltage data.
- Repair the confirmed fault, clear codes if needed, and retest.
Frequently Asked Questions
How do you diagnose a charging system problem in a Hyundai Sonata?
Start with the warning light, belt, battery terminals, and battery voltage. Then test charging voltage at the battery with the engine running. If voltage is low, inspect the alternator, belt, fuses, wiring, and grounds. Use an OBD2 scanner to check for low-voltage or charging-related trouble codes.
What are the four tests done to check a charging system?
The four most useful tests are a resting battery voltage test, a battery load test, a charging voltage test with the engine running, and a voltage drop test across the positive and ground sides of the charging circuit. Together, these tests help separate a weak battery from an alternator, wiring, belt, or connection problem.
Can I drive my Hyundai Sonata with the charging system warning light on?
Only drive as far as needed to reach a safe place. If the charging system is not working, the battery may drain while driving and the vehicle can stall. Hyundai recommends stopping safely, checking the alternator drive belt, and having the vehicle inspected if the light remains on.
Does a new battery fix a charging system warning light?
Not always. A new battery may fix the issue if the old battery was failing, but it will not solve a bad alternator, loose belt, corroded cable, blown fuse, poor ground, or charging control problem. Test the system before replacing parts.
What voltage should a Hyundai Sonata battery show?
A healthy, rested 12-volt battery is commonly near 12.6 volts when fully charged. If it reads below about 12.4 volts, charge and test it before diagnosing the alternator. With the engine running, many conventional systems read about 13.5–14.7 volts, but smart charging systems can vary.
Conclusion
Diagnosing charging system issues in a Hyundai Sonata is mostly about following the right order. Check the warning light, belt, battery, terminals, charging voltage, wiring, fuses, and diagnostic codes before replacing parts. The fastest repair is not always the best repair; accurate testing prevents wasted money and helps keep your Sonata reliable.
Sources
- Hyundai Owner’s Manual — Warning and Indicator Lights — charging system warning light meaning and driver response
- Hyundai Owner’s Manual — Battery Recharging — battery discharge and recharge guidance
- AAA — How Long Do Car Batteries Last? — battery lifespan factors and common three-to-five-year wear period
- Battery Council International — Battery Technical Manual — lead-acid battery safety and testing reference
- eCFR — Onboard Diagnostics Requirements — diagnostic trouble code storage and OBD system requirements
- Hyundai USA — Manuals & Warranties — official Hyundai manual lookup by vehicle