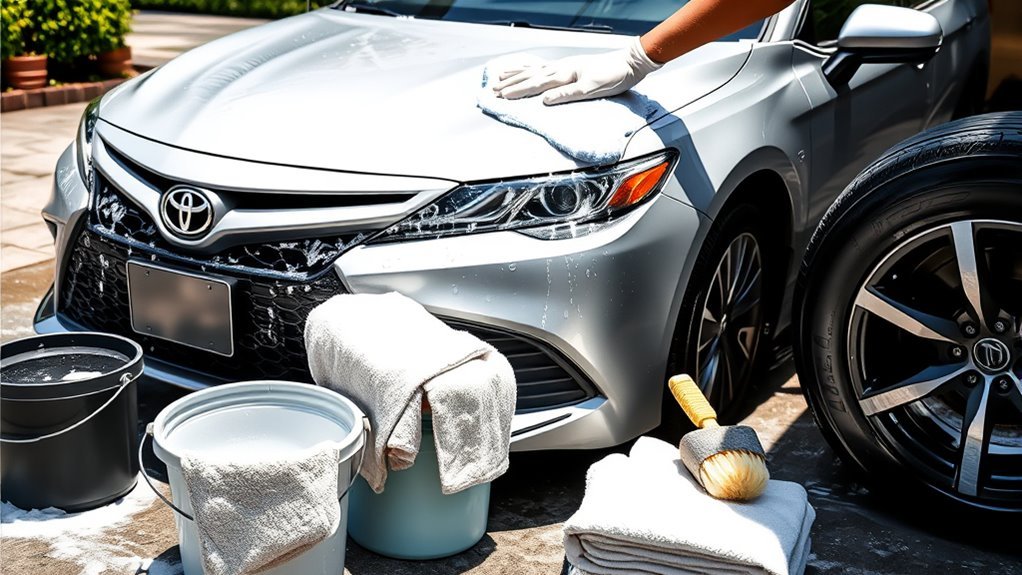
Washing a Toyota Camry without scratching it comes down to one rule: never drag grit across the paint. Work on cool panels in shade, rinse first, use a lubricating car shampoo, separate dirty areas from clean paint, and dry with soft microfiber before minerals can spot the finish.
Quick Answer
To wash a Camry without scratching it, rinse from top to bottom, foam or pre-soak dirty areas, wash with a microfiber mitt using the two-bucket method, keep wheel and lower-panel tools separate, and dry with clean plush microfiber towels or gentle air.
Key Takeaways
- Always rinse loose dirt away before touching the paint.
- Use car wash soap, not dish soap or harsh household cleaners.
- Use one bucket for soap and one for rinsing your mitt, with grit guards if possible.
- Use separate mitts or towels for wheels, lower panels, and cleaner upper panels.
- Dry gently with clean microfiber towels or air to prevent swirls and water spots.
At a Glance
| Time Required | 45–75 minutes |
| Difficulty | Easy |
| Tools Needed | Two buckets, grit guards, microfiber mitts, car wash soap, wheel tools, drying towels, hose or pressure washer |
| Cost | About $25–$100 for reusable supplies |
Quick Checklist: Wash Your Camry Without Scratching
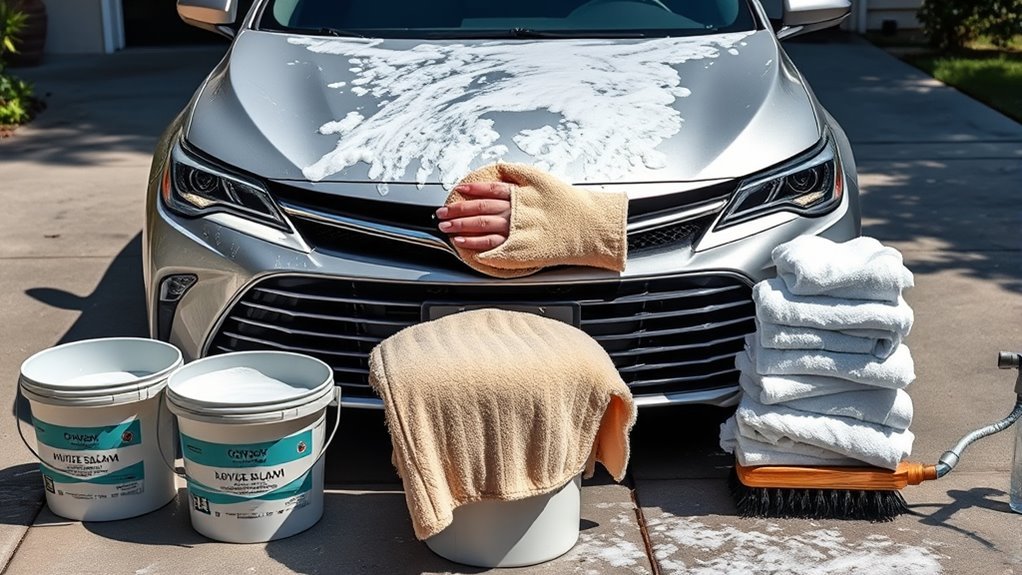
Start by parking your Camry in a shaded area where the paint is cool to the touch. Hot paint dries soap too quickly and leaves streaks or water spots. Gather two buckets with grit guards, clean water, pH-balanced car shampoo, microfiber wash mitts, wheel brushes, and plush drying towels.
The scratch-safe order is simple: wheels first with separate tools, full rinse, pre-soak bug or tar spots, hand wash from the roof down, rinse often, inspect the paint, and dry with clean microfiber. Toyota’s owner guidance for the Camry recommends working from top to bottom, using car wash soap for hard-to-remove marks, rinsing thoroughly, wiping away water, and waxing when water no longer beads on clean paint. Toyota Camry exterior care guidance
Warning: Never wipe dusty paint with a dry towel. Dry dust acts like sandpaper and can create fine swirl marks even when the towel feels soft.
Prep Your Camry, Workspace, and Water Source
Good prep prevents most wash damage before soap ever touches the car. Choose shade, make room to walk around the vehicle, and keep towels off the ground. If a towel or mitt falls, set it aside until it is washed.
Gather Tools And Supplies
Use a compact kit of paint-safe tools. You do not need professional detailing equipment, but you do need soft materials and a clean workflow.
- Two buckets: one for shampoo, one for rinsing.
- Grit guards for both buckets to help keep dirt below the mitt.
- Microfiber wash mitts for paint.
- Separate wheel brush, tire brush, and wheel towels.
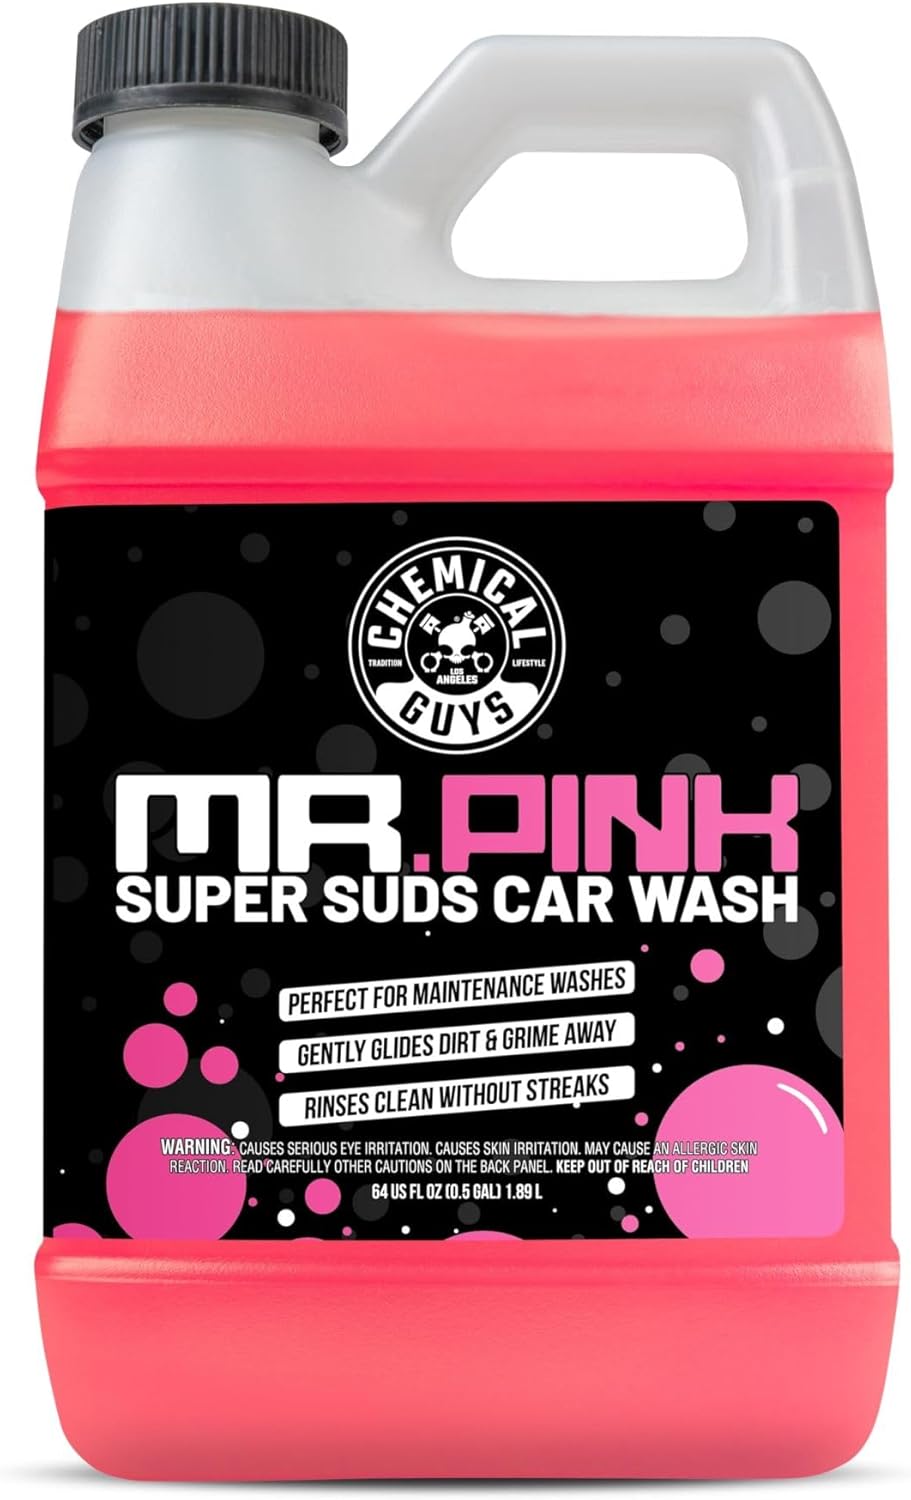
- pH-balanced car shampoo made for automotive finishes.
- Bug remover, tar remover, or iron remover only when needed.
- Plush microfiber drying towels or a clean blower.
- Detail spray or drying aid for extra lubrication during drying.
Choose A Shaded Spot
Move the Camry into consistent shade before you begin. Shade keeps the panels cooler, slows soap drying, and gives you more working time. Avoid washing under trees that drip sap, pollen, or bird droppings. A garage apron, shaded driveway, or self-serve wash bay is better than direct sun.
Ensure Clean Water Source
Run the hose for a few seconds before spraying the car so any grit in the nozzle or hose clears out. Clean tap water is fine for most washes, but filtered or deionized water helps reduce water spotting in hard-water areas. If you wash at home, keep runoff away from storm drains when possible. The U.S. EPA notes that outdoor vehicle washing can send detergent, metals, hydrocarbons, and other pollutants into storm drains and local waterways. EPA stormwater vehicle washing guidance
Note: A commercial car wash can be a better environmental choice when runoff control is difficult, because many facilities recycle water or route wastewater for treatment.
Tools & Products You Actually Need
The three essentials are microfiber, proper car shampoo, and clean rinse water. A foam cannon is useful, but it is optional. Foam helps loosen grime and adds lubrication before contact, but it does not replace a careful hand wash when the car has bonded road film.
Use separate tools for different contamination levels. Wheels, tires, and lower rocker panels carry brake dust, road grit, and oily film. Keep those tools away from the hood, roof, doors, and trunk lid.
| Tool | Why It Helps | Scratch-Safe Tip |
|---|---|---|
| Microfiber mitt | Lifts dirt away from paint | Rinse after each panel |
| Two buckets | Separates dirty rinse water from soap | Use grit guards if available |
| Car shampoo | Adds lubrication and safe cleaning power | Measure per label directions |
| Wheel tools | Handle brake dust and tire grime | Never reuse on paint |
| Drying towel | Removes water before spots form | Use light pressure only |
[Products Worth Considering]

The AOBEN 6-inch dual action polisher is designed to help achieve a smooth, swirl-free finish for car detailing, waxing, polishing, and light sanding. With six variable speed settings and an ergonomic detachable handle, it offers better control, reduced fatigue, and versatile performance for automotive and other surface care tasks. The kit includes multiple foam pads and a wool pad to support different detailing stages and surface types.

This all-in-one car detailing kit brings together a wide range of cleaning tools for interior, exterior, wheel, and glass care. It includes brushes, polishing pads, a vacuum, a foam gun, a collapsible bucket, and other useful accessories to help tackle dust, dirt, stains, and hard-to-reach areas with ease. Designed for versatile vehicle cleaning, it also comes with a storage bag for convenient organization at home or on the go.

These HOMEXCEL microfiber cleaning cloths deliver excellent absorbency and gentle, scratch-free cleaning for cars, homes, and glass surfaces. The soft, lint-free towels help remove dirt, water, and streaks quickly for a polished finish, and they are machine washable for repeated everyday use.
Wash Wheels and Tires First
Wheels should be cleaned before the painted body because they are usually the dirtiest part of the car. Rinse each wheel, apply a wheel-safe cleaner if needed, agitate with dedicated brushes, and rinse thoroughly. Do not use wheel brushes, tire towels, or brake-dust-contaminated buckets on the paint.
Work one wheel at a time so cleaner does not dry on the surface. If your Camry has gloss black, chrome, machined, or coated wheels, follow the cleaner label carefully and avoid acidic products unless they are specifically safe for that finish.
Why and How to Rinse First
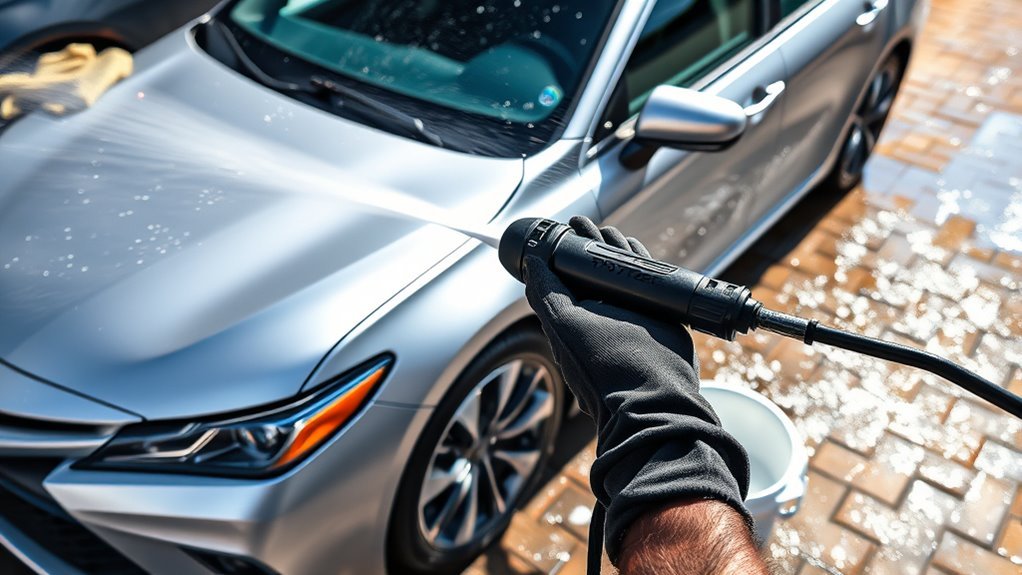
Loose grit can scratch the clear coat when you scrub, so rinse before any contact. Start at the roof, then rinse the glass, hood, trunk, doors, bumpers, lower panels, wheel wells, and rocker panels. Let water carry dirt down and away from the cleaner areas.
If you use a pressure washer, choose a wide fan spray, low to medium pressure, and keep distance from the paint. Kärcher’s car-washing guidance recommends a low-to-medium setting for vehicle rinsing and keeping the nozzle about 8–12 inches from the vehicle surface. Kärcher car washing pressure washer guidance
Be extra careful around cameras, parking sensors, emblems, mirrors, weather seals, and the radar area behind the front emblem on newer Camry models. Toyota warns not to spray high-pressure water directly at camera or radar areas because the shock from high-pressure water may affect operation.
Warning: Do not use a narrow jet nozzle on paint. A concentrated stream can damage trim, lift weak paint, force water into seals, or harm sensors.
Safe Removal: Bugs, Tar, Oil, Sap, and Road Film
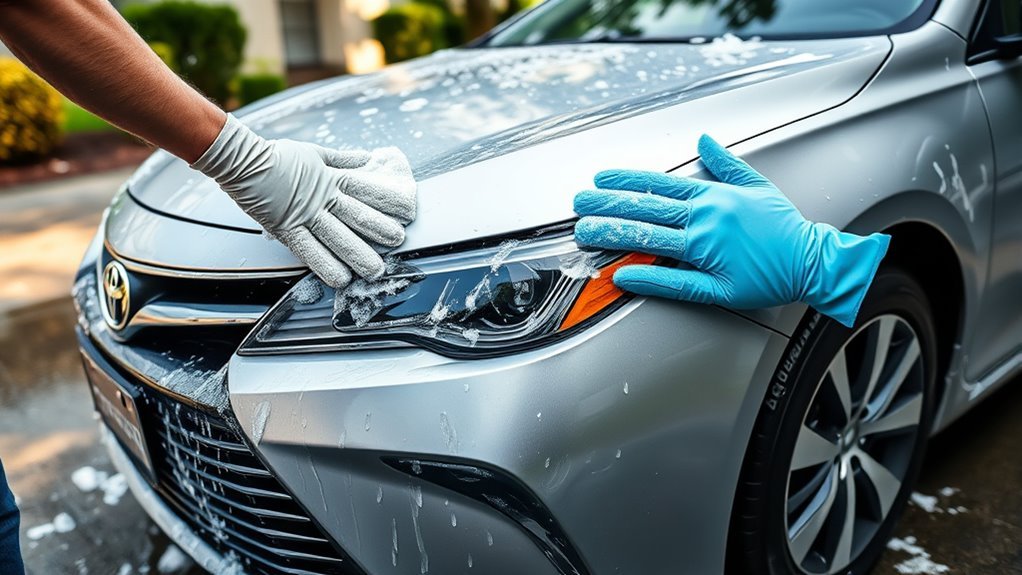
Bug splatter, tar, sap, oil, and heavy road film need targeted treatment before the main wash. If you scrub them during the normal wash, you may grind contaminants into the clear coat.
| Contaminant | Safe Action | Avoid |
|---|---|---|
| Bugs | Use bug remover, allow short dwell time, rinse | Hard scrubbing |
| Tar | Use tar remover and a soft microfiber towel | Scraping with fingernails or blades |
| Tree sap | Soften with a paint-safe sap remover | Rubbing dry sap |
| Road film | Pre-soak with foam or mild pre-wash | Using a dirty mitt |
| Bird droppings | Soften with water or detail spray, then lift gently | Leaving it for days |
Use the least aggressive product that works, follow the label dwell time, and rinse thoroughly before the contact wash. Stronger chemicals are not better if they dry on the panel or attack trim.
Top-to-Bottom Hand Wash Method for Scratch-Free Results
Fill one bucket with clean water and car shampoo. Fill the second bucket with clean rinse water. Put a grit guard in each bucket if you have them. Soak your mitt in the soap bucket, wash one small section, rinse the mitt in the rinse bucket, agitate it against the grit guard, then reload it with fresh soap.
Work in this order:
- Roof and upper glass
- Hood and trunk lid
- Upper doors and fenders
- Lower doors and bumpers
- Rocker panels and the dirtiest lower sections last
Use straight, overlapping passes instead of heavy circular scrubbing. Straight passes make any accidental marring less visible and easier to correct later. Rinse each section before soap starts to dry.
Pro Tip: Keep one mitt for upper panels and another for lower panels. If the lower mitt turns gray or gritty, stop and rinse it thoroughly before touching the car again.
Use Multiple Mitts Plus Two-Bucket + Grit Guard Correctly
The two-bucket method works because it keeps dirty rinse water out of your shampoo bucket. Detailers commonly use this method to reduce swirl marks because the mitt is cleaned before it touches the paint again. Chemical Guys two-bucket wash method
- Use the soap bucket only for clean, lubricated shampoo.
- Use the rinse bucket to release dirt from the mitt.
- Rub the mitt gently against the grit guard, then wring it out.
- Reload the mitt with soap before washing the next section.
- Change water if it becomes cloudy or gritty.
One mitt per panel is excellent if you have enough mitts, but not mandatory. The real goal is to avoid dragging trapped grit over the paint. A clean mitt, frequent rinsing, and separate tools for dirty areas matter most.
[Products Worth Considering]

This rear trunk lid weatherstrip is designed to fit select Toyota Camry and RAV4 models, helping restore a secure seal around the trunk area. It supports protection against dust, moisture, and road noise while offering a reliable replacement for worn or damaged factory seals. Made for straightforward installation, it provides a practical fit-and-finish upgrade for everyday driving.

This all-in-one car detailing kit provides a complete set of cleaning tools for interior and exterior vehicle care, including brushes for dashboards, vents, wheels, tires, glass, and tight spaces. Designed for cars, trucks, SUVs, motorcycles, RVs, and more, it helps remove dust, grime, brake dust, and stubborn dirt while protecting delicate surfaces from scratches. The included storage box keeps everything organized for easy use at home or on the go.

This door handle cover protector is designed to fit select Toyota models, helping guard exterior handles against scratches, dings, and daily wear. Made from durable ABS material, it offers a sleek glossy black look that blends with the vehicle’s original styling while maintaining smart key functionality. Installation is quick and simple, making it an easy upgrade for added protection and a cleaner appearance.
Rinse, Inspect Panels, and Decontaminate Before Drying
After the contact wash, rinse the Camry thoroughly from top to bottom. Check seams, mirrors, badges, door handles, lower doors, rocker panels, wheel wells, and the rear bumper where grime hides.
If the paint still feels rough after washing, it may have bonded contamination. Use a clay bar or synthetic clay mitt only with plenty of clay lubricant and light pressure. Clay can improve smoothness, but it can also mar soft paint if used dry or aggressively. Do not clay every wash; use it only when the surface still feels gritty after a proper wash.
Dry Your Camry Without Swirls
Drying is another point where scratches happen. Use plush microfiber towels, not bath towels or old T-shirts. Lay the towel flat, blot standing water, then use gentle straight passes. Flip to a clean side often and switch towels when one becomes saturated.
A blower or compressed air helps remove water from mirrors, badges, window trim, grille openings, and door handles. This reduces towel contact and prevents drip marks after you finish. A light detail spray or drying aid can add lubrication for the final wipe.
Finish with glass, door jamb edges, and wheels using separate towels. Never use a wheel towel on paint, even if it looks clean.
Common Mistakes That Cause Swirl Marks
- Using one dirty bucket: Dirt goes back onto the mitt and then onto the paint.
- Washing in direct sun: Soap dries before you rinse it away.
- Using dish soap: Household detergents are not designed for automotive paint protection.
- Scrubbing bugs or tar dry: Hard residue needs softening before contact.
- Using one towel for everything: Wheel grime and lower-panel grit can scratch upper paint.
- Letting towels touch the ground: A dropped towel can pick up grit instantly.
- Overusing pressure: High-pressure water can damage sensors, seals, trim, or weak paint.
Troubleshooting After the Wash
| Problem | Likely Cause | Fix |
|---|---|---|
| Water spots | Water dried before towel drying | Use detail spray, rewash affected area if needed, dry sooner next time |
| Soap streaks | Too much shampoo or hot panels | Use less soap and wash in shade |
| Rough paint | Bonded contamination | Use clay with lubricant after washing |
| New fine marks | Dirty mitt, towel, or too much pressure | Improve mitt rinsing and use softer drying technique |
| Drips after drying | Water trapped in mirrors or trim | Blow out seams before final towel pass |
When to Clay, Polish, or Add a Ceramic Coating — and Why
Washing removes loose dirt. Clay removes bonded contamination. Polish corrects light defects by leveling a tiny amount of clear coat. Wax, sealant, or ceramic coating adds protection after the paint is clean.
[Products Worth Considering]

The HI-TECH Vortex II Air Cleaning Gun delivers powerful deep-cleaning action for automotive interiors, exteriors, and hard-to-reach areas. Driven by compressed air, it uses a pulsating vortex motion to lift dust, dirt, grease, and grime from carpets, upholstery, dashboards, and engine bays, while its wet and dry cleaning modes help speed up detailing workflows. Built for demanding use, it is a versatile tool for professional shops and home garage cleaning projects.
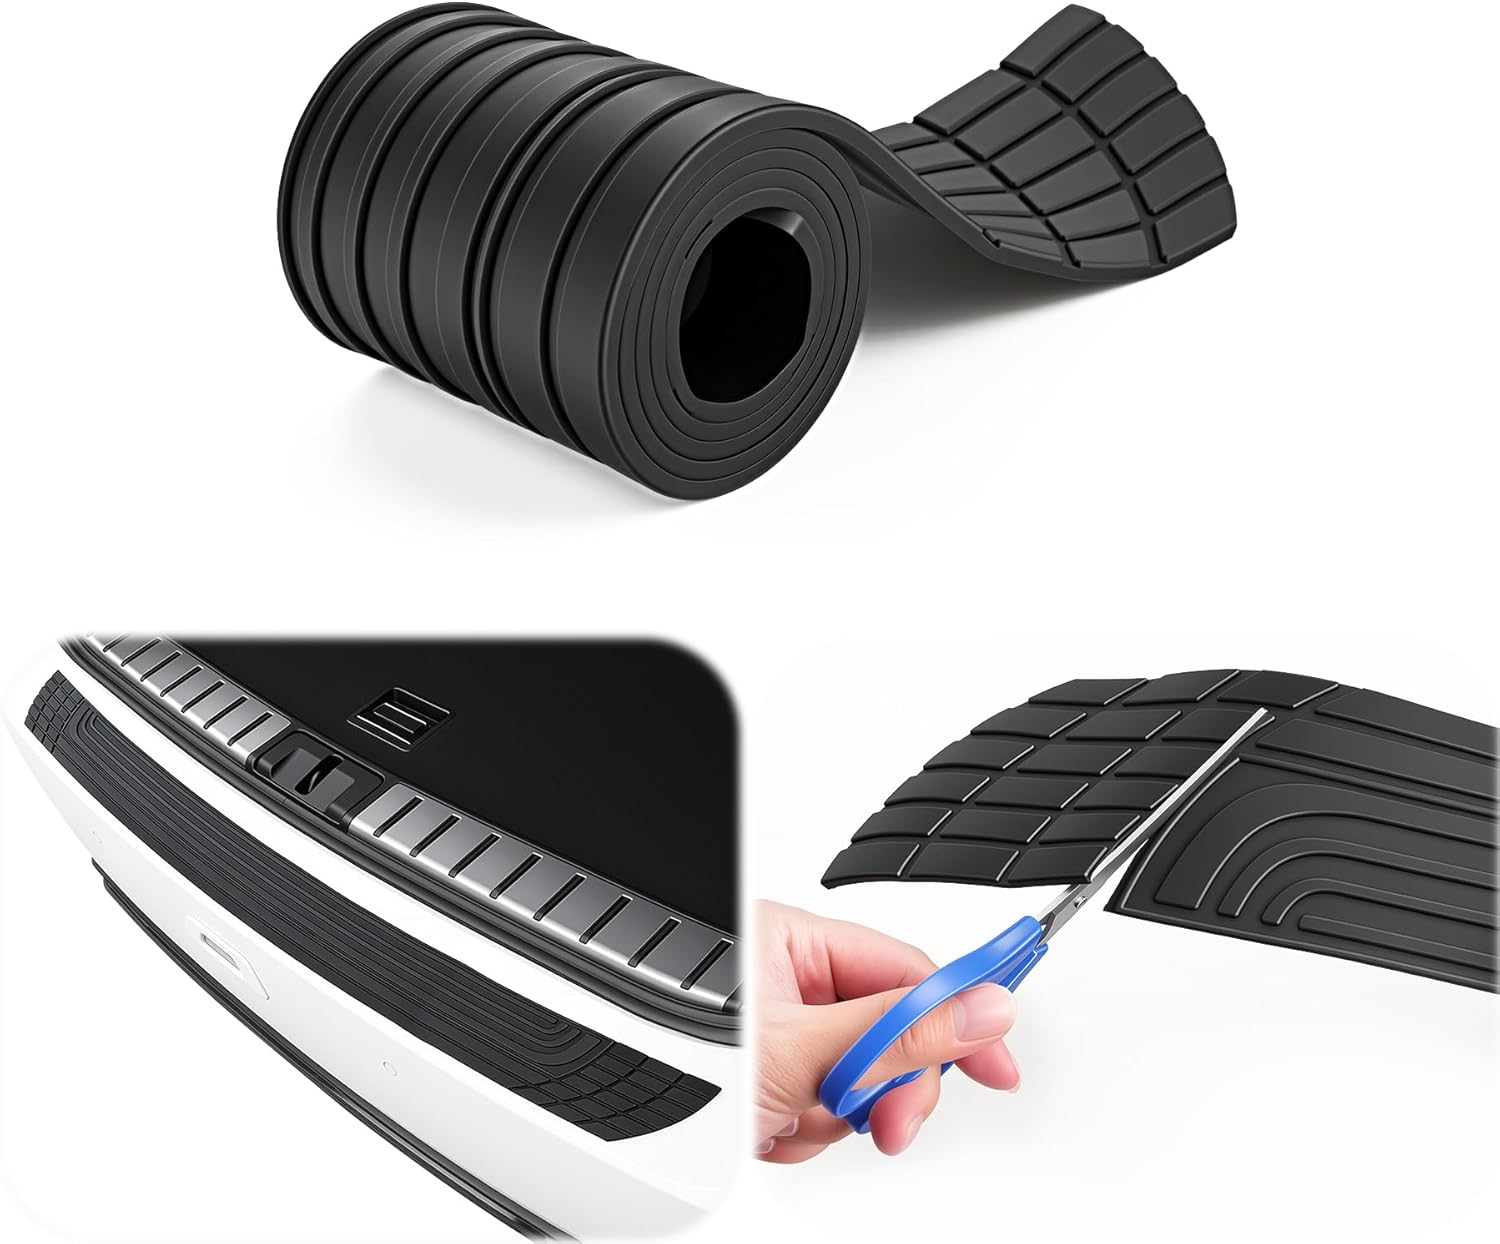
Protect your vehicle’s rear bumper from scratches, scuffs, and everyday loading damage with this universal bumper protector. Its flexible rubber design helps absorb impact and features an anti-slip groove pattern for added security when placing cargo in the trunk. Easy to install without drilling or welding, it is a practical exterior accessory for most cars and SUVs.

AstroAI’s extra-long windshield cleaner kit makes interior and exterior glass cleaning easier with an extendable handle and 180° rotating head that reaches tight corners without strain. It includes reusable microfiber pads, a spray bottle, and a storage bag for streak-free, lint-free results at home or on the road. Designed for cars, SUVs, RVs, and household windows, it helps deliver clearer visibility with less effort.
Paint Correction Timing
Inspect the paint after washing and drying. If it feels smooth and looks glossy, you may only need wax or sealant. If it feels rough, clay may help. If you see swirl marks, haze, or oxidation, polish may be needed before protection.
- Clay: Use only when paint feels rough after washing.
- Polish: Use when you need to remove light swirls or restore clarity.
- Wax or sealant: Apply when water no longer beads well on clean paint.
- Ceramic coating: Apply only after a thorough wash, decontamination, and any needed polishing.
Ceramic Coating Benefits
A ceramic coating can make future washes easier by adding a slick, hydrophobic layer, but it is not a scratch-proof shield. It still needs gentle washing. The best results come from proper prep: wash, decontaminate, polish if needed, wipe down according to the coating instructions, and allow the coating to cure as directed.
Frequently Asked Questions
How can I wash my Camry without scratching it?
Rinse first, wash in shade, use car shampoo, clean microfiber mitts, and the two-bucket method. Work from the roof down and save the dirtiest lower panels for last. Dry with plush microfiber towels or gentle air.
How do I avoid micro scratches when washing a car?
Avoid micro scratches by removing loose grit before contact, rinsing your mitt after every small section, using straight passes, and never drying with a dirty or rough towel. Separate wheel and lower-panel tools from paint tools.
What kind of car wash does not scratch your car?
A careful hand wash with clean microfiber tools is best for control. A touchless wash avoids brush contact, so it is less likely to cause swirl marks, but it may use stronger chemicals and may not remove all road film.
Can I use a pressure washer on a Toyota Camry?
Yes, but use a wide fan spray, low to medium pressure, and safe distance. Do not spray high-pressure water directly at cameras, radar areas, sensors, seals, emblems, or damaged paint.
Should I wash my Camry in circles or straight lines?
Use straight, overlapping passes with light pressure. Circular scrubbing can make swirl marks more visible. Let the shampoo and mitt do the work instead of pressing hard.
How often should I wash my Camry?
Wash it when dirt, salt, bugs, bird droppings, or road film build up. For many drivers, every two to four weeks is reasonable, but coastal roads, winter salt, tree sap, and heavy commuting may require more frequent washing.
Conclusion
You can keep your Camry clean without adding scratches by working slowly and keeping grit away from the paint. Rinse thoroughly, use car wash soap, wash top to bottom with clean microfiber, isolate dirty areas, rinse often, and dry gently. When the paint feels rough, decontaminate before polishing or coating. With the right method, your Camry stays glossy, protected, and easier to maintain every time you wash it.
Sources
- Toyota 2025 Camry Owner’s Manual: Cleaning and protecting the vehicle exterior — supports top-to-bottom washing, car wash soap, waxing guidance, and high-pressure caution around cameras and radar.
- U.S. EPA Stormwater Best Management Practice: Vehicle Maintenance and Washing — supports runoff and storm drain guidance for at-home washing.
- Kärcher Car Washing Tips — supports pressure washer distance and low-to-medium pressure guidance for vehicle rinsing.
- Chemical Guys Scratch-Free Two-Bucket Wash Method — supports two-bucket method, wash mitt, and dirt-trap workflow.