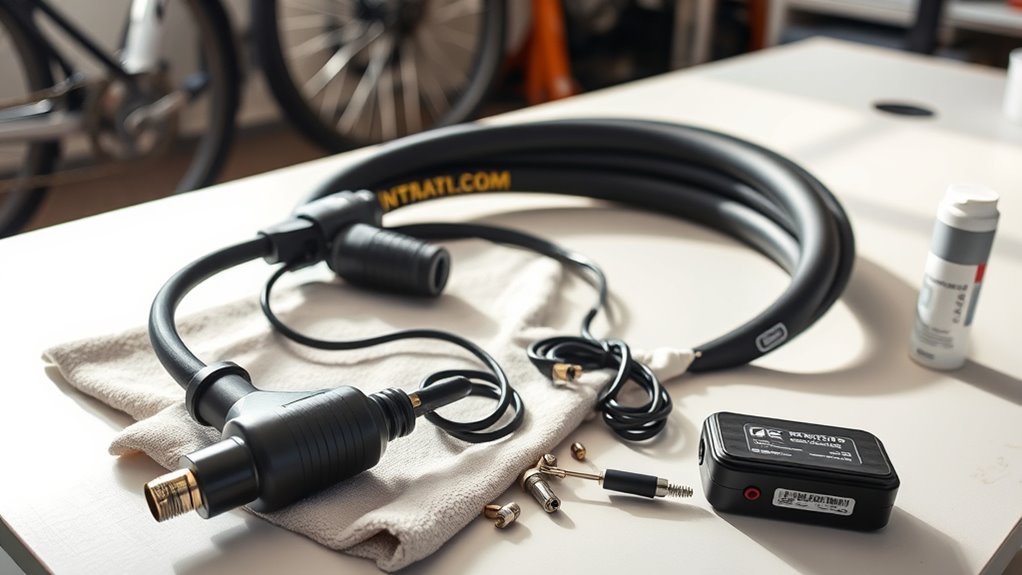
A tire inflator is easiest to trust when it is clean, dry, charged, and stored without kinked cords or damaged hoses. Before putting yours away, disconnect it from power, let it cool, wipe off dirt and moisture, inspect the hose and cord, and store the battery properly if it uses one.
Quick Answer
To clean and store a tire inflator, unplug it, remove the battery if possible, let hot parts cool, wipe the body with a soft dry cloth, check the hose, chuck, cord, vents, and adapters, then store everything in a cool, dry case. Keep lithium-ion batteries partly charged for long storage.
Key Takeaways
- Always disconnect the inflator from power before cleaning, adjusting, or storing it.
- Let the hose, connector, and compressor body cool before coiling the hose or putting the unit in a bag.
- Store lithium-ion batteries at about 40–60% charge for long-term storage unless your manual gives a different storage range.
- Keep the inflator in a cool, dry place, away from direct sun, damp garages, chemical fumes, and hot vehicles.
- Check hoses, chucks, O-rings, vents, cords, and battery condition every few months so the inflator is ready when you need it.
At a Glance
| Time Required | 10–20 minutes, plus cooldown time if the inflator was just used |
| Difficulty | Easy |
| Tools Needed | Soft cloth, small brush, mild soap solution for the cloth if needed, storage case, silica gel packet, accurate tire-pressure gauge |
| Cost | Usually $0–$10 if you already have a cloth and storage pouch |
Disconnect, Clean, and Inspect Your Tire Inflator
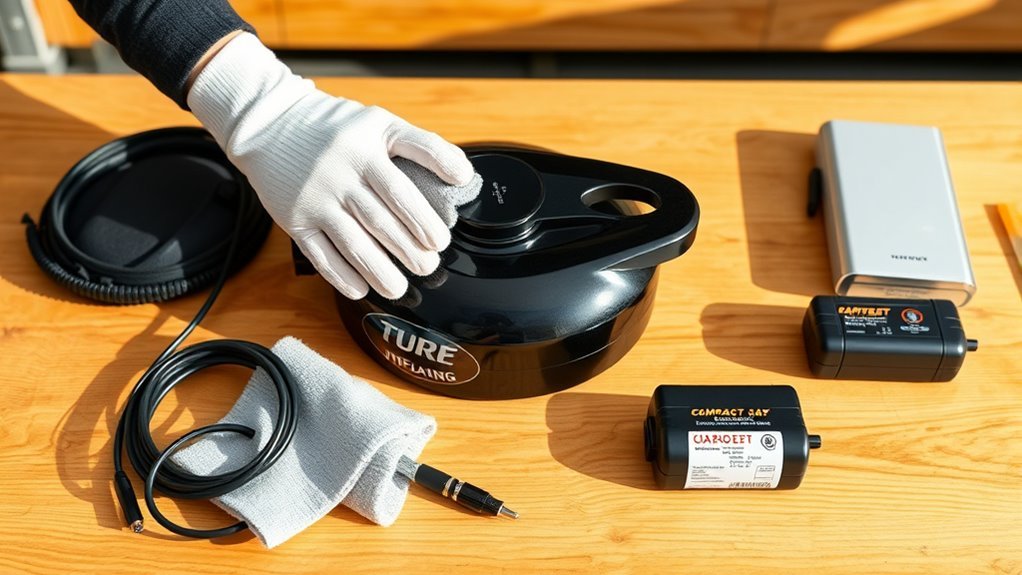
Warning: Disconnect the power source before cleaning or storing a tire inflator. If you just used it, let the hose connector and compressor body cool first. Some inflator manuals warn that connectors can become hot during use.
Start by turning the inflator off and disconnecting it from the 12V outlet, wall outlet, battery pack, or tool battery. If your model has a removable battery, remove it before cleaning or long-term storage. Manufacturer instructions vary, so your owner’s manual always comes first.
Wipe the outside of the inflator with a soft cloth. If the case is muddy or greasy, dampen the cloth slightly with mild soapy water, then wipe again with a dry cloth. Do not spray water directly into vents, buttons, battery contacts, charging ports, or the pressure display.
Next, inspect the parts that fail most often:
- Power cord: Look for cuts, crushed insulation, bent plugs, corrosion, or heat damage.
- Air hose: Check for cracks, stiff spots, bubbles, flattened sections, or loose fittings.
- Chuck or threaded connector: Make sure the threads are clean and the seal grips the valve stem firmly.
- O-rings and rubber seals: Replace them if they look flattened, cracked, brittle, or missing.
- Vents: Brush away dust so the motor can cool properly during the next use.
- Adapters and needles: Store them together so they do not rattle around, bend, or get lost.
If you use the inflator for vehicle tires, compare the inflator’s reading with a known-good tire-pressure gauge every so often. The National Highway Traffic Safety Administration emphasizes tire-pressure maintenance as part of basic tire safety, and an inaccurate gauge can leave tires overinflated or underinflated.
Pro Tip: If you suspect an air leak, connect the hose to a valve stem, run the inflator briefly, then dab soapy water around the chuck and fittings. Bubbles usually point to a loose fitting, worn seal, or cracked hose.
[Products Worth Considering]

This portable tire inflator delivers fast, convenient inflation for cars, bikes, motorcycles, and balls with dual power options from a rechargeable battery or a 12V car cord. Its digital LCD pressure gauge and automatic shutoff help prevent over-inflation, while multiple preset modes and a custom setting make it easy to use for different inflation tasks. Built-in flashlight and USB power ports add extra emergency utility on the road.
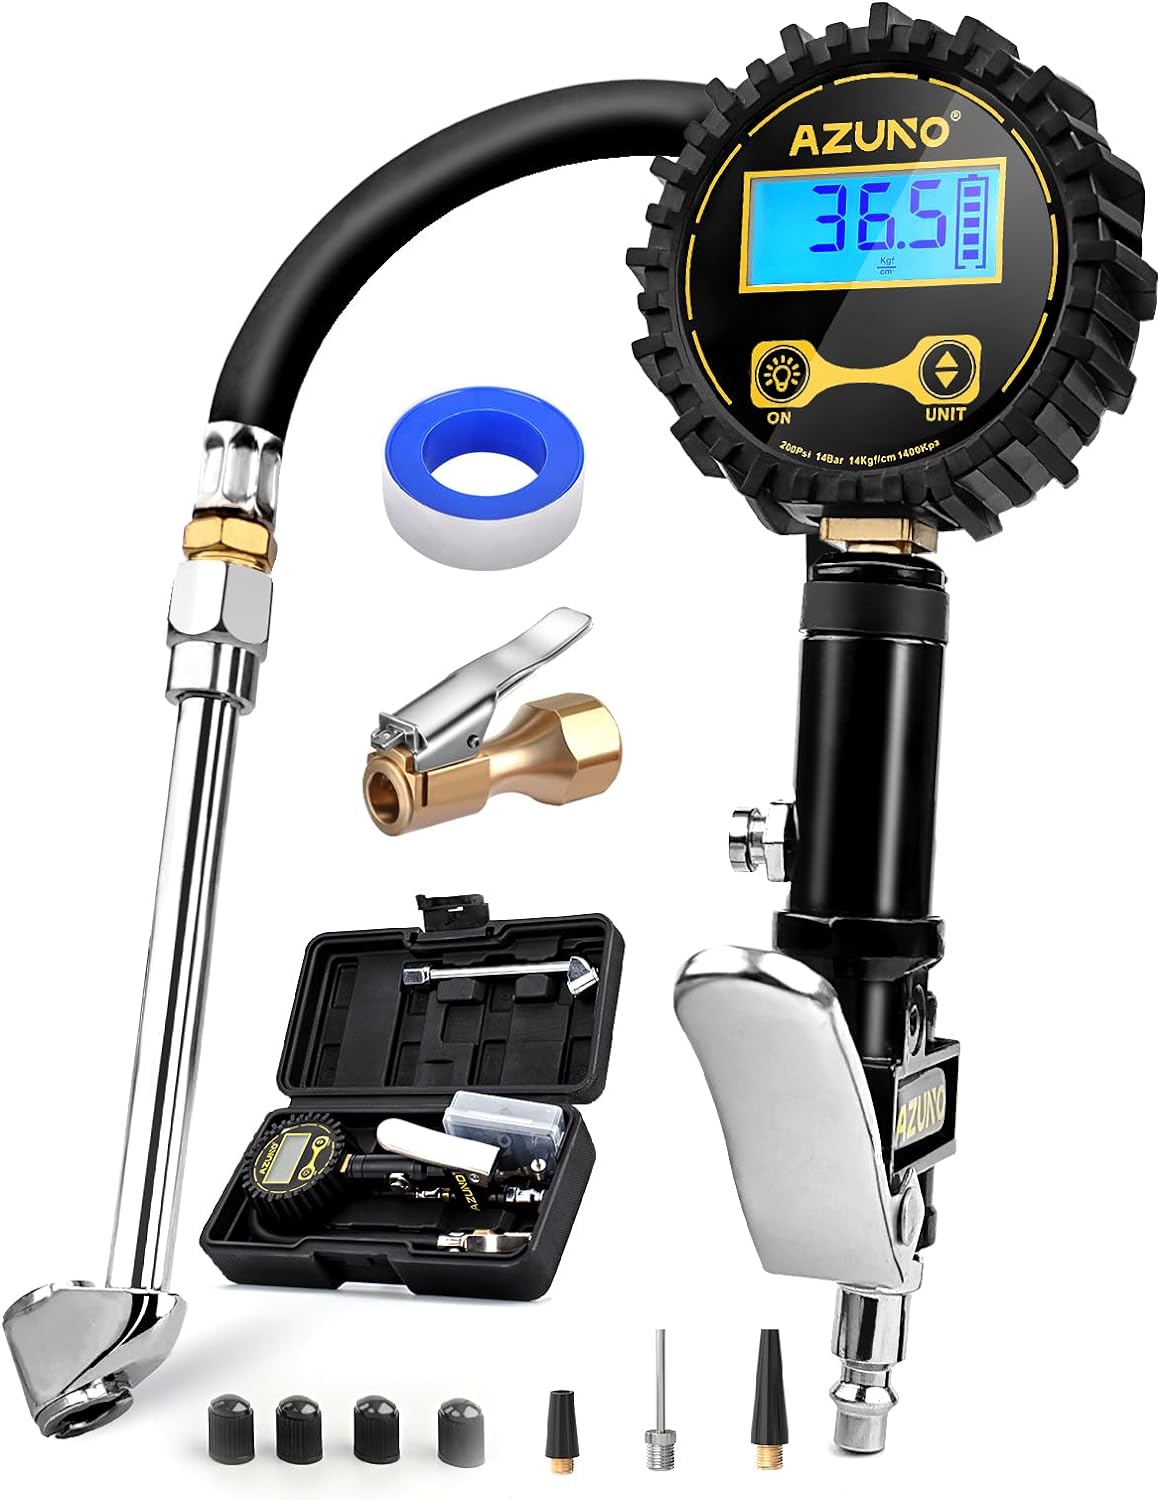
This digital tire inflator delivers accurate, easy-to-read pressure measurements with a bright backlit LCD and precise 0.1 resolution for confident inflation. Designed for single-handed use, it makes it simple to inflate or deflate tires while staying organized in the included portable carrying box. Built for a wide range of vehicles, it is a practical air compressor accessory for cars, trucks, SUVs, motorcycles, and more.

The AstroAI S8 is a compact 12V lithium jump starter designed to get gas and diesel vehicles back on the road quickly, even from low or fully drained batteries. It combines powerful starting performance with smart boost mode, built-in safety protections, and a versatile 5-in-1 design that also works as a power bank and flashlight for everyday emergencies and travel.
Manage the Battery Before Storage
Battery care depends on the inflator type. A 12V corded inflator does not have a storage battery, but a cordless model usually uses a lithium-ion pack. For long-term storage, keep lithium-ion batteries at a partial charge instead of fully charged or fully drained.
Battery University notes that lithium-ion batteries store well at a partial state of charge and that avoiding very low voltage is important for battery health. For most cordless tire inflators, a practical long-term target is about 40–60% charge unless the manual gives a specific storage mode or percentage.
[Products Worth Considering]
These custom-fit floor mats and cargo liner are designed for select Toyota 4Runner models and provide full-coverage protection for your interior. Made from durable TPE material with raised edges and non-slip buckles, they help contain dirt, spills, snow, and debris while staying securely in place. The waterproof design is easy to clean, making them a practical all-weather upgrade for everyday driving.

This portable 12V tire inflator delivers fast, convenient inflation for cars, SUVs, trucks, motorcycles, and other inflatables. It features a digital display, bright LED lighting, auto shutoff, and multiple nozzle adapters to help you inflate accurately and safely, even in low-light situations. The long power cord and air hose make it easy to reach all tires and handle roadside emergencies or routine maintenance.
Battery Storage Checklist
- Charge the battery to about 40–60% before long storage, unless your manual says otherwise.
- Remove the battery from the inflator if the manual recommends it or if the unit will sit unused for months.
- Do not store a battery that is swollen, leaking, cracked, punctured, unusually hot, or giving off an odor.
- Keep battery contacts clean, dry, and away from loose metal objects.
- Check the battery every 2–3 months and recharge it before it becomes deeply discharged.
Warning: Never store a damaged lithium-ion battery in a glove box, trunk, or tool bag with metal parts. If the battery is swollen, leaking, or overheated, stop using it and follow your local battery recycling or disposal rules.
Cordless vs. Corded Storage
For a cordless inflator, store the battery and charger in the same general area, but do not leave the battery on the charger for months unless the charger is designed for maintenance storage. Some inflator manuals, including the Air Hawk Pro manual, specifically tell users not to store the battery installed in the unit when it is not in use.
For a 12V plug-in inflator, coil the cord loosely and avoid sharp bends near the plug. If the plug has a fuse, keep a spare fuse of the correct rating with the inflator. For AC/DC models, separate the household power cord from the air hose so the hose does not get pinched.
Choose the Best Storage Location
The best place to store a tire inflator is cool, dry, shaded, and easy to reach. A hallway cabinet, garage shelf inside a sealed case, utility-room drawer, or vehicle emergency kit can work if the temperature stays reasonable and the unit stays dry.
Avoid leaving a cordless inflator in a hot vehicle for weeks at a time. Heat speeds up battery aging, and direct sunlight can weaken plastic, rubber, and display components. Also avoid damp floors, leaky sheds, and storage next to fuel, solvents, fertilizers, or other chemicals.
Ideal Temperature and Humidity
For most portable tire inflators, aim for normal room-like conditions when possible. A practical storage range is about 50–80°F (10–27°C). Avoid long exposure above 95°F (35°C), freezing conditions, and big temperature swings that create condensation.
Humidity matters too. Moisture can corrode battery contacts, switches, plugs, and metal hose fittings. A silica gel packet in the storage pouch is a simple extra step if the inflator lives in a garage, trunk, or shed.
Keep Cords, Hoses, and Adapters Protected
Coil the power cord and hose in wide loops. Do not wrap the hose tightly around the inflator body unless the manufacturer designed it that way. Tight wrapping can kink the hose, stress the fitting, or crack rubber in cold weather.
If your inflator includes caps, plugs, a nozzle compartment, or a storage bag, use them. If it does not, store adapters in a small pouch so needles and tips do not scratch the display or press into the hose.
Note: Do not rely on the tire sidewall number as your normal inflation target. Use the cold tire pressure listed on the vehicle placard or owner’s manual, then recheck with a reliable gauge.
Prevent Moisture Damage and Protect Sensitive Parts
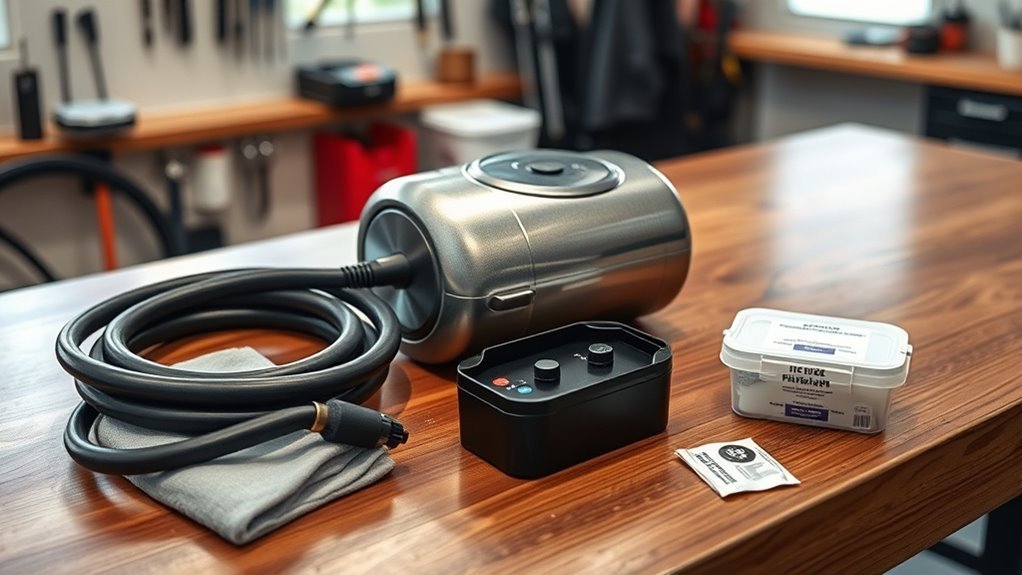
Moisture is one of the easiest problems to prevent. Before storage, make sure the inflator body, hose, chuck, adapters, and battery contacts are dry. If the unit was used in rain or snow, wipe it down and let it air-dry indoors before closing it in a pouch.
Do not pour water through the hose, soak the chuck, or blow high-pressure shop air directly into display openings or charging ports. The goal is to remove dirt from the outside, not force moisture or debris deeper inside the unit.
If the pressure display fogs, buttons stick, or the unit was soaked, stop using it until it dries completely. If the inflator still acts strangely after drying, contact the manufacturer or replace it. A tire inflator that gives unreliable pressure readings is not worth trusting on the road.
Run Regular Maintenance Checks
A portable inflator does not need complicated maintenance, but it should be checked before it becomes an emergency tool. A quick inspection every 2–3 months is enough for most drivers. Check it more often if it rides in a work truck, off-road kit, RV, or damp garage.
- Every use: Wipe dirt off the body, let it cool, and coil the hose loosely.
- Monthly or before a road trip: Power it on, check the display, and confirm the hose seals on a valve stem.
- Every 2–3 months: Check battery level, cord condition, hose condition, chuck seal, and adapter storage.
- Before long storage: Partly charge the battery, remove it if recommended, add a silica gel packet, and store the unit in a dry case.
Respect the inflator’s duty cycle. The Air Hawk Pro manual, for example, warns against running the compressor for more than 15 minutes at a time and says to let it cool before restarting. If your manual is missing, use short runs and let the unit cool for 15–30 minutes after heavy use.
A tire inflator is an emergency tool. The best time to find a cracked hose, weak battery, missing adapter, or inaccurate gauge is at home, not on the shoulder of the road.
Troubleshoot Common Tire Inflator Problems
If your inflator is not working correctly, start with the simple checks before assuming the compressor has failed.
[Products Worth Considering]
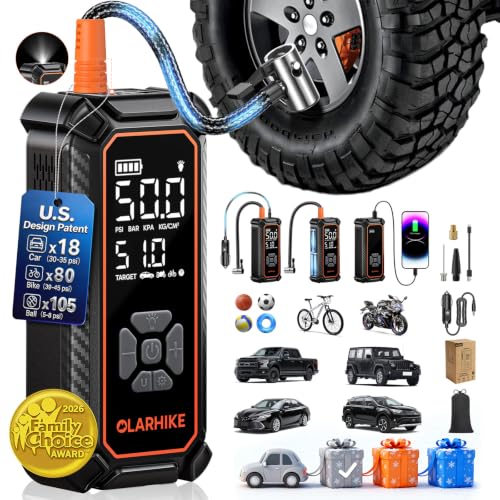
[Fast & Efficient Inflation] The OlarHike tire inflator features a high-performance motor that delivers rapid airflow—inflate a standard car tire (195/65 R15) from 30 to 35 PSI (+5 PSI) in just 55 seconds, or a larger SUV tire (235/65 R17) from 30 to 35 PSI (+5 PSI) in only 2.2 minutes. Ideal for cars, SUVs, light Pickup(Within 51 PSI), motorcycles, bicycles, and sports balls. Its practical everyday usefulness also makes it a thoughtful car gift for men who value reliable tools for their vehicles. Important Note: The unit can only inflate car and pickup truck tires up to 51 PSI and is not compatible with heavy-duty pickup trucks or RVs.

RAPID INFLATION & ROAD-READY PORTABILITY: Powerful 120W motor delivers up to 35L/min airflow—inflates a standard car tire (195/65 R15) from 30 to 36 PSI in under 1 minute under ideal operating conditions. Weighs only 2.2 lbs and fits glove compartments or trunks for daily commutes, road trips, and emergencies. Plugs into standard 12V DC car outlet with 15A fuse protection. AIRUN H features its cordless counterpart H2 Pro.

Fast-Inflation & Compact: Our compact and lightning-fast upgrade to the popular R7 air compressor portable. With a powerful 40L/Min cylinder, this air pump for car can inflate a tire (215/50 R17) in under a minute (26-35PSI) and even Tesla tires (235/40 R19) in just 1.5 minutes (28-36PSI). Say goodbye to slow and cumbersome inflation processes - This 150PSI tire inflator portable air compressor offers a smoother, faster solution for all your inflation needs.
Inflator Will Not Turn On
- Check that the battery is charged or the 12V plug is fully seated.
- Inspect the 12V plug fuse if your model uses one.
- Try another vehicle outlet or approved power source.
- Make sure the battery pack clicks fully into place.
- Stop using the inflator if the switch is loose, burned, or inconsistent.
Inflator Runs but Inflates Slowly
- Check for a loose valve connection.
- Inspect the hose for kinks or cracks.
- Clean dirt from the chuck threads or quick-connect fitting.
- Confirm the tire is not losing air from a puncture or damaged valve stem.
- Let the compressor cool if it has been running for several minutes.
Pressure Reading Seems Wrong
- Compare the inflator reading with a separate tire-pressure gauge.
- Make sure the tire is checked cold for the most accurate vehicle-pressure setting.
- Reset the target pressure if your inflator has preset modes.
- Check the hose connection for leaks before trusting the reading.
Inflator Overheats or Smells Hot
Turn it off immediately. Disconnect power, move it away from flammable materials, and let it cool in a ventilated area. If it makes abnormal sounds, smells burned, melts plastic, or repeatedly overheats, do not keep using it.
Warning: If you run a 12V inflator with the vehicle engine on to reduce battery drain, operate the vehicle outdoors only. Never run an engine in a closed garage or enclosed space.
Frequently Asked Questions
How do you keep tires from getting flat spots during storage?
If the tires are still on a parked vehicle, reduce the load on them by moving the vehicle periodically, using tire cradles, or supporting the vehicle properly for long storage. Michelin also advises taking the weight off tires when a vehicle is parked for a long period. If the tires are off the vehicle, store them correctly based on whether they are mounted on rims.
Can a tire inflator drain a car battery?
Yes. A 12V tire inflator can draw enough power to weaken a car battery, especially if the battery is old, the engine is off, or the inflator runs for a long time. For longer inflation jobs, many manuals recommend using the vehicle’s 12V system carefully. If you run the engine, do it outdoors only.
Should tires be stored flat or standing up?
It depends on whether the tires are mounted on rims. Michelin says tires mounted on rims should be hung or stacked, not stored standing upright. Tires without rims should be stored standing up, not stacked or hung. Continental also notes that mounted tires are often better stacked or hung, while standing is a good option for unmounted tires.
How do you store tires without dry rotting?
Clean the tires, let them dry, place each one in an airtight bag if possible, and store them in a cool, dry, dark area away from sunlight, ozone-producing equipment, fuel, lubricants, and chemicals. Continental also advises avoiding tire dressings before storage because tire compounds are already designed to resist environmental stress.
Should I leave the battery in a cordless tire inflator?
For short storage, follow your manual. For long storage, many cordless tools do better with the battery removed and stored separately at a partial charge. Some inflator manuals specifically say not to store the battery installed in the unit when it is not in use.
Can I wash a tire inflator with water?
Do not hose it off, soak it, or spray water into vents, displays, switches, or charging ports. Use a soft cloth instead. If needed, dampen the cloth lightly with mild soapy water, wipe the exterior, then dry the inflator completely before storage.
Conclusion
Cleaning and storing a tire inflator takes only a few minutes, but it protects the parts you rely on most: the hose, cord, chuck, gauge, vents, and battery. Disconnect power first, let hot parts cool, wipe the unit dry, inspect for wear, and store it in a cool, dry case with the cords and adapters organized. Treat the inflator like an emergency tool, and it will be far more likely to work when a low tire catches you off guard.
Sources
- Battery University — How to Store Batteries — supports lithium-ion partial-charge and deep-discharge guidance.
- Air Hawk Pro Automatic Cordless Tire Inflator Manual — supports battery removal, hot-connector, runtime, and cooldown safety guidance.
- Craftsman CMXPTXA1201 Portable 12V Tire Inflator Manual — supports reading safety rules, charging notes, and heat caution.
- NHTSA TireWise — supports tire-pressure and tire-maintenance safety guidance.
- Michelin — Storing My Tires — supports correct mounted vs. unmounted tire-storage positions.
- Continental Tires — How to Correctly Store Your Tires — supports tire cleaning, bagging, storage-position, and tire-aging guidance.