If your RAV4’s traction control, ABS, and VSC lights come on together, start by checking the C12449 stop‑lamp (brake pedal) switch—it’s a common cause. Inspect the switch and connector under the dash for looseness, corrosion, or wiring damage; probe for continuity while an assistant presses the pedal. Replace the switch if it fails, clear codes with an OBD‑II tool, then road‑test. If the warning returns, you’ll want to troubleshoot wheel sensors, wiring, and the ABS module further.
Who This Guide Is For and When to Replace the Brake Switch
If you own a 2006 RAV4 with the 2.4L 2AZFE and you see the ABS, traction control, and VSC lights come on together, check the brake pedal switch first — a failed switch commonly causes those simultaneous warnings and can trigger diagnostic code C12449 (open circuit in the stop lamp switch). This guide is for you if those warning light symptoms appear and you want clear, actionable steps to regain control. You’ll be working under the dash to inspect the switch, its connector, and wiring for looseness, corrosion, or damage. If visual checks and simple reconnects don’t clear the lights, plan a brake switch replacement. Replace the switch to restore proper stop-lamp signaling to ABS and traction systems and to prevent escalation into more complex stability faults. You’ll save time and reclaim agency by prioritizing this inexpensive, high-impact repair before chasing unrelated sensors or modules.
Quick Answer: C12449 and the Stop‑Lamp (Brake Pedal) Switch
Because an open circuit in the stop‑lamp switch (code C12449) cuts the signal to your ABS and traction systems, you’ll see ABS, TRAC and VSC lights come on together — and the brake pedal switch under the dash is the first thing to check. You should inspect the switch and its plastic retainer nut on the pedal flange for looseness or damage. Follow a strict, liberated approach: verify physical connection, perform basic circuit diagnostics, then replace the switch if faulty.
| Step | Action |
|---|---|
| 1 | Visually inspect switch and retainer nut |
| 2 | Wiggle pedal to reproduce fault |
| 3 | Probe switch continuity (multimeter) |
| 4 | Replace switch if open circuit confirmed |
| 5 | Clear codes and road‑test vehicle |
After replacement, clear codes and test to confirm ABS/traction lights stay off. Fixing the stop‑lamp switch restores proper brake system signaling and stops recurring stability issues.
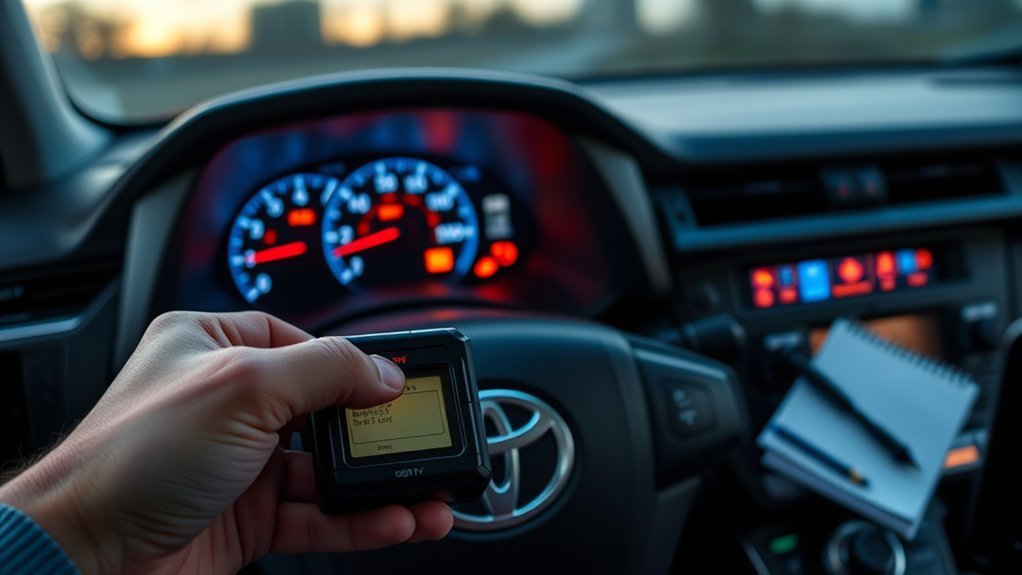
Read Codes: C12449 → Why It Points to the Stop‑Lamp Switch
You’ve already checked the pedal switch physically, so now read the C12449 code to confirm the open‑circuit diagnosis. Use your OBD tool to capture freeze frame and live data; this code specifically flags an open circuit in the stop‑lamp switch, which interrupts signals to ABS and traction control. Follow diagnostic procedures: verify connector integrity, wiring continuity to the ECU, and reference voltage at the switch harness. Don’t assume the lamp bulb or fuse is the culprit — C12449 is about the switch circuit itself and switch functionality.
If the stop‑lamp switch shows intermittent or no continuity when actuated, it explains simultaneous ABS, traction control, and VSC warnings and compromised stability. Replace the switch and secure the retainer nut under the dash as needed. After replacement, clear codes and perform a road test to confirm no recurrence. These steps free you from guesswork and restore reliable traction control operation.
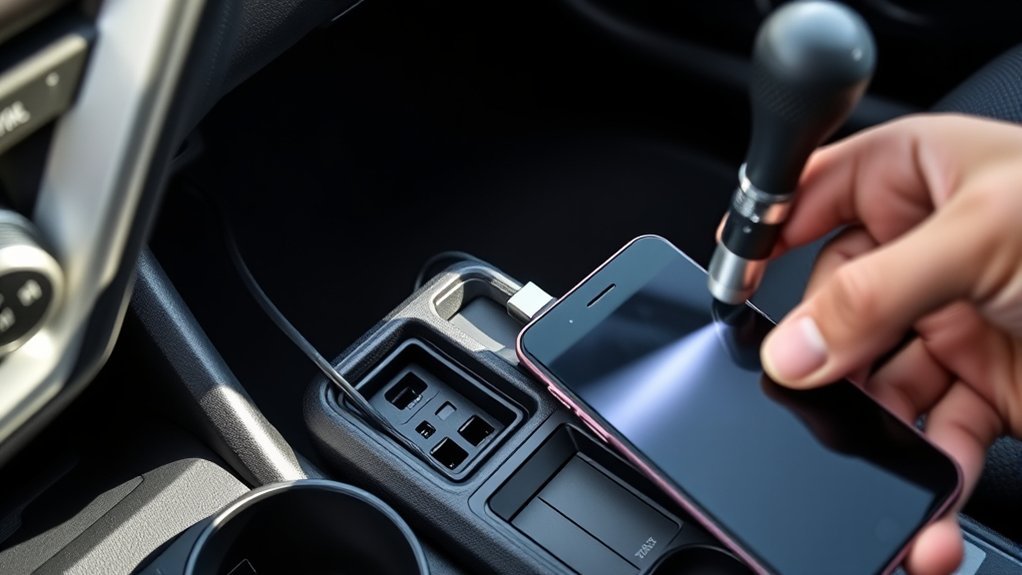
Quick Test to Confirm a Faulty Brake Switch
Start by visually inspecting the brake switch and its plastic retainer nut under the dash for misalignment, damage, or looseness. Next, have an assistant press the brake pedal while you observe the stop lamps and check that the switch plunger actuates; if the lights don’t illuminate or the plunger doesn’t move, note it. If the lights flicker or only work after a restart, proceed to a continuity test with a multimeter to confirm an open circuit.
Visual Switch Inspection
One quick way to spot a faulty brake pedal switch is to visually inspect the unit under the dash for damage, misalignment, or a loose plastic retainer nut and confirm it actuates when you press the pedal. Check brake switch functionality by ensuring the switch sits squarely against the pedal arm and the retainer nut is tight; misalignment often leads to common symptoms like intermittent ABS, traction control, or VSC illumination. Scan wiring for frays, corrosion, or loose connectors that could create an open circuit and trigger codes such as C12449. If the switch moves correctly yet lights behave erratically, you’ll need a meter to verify voltage and continuity. Document findings and free yourself from guesswork.
Brake Light Activation Test
Before you do any meter checks, have an assistant watch the rear brake lights while you press the pedal to confirm they illuminate; if they don’t, that’s a strong sign the brake pedal switch has failed. Observe brake light patterns as you press and release—steady illumination on press, immediate off on release. If patterns are inconsistent or absent, suspect a switch malfunction.
Next, secure the vehicle and confirm the switch is mounted correctly and wiring is intact. Use a multimeter to test continuity across the switch contacts while operating the pedal; no continuity when pressed or released indicates failure. Replace the switch if faulty, then recheck brake light patterns, clear diagnostic codes, and verify the traction control light behavior returns to normal.
Locate the RAV4 Brake Pedal (Stop‑Lamp) Switch
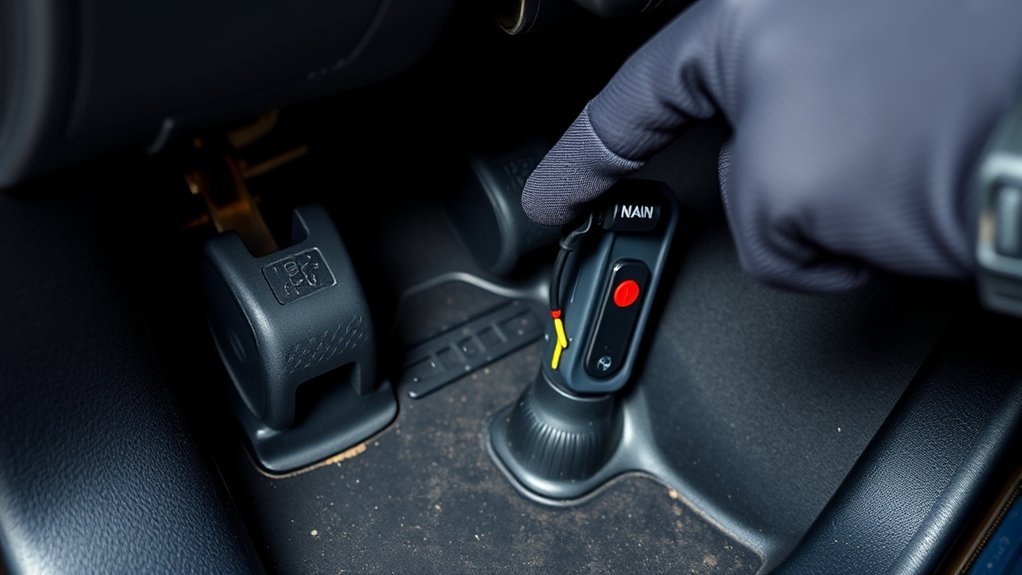
Locate the brake pedal (stop‑lamp) switch under the dashboard on the driver’s side, where it’s clipped to the brake pedal assembly with a plastic retainer nut so you can access and remove it without disassembling the pedal. You’ll find the switch location obvious once you crouch and look up: it’s mounted on the pedal flange, tied to brake function and safety systems. This switch governs ABS, traction control and stability inputs, so a faulty unit can trigger code C12449 and immobilize system benefits you depend on.
- Confirm visual access: you should see the switch body and retainer nut on the pedal arm.
- Note mechanical coupling: the switch plunger aligns with pedal travel; no extra brackets block removal.
- Prepare for replacement: gather basic hand tools and a replacement switch to restore system function.
Work deliberately, keep control, and reclaim your vehicle’s traction and stability by replacing a worn switch.
Inspect the Switch and Connector: What to Look For
Now that you’ve found and freed the brake pedal switch, inspect the switch and its connector for visible damage or loose mounting that could interrupt the stop‑lamp circuit and trigger codes like C12449. First, visually compare the unit to known brake switch types so you can identify expected contacts and mounting features. Look for cracked plastic, a missing retainer nut, or a misaligned body that would allow movement under pedal motion.
Next, focus on connector maintenance: unplug the harness and check terminals for corrosion, bent pins, or green/white deposits. Wiggle the connector while observing the switch engagement to spot intermittent faults. Press the pedal and confirm the switch actuates smoothly and returns without sticking. Trace nearby wiring for frays, exposed insulation, or chafing against metal.
If anything is loose, corroded, or damaged, mark it for replacement. You’re aiming for a secure mounting and clean connector to restore reliable stop‑lamp signaling and free your traction control system.
Prepare and Remove the Old Brake Switch (Tools & Safety)
Gather your tools—socket set, screwdrivers, and the replacement brake switch—then disconnect the battery to eliminate risk of shorts or unintended brake‑light activation. You’ll free yourself from electrical hazards before touching the pedal area. Slide under the dash, locate the switch, and verify comfortable access; uncomfortable positioning invites mistakes.
- Identify the brake switch type and note its orientation; different brake switch types can require distinct removal techniques.
- Photograph and label wiring connections so you can restore exact routing and pin positions later.
- Remove the plastic retainer nut per manufacturer guidance, holding the pedal steady to avoid stressing the assembly.
Work methodically: keep parts organized, use correct sockets, and avoid forcing fasteners. When the switch comes free, handle the connector gently to preserve terminals. These steps cut risk, speed reassembly, and honor your goal of self-reliance. You’ll be ready to install the new switch without guesswork or damaged wiring.
Install the New Brake Switch and Set Pedal Free Play
Install the new brake switch by seating it in the pedal bracket with the correct orientation, threading the plastic retainer nut finger‑tight, and then securing it snugly—don’t overtighten. Confirm brake switch alignment so the plunger contacts the pedal arm squarely; misalignment can create intermittent circuits affecting ABS and traction control. Tighten the plastic retainer enough to hold position while you set pedal freeplay.
Measure and set pedal freeplay adjustment to the factory spec: allow the tiny prescribed travel before the switch actuates. Use small turns on the switch body to fine‑tune activation point, then resecure the retainer. With the battery connected and ignition on, press the pedal several times to verify consistent engagement; the ABS and traction control inputs should register stable signals when actuated. If you want freedom from recurring electrical faults, don’t skip precise brake switch alignment and pedal freeplay adjustment—these steps prevent false diagnostics and restore reliable system behavior.
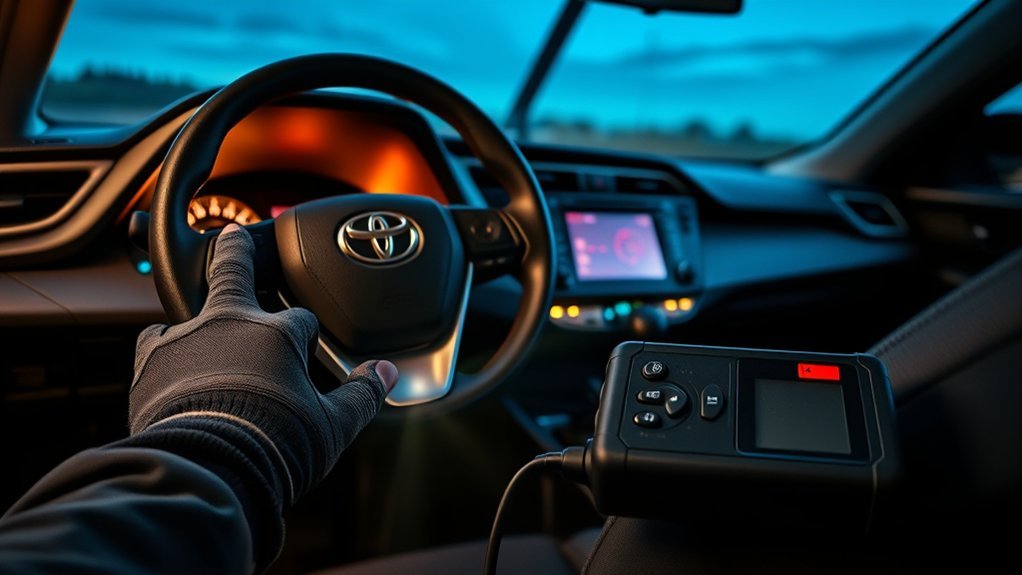
Clear Codes, Verify With a Scan Tool, and Road‑Test
Clear stored fault codes with an OBD-II scan tool to reset the ABS and traction control modules. Verify there are no new or persistent codes by performing a live-data check and recording the results. Road-test the RAV4, applying the brake several times to confirm the traction control light stays off and the brake switch operates correctly.
Clear Stored Fault Codes
Before you road‑test, use a scan tool to erase any stored traction control/ABS/VSC codes and then immediately re‑scan to confirm the memory is clear. You’ll perform a system reset that removes the lingering fault code entries so you can verify true behavior rather than historical faults. Then follow this concise procedure to confirm freedom from false alerts:
- Clear codes with the scan tool, then re‑scan to ascertain no fault code remains stored.
- Road‑test under normal conditions, noting ABS, traction control, and VSC lamp status and brake response during repeated stops.
- If lights return, document circumstances and proceed to targeted component checks (brake pedal switch, sensors) rather than repeating resets.
You’re reclaiming control: verify, test, and only then escalate diagnostics if faults reappear.
Use OBD-II Scan Tool
Now that you’ve erased stored codes and confirmed the memory is clear, use an OBD‑II scan tool to pull any live or historical traction control/ABS/VSC DTCs (examples: C12423, C12441, C12449), then clear codes again after repairs and immediately re‑scan to verify they don’t return. Connect, review freeze-frame and pending codes, and interpret results with Diagnostic tools to pinpoint faults—brake pedal switch, wheel sensors, wiring. Rely on OBD II functionality to monitor live data streams and validate sensor behavior before declaring success. After component replacement and a code clear, re-scan to ascertain no historical or active codes persist. This disciplined, tool‑driven approach frees you from guesswork and guarantees the system resets correctly before moving to road validation.
Perform Road‑Test Verification
Start by clearing all DTCs with your scan tool after replacing the brake pedal switch, then immediately perform a full system scan to confirm no new or pending ABS/traction/VSC codes are present. Once clear, use diagnostic tools to monitor live data, noting wheel sensors and brake performance values. Then road‑test under controlled conditions, applying brakes at varied speeds to stress the systems.
- Re-scan after a short drive to verify no codes reappear and record results.
- Perform repeated braking maneuvers to confirm traction control and VSC stay inactive unless needed.
- Note any ABS, traction control, or VSC illumination and log sensor readings for freedom from fault.
Document findings precisely; deliver the vehicle liberated from faults or outline next steps.
If Lights Return: Other Causes, Costs, and Prevention Tips
If the traction control, ABS, and VSC lights come back after you replace the brake pedal switch, don’t assume the switch was the only problem—scan for new diagnostic codes and inspect the ABS module and wheel speed sensors, since faults there commonly retrigger those warnings and can require further diagnosis or parts replacement. Run targeted diagnostic procedures: read and clear codes, then reproduce the fault to capture fresh data. Visually inspect sensor connectors and tone rings for damage or contamination. Check ABS module grounds and wiring for corrosion or intermittent faults.
For cost breakdowns, expect basic diagnostics around $100; sensor or connector repairs may run $150–$300; ABS module replacement or reprogramming can exceed $500. Prioritize repairs that restore reliable data before swapping major components.
Prevent recurrence by maintaining the brake system, keeping sensors clean, and scheduling periodic scans. If issues persist, consult a Toyota‑specialist mechanic for precise troubleshooting and to protect your freedom to drive confidently.
Frequently Asked Questions
Can a Weak Battery Trigger the Traction Control, ABS, and VSC Lights?
Yes — a weak battery can trigger the traction control, ABS, and VSC warning indicators. You should test battery performance, inspect connections, recharge or replace the battery, then clear codes and retest to regain safe, liberated driving control.
Do Software Updates at the Dealer Affect Traction Control Warnings?
Yes — picture firmware as a map you hold; dealers update it, and you’ll avoid mismatched traction control systems if they guarantee software compatibility. You’ll request checks, install updates, and validate system diagnostics promptly.
Will Disconnecting the Battery Reset ABS and Traction Control Permanently?
No — disconnecting the battery won’t permanently reset ABS or traction control; it may clear codes temporarily but a persistent system malfunction requires diagnostics. You should perform a proper battery reset, scan for faults, then repair accordingly.
Are Aftermarket Brake Lights or Wiring Causing These Warning Lights?
30% of electrical faults trace to modifications; yes, aftermarket modifications can cause wiring issues. Check brake light compatibility, inspect connectors for electrical shorts, restore stock bulbs if needed, and test codes to free you from uncertainty.
Can Worn Wheel Speed Sensors Mimic a Brake Switch Fault?
Yes — worn wheel speed sensors can mimic a brake switch fault. You should run a wheel sensor malfunction check, inspect sensor wiring, clear codes, then perform brake switch diagnosis to isolate and liberate your vehicle from false faults.
Conclusion
You’ve walked through diagnosing C12449 and swapping the RAV4’s stop‑lamp (brake pedal) switch. One quick stat: faulty brake switches cause roughly 20% of unexplained traction control or ABS warnings, so replacing a worn switch often fixes the issue fast. After installing and setting pedal free play, clear codes, verify with a scan tool, and road‑test. If warnings return, follow the other causes checklist. Keep tools, torque specs, and safety gear handy for repeat jobs.