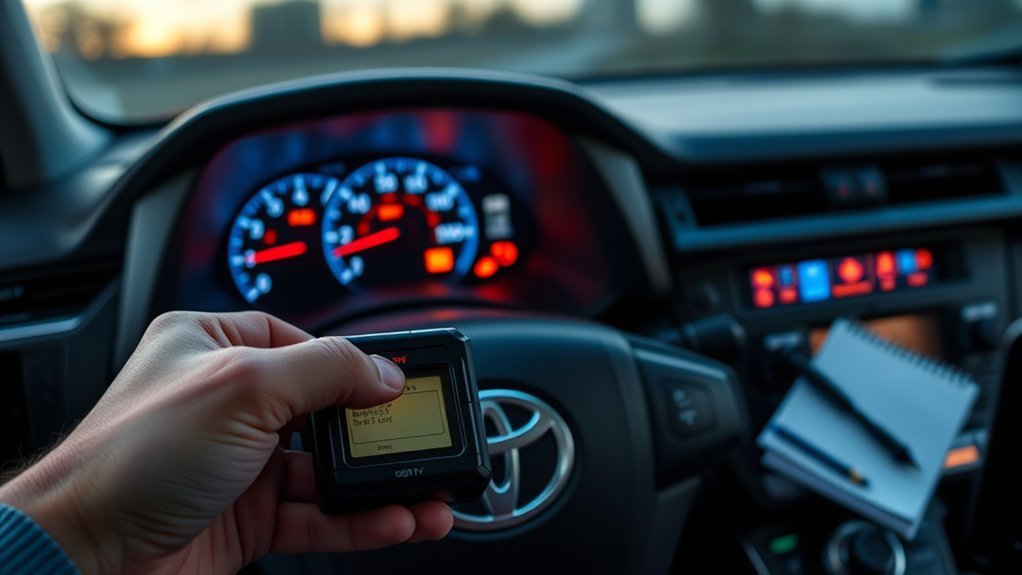
If your 2006 Toyota RAV4 shows the ABS, traction control, and VSC lights together, do not start by replacing random wheel sensors. A failed or misadjusted stop-light switch at the brake pedal can interrupt the signal the skid control ECU uses to confirm brake-pedal operation. On many Toyota scan tools this fault appears as C1249/49: Open in Stop Light Switch Circuit; some generic descriptions shorten it to C1249.
Quick Answer
For a 2006 RAV4 with ABS, traction control, and VSC lights plus code C1249/49, inspect the stop-light switch above the brake pedal first. Check brake-light operation, the switch connector, mounting, and continuity. Replace or adjust the switch only after confirming the fault, then clear codes and road-test.
Key Takeaways
- C1249/49 points to the stop-light switch circuit, not automatically to a bad ABS module.
- Start with simple checks: brake lights, STOP fuse, switch mounting, connector condition, and harness damage.
- Use a scan tool that can read Toyota ABS/VSC codes. Many basic engine-code readers will not show brake-control data.
- After replacing or adjusting the switch, clear the ABS/VSC codes and road-test before calling the repair finished.
At a Glance
| Time Required | 20–60 minutes for inspection and replacement |
| Difficulty | Beginner to moderate DIY |
| Tools Needed | Flashlight, trim-safe work light, multimeter, basic hand tools, Toyota-capable ABS/VSC scan tool |
| Typical Cost | Usually low for the switch itself; diagnostic labor and local parts pricing vary by shop and supplier |
Who This Guide Is For and When to Replace the Brake Switch
This guide is for 2006 Toyota RAV4 owners who see the ABS, traction control, and VSC warning lights come on together and have a scan result related to the stop-light switch circuit. The same diagnostic logic can also help with nearby model years, but always confirm the exact repair procedure and wiring information for your vehicle through the Toyota 2006 RAV4 owner resources or Toyota repair information.
The brake pedal switch is a small part, but it sends an important signal. When you press the brake pedal, the switch turns on the rear brake lights and provides brake-pedal status to related systems. Toyota describes the genuine stop light switch as the part that activates the brake lights and sends pedal input to related systems for proper operation.
Warning: Do not keep driving if your brake lights do not work. Other drivers may not know you are slowing down, and ABS/VSC functions may be limited when the system has an active fault.
Replace the switch when testing shows it is faulty, physically damaged, loose, misadjusted beyond correction, or intermittently failing. Do not replace it just because the warning lights are on. ABS, traction control, and VSC lights can also be caused by wheel-speed sensor faults, damaged wiring, low system voltage, blown fuses, or brake-control module issues.
C1249/49 and the Stop-Lamp Brake Pedal Switch
The correct Toyota-style code is usually written as C1249/49, meaning Open in Stop Light Switch Circuit. If you see “C12449,” treat it as likely shorthand, a typo, or a scan-tool display issue and verify the code with a Toyota-capable scan tool. The important point is the same: the skid control ECU is not seeing the expected stop-light switch signal.
| Step | Action | Why It Matters |
|---|---|---|
| 1 | Confirm brake lights turn on and off normally | A non-working brake light circuit supports a stop-switch diagnosis |
| 2 | Inspect the STOP fuse, switch, retainer, connector, and wiring | Loose or corroded connections can mimic a failed switch |
| 3 | Check switch continuity or live data while pressing the pedal | Confirms whether the switch signal changes correctly |
| 4 | Replace or adjust the switch if testing confirms a fault | Prevents unnecessary ABS-module or wheel-sensor replacement |
| 5 | Clear codes, re-scan, and road-test | Confirms the repair worked under real driving conditions |
Read Codes: Why C1249/49 Points to the Stop-Lamp Switch Circuit
Before removing parts, read the brake-control codes with a scan tool that supports Toyota ABS, VSC, and traction-control systems. A basic OBD-II reader may only show engine and emissions codes. You need the tool to read stored, current, and pending ABS/VSC codes and, ideally, live brake-switch data.
For C1249/49, the most likely areas to inspect are the stop-light switch, the stop-light switch circuit, the STOP fuse or stop-lamp side of the circuit, and the harness or connector between the switch and skid control ECU. The switch is only one part of the circuit, so avoid guessing.
Note: If the brake lights work perfectly but C1249/49 returns, the problem may be in the signal wire, connector, ground side, or ECU input rather than the switch itself.
Quick Test to Confirm a Faulty Brake Switch
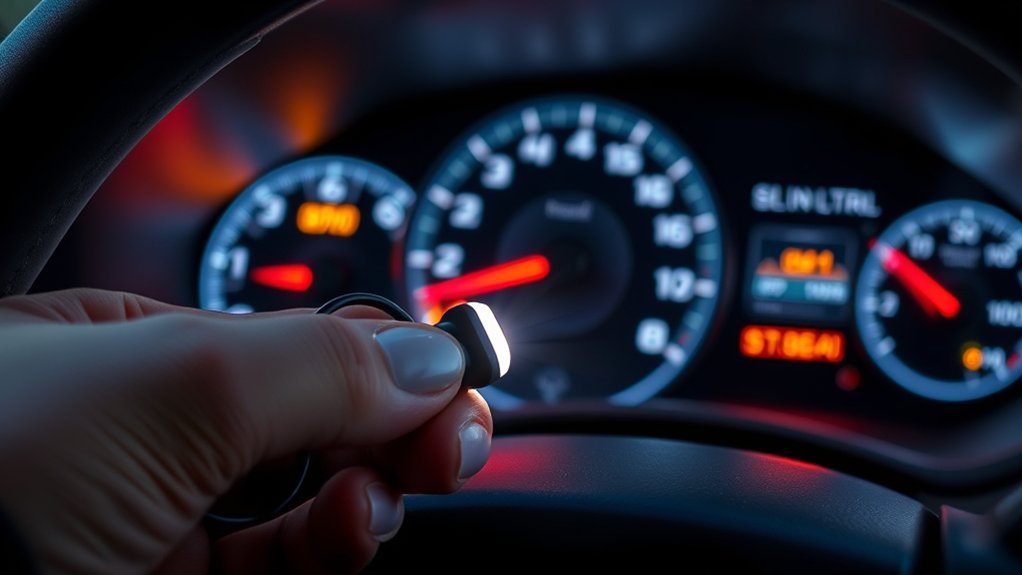
Start with the checks that take the least time and cost nothing. You are looking for proof that the switch is not sending a clean on/off signal when the brake pedal moves.
Brake Light Activation Test
Park safely, set the parking brake, and have an assistant stand behind the RAV4. Press and release the brake pedal several times. The brake lights should turn on immediately when the pedal is pressed and turn off when the pedal is released.
If the brake lights do not turn on, stay on all the time, flicker, or work only when the pedal is moved in a certain direction, inspect the switch and circuit. Also check the STOP fuse and rear lamp bulbs before condemning the switch.
Visual Switch Inspection
Look under the driver-side dash at the brake pedal bracket. Check whether the switch is seated squarely, the retainer is secure, and the plunger lines up with the pedal contact point. A loose switch can create an intermittent signal even when the switch itself is still good.
Unplug the connector and inspect the terminals for corrosion, bent pins, looseness, melted plastic, or signs of water intrusion. Trace the nearby wiring for chafing, cuts, or previous aftermarket splices. Alarm systems, trailer wiring, LED brake-light conversions, and poorly repaired brake-light wiring can all cause stop-light circuit faults.
Multimeter Continuity Test
Disconnect the stop-light switch connector and test the switch with a multimeter set to resistance or continuity. Operate the switch plunger by hand and confirm the reading changes cleanly between open and closed positions. A switch that does not change state, changes only sometimes, or reads erratically should be replaced.
Pro Tip: If your scan tool shows live data, watch the brake switch status while slowly pressing and releasing the pedal. The data should switch consistently at the same pedal point each time.
Locate the RAV4 Brake Pedal Stop-Lamp Switch
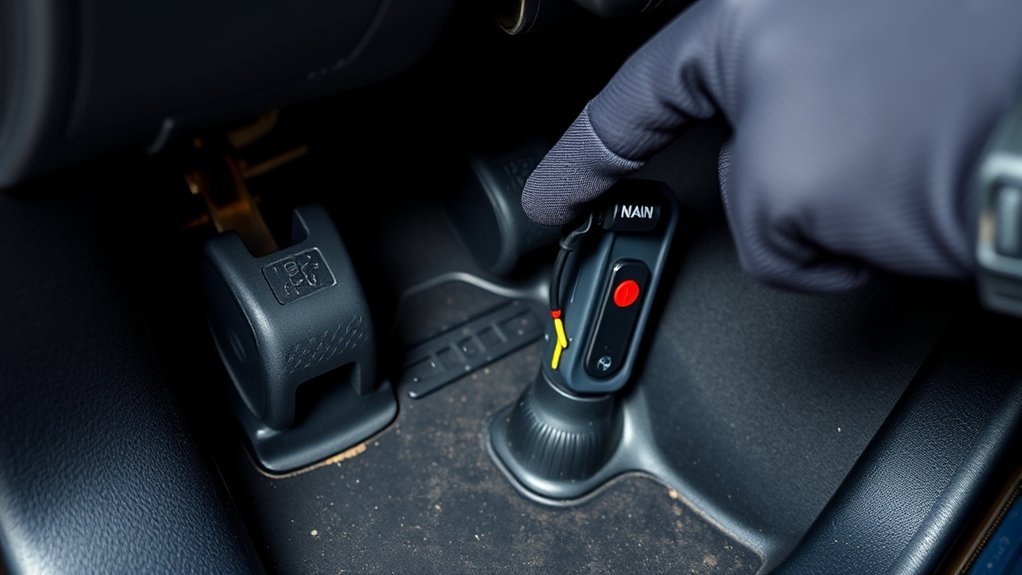
The stop-light switch is mounted under the dashboard on the driver’s side near the upper brake pedal arm. You will usually see a small switch body threaded or clipped into a bracket, with a plunger aimed at the brake pedal. The electrical connector plugs into the back of the switch.
- Use a flashlight: The area is cramped and dark, so good lighting prevents broken connectors.
- Note the switch position: Before removal, look at how far the switch sits in the bracket.
- Check pedal contact: The switch plunger must meet the pedal correctly so it changes state at the right point.
If the switch is loose, crooked, or backed out of the bracket, you may only need to reseat and adjust it. If the switch body is cracked or the terminals are damaged, replacement is the better repair.
Inspect the Switch and Connector: What to Look For
Once you can see the switch clearly, inspect it before removing it. A quick visual check can prevent wasted time and unnecessary parts replacement.
- Cracked plastic: Replace the switch if the housing or locking tabs are broken.
- Loose retainer or lock ring: A moving switch can cause intermittent brake-light and ABS/VSC signals.
- Misalignment: The plunger should move straight against the pedal contact point.
- Corroded terminals: Green, white, or dark deposits can create resistance or an open circuit.
- Damaged wiring: Look for stretched wires, cuts, rubbed insulation, or non-factory splices.
Wiggle the connector gently while an assistant watches the brake lights or while you monitor scan-tool live data. If the signal cuts in and out when the connector moves, the repair may involve the connector or harness rather than the switch alone.
Prepare and Remove the Old Brake Switch: Tools and Safety
Gather your tools before getting under the dash. You may need a flashlight, small pliers, a wrench or socket depending on the switch style, a multimeter, and the correct replacement stop-light switch. Use a Toyota part number or supplier fitment tool to confirm compatibility with your engine, trim, and production date.
Warning: Disconnect the negative battery cable before unplugging or replacing the switch if you are not comfortable working around live circuits. Keep the key off and avoid shorting connector terminals with a test probe.
- Move the driver’s seat back for working room.
- Take a photo of the switch and connector before removal.
- Unplug the electrical connector by pressing the lock tab, not by pulling on the wires.
- Release the switch from the bracket according to its design. Some switches twist out; others use a threaded retainer.
- Remove the switch without bending the brake pedal bracket.
If the switch does not come out easily, stop and re-check the locking mechanism. Forcing it can break the bracket or connector and turn a small repair into a wiring job.
[Products Worth Considering]

1 pcs of brake light switch fixes brake light, gear shift and dash light problems. Fixes the ABS/VSC/TRAC control code warning light that would appear randomly and light up...
Install the New Brake Switch and Set Pedal Free Play
Install the new brake switch in the same orientation as the old one. Seat it fully in the pedal bracket, reconnect the harness, and make sure the connector locks into place. The switch plunger must contact the pedal correctly so the brake lights are off when the pedal is released and on when the pedal is pressed.
After installation, test brake-light operation before putting the trim back. Press the pedal slowly several times. The brake lights should come on consistently and turn off immediately when the pedal returns. If they stay on, the switch may be too close to the pedal. If they come on late or not at all, the switch may be too far away or misaligned.
Pedal free play and switch adjustment matter. A switch that is slightly out of position can set warning lights again even though the part is new. For exact adjustment measurements, torque values, and model-specific procedures, use Toyota repair information through Toyota Technical Information System resources.
Clear Codes, Verify With a Scan Tool, and Road-Test
Replacing or adjusting the switch is not the final step. You still need to clear stored codes and confirm the ABS, traction control, and VSC systems see a normal brake-pedal signal.
[Products Worth Considering]
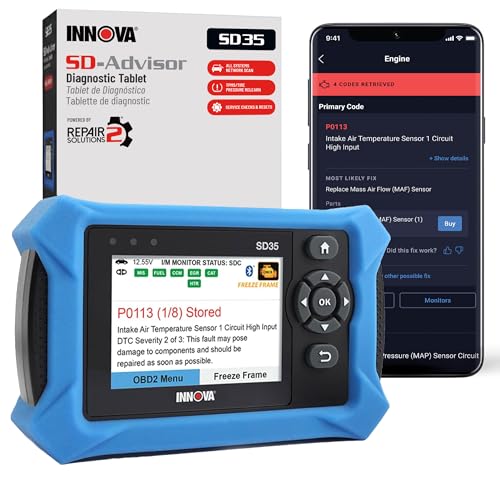
OBD2 SCANNER FOR ALL SYSTEMS – The INNOVA SD35 is a tablet-based OBD2 scanner designed for advanced diagnostics. Read and clear check engine light, ABS, SRS, and TPMS codes, plus test your car battery and alternator to prevent unexpected failures. Vehicle coverage may vary. Please use Innova’s Coverage Checker to verify compatibility.

[SAVE MONEY ON BRAKE & MAINTENANCE REPAIRS - 10 SERVICE FUNCTIONS + FREE LIFETIME SOFTWARE UPDATES] Perform common maintenance at home with XTOOL D5 OBD2 scanner and reset tool. Complete EPB service, ABS bleeding, throttle body relearn, Oil Reset, TPMS Reset, BMS Reset, SAS Reset, Injector Coding and more. Use XTOOL D5 obd2 scanner with relearn to put electronic parking brakes into service mode, bleed ABS after brake repairs, relearn the throttle after replacement, reset maintenance lights, and perform battery-related service without unnecessary shop visits. Functions vary by vehicle make, model, year, and ECU. Send us your VIN before purchase for a free compatibility check
Clear Stored Fault Codes
Use a Toyota-capable scan tool to clear the ABS/VSC codes. Then turn the ignition off and back on and scan again. If C1249/49 returns immediately without driving, the circuit still has a fault.
Verify Live Data
Check live data for brake-switch status if your scan tool supports it. Press and release the brake pedal. The data should change cleanly and repeatably. If the brake lights work but live data does not change, focus on the signal path to the skid control ECU.
Perform Road-Test Verification
Road-test the RAV4 in a safe area. Make several normal stops and confirm the ABS, traction control, and VSC lights stay off. Re-scan after the drive. If no current or pending codes return, the repair is likely complete.
Note: Some warning lights may stay on until codes are cleared with the correct scan tool, even after the mechanical repair is done.
If Lights Return: Other Causes, Costs, and Prevention Tips
If the ABS, traction control, and VSC lights return after the switch checks out, do not keep replacing the same part. Scan again and diagnose the new or returning code. A different code can point you in a completely different direction.
Other Common Causes to Check
- STOP fuse or brake-light bulb issue: A blown fuse or lamp-side fault can affect the stop-light circuit.
- Wheel-speed sensor fault: ABS and traction control rely on accurate wheel-speed data.
- Damaged sensor wiring: Wires near the wheels can be damaged by road debris, corrosion, or previous repairs.
- Low battery voltage: Weak voltage can trigger multiple warning lights and communication faults.
- Aftermarket lighting or trailer wiring: Incorrect brake-light wiring can confuse the circuit.
- Skid control ECU or hydraulic brake-control issue: Less common, but possible after the switch, fuse, bulbs, wiring, and sensors test good.
Cost Expectations
The stop-light switch is usually one of the less expensive parts in the brake-control system, but total cost depends on your location, diagnostic time, and whether wiring repair is needed. A proper scan and circuit test may cost more than the switch, but it can save money by preventing unnecessary ABS module or wheel-speed sensor replacement.
Prevention Tips
- Fix brake-light problems as soon as you notice them.
- Avoid tapping aftermarket accessories into brake-light wiring unless the circuit is designed for it.
- Keep the driver footwell dry to protect connectors from corrosion.
- Use the correct replacement switch and confirm adjustment after installation.
- Scan the vehicle after any ABS, VSC, or traction-control warning appears.
Frequently Asked Questions
Is the Toyota code C12449 or C1249/49?
The Toyota-style code is commonly written as C1249/49, meaning Open in Stop Light Switch Circuit. If your scan tool shows C12449, verify it with a Toyota-capable ABS/VSC scanner because it may be a formatting issue or typo.
Can a weak battery trigger the traction control, ABS, and VSC lights?
Yes. Low system voltage can cause multiple warning lights or communication faults. Test the battery and charging system, clean the terminals, clear the codes, and re-scan before replacing ABS or traction-control parts.
Will disconnecting the battery permanently reset ABS and traction control?
No. Disconnecting the battery may temporarily clear some symptoms, but it does not repair the cause. If the stop-light switch circuit, sensor, wiring, or module fault is still present, the warning lights and codes can return.
Can aftermarket brake lights or wiring cause these warning lights?
Yes. LED conversions, trailer wiring, alarm wiring, and poorly repaired brake-light circuits can affect the stop-light switch signal. If the problem started after an electrical modification, inspect that work first.
Can worn wheel-speed sensors mimic a brake-switch fault?
They can create similar ABS, traction control, and VSC warning lights, but they usually set different diagnostic codes. Read the ABS/VSC codes before replacing parts so you know whether the fault is in the stop-light circuit or wheel-speed circuit.
Can I drive with C1249/49 active?
Drive only if the brake lights work and the brake pedal feels normal, and get the fault diagnosed as soon as possible. If the brake lights do not work, the brake pedal feels abnormal, or the red brake warning light is on, do not drive the vehicle.
Conclusion
When a 2006 Toyota RAV4 shows ABS, traction control, and VSC lights with C1249/49, the stop-light switch circuit deserves first attention. Confirm the code, test the brake lights, inspect the switch and connector, and use a multimeter or live scan data before replacing parts. After repair, clear the codes and road-test. If the lights return, continue with circuit, fuse, battery, wheel-speed sensor, and skid-control diagnostics instead of guessing.
Sources
- Toyota 2006 RAV4 Manuals and Warranties — official owner resources for the 2006 RAV4.
- Toyota Technical Information System support — official source for Toyota repair manuals, wiring diagrams, and technical service information.
- Toyota Genuine Stop Lamp Switch Assembly — confirms the stop-light switch function and Toyota genuine part description.
- Toyota Dashboard Warning Lights — official Toyota warning-light reference and next-step guidance.