You get an integrated, vehicle‑synchronized trailer brake controller that links to your trailer via the 7‑pin connector and lets you match electric or electric‑over‑hydraulic brakes. You’ll adjust gain from 0–10 in half‑steps and monitor a multi‑information display for live output and brake type selection. Test at 20–25 mph, start near 5.0, and fine‑tune until the trailer tracks smoothly; use the manual output slider for immediate override. Keep going to learn setup, tests, and troubleshooting tips.
Quick Answer: How the Tundra Trailer Brake Controller Helps You Tow

Because the Tundra’s integrated trailer brake controller syncs directly with your vehicle braking system, it gives you precise, coordinated stopping power when towing heavy loads. You’ll use a 7-pin connector to transmit robust brake signals, enabling higher towing capacity than a 4-pin setup and improving towing efficiency. The controller lets you set gain from 0 to 10 in half-step increments, so you can dial brake sensitivity to match trailer mass and road conditions. The multi-information display (MID) reports the trailer brake type and shows a real-time visual output meter, giving you immediate feedback on applied force. You’ll adjust gain regularly as loads or surfaces change, maintaining ideal control without guessing. This direct integration reduces lag between vehicle and trailer braking, lowers trailer sway risk, and keeps stopping distances predictable. You’re empowered to tow with confidence and autonomy, managing precise braking behavior that aligns with your desire for liberated, capable travel.
What the Tundra Trailer Brake Controller Does and Why It Matters
You get synchronized braking control that matches the trailer’s electric brakes to the Tundra’s brake input, giving predictable, proportional stopping力. That compatibility—via the 7-pin connector and selectable brake types—lets you use trailers with electric brakes safely instead of relying on inadequate 4-pin setups. By adjusting gain (0–10, half steps) and monitoring the MID output meter, you maintain increased towing safety across varying loads and road conditions.
Synchronized Braking Control
When towing heavy loads, the Tundra’s integrated trailer brake controller synchronizes the truck’s brakes with the trailer’s electric brakes to maintain stable, predictable deceleration. You get improved towing efficiency and sharper brake responsiveness because the system matches torque delivery between vehicle and trailer in real time. A 7-pin connector transmits precise brake commands; the controller’s gain is adjustable from 0 to 10 in half-step increments so you can dial in braking force for different loads. The multi-information display provides live feedback on applied braking force and trailer brake type, enabling quick, informed adjustments. That control lets you tow with authority and autonomy, reducing oscillation and trailer tug so you can move freely and confidently.
Increased Towing Safety
If you tow heavy loads regularly, the Tundra’s integrated trailer brake controller actively synchronizes the truck’s brakes with the trailer’s electric brakes to improve stability and reduce stopping distance. You get reliable brake signal transmission through the 7-pin connector, so the controller can apply proportional force to the trailer based on vehicle deceleration. Adjust the gain (0–10, half-step increments) to match trailer weight and road conditions; the MID’s visual indicators give real-time feedback so you can refine settings on the fly. Applying proper towing techniques and routine brake maintenance keeps the system responsive, prevents trailer sway, and shortens stopping distances. That control lets you tow with confidence and freedom while minimizing risk.
Brake Type Compatibility
One key detail to get right is selecting the correct brake type in the MID—set it to match either electric or electric-over-hydraulic systems so the Tundra’s integrated controller can send the appropriate signal and modulation profile. You’ll guarantee brake system compatibility and maximize synchronized deceleration by choosing the correct type, using a 7-pin connector, and making trailer brake adjustments via the gain setting. Adjust gain from 0–10 in half steps to tune force for load and brake type. This lets you reclaim control and tow confidently. Below is a concise reference:
| Setting | Purpose |
|---|---|
| Electric | Direct pulse for electric brakes |
| Electric-over-Hydraulic | Modulated signal for actuator units |
| Gain | Fine-tune braking force |
| Connector | 7-pin required for brakes |
Tundra Trailer Brake Controller: Factory Hardware and Control Locations
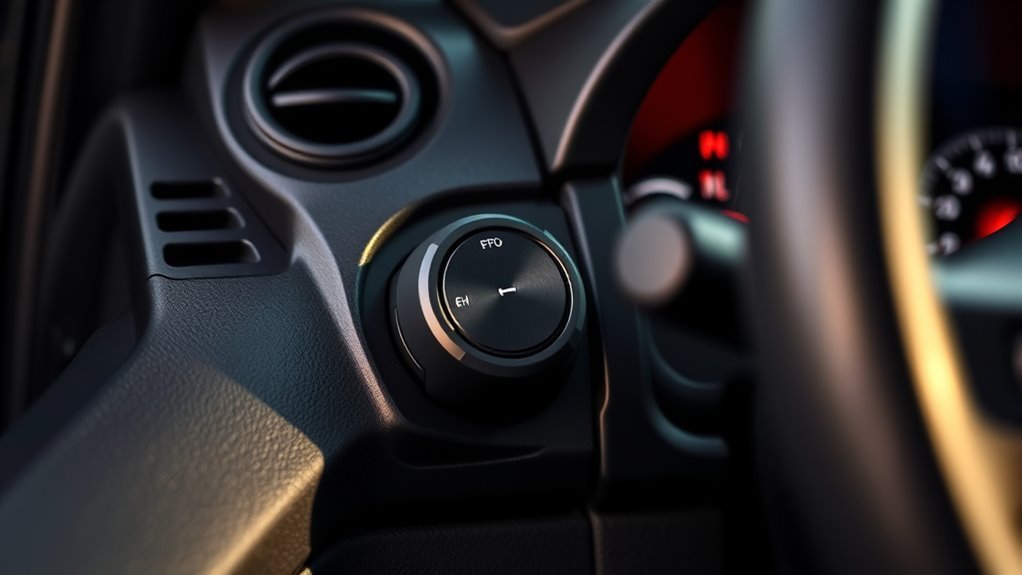
The Tundra’s factory trailer brake controller integrates hardware and controls into the cabin and wiring harness so you can manage trailer braking without aftermarket modules. You’ll find trailer brake features exposed via the MID in the instrument cluster and tactile dashboard controls—gain buttons under the steering wheel and a manual output slider—for precise intervention. The integrated controller has been standard since 2016 on models with the 5.7L i-Force V8, so you won’t need add-on units if your rig matches that spec.
The system routes brake commands through the vehicle harness to a 7-pin connector at the hitch, maintaining compatibility with electric-braked trailers. You can adjust gain from the driver’s seat using the MID menus and the lower dashboard buttons, then apply trailer-only braking with the manual slider to test or supplement service brakes. This factory layout gives you direct, reliable control while keeping wiring and components consolidated for serviceability and freedom from aftermarket complexity.
Select Brake Type in the MID (Electric vs. Electric‑over‑Hydraulic)
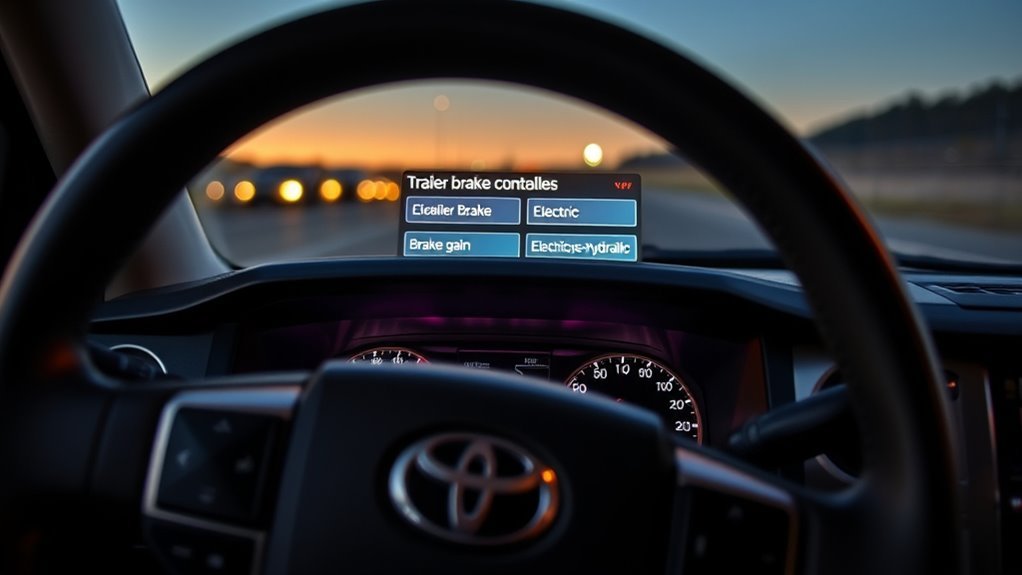
After you’ve confirmed the factory controller and familiarized yourself with the gain and manual-output controls, set the trailer brake type in the MID so the system matches your trailer’s hardware. You’ll use MID navigation to choose either electric or electric-over-hydraulic braking; this single choice dictates control algorithms and output behavior. Make brake type selection only after connecting the trailer and verifying the electrical interface. The MID will display the selected mode so you can confirm configuration visually. Selecting the wrong type can reduce stopping capacity and create safety risk, so be deliberate.
- Verify trailer wiring and connector before entering the MID navigation menu.
- Select “Electric” for magnetically actuated brakes; select “E-O-H” for hydraulic actuators with an electric control valve.
- Confirm the MID visual indicator matches your physical trailer hardware.
- Re-enter the menu if you change trailers or modify the brake system.
- Treat brake type selection as a safety-critical setting and document your choice.
Set Up the Controller and Test Trailer Brakes Before Towing
Before you tow, verify the controller is configured and the trailer is connected, then test brakes on a level road at 20–25 mph to set and confirm gain. You’ll inspect the 7‑pin connector, confirm continuity, and guarantee trailer brakes and lights respond; proper brake maintenance starts here. Use the MID to select the correct brake type (electric or electric‑over‑hydraulic) so the controller output matches system characteristics and trailer weight.
Begin with the gain at 5.0. On a straight, level road at 20–25 mph, apply the tow vehicle brakes and observe trailer behavior: judder or wheel lock indicates excessive gain, delayed stopping or light pull indicates insufficient gain. Adjust incrementally, testing after each change. Reevaluate whenever trailer weight or load distribution changes, or after service. Consistent, procedural testing empowers you to tow confidently and free—reduce dependence on guesswork by keeping controls calibrated and performing routine brake maintenance before every trip.
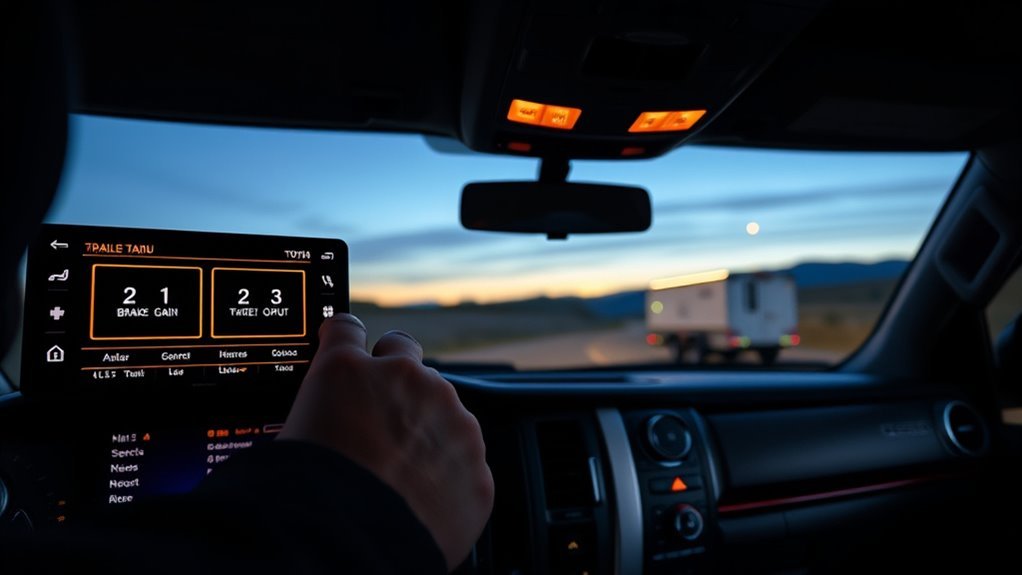
Fine‑Tune Gain: 20–25 MPH Road‑Test and Read the Output Meter
Start by driving at a steady 20–25 mph on a level road and set the controller gain to 5.0 so you can observe baseline trailer response while watching the MID output meter. You’ll perform controlled braking pulses, watching for wheel lock-up and noting braking feedback on the MID. Verify the MID shows the correct trailer brake type (electric or EOH) before proceeding. Use measured corrections: increase gain if the trailer lags, decrease if wheels lock or skid.
- Observe the MID output meter during each pulse to read real-time braking force and compare against expected response.
- Make incremental gain adjustment changes and document braking feedback for each step.
- Re-check trailer wiring and brake type indication if output appears inconsistent.
- Repeat tests with representative load to account for weight-dependent behavior.
- Stop testing when the trailer responds smoothly without lock-up and the MID output meter shows stable proportional output.
This process frees you from guesswork with precise, repeatable gain adjustment.
Use the Manual Output Slider: When and How to Override Automatic Control
Need direct control? Pull the manual output slider toward you to apply trailer brakes independently of the Tundra’s brake input. Use manual control when you need immediate, proportional braking — steep descents, slick roads, or to correct trailer push. The slider gives you direct modulation of braking power; practice steady, small inputs to avoid wheel lock and to refine braking techniques.
| Situation | Action | Result |
|---|---|---|
| Steep grade | Pull slider progressively | Maintain controlled descent |
| Icy surface | Apply light, repeated inputs | Reduce trailer sway risk |
| Trailer surge | Quick firm pull | Counteract push immediately |
| Low-speed maneuver | Short, precise taps | Prevent jackknifing |
| Confidence building | Practice in safe area | Improve manual control skill |
Operate the slider deliberately: pull, hold, release. Regular practice integrates manual control into your responses, liberating you from sole reliance on automatic algorithms while preserving safety and precision.
Troubleshooting the Tundra Trailer Brake Controller and When to Get Help
If the trailer connection indicator or other warning lights illuminate or behave erratically, check the 7‑pin connector, MID settings, and the manual output slider for proper operation before further action. You’ll want to confirm gain is set around the recommended 5.0 and observe braking under load to rule out wheel lock‑up or uneven response. If indicators persist, braking remains inconsistent, or you can’t select the correct trailer brake type in the MID, have a qualified technician inspect the controller and trailer wiring.
Diagnostics And Error Lights
When your Tundra’s trailer brake indicator doesn’t glow green, you’ll want to immediately inspect the trailer connection and electrical harness for loose pins, corrosion, or damaged wiring, since the MID may also display error messages that narrow the fault to the controller or trailer circuits. You should monitor error indicators and pull diagnostic codes to isolate controller faults from trailer-side issues. Check gain calibration if braking feels inconsistent or wheels lock up; incorrect gain mimics electrical faults. Use the owner’s manual for stepwise tests and DTC lookup. Preserve your autonomy by learning these checks so you’re not dependent on immediate service.
- Read MID messages and record any diagnostic codes.
- Visually inspect pins, sockets, and grounding.
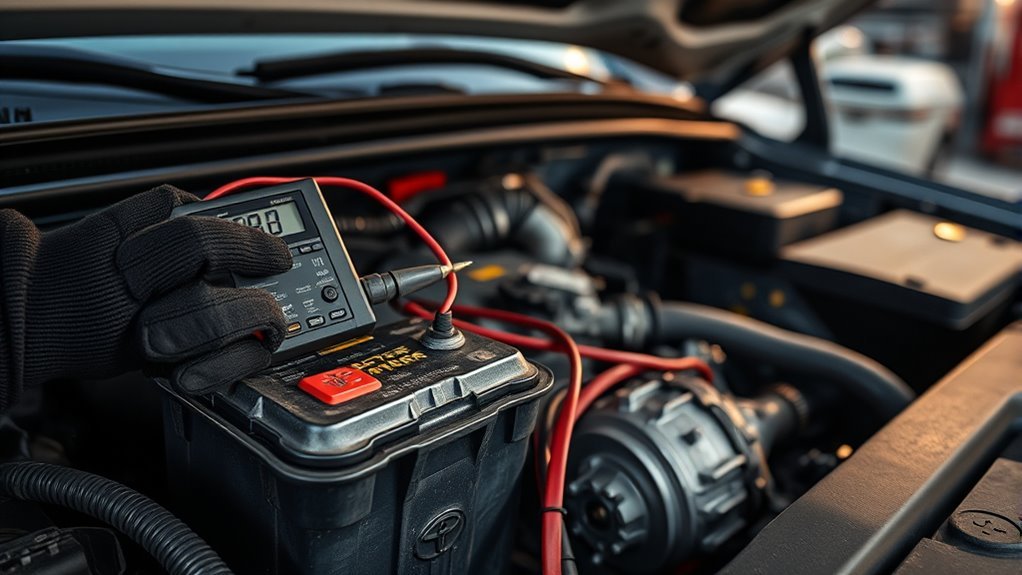
- Measure voltage at the controller connector.
- Test trailer brake magnets and continuity.
- Verify and recalibrate gain settings.
When To Seek Service
Although you can handle many trailer-brake checks yourself, you should seek professional service whenever the system shows persistent faults, unpredictable braking behavior, or unresponsive outputs that you can’t isolate with basic tests. If the trailer connection indicator won’t light green, verify the 7-pin connector and wiring; persistent failure is a clear service indicator. Locking wheels, inconsistent braking or a nonresponsive manual output slider may point to incorrect gain, wrong brake type selection, or internal faults—get trained help. Regularly apply maintenance tips: adjust for load and road conditions, but if you’re recalibrating often, consult a technician for underlying issues.
| Symptom | Likely cause | Action |
|---|---|---|
| No green indicator | Wiring/connector fault | Inspect; service if persistent |
| Wheels lock | Gain/setup error | Reassess gain; service if repeats |
| Slider unresponsive | Output/actuator fault | Test; repair recommended |
Frequently Asked Questions
Does the Toyota Tundra Come With a Trailer Brake Controller?
Yes — you get a factory options integrated controller on compatible Tundras; you can adjust gain via the MID. If you want alternatives, you’ll bypass stock functionality through an aftermarket installation process for more liberated control.
What Should My Trailer Brake Controller Be Set To?
Start at a gain of 5.0, then adjust in 0.5 steps while driving 20–25 mph to avoid wheel lock-up. You’ll select brake type, use the manual output slider, and prioritize brake controller settings for towing safety.
Conclusion
Using your Tundra’s trailer brake controller correctly keeps towing stable and safe. Before every trip, confirm the MID is set to the right brake type (electric or E‑H), hitch the trailer, and adjust gain on a 20–25 MPH road test until the output meter shows firm, consistent stops. If you need extra force, use the manual slider briefly. For example, a landscaper towing a 7,000 lb trailer avoided jackknifing after increasing gain from 5 to 7 during testing.