You’ll notice failing Tundra ball joints as front-end clunks, loose or wandering steering, increased steering effort, and vibration in the cabin or wheel. Visually inspect for torn boots or grease leaks and check wheel play by lifting each front tire for lateral or vertical movement. Uneven tire wear—outer edge for upper, inner for lower—also signals joint wear. If you’re hearing clunks or feeling drift, stop and have them checked; more diagnostic checks and repair options follow.
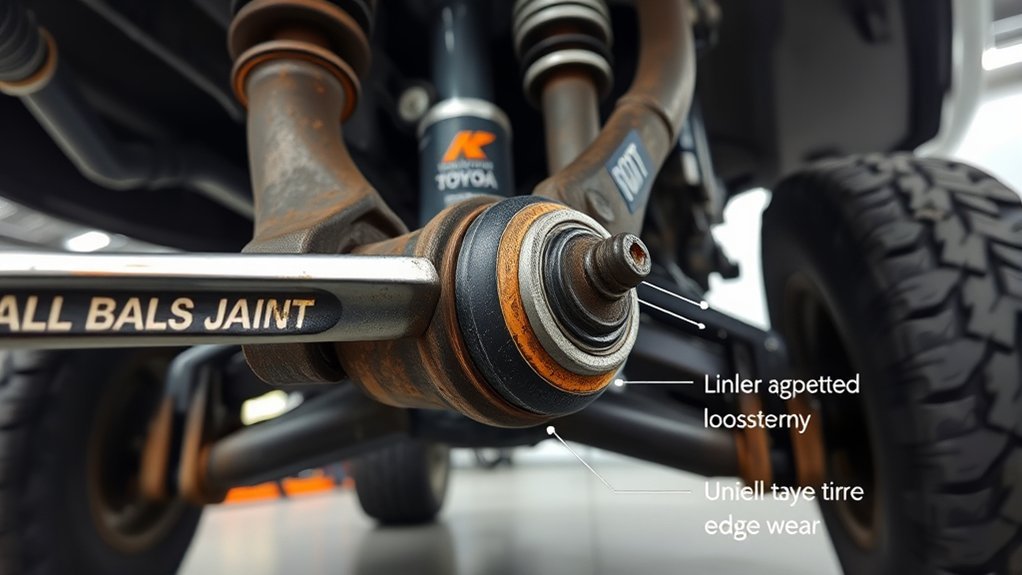
How Tundra Ball Joints Work
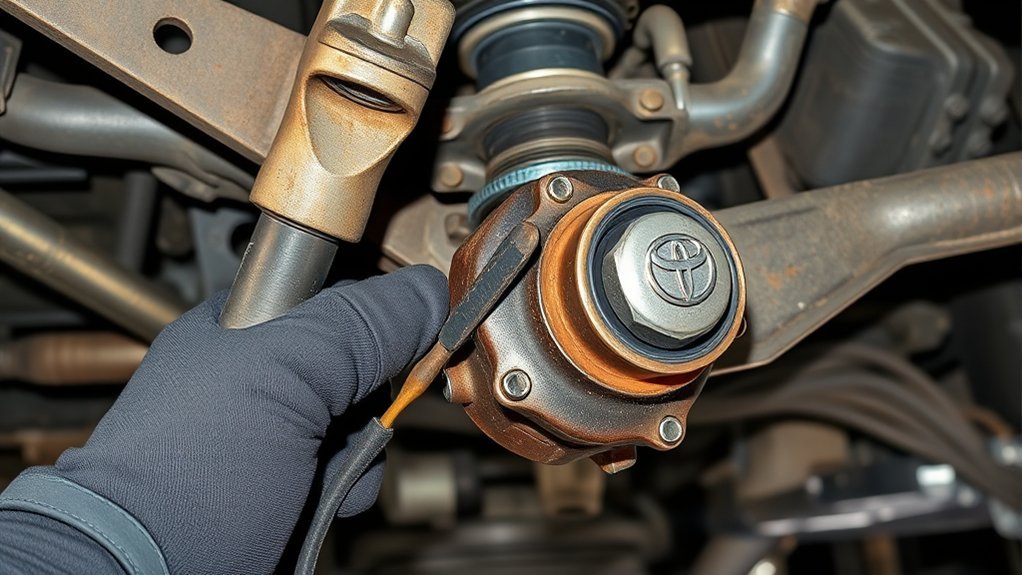
Think of the Tundra’s ball joints as precision pivots that link the steering knuckle to the control arms and let the suspension articulate under load. You’ll see ball joint anatomy is simple but critical: a metal ball seated in a lubricated socket, sealed to retain grease and exclude contaminants. In suspension mechanics terms, they transmit vertical loads from body weight and lateral loads from cornering, keeping the tire contact patch responsive to steering inputs. You’ll rely on their sealed lubrication to minimize friction; loss of that film accelerates wear. Expect service life to vary with driving conditions, vehicle weight and maintenance habits, often approaching 120,000 km under normal use. You should inspect boots, check for contamination and confirm proper torque and movement during routine maintenance. By understanding how they manage multi-axis loads and where wear begins, you’ll diagnose issues sooner and reclaim control over vehicle safety and performance.
Top Signs Your Tundra’s Ball Joints Are Failing
You’ll first notice irregular clunking or rattling over bumps as ball joint clearances grow. Expect a loose, wandering steering feel that makes the truck drift in the lane and compromises tracking. These noises and steering looseness together signal urgent inspection and likely ball joint replacement.
Clunking Or Rattling
A sharp clunk or persistent rattling from the front end when you hit bumps or dips usually points to worn ball joints on your Tundra; as the joint degrades—often from failed outer boots or poor lubrication—contaminants accelerate wear and the impacts become louder and more frequent. You’ll note increasing intensity and frequency; that progression signals urgent inspection. clunking causes are usually boot failure, loss of grease, and contamination. Don’t ignore noises; they precede dangerous joint failure.
| Symptom | Interpretation |
|---|---|
| Single clunk over bump | Localized joint play |
| Repeated rattling | Advanced abrasion |
| Noise under load | Bearing surface wear |
| Noise + looseness | Imminent failure |
| Intermittent sound | Early contamination |
rattling solutions: clean, repack only if serviceable; otherwise replace and liberate control.
Wandering, Loose Steering
When ball joints wear, they introduce a loose pivot point that lets the front end wander and reduces steering precision, so you’ll notice the truck drifting from lane center or requiring constant steering corrections. You’ll feel increased steering effort and a delay between input and response as worn joints disconnect your wheel from the suspension geometry. Vibrations in the cabin and steering wheel during speed changes confirm the joints aren’t supporting vehicle weight, undermining suspension stability. A slight wiggle in the front wheel over bumps signals imminent failure and potential loss of control. Check for uneven tire wear—especially outer-edge cupping—which indicates compromised steering alignment. Don’t tolerate this: restore control by replacing ball joints and reestablishing suspension stability and alignment.
Quick DIY Checks for Tundra Ball Joints
Start with a visual boot inspection: check the rubber boots around each ball joint for tears or grease leakage that would allow contamination. Then perform a wheel play test by safely lifting the front, grabbing the tire at 12 and 6 o’clock, and feeling for vertical or lateral movement. Finally, assess road feel for clunks, rattles, uneven tire wear, or steering vibrations at speed that indicate worn joints needing service.
Visual Boot Inspection
Visual inspection gives you quick, actionable clues about Tundra ball joint health—check the rubber boot for splits, tears, or cracks that let grease escape and contaminants in. You’ll assess boot integrity and note any grease escape as a direct sign of lost lubrication importance. Inspect attachment points for looseness; a detached boot invites contamination and accelerated wear. Look for cracks, deformities, or dried grease trails. Do this during tire rotations or routine maintenance to prevent suspension failure. Stay proactive—your choices free you from avoidable breakdowns.
| Item | What to look for |
|---|---|
| Boot integrity | Splits, tears, cracks |
| Grease escape | Wet trails, missing grease |
| Attachment | Secure clamp fit |
| Deformity | Wrinkles, bulges |
| Inspection timing | Every tire rotation |
Wheel Play Test
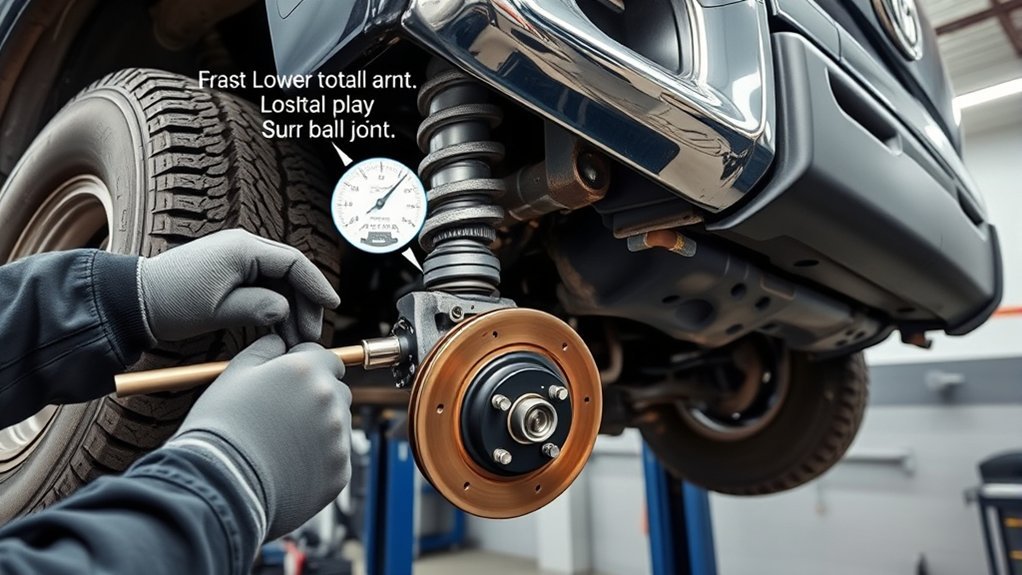
After you’ve checked the boot for tears and grease loss, perform a quick wheel play test to confirm ball joint condition: with the Tundra securely lifted, grasp the tire at 3 and 9 o’clock and rock it side-to-side—any noticeable lateral movement indicates ball joint or steering-component wear. Next, repeat at 12 and 6 o’clock; excessive vertical or rotational play points to a failing ball joint or worn linkage. If you detect movement, inspect the rubber boot for splits or grease loss to corroborate failure. Use a pry bar on the control arm while observing the joint to quantify deflection. These testing techniques are straightforward, empowering you to diagnose issues before they escalate. Regular ball joint maintenance after high mileage preserves safety and your vehicle’s freedom.
Road Feel Assessment
If you notice irregular clunks, a wandering steering feel, or harsh vibrations at speed, those road cues point to possible ball joint wear that you can quickly screen yourself. Use road feedback deliberately: drive a smooth straight stretch at varying speeds, note any steering responsiveness loss, wandering, or amplified cabin vibration. Listen for front-end clunks over bumps—early warning of looseness. Visually inspect tire edges for uneven wear indicating misalignment from worn joints. Perform the quick DIY wiggle: with the vehicle secure, rock the wheel back and forth and feel for play at the joint; excessive movement or torn rubber boots means degradation. Document symptoms, prioritize repairs if you detect steering play, clunking, vibration, or visible boot damage to reclaim control and safety.
Why Front-End Clunks Often Mean Worn Ball Joints
When you hear a distinct clunk or rattle from the front end that worsens over bumps and dips, suspect worn ball joints — the loosened joint lets the control arm shift under load, producing the impact noise. You want clarity: clunking causes are mechanical play at the ball stud or in the socket, so the control arm slaps into its travel limits and transmits a sharp shock through the chassis. That shock undermines suspension stability and your confidence behind the wheel.
- Audible signature: rhythmic clunks aligned with road imperfections point to joint play.
- Traction and feel: looseness produces a disconnected steering sensation and variable toe under load.
- Tire evidence: uneven edge wear signals alignment drift from a failing joint.
- High-speed cues: cabin vibrations can indicate progressing wear, worsened by wheel imbalance.
Inspect regularly; replace at first confirmed play to restore control and preserve your freedom to drive safely.
Loose or Wandering Steering: Diagnosing Ball-Joint Play

Loose steering often points to ball-joint play — worn joints introduce a pivoting slack in the suspension that makes the Tundra feel disconnected from your inputs and prone to wander within the lane. You’ll notice degraded steering feedback: the wheel responds with delay or vague resistance, and the truck drifts during long turns or over uneven pavement. A slight wiggle in the front wheel hitting bumps at speed is a clear diagnostic sign of ball-joint play compromising tracking stability.
When diagnosing, isolate variables: confirm tire pressures and rule out poor suspension alignment or worn tie-rod ends, since those also affect straight-line tracking. Lift the front end, grasp the wheel at 3 and 9 o’clock, and check for vertical or lateral play; any perceptible free movement at the ball-joint requires replacement. Inspect boots for tears and grease loss. Regular checks prevent accelerated tire wear and restore precise steering feedback, giving you back control and freedom on the road.
Cabin and Steering Vibrations: What They Reveal
Because worn ball joints let suspension components move beyond designed tolerances, you’ll often feel vibrations through the steering wheel and cabin that get worse with speed and signal advancing wear. Those vibrations aren’t just annoyance — they’re diagnostic. Cabin noise paired with steering shudder points to excessive play, contaminated bearings, or lost lubrication that lets debris erode the joint.
You can quickly assess likely vibration sources with a focused check:
- Road-speed increase: vibrations amplify at higher speed — indicates ball-joint play.
- Steering input: vibrations change with wheel angle — isolates front lower/upper joint issues.
- Static inspection: torn boot or grease loss — confirms lubrication failure and contamination.
- Tap test: audible clunks or looseness under load — forecasts imminent joint failure.
Treat persistent cabin noise and steering vibration as urgent. Regular inspections free you from unexpected loss of control; address lubrication and replace compromised joints to restore precise, liberated control of your Tundra.
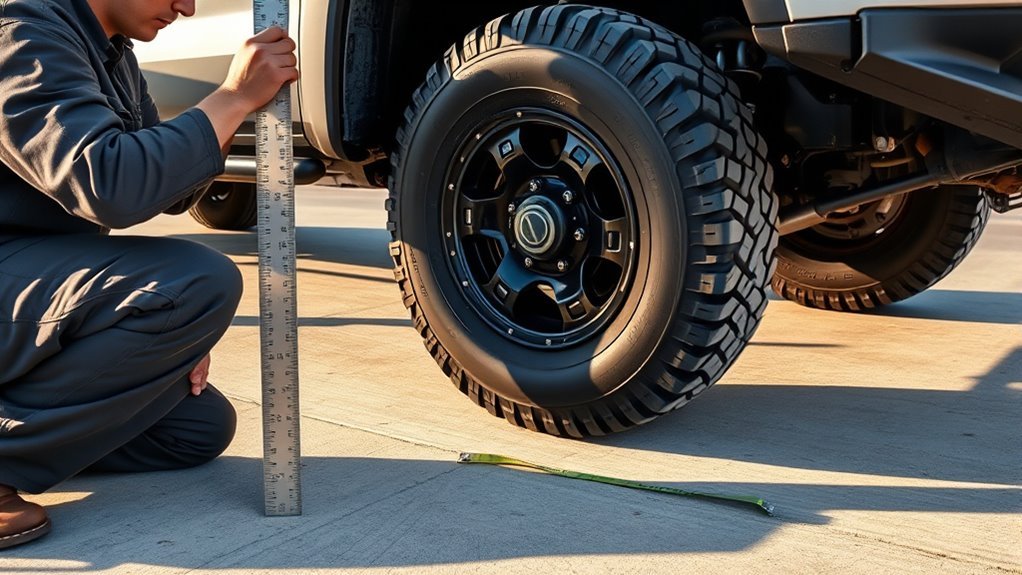
Uneven Tire Wear: Spotting Upper vs. Lower Ball-Joint Issues
Check your front tires regularly—uneven edge wear is a quick diagnostic clue that a ball joint has exceeded its tolerances. You’ll use tread depth readings and visual inspection to localize the fault: heavy inner tread wear on a front tire usually points to a worn lower ball joint creating excessive negative camber and degraded tire alignment. Conversely, heavy outer tread wear signals an upper ball joint allowing the steering knuckle to drift outward under load.
If a single tire shows rapid edge wear, correlate that with steering looseness or clunking to strengthen the diagnosis. Measure tread depth across the width at multiple points; consistent inner or outer degradation across both front tires suggests a systemic suspension alignment problem, while a single-side pattern suggests a localized ball-joint failure. Track wear trends routinely so you can act before control or safety is compromised, preserving your freedom to drive confidently and avoid cascading suspension damage.
When to Stop Driving and What Shops Inspect for Ball Joints
If you hear clunking, rattling, or feel vibration from the front end, stop driving and have the Tundra inspected immediately—these are classic signs that a ball joint may be near catastrophic failure. You want freedom from breakdowns, so don’t risk a wheel collapse or loss of control.
Shops will perform a targeted diagnostic sequence to confirm ball joint wear and guide ball joint maintenance. Expect checks that include:
- Visual inspection for torn boots, grease loss, and corrosion.
- Play test: lift wheel, probe for vertical or lateral movement.
- Steering and suspension alignment check to correlate uneven tire wear.
- Road-test to reproduce clunks, wander, or vibration under load.
Ask for inspection frequency recommendations based on driving conditions and tire wear patterns. Prefer shops experienced with first-gen Tundras; they’ll avoid unnecessary part swaps and provide a confirmed diagnosis so you can get back on the road with confidence.
Repair Options and Costs: OEM vs. Aftermarket Ball Joints
Decision-making for ball joint replacement balances cost, durability, and intended use — and you’ll want to choose the component that matches how you drive the Tundra. OEM parts meet or exceed factory specs, offering predictable fit, longer service life, and stronger warranty support; they mitigate failure risk in heavy-duty or off-road use despite higher upfront cost (roughly $50–$150 each). OEM disadvantages include price and limited aftermarket performance tuning.
Aftermarket advantages include lower unit cost ($20–$80) and selective performance enhancements from reputable brands, letting you prioritize budget or specific handling traits. Quality varies, so diagnose usage: casual street driving may tolerate economy options; towing, hauling, or rough terrain demands OEM reliability. Installation labor typically adds $100–$300 regardless of part choice. Diagnose severity, estimate remaining suspension life, and factor warranty exposure when choosing. Choose with intent—liberate yourself from unnecessary expense or risk by matching part selection to operational demands.
Frequently Asked Questions
How Long Do Toyota Ball Joints Last?
You’ll typically get about 70,000 to 150,000 miles from Toyota ball joints, though harsh roads and poor ball joint maintenance cut life short; inspect regularly, perform timely ball joint replacement to avoid sudden failure and retain driving freedom.
How to Check Ball Joints in Tundra?
Coincidentally, when you lift and secure your Tundra, you’ll test ball joint maintenance by rocking the wheel at 3 and 9, inspecting boots for tears, and prying the control arm to diagnose Tundra suspension play or noise.
What Is the Most Common Symptom of a Worn Out Ball Joint?
The most common symptom is a noticeable clunking ball joint noise from the front suspension over bumps; you’ll also feel steering instability and wandering, so you’ll diagnose looseness quickly and demand immediate inspection for safety and freedom.
Is There a Recall on Toyota Tundra Ball Joints?
Yes — Toyota issued recalls for some Tundra lower ball joints; you should check VIN status. Prioritize ball joint maintenance, assess replacement costs, and demand free repairs if recall applies to liberate your safety.
Conclusion
Think of your Tundra’s suspension like a ship’s rigging: each ball joint’s integrity keeps the hull steady through waves. When you notice clunks, wander, vibration, or uneven tire wear, you’re feeling frayed lines that demand immediate inspection. Don’t push on—anchoring sooner prevents hull breach. Diagnose with the quick checks, then weigh OEM versus aftermarket repairs based on load, budget, and longevity. Act decisively to restore precise, safe steering.