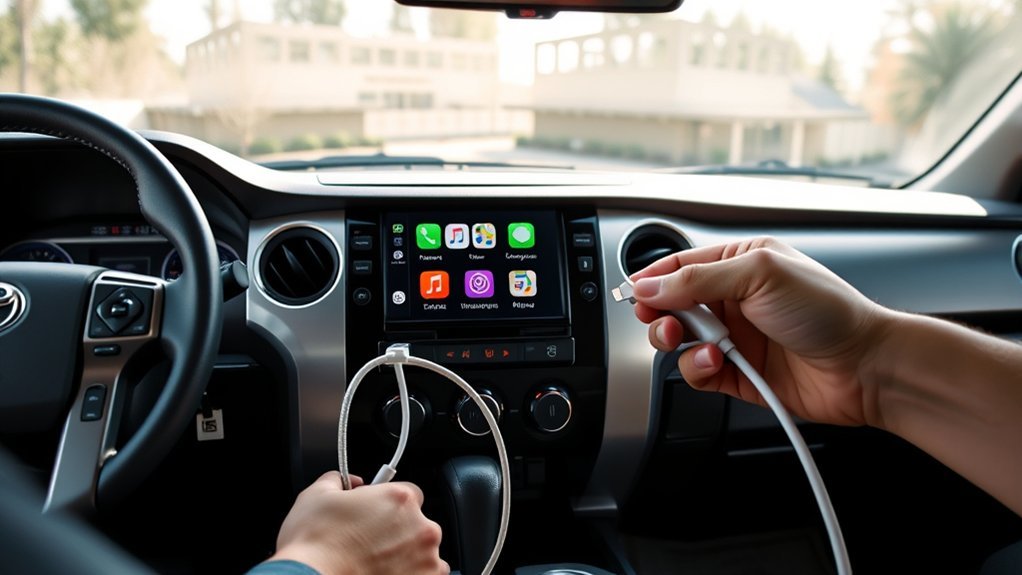
Open Settings (gear icon) on your Tundra’s infotainment, pick General → Date & Time, and disable automatic updates if you want manual control. Choose your Time Zone from the list, toggle Daylight Saving Time as needed, and set the clock directly or switch between 12/24‑hour formats. If the clock drifts, restart the system, connect to Wi‑Fi for updates, or note symptoms before contacting Toyota support. Keep going for step‑by‑step options and troubleshooting tips.
Quick Steps to Set Your Toyota Tundra Clock

Tap the gear icon on your Tundra’s infotainment screen to open Settings, then go to General > Date & Time to adjust the clock. You’ll see clear controls for clock customization: toggle daylight savings, set the time zone, and pick 12- or 24-hour format. Follow steps precisely: select Time Zone to lock regional offsets, toggle Daylight Savings to auto-adjust, then choose Time Format to match your user preferences. Use the hour and minute controls to fine-tune the display; confirm changes to commit them to system memory. This procedure frees you from guessing or manual correction after travel. If the system doesn’t accept input, reboot the screen or consult on-screen help. Video tutorials and dealership support stand ready if needed, but you can reclaim control quickly by following the sequence above. Stay decisive: set the format and zone once, and your clock will serve your journey without repeated intervention.
Open the Settings Screen on 2022+ Toyota Tundra
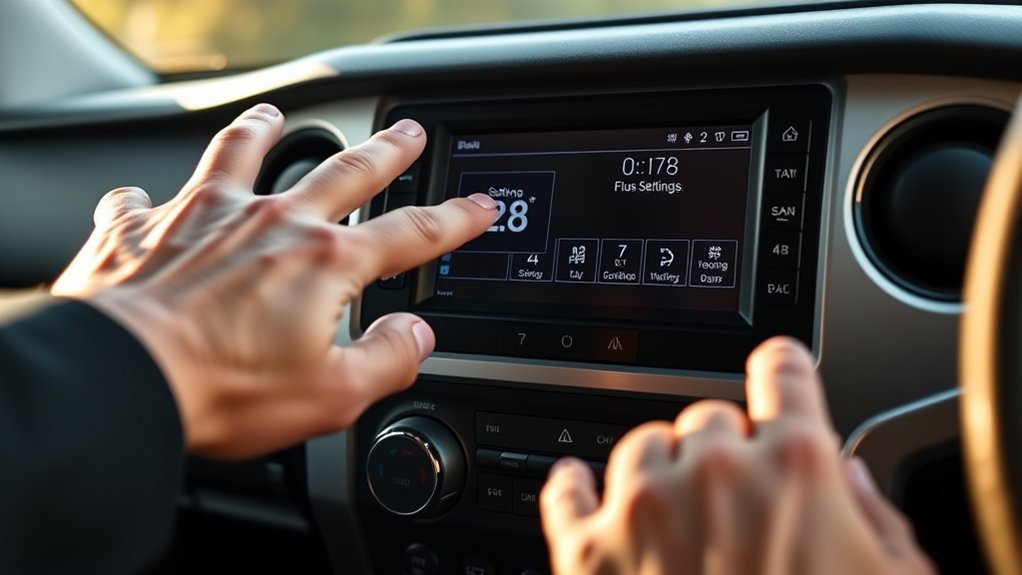
Start by pressing the gear icon on your Tundra’s infotainment display to open Settings; from there, select General to access Date & Time controls. You’ll use the settings customization path in the user interface to reach clock options quickly. Scan visual cues—icons, highlight bars, and back arrows—to confirm location. The interface lets you toggle automatic updates and daylight saving with clear on/off controls.
| Screen | Control | Tip |
|---|---|---|
| Settings home | Gear icon | Tap to enter |
| General | Date & Time | Select to open |
| Date/Time panel | Toggles | Use for DST |
Procedure: tap Gear → choose General → open Date & Time. Watch the menu feedback (highlight, beep). If you want autonomy over timekeeping, switch automatic sync off and set values manually. This frees you from default presets while keeping the process efficient and repeatable.
Change the Time Zone (Step‑by‑Step)
Tap the gear icon to open Settings, then choose “General” to reach the Date & Time options. Select the Time Zone setting and pick the correct zone (for example switch from Hawaii to Central). Toggle Daylight Saving Time as needed and confirm so the clock updates.
Accessing General Settings
Once you open the settings menu by selecting the gear icon on the screen, go to General to find the date and time controls. In General, use clear user interface navigation to reach clock customization options: tap Date & Time, then view Time Zone, DST toggle, and Time Format. You’ll see a simple list and switches; select entries deliberately to avoid accidental changes. Toggle Daylight Savings Time on or off to match local rules so the clock stays accurate. Switch between 12-hour and 24-hour displays if you prefer a different visual regime. Move methodically, confirm each change, and exit the menu when settings reflect your intent. This keeps your system precise and under your control.
Selecting Correct Timezone
If your Tundra’s clock shows the wrong local time, go to the infotainment settings (gear icon) and open General → Date & Time to change the time zone. You’ll see a list of time zones; select the one matching your current location to enforce time zone importance and maintain accuracy. Choose, for example, Central instead of Hawaii if you’ve relocated. Confirm the selection so the system updates the clock automatically and applies regional adjustments. If your area uses daylight savings time, toggle that option on to keep the clock synced year-round. You’re taking control—don’t let automatic defaults dictate your schedule. Verify the displayed time, then exit settings; your Tundra will now reflect the correct local time.
Toggle Daylight Saving and Automatic Time Updates
Access the gear icon on the infotainment screen, open General > Date & Time, and toggle Daylight Saving on or off as needed. Enable Automatic Time Updates to let the system adjust for time zone shifts or daylight saving changes, but confirm your time zone is set correctly first. If automatic updates aren’t available or you need a specific time, use the manual override to set the clock directly.
Toggle Daylight Savings
When you need the clock to adjust automatically for seasonal changes, open the infotainment settings via the gear icon and go to General to toggle Daylight Saving Time on or off; you can also enable Automatic Time Updates there so the system handles DST changes without manual input. Access General, locate the Daylight Saving toggle, and switch it to match your jurisdiction. Verify the displayed time after toggling to confirm the time adjustment applied. Check this setting before seasonal shifts to avoid distractions while driving. Embrace this control to free yourself from manual corrections.
| Action | Purpose |
|---|---|
| Toggle Daylight Saving | Apply DST shift |
| Verify Clock | Confirm time adjustment |
| Check Regularly | Maintain accuracy |
Enable Automatic Updates
1. Tap the gear icon on the screen to open Settings. Navigate to General, then locate Automatic Time Zone and toggle it on; this allows automatic adjustments when you cross zones. Activate Daylight Saving Time so the system will shift the clock forward or back without input. Set the time zone to your local standard to anchor time synchronization and reduce manual corrections. Regularly install infotainment updates to keep these controls intuitive and secure; updates preserve the automatic adjustments logic and prevent drift. You’ll stay liberated from tedious clock fiddling while the vehicle maintains accurate time. Follow on-screen confirmations after toggling each option to guarantee changes are saved and time synchronization is active.
Manually Override Time
If you prefer setting the clock yourself, open the gear icon and tap General to reach the time controls. You’ll use the digital interface to disable automatic updates, select your time zone, and toggle Daylight Saving Time on or off. Follow on-screen cues: pick Manual, set hours/minutes, confirm. This gives you direct time management and control over temporal settings.
| Action | Location | Result |
|---|---|---|
| Disable Auto Update | General > Time | Enables manual entry |
| Set Time Zone | General > Time Zone | Keeps accuracy |
| Toggle DST | General > Daylight Saving | Adjusts seasonal time |
Verify settings after changes. You’re free to control clock behavior; the steps are deliberate, repeatable, and reversible.
Switch Between 12‑Hour and 24‑Hour Displays
Want the clock to show 13:00 instead of 1:00 PM? You’ll access the settings via the gear icon on the screen, then open General. Choose Time Format to toggle between 12-hour and 24-hour modes. The 24-hour time format displays hours numerically—13 for 1 PM, 14 for 2 PM—removing AM/PM indicators for display clarity. Select the format that matches your preference; the system applies the change immediately.
This adjustment is straightforward and quick, so you’ll reclaim small daily decisions and reduce cockpit friction. Switching formats personalizes your interface, improves time comprehension at a glance, and minimizes distractions while driving. If your unit behaves differently, consult the owner’s guide for model-specific navigation steps, but the core path remains Settings → General → Time Format. Make the change, confirm the new readout, and drive with clearer, liberated timekeeping.
Set the Date Format and Correct Calendar Settings
Tap the gear icon, go to General, and select Date Format to choose between MM/DD, DD/MM, or YYYY layouts. Verify calendar accuracy by syncing with your phone or adjusting the time zone and daylight saving settings so reminders and appointments align. Check for system updates periodically, since software updates can refine date display options and calendar behavior.
Date Display Options
When you access the Settings menu via the gear icon, set the date format to MM/DD/YYYY or DD/MM/YYYY and confirm the calendar settings under General so the system uses the correct day, month and year. Navigate to General > Date & Time, then choose date format customization to match your regional preferences. Use the touch display to toggle formats; the interface updates instantly so you can verify at a glance. Keep the system updated to gain new format options and bug fixes. Accurate date display supports navigation, scheduled vehicle alerts, and synced devices. You’ll change formats without distraction, asserting control over your vehicle’s temporal settings. Finish by pressing Save or Back to lock your preference.
Calendar Accuracy Settings
Although the system defaults may work, you should open Settings > General > Date & Time to set the date format (MM/DD/YYYY or DD/MM/YYYY), confirm your time zone (for example, Hawaii vs Central), and enable or disable daylight saving time so the onboard calendar stays accurate for navigation and scheduled alerts. Next, choose your preferred date format via the gear icon, toggle daylight saving to match local policy, and select the precise time zone. Verify calendar synchronization with connected devices or GPS to maintain date accuracy across platforms. Periodically inspect these settings after travel or software updates to prevent drift. These steps give you direct control, reducing dependency on defaults and preserving autonomy over your vehicle’s schedule systems.
Reset the Clock or Update Infotainment Software
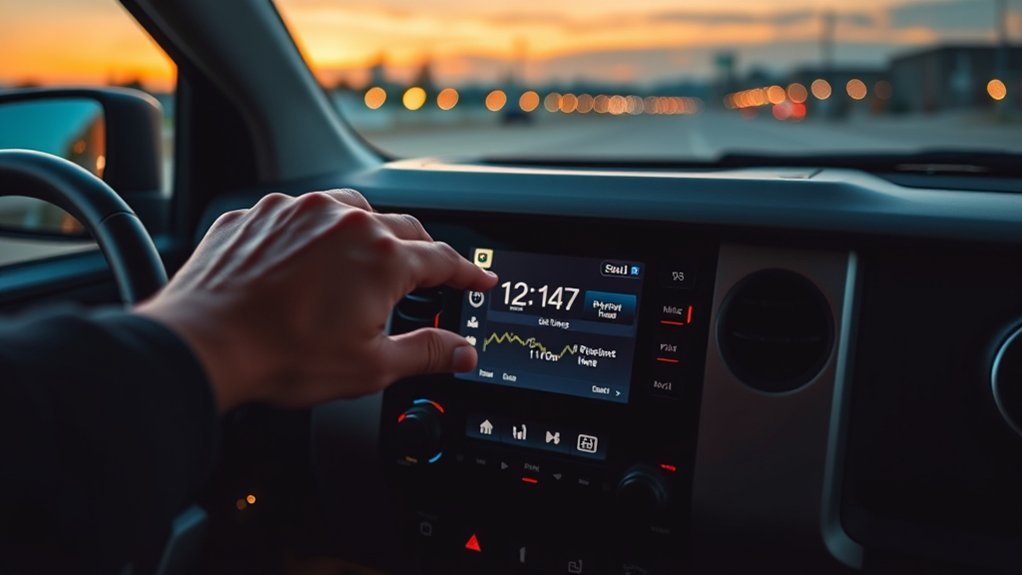
If your Tundra’s clock is off or you want the latest infotainment features, open the Settings (gear icon) on the touchscreen, go to General, and confirm the time zone and Daylight Saving toggle are correct; then connect to Wi‑Fi and use Software Update to download and install any available infotainment updates. To reset the clock manually, select Date & Time, choose Set Time, and enter the correct hour and minute. Verify the Time Zone is accurate for your region, especially after relocating between zones. Toggle Daylight Saving to match local rules so the system adjusts automatically. For firmware updates, keep the vehicle on and maintain Wi‑Fi until installation completes; interrupted updates can harm software compatibility. Installing updates improves infotainment features, security, and stability. After updating, recheck the clock settings and reboot the system if prompted. These steps give you control, accuracy, and the latest capabilities without relying on external repair.
Troubleshoot: Clock Not Updating or Showing Wrong Time
Start by confirming basic settings: open Settings → General → Date & Time and verify the Time Zone is set correctly for your location and Daylight Saving Time is toggled according to local rules. If the clock still reads incorrectly, systematically troubleshoot. Verify the Time Zone isn’t set to a distant region (e.g., Hawaii vs. Central) and confirm Date & Time entries match your locale. Toggle Daylight Saving Time off then on to force re-evaluation.
Address potential time sync issues by restarting the infotainment system: power down, wait 30 seconds, then reboot. This clears transient software glitches and can restore correct time sources. After reboot, recheck settings and observe for drift over several minutes.
If the problem persists despite correct settings and a reboot, document symptoms (wrong offset, intermittent updates, or static time) to prepare for escalation. This procedural approach preserves your autonomy and speeds resolution while avoiding unnecessary service visits unless required.
When to Call Your Dealer or Toyota Support

When you’ve exhausted basic troubleshooting—confirmed time zone and DST, rebooted the infotainment, and monitored for drift—contact your dealer or Toyota Support for guided diagnostics and model-specific instructions. If you can’t set or retain the correct time after steps you’ve tried, seek dealer assistance to check hardware, firmware, and vehicle-specific settings. Toyota Support offers remote support options and step-by-step guidance; use their video tutorials for visual procedures before scheduling service.
Document symptoms: when the issue started, frequency of drift, and any error messages. Provide firmware version and infotainment model to speed diagnosis. Explore community forums for practical workarounds, but treat forum fixes as provisional until validated by official support. Choose the fastest support options—phone, online chat, or an appointment at the dealership—based on urgency. If diagnostics reveal a defect, insist on documented findings and recommended repairs. You’re entitled to clear remediation; use official channels to guarantee the clock problem is resolved permanently.
Use the Clock With Navigation, Reminders, and Schedules
Because the Tundra’s clock feeds time data to navigation and calendar functions, you should set and verify it before starting routes or scheduling reminders so estimated arrival times and alerts stay accurate. First, access the infotainment Settings > Clock. Confirm time zone, toggles for daylight savings, and sync options are correct. Adjust manually only if you need an offset for local conditions.
Next, link the verified clock to navigation and calendar features. Open Navigation > Route Settings and confirm “Use System Time” is enabled to preserve navigation efficiency and accurate ETAs. For reminders, open Calendar/Reminders > New Entry, assign start time and alert lead; the system will reference the clock to trigger notifications.
Periodically recheck clock settings after travel across zones. Customize preferences to minimize in-route adjustments and reduce distractions. By maintaining accurate clock data, you’ll improve time management, maintain predictable schedules, and keep focus on the road while retaining operational control.
Frequently Asked Questions
How Do I Adjust My Clock Settings?
Tap the gear icon, open General, then adjust time zone and clock on the digital display. Choose 12/24-hour format, toggle daylight savings, and confirm. You’ll reclaim control and keep time aligned with your journey.
Conclusion
You’ve now got the steps to set your Tundra’s clock, and if it still misbehaves, don’t assume the infotainment unit’s at fault—investigate whether GPS time, vehicle CAN-bus data, or a mistaken time zone is causing the error. Try toggling automatic time updates, confirm the navigation’s satellite lock, and compare time across paired devices. If discrepancies persist after resets and software updates, contact your dealer; a deeper electrical or module issue may need diagnostic tools and dealer-level fixes.