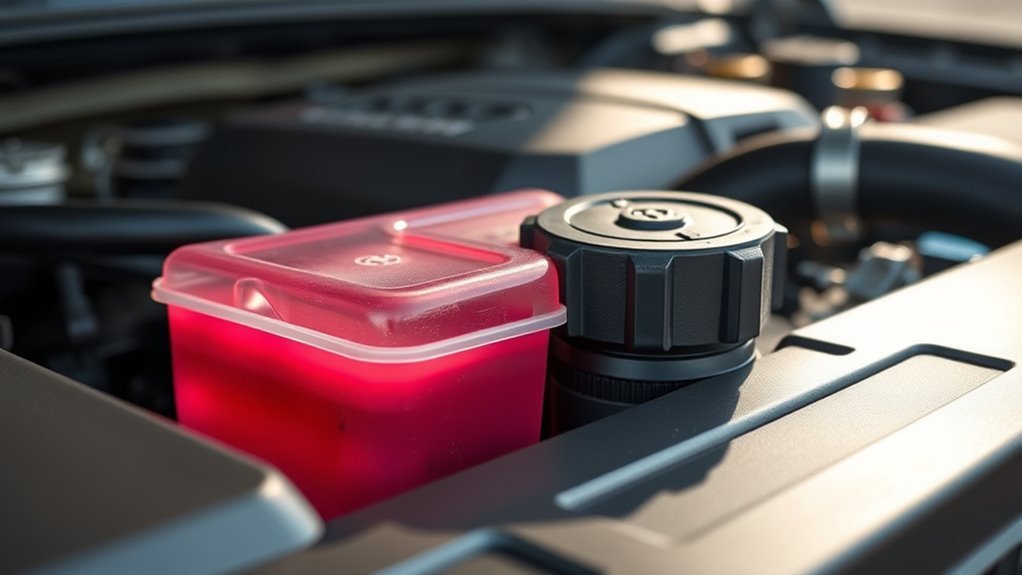
Start by tightening the gas cap—turn it clockwise until it clicks—and check for cracks, torn gaskets, or debris on the cap and filler neck. Clean threads and seals, then clear codes by driving or using an OBD‑II scanner; P0440/P0455/P0442 point to EVAP leaks. Replace with an OEM cap for best sealing or a quality aftermarket unit if needed. If the light persists, expect smoke testing or part replacement; more detailed steps follow below.
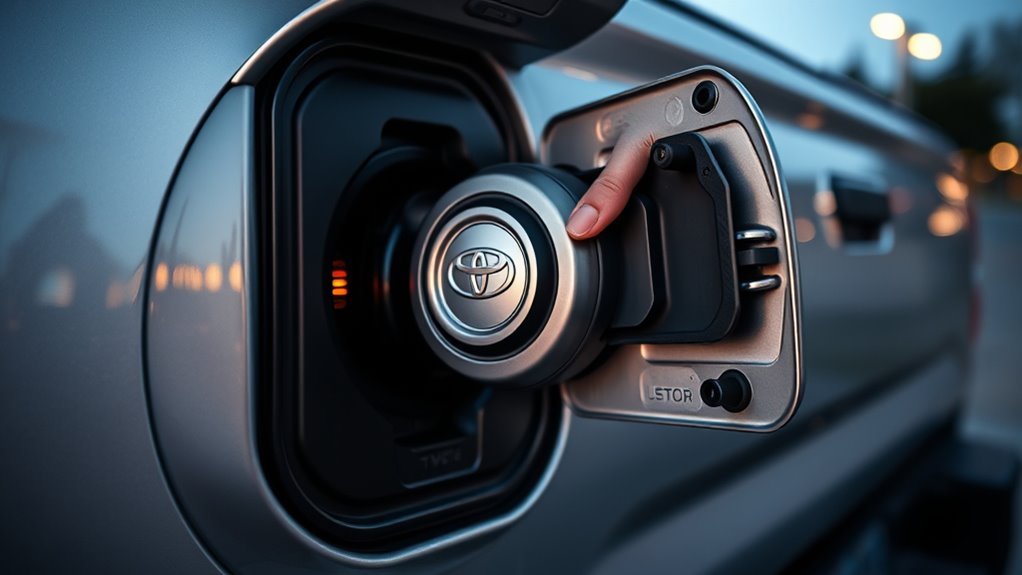
Check, Clean, and Tighten the Tundra’s Gas Cap

Start by inspecting the gas cap and filler neck for cracks, torn seals, or debris, since any damage or contamination can prevent a proper seal and trigger the check engine light. You’ll perform targeted gas cap maintenance: visually check the cap for worn threads or rubber deterioration and scan the filler neck for grit that can cause sealing issues. Clean both components with a lint-free cloth and a mild solvent if needed, removing particles that compromise the vapor seal. Reinstall the cap by turning it clockwise until you hear a definitive click, confirming engagement of the ratchet mechanism and proper sealing. If the MIL stays lit after a secure fit, start the engine or complete several drive cycles to allow the system to reset. Persistent faults after cleaning and cycling indicate replacement: swap in an OEM-spec cap to restore emission control and fuel-system integrity, reclaiming reliable, efficient operation and reducing unnecessary checks that limit your freedom on the road.
Inspect the Gas Cap and Filler Neck for Damage or Debris
Inspect the gas cap and filler neck closely for cracks, pinholes, worn seals, or lodged debris that can break the EVAP seal and trigger the check engine light. During a routine gas cap inspection, remove the cap and examine the rubber gasket for hardening, tears, or missing sections; any defect compromises the seal. Run your fingers along the cap threads and the filler neck mouth to feel for burrs, corrosion, or lodged particles. Use a clean cloth and a soft brush to clear dirt; compressed air can dislodge trapped grit. Inspect the filler neck for hairline cracks or pinholes that create vacuum leaks and emissions faults. After cleaning, reinstall the cap and confirm it threads fully and clicks into place; a loose fit means further action. Regular filler neck maintenance and gas cap inspection protect the EVAP system, preserve fuel efficiency, and free you from avoidable CEL trips and unnecessary repairs.
Replace the Tundra Gas Cap: OEM vs Aftermarket
When your Tundra’s gas cap shows wear or keeps tripping the check engine light, choosing an OEM cap usually gives the best fit and sealing reliability because it matches Toyota’s specs; aftermarket caps can save money but vary in quality and may cause recurring EVAP codes like P0442 or P0446 if they don’t seal properly. You want parts that restore function without compromise. OEM Benefits include precise thread geometry, specified gasket hardness, and materials tested for thermal and chemical exposure — that translates to consistent seal pressure and fewer false leaks. Aftermarket Risks center on dimensional variance, inferior elastomers, and looser manufacturing tolerances that let vapors escape or gaskets fail early. Inspect the cap and gasket before purchase; if you pursue an aftermarket unit, choose a reputable brand with clear specs and return support. Prioritize long-term freedom from diagnostics and emissions failures by selecting the solution that reliably maintains EVAP integrity.
Read OBD‑II Codes: Scan P0440–P0457 and What They Mean
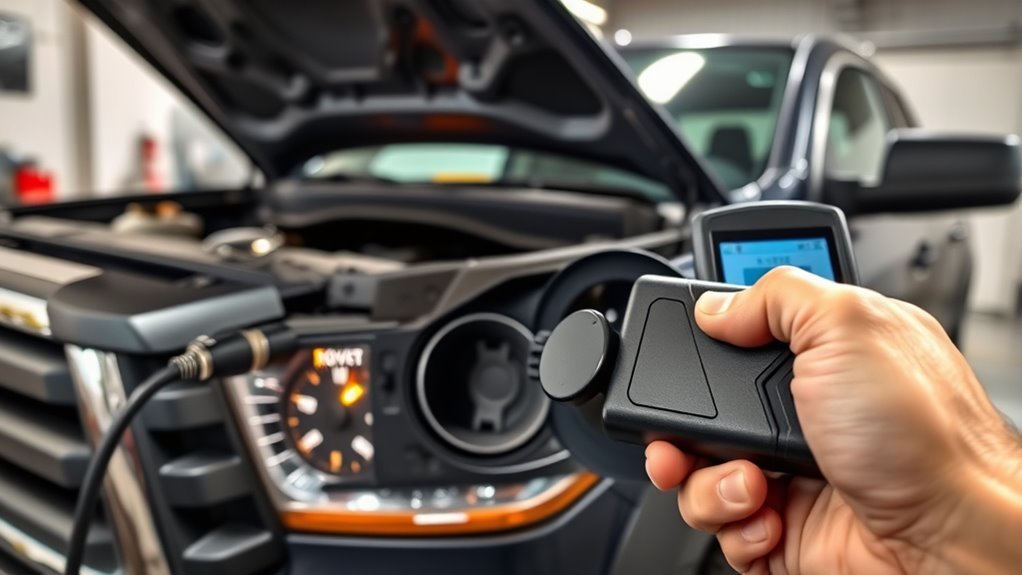
When your Tundra throws an EVAP code like P0440, it flags a general system malfunction that you’ll need to trace through sensors, valves, and seals. Compare P0455 and P0442 to determine leak size: P0442 usually points to a small leak (often the gas cap), while P0455 signals a large leak such as a cracked hose or stuck vent valve. Use an OBD‑II scanner to read these codes first so you can target the correct component for inspection and repair.
P0440 Diagnostic Meaning
The P0440 code flags a general fault in your vehicle’s EVAP (evaporative emission control) system, meaning the system that prevents fuel vapors from escaping isn’t sealing or operating properly. You’ll interpret P0440 as a broad EVAP system malfunction—often caused by a loose or damaged gas cap, cracked hoses, or a failed charcoal canister. Use diagnostic tools to read codes, smoke-test the system, and verify purge and vent valve operation. Inspect the gas cap first; it’s the quickest liberation from the check-engine constraint. If the cap checks out, trace hoses for cracks and test the charcoal canister and purge valve for proper flow. Replace faulty components, clear codes, and retest until the EVAP system holds pressure and the fault doesn’t return.
P0455 Versus P0442
Although both P0455 and P0442 point to EVAP leaks, you’ll treat them differently because P0455 means a large leak while P0442 indicates a small one. You’ll read P0455 causes as obvious failures: a loose or missing gas cap, cracked hose, or damaged charcoal canister that dumps vapor quickly and trips the CEL fast. P0442 symptoms are subtler: intermittent CEL, faint odor, or slow pressure loss from a minor gas cap seal fault or tiny pinhole. Your workflow: scan codes, inspect gas cap and filler neck, pressure-test hoses and canister, then replace the faulty component. Regular OBD-II scans let you catch small leaks early so you can fix them and reclaim control of maintenance costs.
DIY EVAP Checks and Smoke‑Test Alternatives

If you don’t have access to a professional smoke machine, you can still diagnose EVAP leaks with a few simple, safe DIY methods that give clear, actionable results. Start by visually inspecting the filler neck, gas cap, and charcoal canister for cracks or damage; catch problems early to avoid a CEL. Use a hand-held smoke machine if available to introduce visible smoke and watch for escaping vapor—this gives precise leak location. If you don’t have one, apply soapy water to connections, cap seal, and hoses; bubbles identify leak points reliably. A handheld vacuum pump lets you pull a vacuum on isolated sections and monitor pressure hold; a pressure drop confirms a leak. Record where you find issues, tighten or replace faulty seals, and retest. If leaks persist or are inaccessible, follow up with a professional mechanic—specialized tools and expertise can liberate you from recurring faults and uncertain repairs.
When to Involve a Mechanic: TSBs, Smoke Tests, and Expected Parts
If the cap light stays on after you’ve tightened or swapped the cap, check for any TSBs that match your Tundra and symptoms—TSB guidance can change the recommended fix. Ask a mechanic to perform a smoke test when DIY checks don’t find leaks or when the check-engine light stays on, since it reliably locates EVAP leaks. Expect them to inspect/replace items like the fuel filler neck, EVAP hoses, purge valve, or an OEM gas cap depending on test results.
Check For Relevant TSBs
When a persistent gas cap warning won’t clear after you tighten or replace the cap, check for Technical Service Bulletins (TSBs) tied to your Tundra’s VIN—these manufacturer notes can point to known faults (like faulty filler necks on 1st‑gen trucks) that mimic cap problems and prevent wasted parts swaps. Search dealer portals or Toyota sites for TSB updates referencing the fuel system and verify your VIN against any matches. If a bulletin applies, follow its prescribed fix or request warranty repair. If no TSB exists, a mechanic can run targeted diagnostics. Below is a quick reference table to guide your next steps.
| Item | Action |
|---|---|
| VIN check | Confirm applicability |
| TSB 0003-11 | Inspect filler neck |
| Dealer fix | Request service |
| DIY limit | Stop, consult pro |
| Follow-up | Document repairs |
When To Run Smoke
Because a persistent gas-cap-related check engine light often signals an EVAP leak beyond the cap, run a diagnostic smoke test after you’ve tightened/replaced the cap and cleared codes but the light returns. You should consult Technical Service Bulletins first; TSBs can point to model-specific failures so you won’t chase phantom faults. Smoke test benefits include fast, visual detection of leaks and confirmation when scanners show EVAP faults but physical inspection doesn’t. If dealer visits don’t resolve the issue, insist on a smoke test to verify hidden breaches. Common leaks found are cracks in the charcoal canister or fuel filler neck and failed hoses or valves. Engage a trained mechanic for testing — they have calibrated equipment and diagnostic experience to free you from repeated trips.
Parts To Expect Replaced
After you’ve confirmed an EVAP leak with a smoke test or followed TSB guidance, you should expect a short list of parts that commonly fail and may need replacement. You’ll act decisively: swap the obvious, inspect the rest, and free yourself from recurring check engine light cycles. TSB 0003-11 highlights fuel filler neck failures that mimic gas cap problems, so don’t assume the cap is always the culprit. Prioritize fuel system maintenance to prevent repeat trips.
- Gas cap (multiple gas cap types and seals; replace if gasket is worn)
- Fuel filler neck (cracks or deformation per TSBs)
- Charcoal canister (saturated or cracked)
- EVAP hoses and valves (age-related leaks or sensor faults)
If DIY steps fail, involve a mechanic.
Costs, Timelines, and What to Document for Repeat Trips
If your Tundra throws a gas-cap or EVAP code, document every dealership visit—dates, odometer, services, and any diagnostic trouble codes—so you can track patterns and disputed diagnoses; repairs often run low-to-mid hundreds (P0446 averages about $154), but totals rise if OEM parts are ordered or if advanced tests like a smoke test are needed, and multiple trips are common while techs isolate intermittent leaks. Keep a repair history log and get written cost estimates before authorizing work. Note technician comments, parts numbers, and time-in-shop for each visit so you can spot recurring failures and challenge inconsistent diagnoses. Expect initial diagnostics in a few hours, simple fixes same day, but OEM parts or smoke tests can extend resolution to days or weeks. Ask for itemized invoices and test logs; they’re your leverage for warranty coverage, reimbursement, or escalation. Record refusal or acceptance of recommended repairs to protect your rights and pursue fair outcomes.
Frequently Asked Questions
How to Fix Engine Light Because of Gas Cap?
Turn off the engine, inspect the gas cap for damage, tighten until it clicks, then restart; if the engine light stays, drive a few cycles, replace with an OEM gas cap if needed, or get a mechanic to diagnose.
Conclusion
When your Tundra throws a gas cap warning, start simple: check, clean, and tighten the cap, inspect the filler neck for damage, and replace the cap if it’s worn. Scan codes P0440–P0457 to narrow EVAP faults, try basic DIY EVAP checks or a hand-held smoke alternative, then call a mechanic for persistent leaks, TSBs, or smoke testing. Think of the system as a sealed drum—small leaks beat the rhythm of warning lights; document everything.