Last updated: July 23, 2026 | Technical review by [VERIFY: add real author/reviewer byline, e.g., ASE-Certified Master Technician]. Toyota fuel-cap specifications, Key-Off EVAP monitor logic, diagnostic trouble code parameters, and TSB data were verified.
If your Toyota Tundra gas cap check engine light turns on after refueling while the truck runs normally, do not clear the code immediately. Save the stored diagnostic trouble codes (DTCs) and freeze-frame data with an OBD-II scanner. Next, inspect the fuel cap gasket for cracks or dirt, clean the filler-neck lip, and reinstall the cap until it clicks exactly once. While a loose cap is the most frequent trigger, the warning light can also indicate a failed purge valve, cracked EVAP hose, charcoal canister pump malfunction, or a damaged fuel filler neck.
Never assume the gas cap is the sole issue if the Check Engine light is flashing, the engine runs rough, you experience hard starting immediately after filling the tank, or you smell raw gasoline. These symptoms point toward active ignition misfires or saturated EVAP purge circuits that require immediate diagnosis.
Quick Answer
To fix a Toyota Tundra gas cap check engine light, inspect the rubber gasket for tears, clean the filler neck rim, and tighten the cap until you hear one distinct click. On 2007+ Tundras, the light will not reset immediately while driving; the truck must complete a 4.5 to 5-hour key-off cold soak with the fuel tank between 1/4 and 3/4 full for the automatic EVAP pump to re-test the system and turn off the light.
Safety Warning: Stop driving and seek professional service immediately if the Check Engine light is flashing, the truck stumbles or loses power, or you detect liquid fuel or strong raw fuel vapors. A flashing indicator signals an active misfire that can rapidly destroy the catalytic converters.
Key Takeaways
- Record Data First: Scan and save stored, pending, and freeze-frame fault codes before tightening the cap or clearing the ECM memory.
- One-Click Tightening: Turn the genuine Toyota cap clockwise until it clicks once; over-ratcheting or forcing it can distort the internal spring mechanism.
- Key-Off Monitor Logic: 2007+ Tundras run EVAP leak tests via a key-off vacuum pump after resting 4.5–5 hours with a 20%–85% fuel level.
- Hard Start Symptoms: Hard cranking or stumbling right after filling up points directly to a stuck-open Purge Vacuum Switching Valve (VSV), not the gas cap.
- TSB Verification: 2017–2018 models should be checked against Toyota T-SB-0054-18 for fuel filler pipe neck distortion before replacing sensors.
Diagnostic At a Glance
| Steady CEL; Normal Driving | Save freeze-frame data, clean the filler-neck lip, tighten cap to 1 click, and allow 1–2 key-off cold-soak cycles (tank at 1/4 to 3/4). |
| Hard Starting After Fueling | Inspect and bench-test the under-hood Purge VSV (P0441). A stuck-open valve draws raw vapors during startup, flooding the engine. |
| Flashing CEL or Loss of Power | Stop driving immediately. Indicates active severe cylinder misfire (P0300–P0308). Arrange towing or immediate diagnostic repair. |
| Strong Raw Fuel Odor | Keep ignition sources away. Inspect the fuel tank, filler neck hoses, and charcoal canister for physical cracks, leaks, or impact damage. |
Article Navigation
- How to Fix a Tundra Gas Cap Check Engine Light
- Is a Tundra Check Engine Light After Refueling Safe to Drive?
- How to Inspect the Gas Cap and Filler Neck
- OEM vs Aftermarket Tundra Gas Caps
- What Tundra EVAP Codes (P0440–P0457) Mean
- Safe DIY EVAP Checks and Key-Off Monitor Drive Cycles
- When to Involve a Mechanic: TSBs, Smoke Tests, and Costs
- Diagnostic Costs, Timelines, and Documentation
- Frequently Asked Questions
How Do You Fix a Toyota Tundra Gas Cap Check Engine Light?
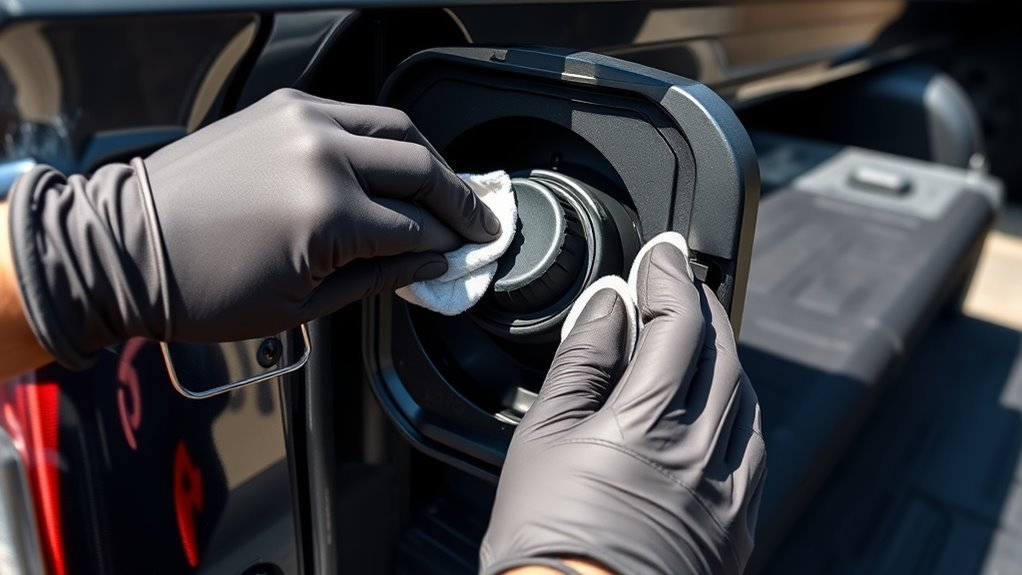
Before adjusting or clearing anything, connect an OBD-II scan tool to the diagnostic port under the driver-side dashboard. Record the primary stored DTCs, pending codes, and freeze-frame metrics (such as engine coolant temperature, fuel trim values, vehicle speed, and fuel tank level when the fault set).
- Park the Tundra on level ground in a well-ventilated outdoor area and switch the ignition OFF.
- Unthread the gas cap counterclockwise. Inspect the perimeter rubber O-ring gasket for dry rot, radial cracking, hardening, deformation, or embedded road grit.
- Wipe the cap’s rubber seal and the metal lip of the fuel filler neck using a clean, lint-free microfiber cloth.
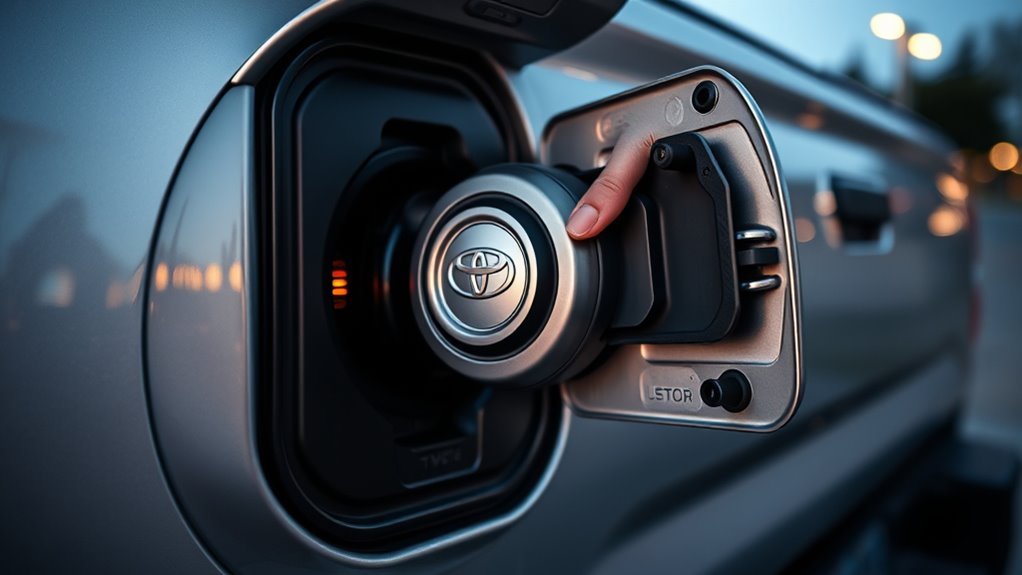
- Thread the cap back into the filler neck clockwise until you feel positive resistance and hear exactly one distinct click. Confirm the cap sits flush against the neck without cross-threading.
- Ensure the plastic retaining tether is routed freely and not caught between the rubber gasket and the metal sealing surface.
- Allow the truck to complete its natural key-off test cycle rather than manually clearing the codes if you require upcoming state emissions inspection readiness.
Never apply WD-40, silicone paste, or petroleum grease to the gas cap gasket. Petroleum-based lubricants degrade nitrile and fluoroelastomer seals, attract airborne dust, and can compromise the EVAP system’s hermetic seal.
Vapor Safety: Keep all open flames, cigarettes, portable shop halogen lights, and power tools away from the open fuel door. Gasoline vapor is heavier than air and remains highly ignitable even when liquid fuel is not visible.
Why the light does not clear immediately: On 2007 and newer Toyota Tundras (2nd and 3rd Generation), the engine control module (ECM) performs its automated EVAP leak check using a Key-Off Vacuum Pump integrated into the charcoal canister. This monitor initiates only after the vehicle has been parked and switched off for 4.5 to 5 hours, the ambient temperature is between 40°F and 95°F (4.4°C to 35°C), and the fuel level is between 20% and 85% (roughly 1/4 to 3/4 tank capacity). If the cap was the sole issue, the light will extinguish automatically after 1 to 2 successful key-off test cycles.
Avoid “topping off” the fuel tank after the pump nozzle clicks off automatically. Overfilling forces liquid fuel into the charcoal canister vapor lines, saturating the activated carbon bed and triggering persistent P0441 and P0455 codes. For comprehensive fuel tank specs across generations, consult the Toyota Tundra fuel-tank guide.
Is a Tundra Check Engine Light After Refueling Safe to Drive?
If the Check Engine light remains solid (steady), the truck starts smoothly, accelerates without hesitation, and there is no smell of raw fuel, the vehicle is generally safe to drive to your destination or repair facility. An EVAP leak is an environmental emissions fault rather than an immediate mechanical hazard to the engine.
However, you must stop driving safely and call for roadside assistance if any of the following conditions develop:
- The Check Engine light flashes continuously: This indicates an active engine misfire (P0300 series) that allows unburned fuel to enter the exhaust stream, where it can melt the internal honeycomb structure of the catalytic converters within miles.
- Severe engine stumbling or stalling: Hard starts and severe idle surge immediately after refueling indicate that the engine is being flooded with raw fuel vapors through a stuck-open purge valve.
- Strong raw gasoline odor or visible dripping: Signals a cracked fuel line, fractured filler neck hose, or punctured tank assembly.
How Do You Inspect the Gas Cap and Filler Neck?
The fuel cap and filler neck constitute the primary closure for the sealed EVAP system. Even minor micro-cracks or surface rust can create a 0.020-inch leak path that triggers an ECM fault.
Remove the cap under bright lighting and flex the rubber gasket gently between your fingers. Check for:
- Hardened or brittle rubber that has lost its elasticity.
- Flattened cross-sections where the seal has permanently compressed.
- Tears, gouges, or missing segments around the sealing ridge.
- A ratchet mechanism that spins freely without offering spring-back resistance or producing a sharp, positive click.
Next, inspect the metal filler neck mouth. In regions utilizing winter road salt, rust and surface scale frequently form along the neck’s outer sealing lip. Use a lint-free shop towel to remove rust particles, ensuring no debris drops down into the fuel tank. If the metal neck shows deep pitting, physical dents, or a warped rim, tightening a new cap will not establish a proper seal.
[Products Worth Considering]

This replacement gas cap is designed for a wide range of Toyota and Lexus models, offering a direct-fit solution for restoring a proper seal at the fuel tank. It helps address check engine light issues related to the fuel cap while providing easy installation and dependable performance. Built from durable materials and rigorously tested before shipping, it is a practical replacement for worn or damaged fuel caps.

This OEM replacement fuel tank gas cap is designed for a wide range of Toyota, Lexus, and Scion vehicles, helping restore a proper seal for reliable everyday driving. It helps reduce fuel vapor leakage, may prevent check engine light issues caused by a faulty cap, and offers durable construction for long-lasting performance. Installation is simple with a direct-fit design that twists into place quickly.

This replacement gas cap is designed to restore a tight fuel-tank seal, helping reduce vapor leaks, prevent check engine light issues, and maintain proper fuel system performance. Built in OE-style form for a wide range of Toyota and Lexus vehicles, it offers a direct DIY fix with durable materials for reliable, long-lasting use.
Should You Use an OEM or Aftermarket Tundra Gas Cap?
If inspection reveals gasket dry rot, a missing spring mechanism, or physical distortion, replace the cap. However, never buy a replacement cap based solely on generic year-make-model compatibility charts.
OEM Genuine Toyota Fuel Caps: A factory Toyota OEM cap (e.g., standard part number families such as 77300-06040 / 77300-53010 `[VERIFY: check exact part number against vehicle VIN]`) is engineered specifically for Toyota’s metal filler-neck thread pitch, gasket depth, and internal positive/negative pressure relief thresholds (~0.25 to 0.50 PSI). It features a factory-calibrated torque-limiting spring that clicks at the exact rotational force required to compress the gasket without pinching.
Aftermarket Universal Caps: Inexpensive universal aftermarket caps frequently cause repeat P0455 and P0456 codes. Many universal designs utilize generic flat O-rings rather than Toyota’s contoured sealing profiles, have shallower thread engagement, or incorporate stiff release valves that fail to open during factory vacuum pump leak detection sequences.
Pro Tip: Always verify your replacement fuel cap against your Tundra’s exact 17-digit VIN. 1st Gen (2000–2006), 2nd Gen (2007–2021), and 3rd Gen (2022+) models utilize different neck thread depths and tether attachment anchors.
[Products Worth Considering]

This replacement gas cap is designed to fit a wide range of Toyota and Lexus models, helping restore a secure seal for the fuel tank. It is built as a direct replacement for easy installation and reliable everyday use, with compatibility verified by part number to help ensure the right fit. Backed by warranty support and customer service, it is a practical solution for replacing a worn, cracked, or failing fuel cap.

This OEM-style fuel cap is designed as a direct replacement for a wide range of Toyota, Lexus, and Scion vehicles, helping restore proper sealing and dependable fuel system performance. Built from quality materials and tested for fit and function, it offers an easy install solution for replacing a failing or damaged gas cap. It is a practical choice for drivers looking to match the correct part number and maintain a secure fuel tank seal.

The FOXWELL NT301 is a plug-and-play OBD2 code reader designed to help drivers and home mechanics diagnose check engine light issues with ease. It reads fault codes, clears emissions-related warnings, displays live sensor data in graph form, and shows I/M readiness so you can quickly check vehicle status before an emissions test. With broad compatibility across many OBD2 vehicles and a clear color screen, it offers a practical, user-friendly way to monitor and troubleshoot engine performance.
What Do Tundra EVAP Codes P0440 to P0457 Mean?
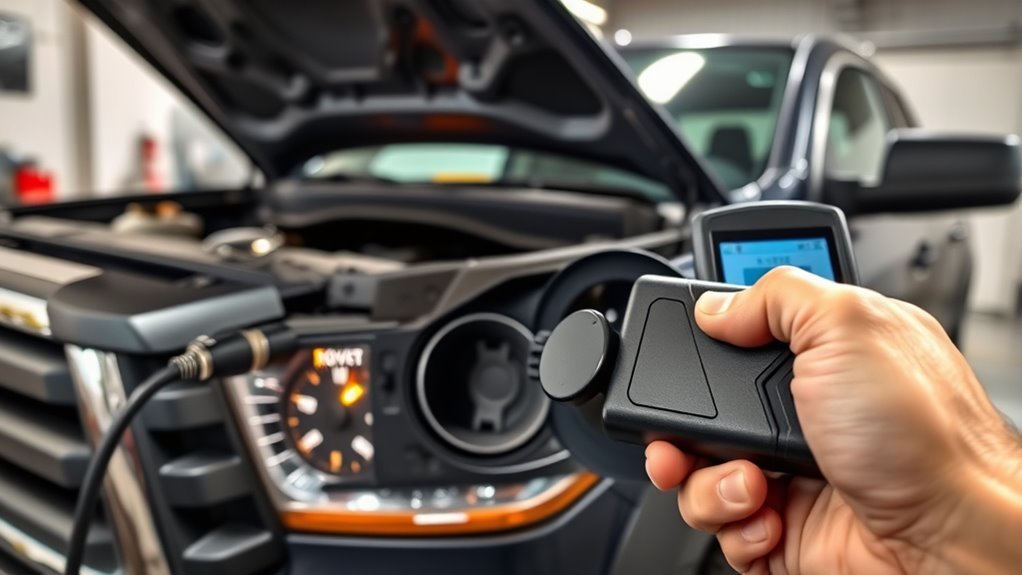
Diagnostic trouble codes pinpoint the test circuit or operational parameter that failed, but they do not prove that a specific part is broken. Always read both active and pending codes alongside freeze-frame metrics.
| Code | Generic Description | Toyota Diagnostic Priority |
|---|---|---|
| P0440 | EVAP System Malfunction | General system failure to hold vacuum. Inspect cap gasket, fuel tank pressure sensor wiring, and main vapor lines. |
| P0441 | EVAP Incorrect Purge Flow | Under-hood Purge VSV valve stuck open/closed, split vacuum lines, or saturated charcoal canister. |
| P0442 | EVAP Small Leak Detected (0.040″) | Deteriorated cap seal, minor filler neck rust scale, cracked canister seam, or loose vapor line clamp. |
| P0455 | EVAP Gross Leak Detected | Completely loose or missing gas cap, disconnected EVAP vapor hose, cracked filler neck, or damaged canister housing. |
| P0456 | EVAP Very Small Leak (0.020″) | Hairline crack in vapor plumbing, cap gasket micro-fissure, or key-off pump internal valve leak. Requires smoke test. |
| P0457 | EVAP Loose / Off Fuel Cap | Generic scanner mapping for gross leak after refueling. Check cap seating, gasket integrity, and tether clearance. |
For codes unrelated to EVAP purge or pressure faults, refer to our comprehensive Toyota Tundra OBD2 code guide.
What Does P0440 Mean on a Toyota Tundra?
Code P0440 indicates that the ECM commanded an EVAP system vacuum test, but the fuel tank pressure (FTP) sensor registered an inability to establish or hold negative pressure. Unlike specific leak-size codes, P0440 is a broad functional fault. Begin by inspecting the gas cap and filler neck. If those are intact, check the under-hood vacuum hoses connected to the purge port and the electrical harness at the charcoal canister pump.
What Is the Difference Between P0455 and P0442?
The difference lies in the calculated orifice size of the leak detected during diagnostic testing:
- P0455 (Gross Leak): Represents a major opening (larger than 0.090 inches). Common culprits include a gas cap left off, cross-threaded, clicked zero times, or an EVAP hose disconnected above the spare tire.
- P0442 (Small Leak): Represents an opening roughly 0.040 inches in diameter. Common causes include a weathered gas cap gasket, rusted filler neck contact lip, or pinhole cracking in rubber elbow connections.
Do P0456 and P0457 Always Mean the Gas Cap Is Bad?
No. While generic scanners frequently label P0457 as a “Loose Gas Cap,” Toyota’s ECM software does not possess a physical sensor inside the fuel cap. It infers a cap leak based on the rate of pressure loss inside the fuel tank. A cracked vent valve on the charcoal canister, a dry-rotted vacuum hose, or a warped plastic fuel pump lock ring can generate identical pressure drop curves.
Why Is the Tundra Hard to Start After Refueling?
If your Tundra cranks excessively, idles roughly, or stalls immediately after refueling at a gas station, the culprit is almost always a mechanically stuck-open Purge Vacuum Switching Valve (VSV), located on the engine intake plenum. When you pump fuel into the tank, fuel vapors are forced into the charcoal canister. If the purge valve is stuck open, these rich vapors are drawn directly into the engine intake manifold via engine vacuum, creating an excessively rich air-fuel mixture that temporarily floods the cylinders.
Which Tundra EVAP Checks Are Safe to Do Yourself?
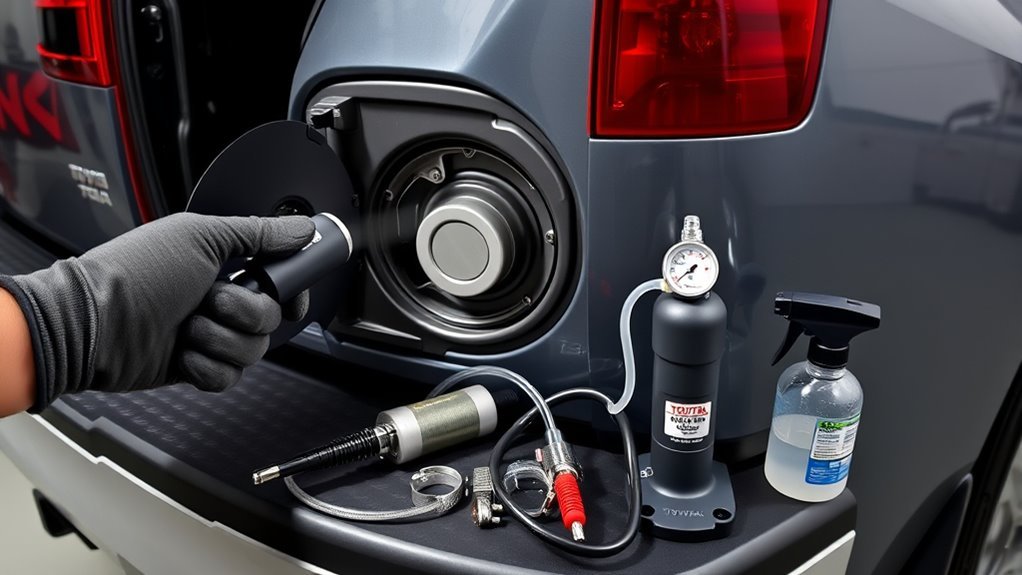
You can execute thorough, safe visual and electronic diagnostics without opening pressurized fuel lines:
- Scan Freeze-Frame Data: Note engine operating temperature and fuel level at the exact moment the DTC set.
- Physical Cap Inspection: Clean the rubber gasket and verify positive spring return and a single solid click.
- Under-Hood Purge Line Inspection: Check the rubber vacuum hoses connected to the purge VSV near the intake manifold for splits, dry rot, or disconnected push-lock fittings.
- Under-Vehicle Canister Check: Visually inspect the charcoal canister assembly mounted underneath the truck near the fuel tank and spare tire. Check for rock strike damage, cracked plastic housings, or loose vent hoses.
- Check I/M Readiness: Monitor the EVAP readiness monitor status on your scan tool across drive cycles.
Professional vs. DIY Smoke Testing: A professional smoke machine uses pharmaceutical-grade mineral oil and an inert gas (such as nitrogen or ultra-low regulated air pressure under 0.5 PSI / 14 inches of water) to introduce visible vapor into the EVAP service port. This allows technicians to pinpoint pinhole leaks around the canister, filler neck, or tank seals under a UV inspection light.
Equipment Warning: Never introduce un-regulated compressed shop air into the EVAP system or fuel tank. Excess pressure will rupture the fuel tank pressure sensor diaphragm, blow out internal canister check valves, and create an extreme fuel vapor explosion hazard.
[Products Worth Considering]

This replacement gas cap is designed to fit a wide range of Toyota, Lexus, and Scion vehicles, making it a practical solution for a worn, cracked, or missing fuel cap. Built for direct replacement and easy installation, it helps restore a proper seal and reliable fuel system performance. Always verify part number compatibility before ordering to ensure the right fit for your vehicle.

This replacement gas cap is designed to fit a wide range of Toyota, Lexus, and Scion vehicles using part number 77300-06040. It offers a direct-fit solution for restoring proper fuel tank sealing, helping support reliable performance and easy installation. Built for compatibility with many popular models, it is a practical replacement for worn, cracked, or malfunctioning caps.

This replacement gas cap is designed to fit a wide range of Toyota and Lexus vehicles, offering a simple direct-fit solution for restoring proper fuel tank sealing. Built from durable materials and tested for reliable performance, it helps address issues caused by cracked or failing caps while making installation quick and easy. It is a practical replacement part for maintaining fuel system integrity and everyday driving confidence.
When Does a Tundra EVAP Fault Need a Mechanic?
Schedule a diagnostic appointment with an experienced automotive repair facility if tightening/cleaning the cap fails to resolve the code after two drive cycles, if diagnostic trouble codes P0441 or P0456 persist, or if you suspect charcoal canister damage.
Toyota Technical Service Bulletin T-SB-0054-18: For owners of 2017–2018 Toyota Tundras, Toyota issued technical bulletin T-SB-0054-18 regarding MIL ON with DTCs P0441, P0455, and/or P0456. The bulletin outlines a specific manufacturing defect where the fuel tank filler pipe assembly allows the cap to bind, preventing proper spring return or producing a “no-click” condition. Qualified technicians inspect the filler neck contact surfaces and replace the distorted fuel filler pipe assembly with an updated factory revision.
| Diagnostic Step | Procedure & Confirmation |
|---|---|
| TSB Applicability | Check vehicle VIN against T-SB-0054-18 production cutoffs for 2017–2018 model years. |
| Bidirectional Valve Test | Command the Purge VSV and Canister Vent Valve open/closed using a professional scan tool (e.g., Toyota Techstream). |
| Low-Pressure Smoke Test | Pressurize the closed EVAP circuit to max 0.5 PSI to visually verify leak exit points around valves, hoses, and neck. |
| Post-Repair Verification | Perform an automated EVAP active test or verify that the EVAP readiness monitor shifts from “Incomplete” to “Ready.” |
Diagnostic Costs, Timelines, and Documentation
Repair costs vary substantially based on which EVAP component failed. Standard diagnostic fee for an EVAP smoke test and scan tool actuation ranges between $120 and $200 (typically 1.0 hour of diagnostic labor).
- OEM Toyota Gas Cap: $25 – $45 (0.1 hours DIY labor).
- Under-Hood Purge Vacuum Switching Valve (VSV): $65 – $140 for OEM part; $120 – $220 total with professional installation.
- Fuel Filler Neck Pipe Replacement (TSB repair): $250 – $450 parts; $450 – $750 total installed.
- Charcoal Canister & Key-Off Pump Assembly: $450 – $850 for OEM canister assembly; $700 – $1,200+ total installed (often requires lowering fuel tank or spare tire).
Keep a dedicated repair log detailing: (1) Date and mileage when the CEL appeared, (2) Fuel level at time of illumination, (3) Specific DTCs and freeze-frame data, (4) Invoices with exact OEM part numbers, and (5) Scan tool verification confirming the EVAP monitor completed successfully.
Frequently Asked Questions
How do you fix a Tundra check engine light caused by the gas cap?
Record stored DTCs with an OBD-II scanner. Turn off the engine, inspect the gas cap rubber gasket for cracks, wipe the metal filler neck lip clean, and tighten the cap until it clicks once. Allow the truck to complete a 4.5 to 5-hour key-off cold soak with 1/4 to 3/4 tank of fuel to let the system automatically verify the repair and extinguish the light.
How long does it take for the light to turn off after tightening the gas cap?
On 2007+ Tundras, the light typically turns off after 1 to 2 key-off cold-soak periods (resting parked for 4.5–5 hours with a 20%–85% fuel level). It does not turn off immediately while driving because the leak detection pump runs primarily when the truck is parked and cooled down.
Can you drive a Tundra with an EVAP code?
Yes, short-term driving is safe if the Check Engine light remains steady and the truck accelerates and idles smoothly without raw fuel smells. However, stop driving immediately if the light begins flashing or the engine stumbles severely, which signals active misfires.
Should you buy an OEM gas cap for a Tundra?
Yes. Genuine Toyota OEM fuel caps match factory filler neck thread depth, gasket contour, and internal pressure relief ratings. Generic aftermarket caps frequently lack correct seal profiles and can cause recurring P0455 and P0456 codes.
Why does the code return after you replace the gas cap?
If an EVAP code returns after installing a new OEM cap, the leak exists elsewhere in the system. Common culprits include a stuck-open purge valve, rotted vapor hoses, cracked charcoal canister seams, a corroded filler neck lip, or a failed fuel tank pressure sensor.
Should you clear the check engine light right away?
Do not clear codes immediately if you have an upcoming state emissions inspection. Manually clearing codes resets all OBD-II readiness monitors to “Not Ready,” which will automatically fail an emissions test until all monitor drive cycles and cold soaks complete.
Why is a Toyota Tundra hard to start after refueling?
Hard starting or rough idling immediately after pumping gas indicates a stuck-open EVAP Purge VSV valve. Incoming fuel displaces rich vapors from the tank directly through the stuck valve into the engine intake, temporarily flooding the cylinders.
What should you do if the Tundra Check Engine light is flashing after refueling?
Pull over safely and turn off the engine immediately. A flashing Check Engine light indicates severe cylinder misfiring that dumps unburned fuel into the exhaust, creating extreme heat that can destroy your catalytic converters within minutes.
Conclusion
When a Check Engine light appears on your Toyota Tundra following a fill-up, follow a methodical diagnostic process: capture freeze-frame scanner data, inspect the rubber seal, clean the filler neck rim, and tighten the cap until you hear one solid click. Remember that on 2007+ models, the ECM requires a 4.5 to 5-hour key-off cold-soak cycle with 1/4 to 3/4 tank of fuel before the automatic vacuum pump can verify the seal and turn off the light.
If the fault returns or presents alongside hard starting, prioritize testing the under-hood Purge VSV and check for Toyota T-SB-0054-18 filler pipe distortion. Grounding your repairs in step-by-step diagnostic evidence protects your emissions components and avoids unnecessary parts replacement.
Sources
- Toyota Quick Reference Guide – Verifies the single-click fuel cap requirement and its direct relationship to MIL illumination.
- Toyota Official Support: Fuel Tank Refueling & Overfill Guidance – Details hazards of topping off fuel and charcoal canister saturation.
- New York Vehicle Inspection Program: EVAP System Overview – Verifies EVAP pressure testing, component roles, and monitor readiness thresholds.
- New York Vehicle Inspection Program: OBD-II Monitor Setting Procedures – Details fuel level requirements and drive cycle enabling criteria.
- TCEQ I/M Program Technical Evaluation – Verifies OBD-II fault code definitions for P0441, P0442, P0455, P0456, and P0457.
- Toyota T-SB-0054-18 via NHTSA – Official Technical Service Bulletin addressing fuel tank filler pipe replacement for 2017–2018 Tundras exhibiting no-click cap conditions.