You’ll spot a Tundra exhaust leak by a sharp ticking on cold start that fades as the engine warms, soot or black streaks at the manifold, a lean-related check‑engine light, and possible exhaust smell in the cabin. Visually inspect flanges, gaskets, and studs, do a smoke or soapy‑water test, and verify O2 sensor codes. Small leaks can be clamped; replace gaskets, studs, or the manifold for persistent breaches. Keep going to see diagnostic steps and repair options.
Diagnose a Tundra Exhaust Leak Fast
Want to find an exhaust leak on your Tundra fast? You start by listening and looking: a ticking on cold startup that fades with warmth, soot around the manifold, or a check engine light signaling a lean condition. You’ll want a focused visual inspection first — probe for cracks, melted metal, or black residue where gases escape. Next, isolate the exhaust system and perform pressure testing: seal the tailpipe, introduce low-pressure air with a shop vac or leaf blower, and apply soapy water to suspect joints. Bubbles pinpoint leaks quickly. Confirm sensor triggers by noting CEL codes tied to oxygen sensor readings; that supports your diagnosis without guessing. Act promptly — leaks cut performance, spike emissions, and risk cabin contamination. You’ll take control by diagnosing efficiently, documenting fault locations, and preparing targeted repairs or gasket replacements so you’re free from recurring failures and unsafe driving conditions.
What the Ticking Noise Really Means
When you hear a sharp ticking at cold startup that fades as the engine warms, it often points to an exhaust manifold leak: cracked or warped flanges let pulses of exhaust escape between the head and manifold, producing the rapid tick you’re noticing. You’ll notice soot at the joint, occasional exhaust odors in the cabin, and possible check engine illumination as O2 sensors read a lean mix. The metal expands when hot and temporarily seals the flaw, explaining why the noise drops off. Don’t ignore it: ongoing leakage stresses the catalytic converter and risks broader engine damage.
| Symptom | Likely cause |
|---|---|
| Sharp cold tick | Cracked/warped manifold flange |
| Soot at joint | Persistent exhaust escape |
| Cabin odor | Leaks routing fumes inward |
| CEL | O2 sensor reports lean |
| Diminishing tick | Thermal expansion sealing |
Addressing the fault restores exhaust system integrity and noise reduction, freeing you from escalating repair costs.
Simple DIY Tests (Visual, Smoke, Soapy Water)
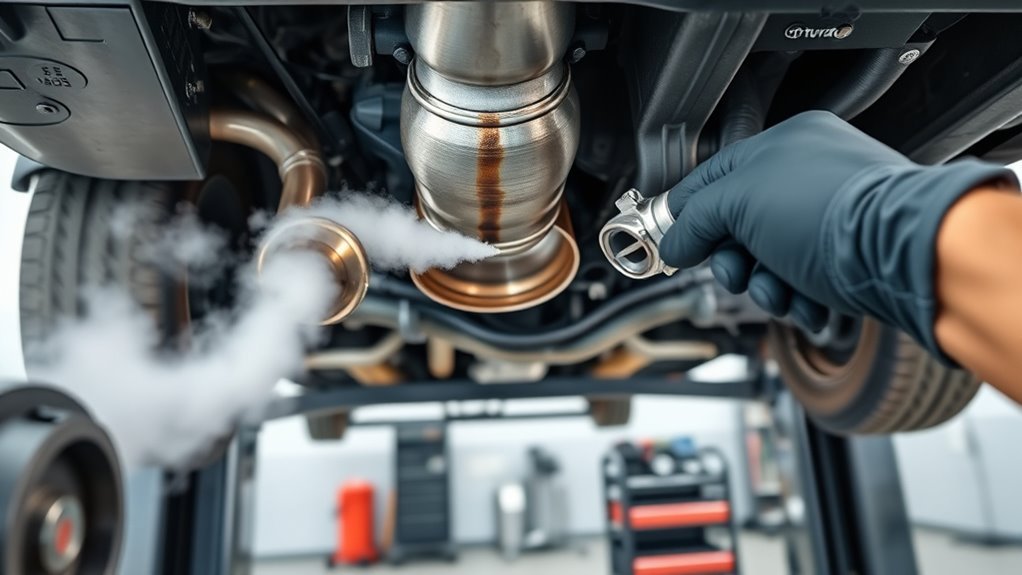
Although you can often spot obvious issues by eye, start with a focused visual inspection: look for soot streaks, hairline cracks, or missing fasteners around the manifold-to-head and manifold-to-pipe joints, and check for rust or corrosion that can compromise sealing surfaces. You’ll note soot or black deposits at leak paths; hairline fractures at welds or flanges point to stressed metal. Next perform a controlled smoke test: introduce low-pressure smoke into the exhaust system (cold engine), watch for emergent plumes at gaskets, flange seams, or cracked pipe—smoke gives precise localization for repair and strengthens your approach to leak prevention. Finish with a soapy-water check on suspected areas: spray and pressurize briefly; persistent bubbles mark escaping gases. Use gloves and eye protection, and secure the vehicle. Document findings, torque or replace suspect fasteners, and replace compromised gaskets or corroded sections. These simple diagnostics free you from guesswork and guide targeted fixes.
If It’s Not the Exhaust: Fuel Damper, Coils, Intake Noises
If you hear ticking that fades as the engine warms, check the fuel pressure damper first—its failing internals can mimic an exhaust leak. Inspect spark plugs and ignition coils next, since misfires or a “pulsator” coil noise often gets mistaken for escaping exhaust gas. Finally, scan the intake system for vacuum whistles and loose gaskets or connections, and remember nearby parts can amplify or mask the true source.
Fuel Pressure Damper Noise
Because the fuel pressure damper sits on the high-pressure side of the rail, a failing damper can produce a sharp ticking that mimics an exhaust leak—especially under load or at startup—and usually fades as the engine warms. You’ll hear a metallic tick that tracks with throttle and may vanish as components reach operating temperature. Prioritize fuel pressure checks and damper inspection before chasing manifold leaks. You’re freeing yourself from misdiagnosis by isolating the rail.
- Fear — that ticking can make you think the engine’s failing; confirm fuel pressure first.
- Resolve — a focused damper inspection often restores quiet and performance.
- Freedom — fix the damper promptly to prevent cascading issues and reclaim reliable power.
Misfiring Coils/Plugs
When you hear a rhythmic tick that comes with a loss of power, don’t assume it’s the exhaust—misfiring coils or worn spark plugs often produce the same acoustic signature and performance drop. You should diagnose coil symptoms and plug inspection immediately: check for cracked porcelain, electrode erosion, carbon tracking, or loose boots. Use a scan tool for misfire codes (P0300–P0308) and perform a coil-swap test to isolate a bad coil—the pulsator effect will move with the coil. Monitor misfires under load and when cold; fuel damper noise can mimic these symptoms but often fades as systems warm. Regular ignition testing and timely replacement free you from chasing false exhaust repairs and restore confident, liberated driving.
Intake Vacuum Whistle
Although it can mimic an exhaust leak, an intake vacuum whistle usually stems from a leak or restriction in the intake tract—cracked hoses, loose clamps, or a failing intake manifold gasket—that lets unmetered air create a high-pitched whistle and erratic idling. You’ll hear intake noise and feel rough idle; don’t assume exhaust—check for air leaks first. Inspect vacuum lines, intake boot, and manifold seal; use smoke or propane testing to pinpoint the whistle. Also consider the fuel pressure damper and ignition components if ticking persists; coils and plugs can imitate leaks. Diagnose methodically to avoid wasted repairs and regain control of your truck.
- Fear: the invisible air leaks betray you.
- Resolve: locate the exact leak.
- Freedom: fix it, reclaim reliable power.
Parts & Spots to Inspect (Manifold, Gaskets, Studs, Steering‑Shaft Seal)
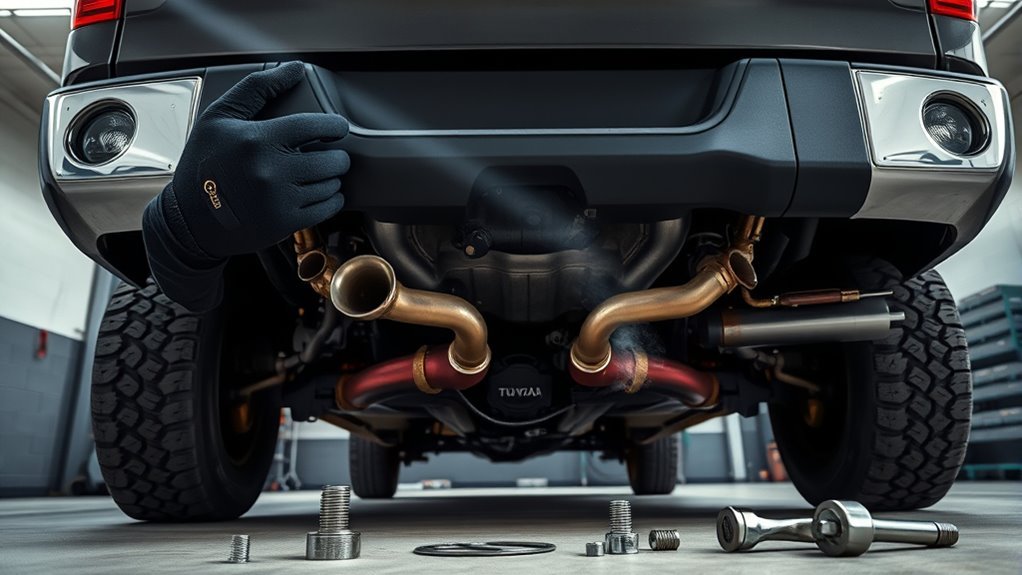
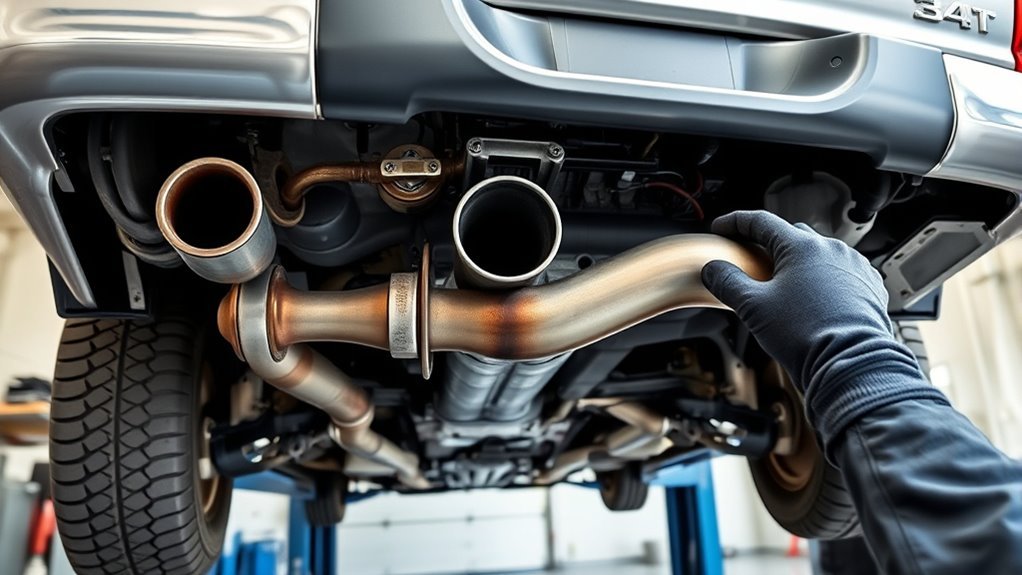
To pinpoint common Tundra exhaust leaks, focus first on the manifold and its connections: inspect the manifold for cracks or warping (thermal stress often causes hairline fractures that produce a ticking sound when the engine’s cold). For manifold inspection, visually scan for fractures, soot trails, and uneven flanges; use a flashlight and mirror to reach tight castings. Perform a bubble test with soapy water at suspected joints while the engine is idling to reveal active leaks.
Check gaskets at head-to-manifold and manifold-to-pipe junctions for compression set, carbon scoring, or material loss—gasket replacement is necessary when you see deformation or leaking. Inspect studs and nuts for stretch, corrosion, or breakage; compromised fasteners allow flange separation and progressive leaks. Finally, verify the steering-shaft seal for cracks or extrusion; a failed seal can route fumes into the cabin and create a safety hazard. Document findings, prioritize air-quality risks, and prepare targeted repairs to reclaim control.
Fixes by Severity: Temporary Patches → Gaskets/Studs → Manifold Swap
Start with quick temporary patches like hose clamps or galvanizing strap to stop small leaks and keep you mobile until a proper repair. If the leak persists or the gasket flange shows corrosion, replace the manifold gaskets and worn studs to re-establish a proper seal. For cracks or warped flanges that can’t be sealed reliably, plan a full manifold swap for long-term reliability and safety.
Quick Temporary Patch Options
When you need a fast, temporary fix for an exhaust leak, prioritize methods that restore sealing and alignment quickly so you can safely move the truck to a shop. You’ll want practical, liberating options that stop noise and fumes without complex tools. Use temporary sealants like JB Weld or high-temperature furnace cement for small cracks, then test via bubble test. For loose joints, select proper clamp types — heavy-duty worm gear clamps, hose clamps, or galvanized strapping to reinforce connections and maintain alignment. Inspect bolts and rust to guarantee the temporary holds won’t fail.
- Apply high-temp sealant, cure, and bubble-test immediately.
- Use worm gear or hose clamps; tighten to spec.
- Wrap galvanized strap for stubborn leaks; monitor rust.
Replace Gaskets And Studs
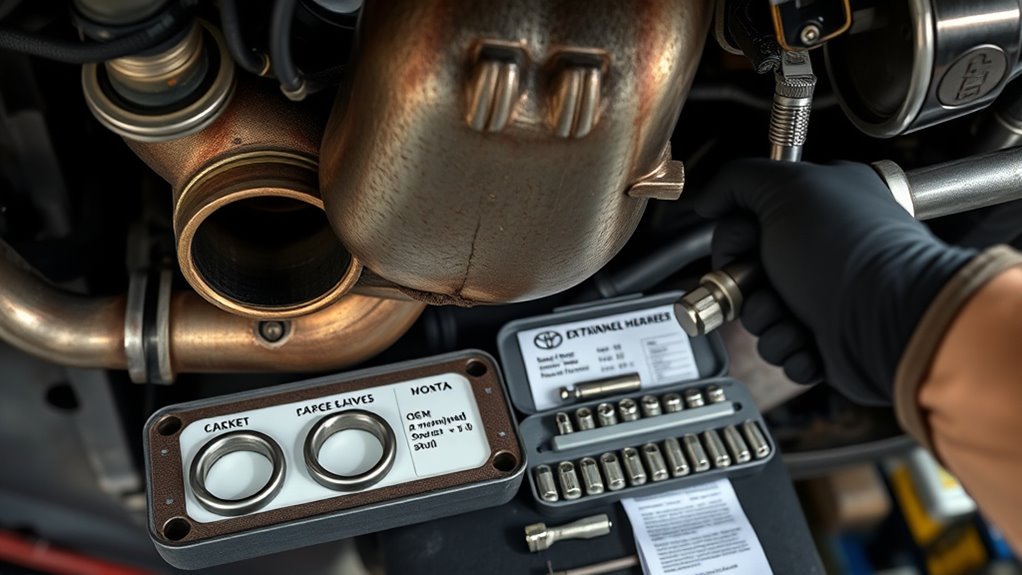
After a temporary patch holds you over, the next step is replacing worn gaskets and damaged studs to restore a proper seal and prevent fumes or noise from returning. You’ll remove the joint, inspect surfaces for warpage, and choose OEM gaskets—correct gasket materials matter for heat cycling and longevity. Check studs for rust, thread damage, or elongation; replace any compromised fasteners rather than forcing a repair. Install new studs and gaskets cleanly, align flanges, and follow the specified stud torque in sequence to avoid distortion and future leaks. This diagnostic, surgical approach liberates you from recurring symptoms: reduced cabin fumes, quieter operation, and preserved performance. Maintain periodic inspections to prevent escalation to manifold replacement.
Full Manifold Replacement
If temporary patches and gasket/stud repairs don’t stop the ticking, fumes, or visible cracks, you’ll need a full manifold replacement to restore a proper seal and prevent further leakage or heat damage. You’ll replace a compromised manifold when cracks or severe corrosion persist despite prior repairs. Use OEM manifold materials, new gaskets, studs, and nuts to guarantee reliable sealing and fitment. Consider performance upgrades—high‑flow headers—if you want improved exhaust flow and liberation from recurring failures. Inspect flanges, ports, and mating surfaces; confirm torque specs and heat shielding.
- Relief: fixed ticking, no cabin fumes.
- Confidence: OEM parts, correct manifold materials, proper studs.
- Power: performance upgrades add efficiency and lasting durability.
Cost, Parts, and Tools: OEM vs Aftermarket
You’ll usually face a clear trade-off between OEM and aftermarket exhaust components: OEM parts cost more up front but generally give better fit, durability, and lower long-term service costs, while aftermarket pieces can save money initially yet may require more frequent replacement or cause ancillary repairs. You’ll want OEM advantages clearly listed: longer life, precise fit to mating surfaces, and lower likelihood of leaks or fitment-related stress on studs and gaskets. Expect replacement manifolds to run $500–$1500 installed, so weigh initial outlay against recurring expense.
Aftermarket risks include premature failure, increased repair frequency, and potential mismatch with factory flanges that forces extra work. For repairs carry a torque wrench, hand tools (wrenches, sockets), and fresh gaskets and nuts; these prevent common rework. Inspect components regularly; choosing quality parts buys you time and freedom from repetitive fixes, aligning repair decisions with your goal of dependable, liberating ownership.
Safety, Drivability, and When to See a Pro
Because exhaust leaks can let carbon monoxide into the cabin, treat any strong exhaust smell or unusual exhaust noise as an immediate safety concern and stop driving until you can ventilate the vehicle and assess the source. You need to prioritize exhaust safety over convenience: ticking that fades as the engine warms or sudden acceleration loss often signals a manifold or gasket failure. Those failures degrade performance impact and can escalate rapidly. Inspect visually for soot, listen for changes, and test under load if safe. Regular inspections prevent small breaches from costing you control.
- Fearless action: if you smell exhaust inside, get fresh air, park, and seek professional assessment immediately.
- Controlled response: if DIY fixes fail or bolts are stripped/rusted, don’t force it—call a mechanic to restore full performance and safety.
- Liberating maintenance: scheduled checks preserve power, reduce emissions, and free you from unexpected breakdowns.
Frequently Asked Questions
How Much Does It Cost to Replace the Exhaust Manifold on a Tundra?
You’ll pay about $500–$1500 for exhaust manifold replacement; repair costs hinge on parts, labor and extras. You’ll choose DIY to save (~$200–$400) or professional service ($300–$800 labor), budgeting for diagnostics and gaskets.
Is It Okay to Drive a Truck With an Exhaust Leak?
No — think of a warning siren; you shouldn’t. You’ll risk exhaust health and reduced engine performance, invite cabin CO exposure, and worsen catalytic damage. Act fast, diagnose the leak, and restore freedom on the road.
What Is the Most Common Problem With Toyota Tundra?
The most common problem is exhaust manifold leaks; you’ll notice reduced engine performance and increased repair frequency. You’ll diagnose ticking noises, failed O2 readings, and warped manifolds, then replace gaskets, studs, or upgrade headers to liberate reliability.
Conclusion
Quickly confirm and curb that Tundra exhaust leak: check manifolds, gaskets, studs and steering‑shaft seal, then smoke, soapy‑water and visual tests to pinpoint the pulsey, ticking escape. If it’s coil or damper noise, don’t misdiagnose. Patch temporarily, replace gaskets or studs, or swap the manifold for a lasting repair. Weigh OEM vs aftermarket parts, budget tools, and safety. Seek pro service when drivability declines or repairs exceed your skills.