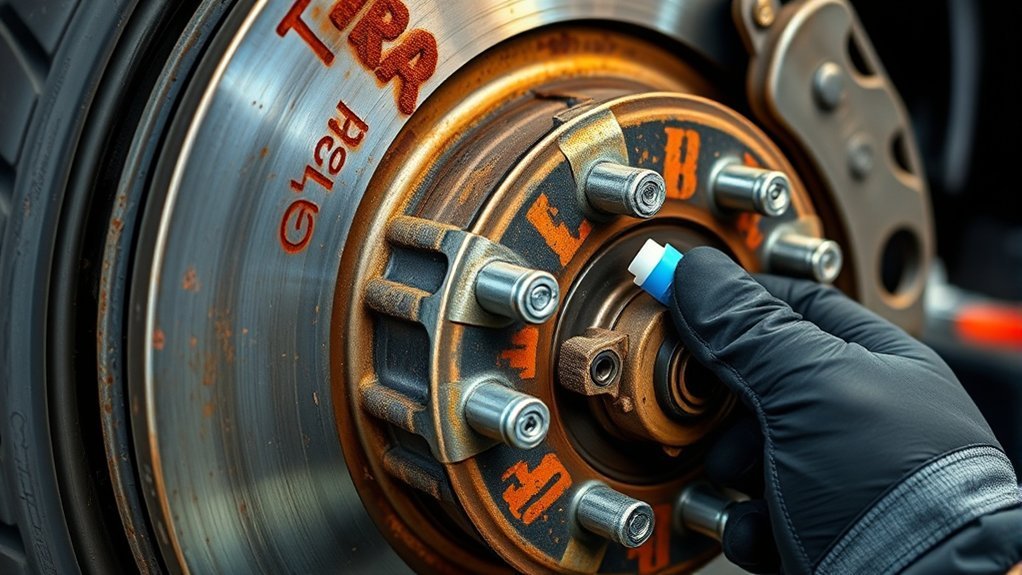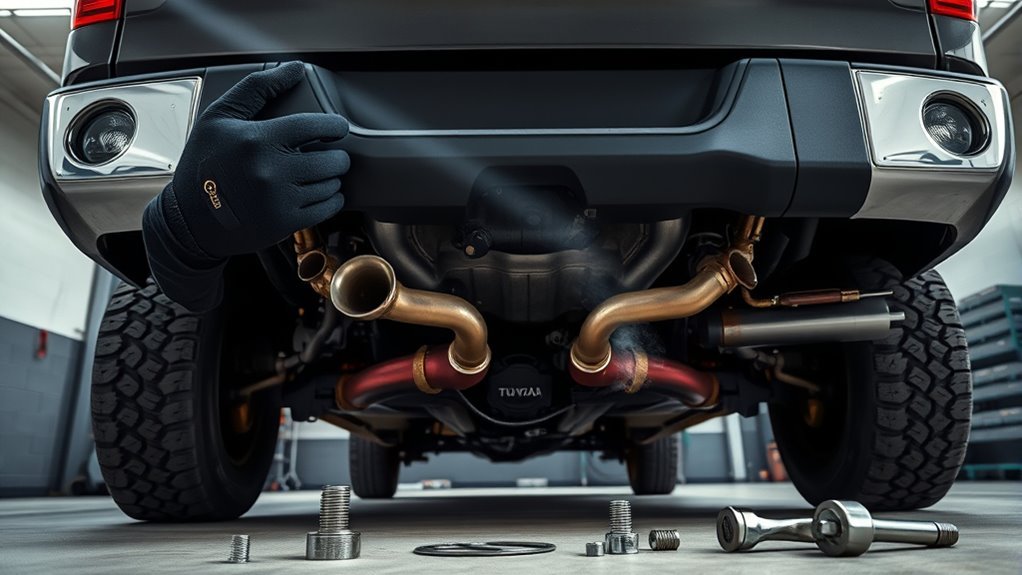
Last updated: July 23, 2026. Technical diagnostic procedures, 5.7L V8 and 3.4L Twin-Turbo powertrain failure points, RepairPal cost data, and emissions compliance standards rechecked.
A Tundra exhaust leak typically presents as a sharp, rhythmic ticking or puffing noise during a cold start that quiets down within 60 to 90 seconds as the exhaust metal expands. However, never assume every engine bay tick originates from a cracked manifold. Low engine oil, failing valve lifters, noisy direct injectors, or loose spark plugs can produce identical frequencies. Always verify oil level and dashboard warnings first, scan stored and pending OBD-II codes, and confirm the leak using an acoustic hose test or a low-pressure (under 2 PSI) regulated automotive smoke test on a cold engine.
Stop driving immediately if exhaust fumes enter the cabin, the check engine light flashes (signaling an active misfire), oil pressure drops, or vehicle occupants experience headache, dizziness, nausea, or confusion from carbon monoxide exposure. Because exhaust architecture and failure points differ substantially between the 4.7L V8 (1st Gen), 5.7L 3UR-FE V8 (2nd Gen), and the 2022+ 3.4L V35A-FTS twin-turbo V6 (3rd Gen), always verify repair procedures, manifold flange clearances, and torque specs by VIN before purchasing replacement parts.
Quick Answer: How to Diagnose a Tundra Exhaust Leak
Diagnose a suspected Tundra exhaust leak in 4 steps: (1) Rule out lubrication: Check engine oil level and oil pressure before cold cranking. (2) Cold-start acoustic pinpointing: Listen with a 3-foot section of heater hose held near the cylinder head exhaust ports—exhaust ticks sound like sharp, airy “puffs” that fade in 1–2 minutes as metal expands. (3) Visual inspection: Check the rearmost manifold studs (especially cylinders 7 and 8 on 5.7L V8s) for snapped hardware, missing nuts, or black soot trails. (4) Smoke confirmation: Perform an engine-off automotive smoke test regulated under 2 PSI to locate hairline cracks or flange separation without burning hands or inhaling fumes.
Key Takeaways
- A cold-start tick that fades after 1–2 minutes is the hallmark sign of a cracked manifold or failing exhaust gasket.
- On 4.7L and 5.7L V8 Tundras, broken rear exhaust studs (Cylinders 7 and 8) are the most frequent mechanical failure points.
- On 2022+ twin-turbo V6 Tundras, differentiate exhaust leaks from normal electronic wastegate actuator arm rattle during cold decel.
- Always keep automotive smoke machine pressure below 2 PSI to prevent blowing out oxygen sensor bungs or catalytic converter seals.
- Upstream exhaust leaks introduce unmetered ambient air, falsely triggering P0171/P0174 (Lean) or P0420/P0430 (Catalytic Converter Efficiency) codes.
- Always verify replacement hardware by VIN and use upgraded stainless or hardened studs with copper-coated lock nuts.
At a Glance: Symptom Diagnostic Matrix
| Observed Symptom | Primary Suspect | Distinguishing Characteristic | Immediate Action |
|---|---|---|---|
| Sharp tick cold, fades warm | Manifold crack or warped gasket | Airy “puff” sound; carbon soot around studs | Inspect rear manifold studs and cold smoke test |
| Metallic tick hot & cold | Valvetrain / Hydraulic lifter | Hard metallic click; does not fade as engine warms | Check oil level, viscosity, and oil pressure |
| Rapid high-pitch clicking | Direct / Port Fuel Injectors | Normal rhythmic solenoid pulse; uniform across rails | Verify with stethoscope probe on fuel rail |
| Metallic buzz on cold decel | Turbo wastegate rattle (3.4L TT) | Specific to 2022+ V35A-FTS; occurs on throttle lift | Inspect electronic wastegate linkage clearance |
| Sulfur / exhaust smell in cab | Flange leak or steering shaft seal | Fumes pulled through firewall or rear cab vents | Stop driving, ventilate cabin, inspect front pipes |
What’s in This Article
- How to Diagnose a Tundra Exhaust Leak Fast
- What a Cold-Start Ticking Noise Really Means
- How to Test for a Leak Safely (Visual, Acoustic, Smoke)
- Which OBD-II Codes Matter (P0171, P0174, P0420, P0430)
- What Else Can Sound Like an Exhaust Leak
- Which Parts and Seals to Inspect
- Which Repair Matches the Leak
- Repair Costs, Labor Hours, and Hardware Upgrades
- When to Stop Driving or Call a Mechanic
- Frequently Asked Questions
How Do You Diagnose a Tundra Exhaust Leak Fast?
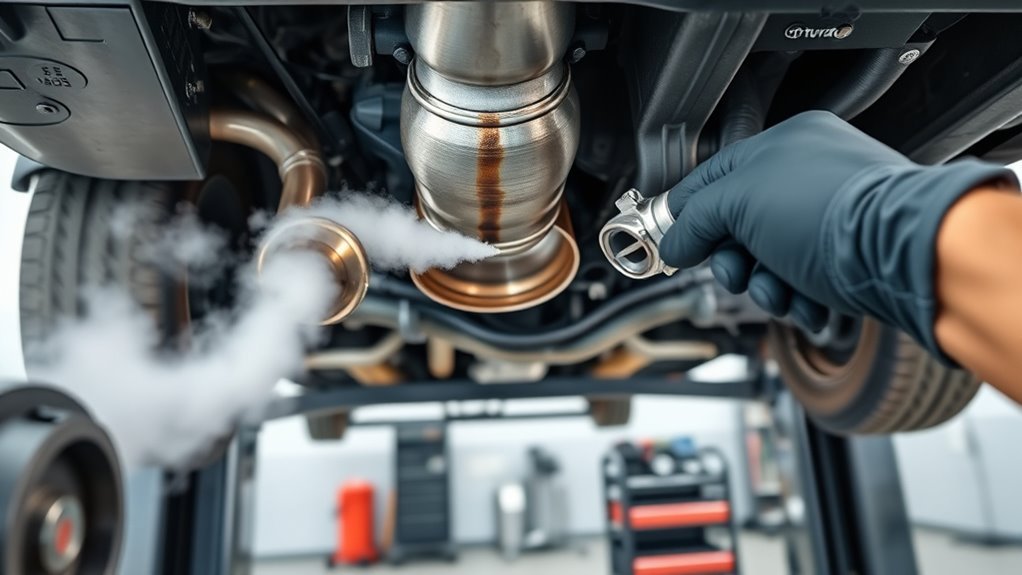
An accurate Tundra exhaust leak diagnosis requires a systematic process of elimination. Before wrenching on exhaust heat shields or ordering expensive replacement manifolds, you must first verify engine lubrication and rule out ignition or valvetrain faults.
Follow this 6-step diagnostic protocol:
- Check engine oil level and condition: Pull the dipstick before cold cranking. Low oil causes hydraulic lifter and valvetrain ticking that mimics exhaust leaks but will destroy the engine if run unaddressed.
- Perform a cold-start acoustic test: Position yourself safely outdoors by the front wheel wells. Start the engine cold. Use a 3-foot length of 5/8-inch heater hose held to your ear while moving the other end along the manifold flange. An exhaust leak sounds like a distinct, airy “chuff” or sharp snap directly at the leak point.
- Conduct a cold visual inspection: Once the engine cools completely, use an inspection mirror and a high-lumen flashlight. Inspect the cylinder head exhaust mating surfaces for powdery black carbon soot, missing nuts, or sheered stud shanks—concentrating heavily on the rearmost exhaust ports.
- Inspect cabin isolation points: Check the firewall steering shaft boot, HVAC fresh air cowl, and rear cab cabin pressure vents. Exhaust gas entering the cab often indicates a manifold or Y-pipe leak being drawn in through a torn rubber steering column boot.
- Scan OBD-II live data and freeze frames: Connect a scan tool to review Short-Term and Long-Term Fuel Trims (STFT/LTFT) on Bank 1 vs. Bank 2. Upstream exhaust leaks pull outside oxygen past the air-fuel ratio sensor, driving positive fuel trims (+10% to +25%) primarily at idle.
- Execute a low-pressure smoke test: With the engine off and completely cold, introduce automotive smoke into the tailpipe or exhaust bung at 1.0 to 1.5 PSI. Watch for smoke escaping from manifold welds, catalytic converter flanges, sensor bungs, or flex pipes.
Warning: Never perform exhaust leak testing in an enclosed space. Never apply high-pressure shop air (over 2 PSI) to an exhaust system, as this can dislodge internal catalytic converter ceramic substrate, tear flex joints, or damage EVAP/purge check valves.
Powertrain Architecture Differences: Diagnostic access varies significantly across generations. The 2007–2021 Tundra 5.7L V8 (3UR-FE) features tight manifold clearance near the passenger-side starter and steering shaft, where thermal stress frequently shears rear studs. In contrast, the 2022+ 3.4L Twin-Turbo V6 (V35A-FTS) integrates turbochargers directly to the exhaust manifolds beneath complex heat shielding. Consult the Toyota Tundra generations guide to match your platform specs before disassembly.
What Does a Cold-Start Ticking Noise Really Mean?
A sharp ticking noise at cold startup that fades as the engine reaches operating temperature is the classic symptom of thermal expansion masking a mechanical exhaust leak. When cold, the gap between the cast iron or tubular stainless steel manifold and the aluminum cylinder head is at its widest. Escaping combustion gases pulse through this gap, generating a sharp tick or pop. Within 1 to 3 minutes, exhaust gas heat (reaching 800°F–1200°F) expands the metal, temporarily closing the gap and silencing the tick. However, the broken stud, warped flange, or cracked weld remains structurally compromised.
Furthermore, an unsealed exhaust joint upstream of the catalytic converter creates a Venturi effect. Pulsing exhaust gases draw ambient air containing 21% oxygen into the exhaust stream. When this unmetered oxygen reaches the upstream Air-Fuel Ratio (A/F) sensor or downstream Oxygen (O2) sensor, the Engine Control Module (ECM) misinterprets the reading as a lean combustion condition. The ECM responds by dumping extra fuel into the cylinders, causing fouled spark plugs, reduced fuel economy, and eventual catalytic converter overheating.
| Diagnostic Symptom | Underlying Failure | Confirmation Method |
|---|---|---|
| Cold tick fading in <90 seconds | Manifold flange warp, blown gasket, or snapped rear stud | Cold visual inspection for soot; mirror check on rear ports |
| Tick accompanied by low oil pressure warning | Hydraulic lifter bleed-down or oil starvation | Immediate engine shutdown; mechanical oil pressure gauge test |
| Black carbon tracks on heat shield / head | Gasket blowout or collector weld fatigue crack | Regulated cold smoke test (1.5 PSI) |
| Exhaust smell entering cabin on defrost/heat | Upstream leak fumes entering HVAC cowl or torn steering boot | Inspect steering column firewall grommet and manifold flanges |
| Elevated Positive Fuel Trims (STFT > +15% at idle) | False lean signal caused by exhaust oxygen intrusion | Compare Bank 1 vs Bank 2 fuel trims; smoke test upstream of O2 sensor |
| Stored DTC P0420 or P0430 | Upstream exhaust leak disturbing downstream O2 waveform | Repair all upstream flange leaks before replacing expensive converters |
How Do You Test a Tundra Exhaust for Leaks Safely?
Testing for exhaust leaks requires distinct methodologies depending on whether the system is cold, running, or pressurized by diagnostic equipment. Always let the exhaust cool to ambient temperature before touching pipes or spraying solutions.
1. The Acoustic Hose Test (Running Engine – Cold Start):
Before starting a cold engine, take a 3-foot section of clean 5/8-inch heater hose or a mechanic’s stethoscope with the metal diaphragm wand removed (leaving only the open hose). Place one end firmly against your ear and have an assistant start the truck. Move the open probe end within 1 inch of the manifold-to-cylinder-head seam, the collector flange, and the O2 sensor bungs. An exhaust leak will produce an unmistakable, highly localized popping sound through the tube. You have roughly 60 to 90 seconds before heat expansion reduces the sound.
2. The Regulated Smoke Test (Engine OFF – Cold System):
The most conclusive, professional method to find invisible hairline cracks or broken collector seams is an automotive smoke machine. Seal the tailpipe using an inflatable exhaust bladder adapter. Connect the smoke machine and regulate input pressure between 1.0 and 1.5 PSI (never exceed 2.0 PSI). Introduce dense diagnostic smoke into the system. Use a high-intensity LED light to inspect the entire exhaust length. Smoke will clearly billow from blown gaskets, snapped stud locations, cracked collector welds, and perforated flex pipes without running the engine.
3. The Low-Pressure Soapy Water Test (Engine OFF – Cold System):
If a smoke machine is unavailable, connect the discharge hose of a shop vacuum to the tailpipe to gently pressurize the exhaust system with ambient air (ensure the vacuum is set to blower/output mode and the engine is completely cold and turned off). Spray a solution of dish soap and water onto the cold manifold flanges, sensor bungs, and pipe welds. Active leaks will produce rapid, continuous soap bubbles. Never spray cold soapy water onto a hot exhaust manifold, as thermal shock can crack cast iron or warp aluminum heads.
Pro Tip: When testing 5.7L V8 Tundras, remove the front inner fender splash aprons (held by plastic push clips). This grants direct horizontal line-of-sight to the exhaust manifold runners and cylinder head studs without straining from above.
[Products Worth Considering]

Walker 36454 is a spring bolt kit designed to help secure exhaust components and maintain a tight, leak-resistant connection. It is made for ball and socket joint applications and uses durable materials for long-lasting performance. This hardware is a practical choice for exhaust repairs and compatible replacement needs on select vehicles.

AutoLine Pro HyperSmoke is a professional automotive smoke tester designed to quickly find EVAP, vacuum, intake, boost, exhaust, and other leak sources with thick visible smoke. It features adjustable pressure, built-in air compressor motor, instant warmup, and OEM approved smoke fluid for safe, accurate diagnostics across a wide range of vehicles and systems. The kit includes essential accessories and is backed by a full coverage warranty for dependable shop or garage use.

Walker exhaust pipe flange gasket is designed to help complete exhaust repairs with a reliable seal for compatible vehicles. Built to work with OE exhaust components and Walker replacement parts, it features heat-deflecting construction, durable materials, and slotted bolt holes where applicable for easier installation. Engineered and tested for real-world performance, it supports long-lasting exhaust system service.
Which OBD-II Codes Should You Check Before Replacing Parts?
Before buying replacement catalytic converters, oxygen sensors, or exhaust hardware, scan your Tundra for stored, pending, and permanent OBD-II codes and freeze-frame data. An exhaust leak upstream of or near a sensor will falsify sensor voltage data and trigger erroneous trouble codes.
- P0171 / P0174 (System Too Lean – Bank 1 / Bank 2): Exhaust pulses draw unmetered atmospheric oxygen past the Air-Fuel Ratio sensor. The ECM compensates by adding fuel, maxing out positive fuel trims. If the lean condition is caused by an exhaust leak, LTFT will typically be highly positive at idle (+15% to +25%) and drop closer to normal (+3% to +7%) under highway cruise load as exhaust volume overcomes atmospheric reversion.
- P0420 / P0430 (Catalyst System Efficiency Below Threshold – Bank 1 / Bank 2): A leak at the manifold collector or catalytic converter inlet flange allows extra oxygen to hit the downstream O2 sensor. This causes the downstream sensor voltage to fluctuate wildly rather than maintaining a steady flat line (~0.6V to 0.7V), tricking the ECM into condemning a functioning catalytic converter.
- P0300 through P0308 (Cylinder Misfire Detected): While exhaust leaks rarely trigger misfires directly, severe manifold cracks right at an exhaust port can disrupt cylinder scavenging. If a misfire code flashes, diagnose ignition coils and spark plugs immediately to protect the catalyst.
- P0031/P0051 / P0130–P0161 (Oxygen Sensor Heater & Circuit Codes): Check sensor wiring harnesses near exhaust components. Melted wiring from loose heat shields or leaking hot exhaust gas frequently mimics failed sensor elements.
Review the Tundra emissions and O2 sensor guide for in-depth fuel trim analysis, and consult the Tundra code-reader guide for freeze-frame capture instructions.
What Else Can Sound Like a Tundra Exhaust Leak?
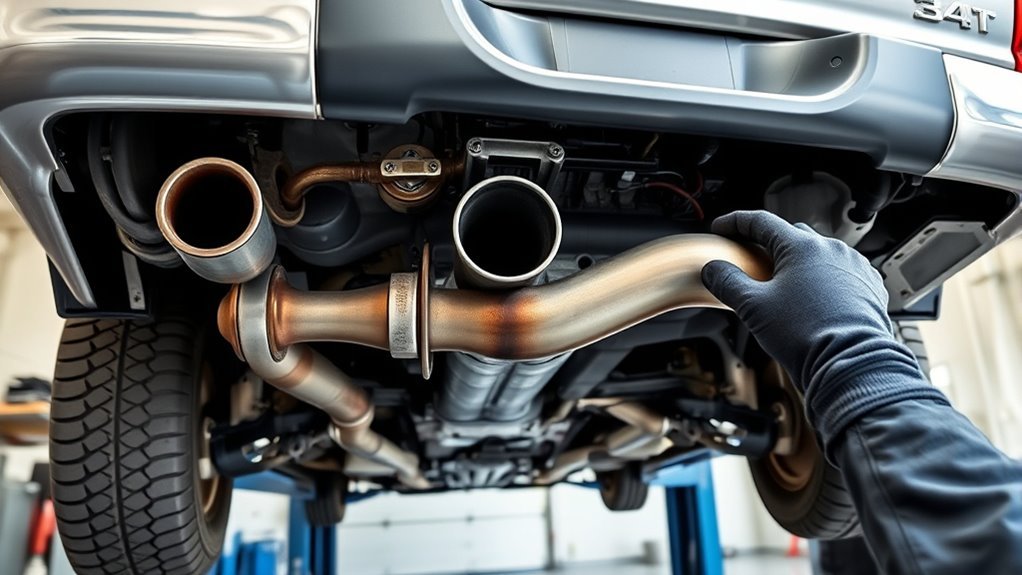
Tundra engine bays generate multiple mechanical sounds that mimic exhaust ticks. Accurately isolating the noise prevents costly and unnecessary parts replacement.
High-Pressure Fuel Injectors and Dampers
Toyota’s 5.7L V8 port injectors and the 3.4L Twin-Turbo’s D-4ST direct-injection system operate with loud, rhythmic clicking sounds that increase directly with engine RPM. High-pressure direct injectors on 2022+ models operate up to 2,900 PSI, generating an audible click that persists both hot and cold. Use a stethoscope wand on the individual fuel rails to verify if the clicking is uniform across all injectors.
Spark Plug Arc or Loose Plug Blow-By
An ignition coil boot with carbon tracking or a loose spark plug can produce a rhythmic, snappy ticking sound. Combustion gases escaping past a loose spark plug sound nearly identical to a manifold leak. Inspect spark plug wells for carbon residue and torque all plugs to factory specification (typically 13–15 ft-lbs on Toyota aluminum heads). If misfire codes accompany the sound, review the Toyota Tundra misfire guide.
Intake Manifold Runner or Vacuum Leak
A cracked PCV hose, loose intake boot clamp, or leaking intake manifold gasket produces a high-pitched hiss or whistle rather than a rhythmic snap. Unlike an exhaust leak, an intake vacuum leak will cause positive fuel trims that are highest at idle and immediately normalize under throttle as engine vacuum drops.
Hydraulic Lifters, Cam Phasers, and Turbo Wastegates
Valvetrain ticking caused by collapsed hydraulic lifters or low oil pressure generates a heavier metallic “clack” centered at the top of the valve covers that does not disappear when warm. On 2022+ 3.4L V6 Tundras, the electronic wastegate actuator linkages commonly exhibit a metallic flutter or rattle during cold deceleration or low-load revving. This wastegate clearance rattle is normal operational behavior and must not be confused with a cracked turbo hot-side manifold.
Note: A detached catalytic converter heat shield clamp can vibrate against the exhaust pipe at 1,200–1,800 RPM, creating a loud buzzing sound. Check heat shield band clamps before condemning internal exhaust components.
Which Parts and Seals Should You Inspect?
When inspecting a Tundra exhaust system, follow the exhaust stream from the cylinder head outward to the tailpipe:
- Cylinder Head Exhaust Manifold Studs (Cylinders 7 & 8): On the 4.7L and 5.7L V8 engines, the rearmost studs on both cylinder heads experience extreme thermal expansion stress. The top or bottom rear stud often shears off flush with the cylinder head, creating a gap in the multi-layer steel (MLS) manifold gasket.
- Manifold Collector Welds & Casting Runners: Factory tubular steel manifolds on 2nd Gen Tundras frequently crack along the collector weld seam beneath the welded factory heat shields.
- Y-Pipe Flange and Donut Gaskets: The spring-bolt flanges connecting the catalytic converter downpipes to the Y-pipe flex continuously with engine movement. Check for degraded graphite donut gaskets and rusted spring bolts.
- O2 and A/F Sensor Bungs: Inspect the weld seams securing oxygen sensor bungs to the exhaust pipes. Road salt and vibration cause stress cracks around the bung threads.
- Steering Column Firewall Grommet: While not part of the exhaust piping, if the rubber firewall boot surrounding the intermediate steering shaft is torn or dislodged, engine bay exhaust fumes from a minor manifold tick will enter the vehicle interior directly.
Which Repair Matches the Leak Location?
The repair method must match the mechanical severity and location of the failure. Patching high-heat manifold joints with temporary sealants will fail within days.
[Products Worth Considering]

This set of four ignition coils is designed to restore smooth engine performance and reliable starting for compatible Toyota, Scion, and Lexus applications. Built to meet or exceed OE specifications, these coil packs help reduce misfires, hesitation, and check engine light issues while supporting stronger ignition output. The direct-fit design makes installation straightforward, and the package includes a warranty for added peace of mind.

This ignition coil pack and pre-gapped spark plug set is designed for select 3.5L V6 Toyota and Lexus models, helping restore smooth engine performance and reliable starting. Built to meet or exceed OEM specifications, it can help fix common issues like misfires, rough idle, poor fuel economy, and reduced power. The complete 6-piece set offers a convenient replacement solution for compatible vehicles.

This steering clock spring is designed to restore reliable steering wheel controls across a wide range of Toyota models. It supports audio, cruise control, and other multifunction commands while matching OEM part numbers for confident replacement fitment. Built for dependable signal transfer and straightforward installation, it is an effective solution for repairing steering column control issues.
When Is a Temporary Patch Appropriate?
Exhaust repair putties, silicone wraps, and clamp-on sleeves are suitable only for low-pressure straight pipe sections downstream of the catalytic converter (e.g., intermediate pipe or muffler entry). Never apply wraps, pastes, or muffler tape to exhaust manifolds, turbo downpipes, or catalytic converter casings. Manifold surface temperatures routinely exceed 1,000°F, quickly vaporizing standard adhesives and creating noxious fumes.
Replacing Gaskets and Broken Manifold Studs
When the exhaust manifold casting is unwarped and crack-free, replacing the MLS gasket and securing hardware resolves the leak. Always adhere to these mechanical standards:
- Replace all factory studs with upgraded Grade 10.9 or 304 stainless steel studs to prevent future fatigue snapping.
- Use copper-coated, prevailing-torque flange lock nuts. Copper coating prevents galling and seizing in aluminum heads.
- Apply high-temperature nickel anti-seize compound to the stud threads entering the aluminum cylinder head.
- Torque manifold nuts in a three-stage crisscross sequence starting from the center cylinders working outward to the factory specification (typically 15–18 ft-lbs / 21–25 Nm on 5.7L engines). Over-torquing strips aluminum head threads.
Full Manifold Replacement vs. Aftermarket Headers
If the manifold casting is cracked along the runner or the mounting flange is warped by more than 0.004 inches (0.1 mm), full replacement is required. Owners of 5.7L V8 Tundras often choose between OEM cast/tubular assemblies and quality aftermarket stainless headers (such as JBA or Doug Thorley shorty headers). Ensure any aftermarket header retains all factory O2 sensor locations, catalytic converter placements, and CARB/EPA emissions compliance. The EPA strictly enforces Clean Air Act anti-tampering provisions regarding emissions defeat devices.
How Much Does Tundra Exhaust-Leak Repair Cost?
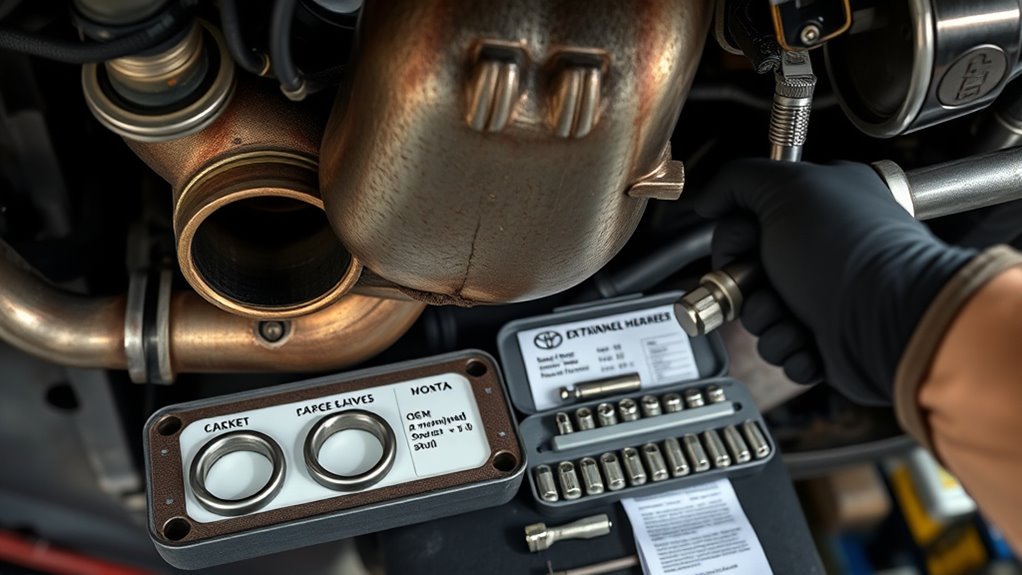
Exhaust repair costs on Toyota Tundras vary widely based on engine access, rust severity, and whether broken studs require cylinder head extraction. On 5.7L V8 models, the passenger-side manifold replacement requires navigating around the starter motor, engine mounts, and air injection tubes, averaging 6 to 9 book labor hours per side.
According to RepairPal automotive repair pricing data (updated June 18, 2026), average replacement costs break down as follows:
| Repair Operation | Estimated Cost Range | Labor vs. Parts Distribution | Key Variables |
|---|---|---|---|
| Exhaust Manifold Replacement (Single Side) | $1,484 – $1,855 | Labor: $950–$1,250 Parts: $534–$605 |
Passenger side takes longer due to starter removal; broken stud extraction adds $150–$400 |
| Manifold Gasket & Hardware Replacement | $1,095 – $1,573 | Labor: $900–$1,300 Parts: $195–$273 |
Assumes manifold is reusable and not cracked; new MLS gaskets and studs |
| Flange Donut Gasket & Spring Bolts | $150 – $320 | Labor: $100–$200 Parts: $50–$120 |
Downstream Y-pipe connection; simple access on vehicle lift |
| Downstream Pipe / Muffler Weld Section | $250 – $600 | Labor: $150–$350 Parts: $100–$250 |
Custom exhaust shop fabrication vs. direct bolt-on cat-back section |
| 3.4L Twin-Turbo Hot-Side Repair (2022+) | $2,200 – $3,500+ | Labor: $1,600–$2,400 Parts: $600–$1,100 |
High labor intensity; involves turbocharger removal and coolant/oil line service |
Note: Estimates exclude regional taxes, diagnostic fees ($100–$200), and specialty stud extraction labor. Always obtain a VIN-specific written estimate from a reputable repair facility.
[Products Worth Considering]

This 3-piece intake manifold gasket set is designed to help restore a tight, reliable seal between the intake manifold and cylinder head. It is compatible with a range of Lexus and Toyota vehicles and is made from durable silicone for dependable performance under demanding engine conditions. The set is sized to match original specifications for a proper fit and is intended as a practical replacement for worn or damaged intake gaskets.

This complete ignition kit includes six direct replacement coil packs and six pre-gapped iridium spark plugs designed for select Toyota and Lexus 3.5L V6 vehicles. It can help address misfires, rough idle, hard starting, hesitation, and check engine light issues caused by worn ignition components while supporting smooth, reliable engine performance. Built for easy installation and backed by testing, warranty coverage, and technical support, it is a convenient tune-up solution.

The KZYEE KS40 helps diagnose weak spark plugs, ignition coil problems, and misfires by simulating real engine conditions under load. With adjustable RPM testing and dual-port comparison, it makes it easier to spot hidden ignition faults quickly and accurately. Its enclosed spark-proof design supports safer testing for both professionals and DIY users across a wide range of 12V gasoline engines.
When Should You Stop Driving or See a Mechanic?
Exhaust gas contains odorless, invisible carbon monoxide (CO). The Centers for Disease Control and Prevention (CDC) identifies headache, dizziness, weakness, nausea, vomiting, chest pain, and mental confusion as key symptoms of carbon monoxide exposure. If you or your passengers experience any of these symptoms while driving, immediately open all windows, pull over safely, shut off the engine, and seek medical attention.
Cease normal driving and consult a professional technician if:
- Exhaust odor or raw fuel fumes are detectable inside the cab while driving or idling.
- The Check Engine Light begins flashing, which indicates an active severe misfire that will rapidly melt catalytic converters.
- The oil pressure warning light illuminates or the engine makes a deep metallic knocking sound.
- Exhaust manifold studs have snapped off deep inside the aluminum cylinder head, requiring precision right-angle drilling and EDM extraction tools.
- The truck exhibits significant power loss, hesitates under load, or suffers severe exhaust component dragging.
Safety Disclaimer: This troubleshooting guide is provided for educational and diagnostic purposes only. Always use commercial-grade vehicle lift equipment, jack stands, wheel chocks, and protective safety glasses. Never work beneath a vehicle supported solely by a hydraulic jack. When uncertain regarding complex stud extraction or turbocharger hardware, consult an ASE-certified technician.
Frequently Asked Questions
How much does it cost to replace the exhaust manifold on a Tundra?
Replacing a single exhaust manifold on a Toyota Tundra averages between $1,484 and $1,855 according to RepairPal data from June 2026. Labor accounts for $950 to $1,250 of the total due to 6 to 9 hours of technician time required to clear frame rails, motor mounts, and the starter. Extracting broken cylinder head studs can add $150 to $400 in additional labor.
Why does my Tundra tick when cold but stop when warm?
A cold-start tick that quiets down within 1 to 2 minutes is caused by thermal expansion. When the engine is cold, a small crack in the manifold or a gap created by a broken stud allows exhaust pulses to escape as an audible ticking sound. As hot exhaust gases heat the metal, the manifold expands and temporarily seals the gap. The underlying mechanical crack or snapped stud remains and will progressively worsen.
Is it safe to drive a Tundra with an exhaust leak?
You should not drive a Tundra with an exhaust leak if exhaust fumes are entering the cabin, the check engine light is flashing, or the truck is hesitating. While a minor downstream tailpipe leak is a low-risk drivability issue, an upstream manifold leak introduces carbon monoxide risks into the cab, pulls false oxygen past O2 sensors, and can cause the engine computer to run excessively rich, damaging your catalytic converters.
Can a Tundra exhaust leak cause P0420 or P0430 codes?
Yes. An upstream exhaust leak at the manifold, collector, or donut gasket allows outside ambient air to enter the exhaust stream via Venturi effect. The downstream oxygen sensor detects this extra oxygen and fluctuates wildly, causing the ECM to interpret the reading as a failed catalytic converter. Always test for and repair exhaust leaks before replacing catalytic converters.
How do you tell an exhaust tick from an engine valvetrain tick?
An exhaust tick produces an airy, snapping “puff” sound localized around the cylinder head exhaust ports that fades as the engine warms up. An engine valvetrain tick (such as a sticking lifter or loose rocker) produces a crisp, metallic clicking sound centered at the top of the valve covers that persists or gets louder even after the engine reaches full operating temperature.
What are the most common manifold studs to break on a 5.7L Tundra?
On the 5.7L V8 (3UR-FE) and 4.7L V8 (2UZ-FE), the rearmost exhaust manifold studs near Cylinders 7 and 8 (especially on the passenger side) are the most prone to breaking. These rear locations experience the highest thermal cycling stress and engine-mount torsional load, leading to stud shear right at the cylinder head face.
Should I use OEM or aftermarket exhaust parts?
For standard maintenance, OEM Toyota gaskets and manifolds provide the most precise fitment, heat shielding, and flange geometry. If replacing broken factory manifolds with aftermarket headers, choose heavy-gauge 304 stainless steel units from reputable manufacturers and ensure they maintain all factory sensor bungs and catalytic converter positions to remain EPA and emissions compliant.
Conclusion
Diagnosing a Tundra exhaust leak requires separating thermal exhaust expansion from internal engine valvetrain noise. Always check engine oil level and warning lights first, perform a cold-start acoustic test with a probe hose, visually inspect the rear cylinder studs for carbon soot trails, and verify hidden cracks with a regulated low-pressure (under 2 PSI) smoke test.
Address confirmed manifold leaks, blown flange gaskets, and snapped studs promptly. Left unresolved, upstream leaks introduce deadly carbon monoxide into the passenger cabin and falsely distort oxygen sensor data, causing catalytic converter failure. Once repairs are completed with upgraded stainless hardware and proper torque specifications, re-test the system with smoke and verify fuel trims to ensure a permanent, airtight seal.
References
- Carbon Monoxide Poisoning Basics – Centers for Disease Control and Prevention, updated January 12, 2026
- Toyota Tundra Exhaust Manifold Replacement Cost Estimate – RepairPal, updated June 18, 2026
- Toyota Tundra Exhaust Manifold Gasket Replacement Cost – RepairPal, accessed July 23, 2026
- Exhaust Manifold Leaks Cause Issues for the Oxygen Sensors – Brake & Front End
- P0171 Code – Fuel Trim System Too Lean (Bank 1) – Kelley Blue Book
- 2021 Toyota Tundra Powertrain Information – Toyota USA Newsroom
- 2026 Toyota Tundra Powertrain Information – Toyota USA Newsroom
- Stopping Aftermarket Defeat Devices for Vehicles and Engines – U.S. Environmental Protection Agency