Using a LAUNCH reader on a Toyota Tundra is a straightforward way to read check-engine codes, save freeze-frame data, view live data, and confirm repairs. The key is to connect the scanner safely, confirm the correct VIN, record the codes before clearing anything, and verify the repair with a fresh scan and readiness check.
Quick Answer
To use a LAUNCH reader on a Toyota Tundra, plug it into the OBD-II port under the driver-side dash, turn the ignition ON with the engine OFF, run Auto Detect, confirm the VIN, read and save DTCs plus freeze-frame data, repair the cause, clear codes only after repairs, then rescan and check readiness.
Key Takeaways
- Connect the reader with the ignition off, then follow the scanner prompt; most diagnostic scans use ignition ON and engine OFF.
- Always confirm the VIN before scanning so the LAUNCH tool loads the correct Toyota/Tundra profile.
- Save the DTCs, module names, code status, freeze-frame data, mileage, and symptoms before clearing anything.
- Clearing codes does not repair the problem. Fix the cause first, then clear codes and recheck I/M readiness.
- Active tests and onboard component tests vary by model year and can move actuators, fans, pumps, or valves, so run them only when the vehicle is safely parked.
At a Glance
| Time Required | 10–20 minutes for a basic scan; longer for live-data checks or active tests |
| Difficulty | Beginner for reading codes; intermediate for interpreting data and running component tests |
| Tools Needed | LAUNCH OBD-II reader or X-431 scan tool, Tundra key/fob, notepad or saved report, stable battery voltage |
| Cost | $0 after you own the scanner; repair costs depend on the fault found |
Warning: Park on level ground, set the parking brake, keep the transmission in Park, and keep hands, clothing, cables, and tools away from hot or moving parts. Run the engine only when the scan tool or test procedure requires it, and use good ventilation if the engine is running.
Before You Connect: Check Safety, Compatibility, and Power
Before plugging in the scanner, confirm that your LAUNCH reader supports Toyota enhanced diagnostics for your Tundra’s model year. Generic OBD-II mode can usually read engine and emissions codes, but ABS, airbag, transmission, body, hybrid, and bidirectional functions may require Toyota-specific software coverage.
The Tundra uses the standardized SAE J1962 OBD-II diagnostic connector. LAUNCH manuals describe the DLC, or Data Link Connector, as the port used to connect the vehicle communication interface to the vehicle, and they recommend checking vehicle battery voltage before diagnosis. If the battery is weak, charge it or connect a battery maintainer before a long scan.
- Turn the ignition off before connecting the scanner.
- Do not force the connector; the OBD-II plug fits only one way.
- Use ignition ON with engine OFF for most code-reading tasks unless the tool gives a different prompt.
- Do not clear codes until you have saved the report and freeze-frame data.
- Use Toyota’s official owner manual library for model-year-specific warnings and service information.
[Products Worth Considering]

The ZMOON ZM201 is a plug-and-play OBD2 code reader designed to quickly diagnose check engine issues on compatible vehicles after 1996. It reads and clears engine fault codes, displays live data and freeze frame information, checks I/M readiness, and helps you identify problems before visiting a repair shop. With a color screen, intuitive controls, and built-in DTC database, it offers an easy-to-use solution for DIY drivers and car owners who want reliable engine diagnostics.

FOXWELL NT201 is an easy-to-use OBD2 scanner designed to help drivers quickly read and clear check engine codes, view live engine data, and check emissions readiness. Its color screen, one-key I/M readiness test, and broad compatibility with most gasoline vehicles since 1996 make it a practical tool for everyday diagnostics and maintenance. With plug-and-play operation and lifetime free updates, it offers a simple way to understand vehicle issues without expensive shop visits.

The Autel MaxiCOM MK900BT is a professional bidirectional diagnostic scan tool built for modern vehicles with advanced system coverage and fast, accurate troubleshooting. It supports 3000+ active tests, 40+ service functions, all-system diagnostics, Auto VIN, pre/post scan reports, and newer vehicle protocols for broad compatibility. Designed for technicians and serious DIY users, it delivers efficient maintenance, smarter diagnostics, and expanded service capabilities across a wide range of makes and models.
Locate the Tundra OBD-II Port
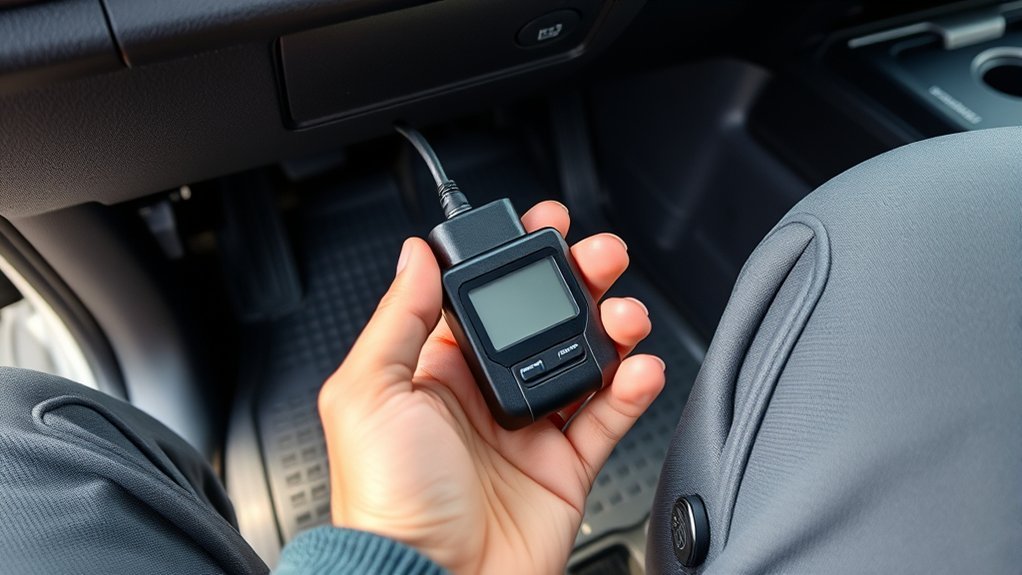
Start in the driver’s seat and look below the steering column, around the lower dash and knee-panel area. On most Toyota Tundra models, the OBD-II port, also called the DLC3 in Toyota service information, is mounted on the driver side under the instrument panel. Many Tundras use a white 16-pin connector.
If a small plastic cover is fitted, open or remove it gently and keep it nearby for reinstallation. Do not remove major trim panels unless your owner’s manual or service information tells you to. The connector is trapezoid-shaped, so the LAUNCH plug should slide in smoothly when aligned correctly.
Note: If you cannot find the port quickly, use a flashlight and look just below the driver-side lower dash. If the connector has been moved by an accessory installer or repair shop, check the vehicle’s service information before pulling on wiring.
Connect and Power On the LAUNCH Reader
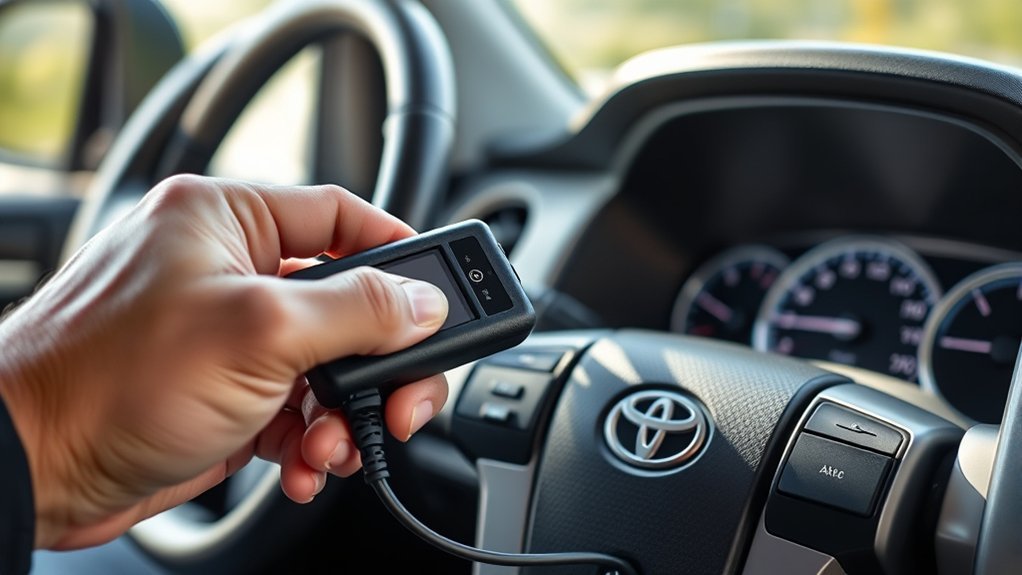
With the Tundra off, plug the LAUNCH reader or VCI cable into the OBD-II port. Seat the connector fully, but do not twist or force it. Many LAUNCH tools receive power through the OBD-II port; tablet-style X-431 tools may also use a separate charged tablet and a VCI that communicates by Bluetooth or USB.
Turn the ignition ON with the engine OFF when the scanner prompts you to begin diagnosis. On push-button-start Tundras, this usually means pressing the START button without pressing the brake pedal until the ignition is in ON mode. If the scanner asks for a running engine during a live-data or component test, follow that specific prompt only after confirming the area around the truck is safe.
On the LAUNCH home screen, check the basics before scanning:
- Confirm the VCI or cable connection is active.
- Check DLC or battery voltage if your tool offers that function.
- Set language, time zone, and units so reports are easy to read later.
- Connect to Wi-Fi if Auto Detect, updates, or online code help require it.
- Open Software Update or Vehicle Coverage if you are unsure whether your tool supports your exact Tundra model year and system.
Pro Tip: Save a pre-repair health report before touching parts. A before-and-after report makes it much easier to prove which codes cleared and which ones still need diagnosis.
[Products Worth Considering]

This enhanced OBD2 scanner helps drivers quickly diagnose check engine light issues, read and clear trouble codes, and check emissions readiness before a smog test. It also adds EVAP and O2 sensor testing, live data, freeze frame capture, and a one-click battery health check in a simple plug-and-play tool with a bright color screen.

This Yuirote universal car motor diagnostic tool helps drivers quickly detect engine fault codes and identify system issues for routine inspections and maintenance. It also supports electronic parking brake reset and emergency release functions, making it useful for handling EPB-related problems without a repair shop visit. Its compact, ergonomic design and broad vehicle compatibility make it a practical choice for car owners and DIY repair enthusiasts.

The TOPDON VeriDiag X800 BT is a wireless bidirectional automotive diagnostic scanner designed for full-system troubleshooting, active testing, and advanced service resets. It supports broad vehicle coverage, live data viewing, AutoVIN identification, and lifetime free updates to help DIYers and professionals diagnose issues faster and with greater confidence.
Autodetect Your Tundra and Confirm VIN
From the LAUNCH menu, choose Diagnose, Smart Diagnose, or Auto Detect, depending on your model. The tool will attempt to read the Tundra’s Vehicle Identification Number and load the matching Toyota profile. LAUNCH describes Auto Detect as a quick VIN-decoding method that avoids step-by-step manual vehicle selection.
When the VIN appears, compare it with the VIN plate at the lower driver-side windshield or the VIN on your registration. A correct VIN helps the scan tool choose the right vehicle profile, but it does not guarantee a correct diagnosis by itself.
- If the VIN matches, continue to Diagnostics or Health Report.
- If the VIN is blank or wrong, reseat the connector, confirm ignition ON/engine OFF, check Wi-Fi if required, and retry Auto Detect.
- If Auto Detect still fails, choose Manual Diagnose or Scan Vehicle, then select Toyota, Tundra, model year, engine, and system manually.
- Write down the confirmed VIN with your diagnostic notes so future scans are easier to compare.
[Products Worth Considering]
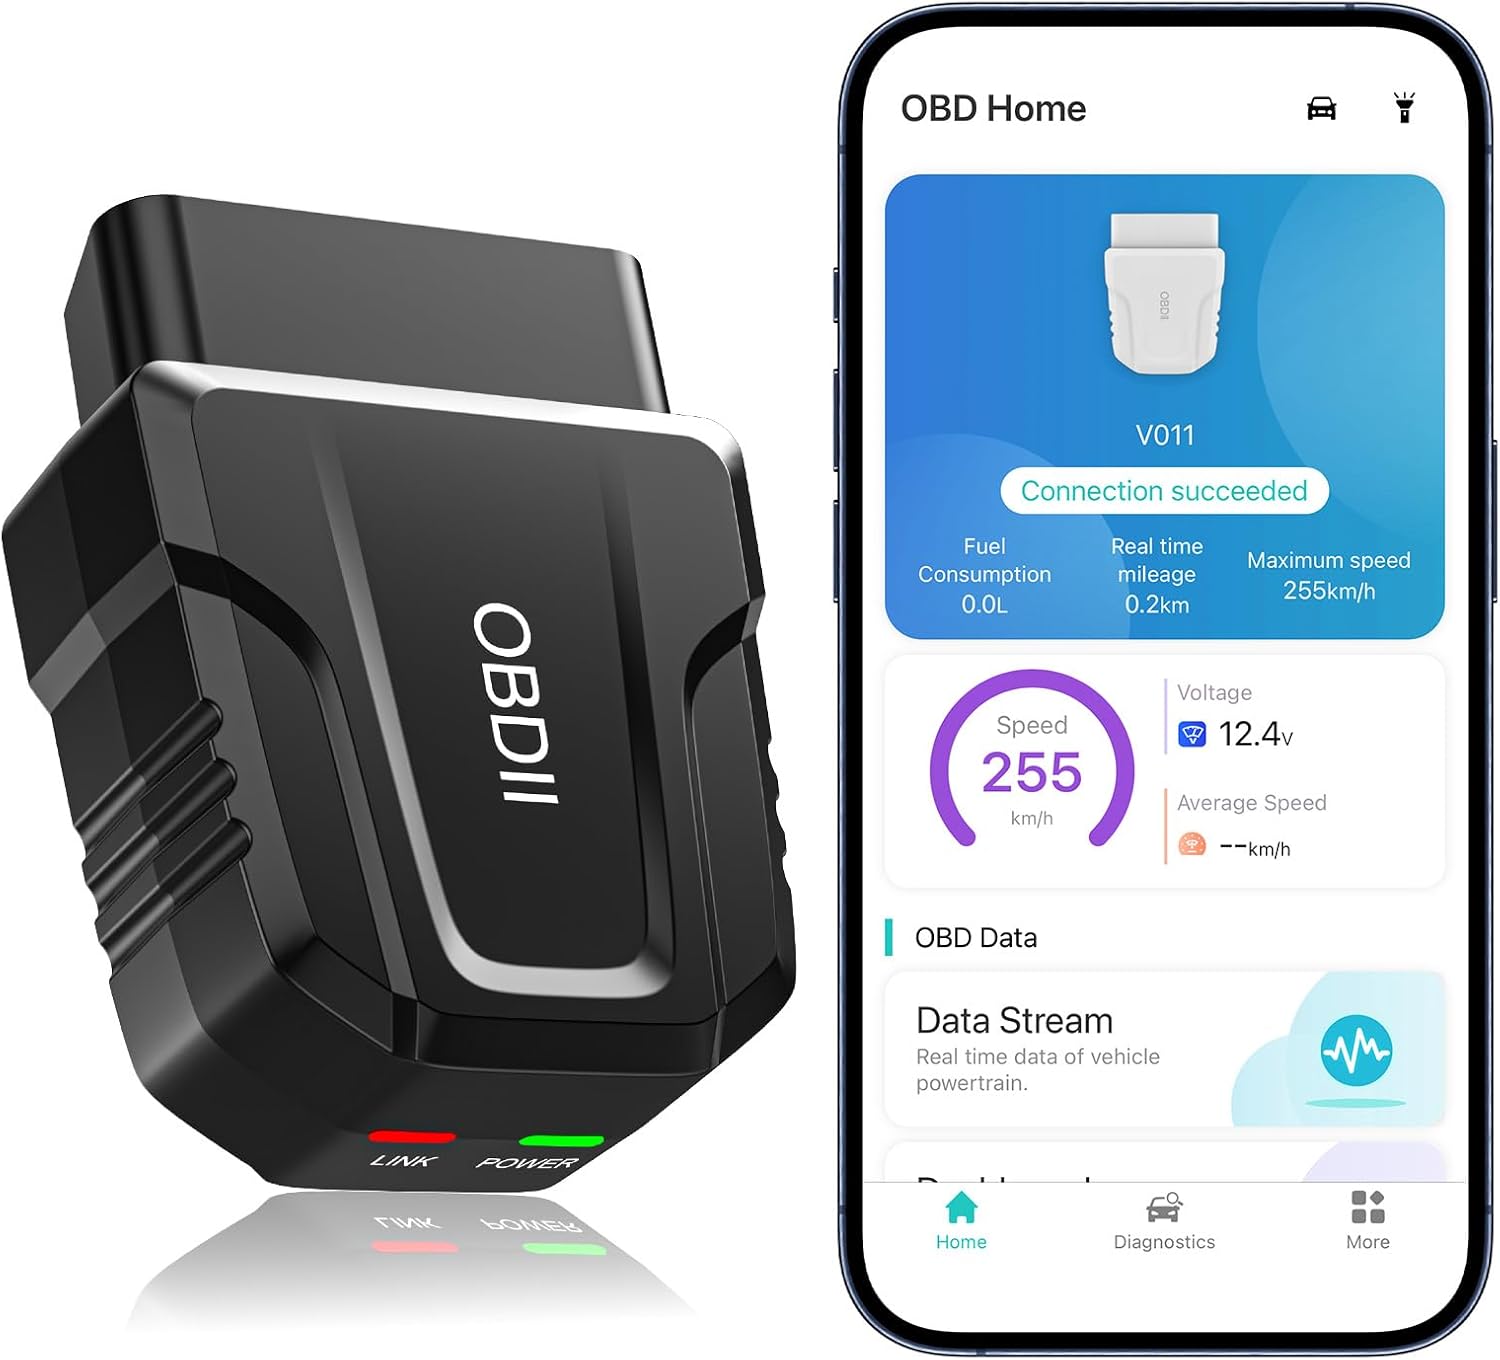
The UMEIJA V011 OBD2 scanner delivers comprehensive vehicle diagnostics with Bluetooth connectivity and a dedicated app for iOS and Android. It supports live data, fault code reading and clearing, readiness checks, freeze frame, sensor data, and performance testing to help drivers understand and monitor vehicle health. With broad compatibility across many car and truck models and easy-to-read data visualization, it is a practical tool for both beginners and experienced users.

The OBDMATE OM901 is a handheld car diagnostic scanner designed to read and clear fault codes across ABS, SRS, engine, and transmission systems. It also offers full OBD2 functions like live data, freeze frame, I/M readiness, VIN retrieval, O2 sensor testing, EVAP testing, and onboard monitoring, making it useful for quick troubleshooting and emissions checks. With a large screen, battery voltage monitoring, DLC pin testing, and a protective carrying case, it is a practical tool for DIY drivers and professionals alike.

The BLCKTEC 460T is a professional-level OBD2 diagnostic scanner designed for home mechanics and repair shops that need broad vehicle coverage and advanced service functions. It reads and clears engine, ABS, SRS, and transmission codes, performs all-system diagnostics, supports live data graphing, and includes popular reset services such as oil, TPMS, EPB, BMS, SAS, DPF, and throttle relearn. With AutoVIN, AutoScan, free lifetime updates, and RepairSolutions2 app integration, it helps simplify troubleshooting and maintenance for many OBD2-compliant vehicles.
Read, Save, and Interpret Tundra Fault Codes
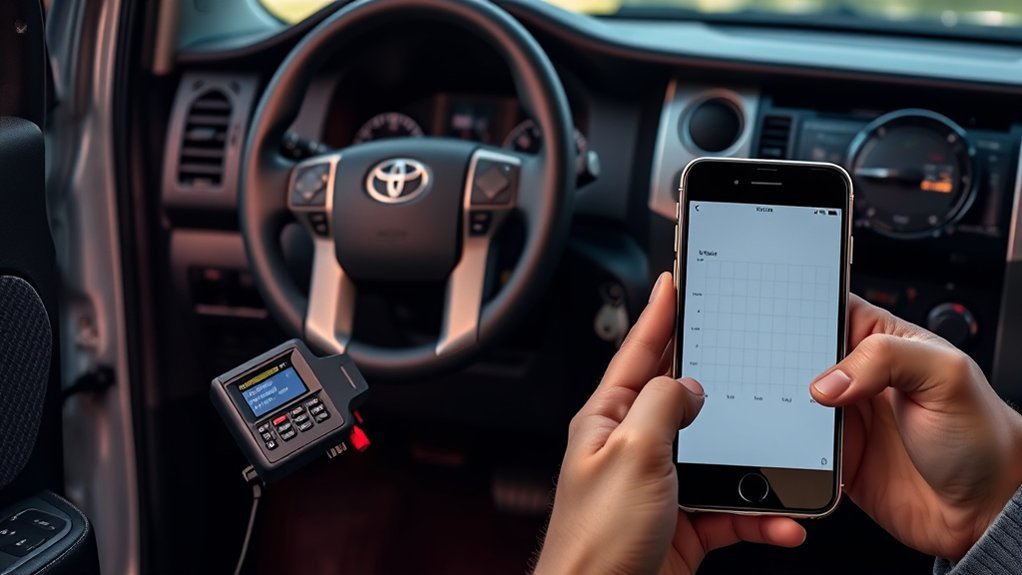
After VIN confirmation, enter the diagnostic menu. A full-system scan or Health Report is the best first pass because it checks more than the engine computer. If you only need check-engine information, choose the engine control module or generic OBD-II mode and select Read Fault Code.
Record the results before clearing anything. A diagnostic trouble code is a clue, not a part replacement order. LAUNCH’s own guidance warns that DTCs are only one part of an overall diagnostic strategy and that service-manual tests should be used to confirm the actual fault.
| What to Save | Why It Matters |
|---|---|
| DTC number and description | Identifies the system or circuit the module flagged. |
| Module name | Shows whether the code came from engine, transmission, ABS, body, or another module. |
| Code status | Helps separate current, pending, history, and intermittent faults. |
| Freeze-frame data | Captures conditions such as RPM, coolant temperature, speed, load, and fuel trim when the code set. |
| Mileage and symptoms | Connects the scan result to what the driver actually noticed. |
Generic P0xxx powertrain codes are standardized across OBD-II vehicles, while some P1xxx, C, B, or U codes can be Toyota-specific or module-specific. Use the LAUNCH help screen, Toyota service information, and the freeze-frame data together before deciding what to test next.
Use Live Data to Narrow Down the Cause
Live data lets you watch sensor values while the Tundra is parked or during a safe road test with a helper. Use it to confirm whether a sensor or actuator is behaving normally before replacing parts. For example, fuel trim, oxygen sensor activity, coolant temperature, mass-airflow readings, misfire counters, battery voltage, and EVAP data can help separate a wiring problem from a mechanical or sensor issue.
Do not judge one value in isolation. Compare the code, freeze-frame data, current live data, symptoms, and service-manual test steps. A lean code, for example, might come from an intake leak, exhaust leak, fuel delivery problem, contaminated MAF sensor, wiring issue, or sensor fault.
Clear Codes Safely After Repairs
Clear DTCs only after you have saved the original report and repaired or corrected the likely cause. In the LAUNCH menu, choose the affected module or full-system report, select Clear DTCs, and follow the on-screen prompt. If the problem has been fixed, the malfunction indicator light may turn off and the code should not return during the next verification scan.
Warning: Clearing codes does not repair the fault. It can also erase useful diagnostic evidence and may reset emissions readiness monitors. Do not clear codes just to hide a check-engine light or pass an inspection.
After clearing codes, run the engine if appropriate, rescan the same modules, and check I/M readiness. If readiness monitors show “not ready,” the Tundra may need a normal drive cycle before an emissions inspection can be completed. If the same code returns, the root cause is still present or the repair needs further verification.
Run Onboard Component Tests and Actuation Tests
Once the LAUNCH reader is connected, the VIN is confirmed, and you have saved a report, you can use onboard component tests or actuation tests where your tool and Tundra support them. LAUNCH scan tools commonly list these under diagnostic functions such as Actuation Test, Active Test, Special Functions, or a system-specific test menu.
These tests may command relays, valves, fans, EVAP purge functions, solenoids, or other components. Availability varies by model year, module, tool model, software subscription, and vehicle configuration.
- Start with the system that matches your DTC and symptom.
- Read the on-screen warning before starting the test.
- Keep the parking brake set and the truck in Park.
- Listen for commanded components and watch live-data responses.
- Stop the test if the engine runs poorly, a warning appears, or a component behaves unexpectedly.
- After a repair, rerun the same test and compare the result with the pre-repair report.
A trouble code points you toward a system. The repair is confirmed only when the code stays gone, live data looks normal, and the relevant readiness or component test passes.
Troubleshoot Common LAUNCH Reader Problems
If the scanner does not connect or the result does not make sense, use a basic troubleshooting pass before assuming the Tundra has a major module problem.
| Problem | Likely Cause | What to Do |
|---|---|---|
| Reader will not power on | Loose connector, weak battery, blown DLC/OBD fuse, or uncharged tablet | Reseat the plug, charge the tablet, check battery voltage, and inspect the related fuse. |
| No communication | Ignition not ON, VCI not paired, wrong cable, or software issue | Use ignition ON/engine OFF, confirm VCI connection, try USB if available, and update Toyota software. |
| Auto Detect fails | Network issue, VIN read failure, or unsupported profile | Retry with stable Wi-Fi, scan or type the VIN manually, or use Manual Diagnose. |
| Code returns after clearing | Fault not repaired, intermittent wiring, failed component, or incomplete test procedure | Review freeze-frame data, run service-manual tests, inspect wiring/connectors, and rescan after repair. |
| Readiness stays not ready | Codes were cleared recently or monitor conditions have not been met | Drive normally until monitors complete, then recheck I/M readiness before inspection. |
Frequently Asked Questions
How do I read my Toyota Tundra engine code with a LAUNCH reader?
Plug the LAUNCH reader into the OBD-II port under the driver-side dash, turn the ignition ON with the engine OFF, run Auto Detect or manually select Toyota Tundra, then open Diagnostics and choose Read Fault Code. Save the DTCs and freeze-frame data before clearing anything.
Do OBD2 scanners work on Toyota Tundra trucks?
Yes. A generic OBD-II scanner can usually read engine and emissions-related codes on OBD-II-compliant Tundras. For Toyota-specific modules such as ABS, airbag, body, transmission, or advanced actuation tests, use a scanner with Toyota enhanced coverage for your model year.
Should the Tundra be on or off when connecting the LAUNCH reader?
Connect the reader with the ignition off. For most diagnostic scans, turn the ignition ON with the engine OFF after the scanner is connected. Start the engine only when the LAUNCH tool or the test procedure specifically asks for a running-engine test.
Is it safe to clear codes after reading them?
It is safe only after you have saved the report and repaired the cause of the fault. Clearing codes does not fix the problem. It can erase diagnostic evidence and may reset emissions readiness monitors, so check readiness again after clearing codes.
What should I do if my LAUNCH reader will not connect to the Tundra?
Reseat the OBD-II connector, confirm ignition ON/engine OFF, check the truck’s battery voltage, verify the VCI or cable connection, update the Toyota diagnostic software, and try manual vehicle selection. If the tool still has no power, inspect the OBD/DLC fuse and port wiring.
Conclusion
You’ve now located the Tundra’s OBD-II port, connected and powered the LAUNCH reader correctly, used Auto Detect or manual Toyota selection, confirmed the VIN, read and saved fault codes, reviewed freeze-frame data, and cleared codes only after repairs. For the most reliable result, stay methodical: save a pre-repair report, test the suspected system, repair the cause, clear codes, rescan, and confirm readiness before calling the job finished.
Sources
- Toyota Owners Manuals and Warranties — official Toyota source for model-year owner manuals and vehicle-specific information.
- LAUNCH X-431 Throttle V User Manual — supports connection preparation, Auto Detect/VIN decoding, DTC reading, freeze-frame data, Clear DTCs, reports, and readiness functions.
- SAE J1962 Diagnostic Connector Standard — backs up the standardized OBD-II diagnostic connector reference.
- U.S. EPA Vehicle Emissions Inspection and Maintenance Resources — supports the importance of OBD and readiness in emissions inspection programs.
- U.S. EPA Federal On-Board Diagnostic Regulations Summary — supports OBD-II emissions-system context, including evaporative emissions monitoring.