What’s in This Article
- How Your Defroster Works
- Before You Start Testing the Defroster
- Symptoms That Point to Defroster Problems
- Common Causes of Defroster Failure
- Quick Defroster Checks
- Electrical Parts and Fuse Power
- Rear Window Defroster Grid
- Blower Fan and Heater Core
- Defroster Actuator Replacement
- Common Defroster Fixes
- When to Get Professional Help
If your Toyota Camry‘s defroster isn’t working, start with the simple checks first. A blown fuse, weak airflow, low coolant, damaged wiring, or a faulty actuator can stop the system from clearing fog or ice. This guide shows you how to test each likely cause in a safe order, so you don’t waste time replacing the wrong part.
Quick Answer
If your Toyota Camry defroster isn’t working, check the fuse, airflow, coolant level, wiring, and rear defroster grid first. Use outside air mode instead of recirculation when you need to clear fog. If the system has power but won’t direct warm air to the windshield, the blower motor, heater core, blend door, or actuator may need service.
Key Takeaways
- Start with the fuse because a blown fuse can shut off the defroster circuit.
- Turn off air recirculation when you need dry outside air to clear fog faster.
- Check coolant and heater output if the front defroster blows cold air.
- Test the rear glass grid with care because broken lines can stop heat in one area.
- Call a mechanic if the car overheats, loses coolant, or the windshield won’t stay clear.
How Your Defroster Works

Your Camry uses two different defroster systems. The front defroster sends air toward the windshield through the heating, ventilation, and air conditioning (HVAC) system. The rear defroster uses thin electric grid lines in the glass to warm the rear window.
For front glass fog, set the temperature warm, raise the fan speed, select the windshield defrost mode, and turn off recirculation. Many systems also use the air conditioner to dry the air before it reaches the glass. Toyota advises you to use the windshield defogger control and check your owner’s manual for model-specific details.
Good defroster performance depends on airflow, heat, dry air, and steady electrical power. If one of those parts fails, your windows may stay foggy even when the dashboard controls look normal.
Before You Start Testing the Defroster
Park on level ground before you test anything under the hood or near the electrical system. Let the engine cool before you open the coolant reservoir or radiator cap. Hot coolant can spray out and burn you.
Keep a flashlight, owner’s manual, multimeter, fuse puller, and clean microfiber cloth nearby. You may also need a rear defroster repair kit if you find a small break in the grid line. Use your Camry owner’s manual because fuse names, fuse locations, and HVAC controls can vary by model year.
Warning: Don’t drive if fog, frost, or coolant loss keeps you from seeing the road clearly.
Symptoms That Point to Defroster Problems
You can often narrow the problem by watching how the defroster fails. A weak fan points to an airflow issue, while cold air points to a heat or coolant issue. A rear glass section that stays foggy often points to a broken grid line.
Look for these common signs:
- Weak airflow from the windshield defrost vents
- Cold or lukewarm air after the engine warms up
- Rear glass that clears in some spots but not others
- A defroster switch that does not light up
- Intermittent operation when you hit bumps or move controls
- Clicking, tapping, or grinding sounds from behind the dashboard
Regular checks help you catch small issues before cold or wet weather makes them harder to handle. Check the fuse, coolant level, cabin air filter, and wiring before you assume the system needs a major repair.
Common Causes of Toyota Camry Defroster Failure
A Toyota Camry defroster can fail for several reasons, and each one leaves a different clue. Match the symptom to the likely cause before you replace parts. This saves time and lowers the risk of a wrong repair.
- No airflow: Check the blower motor, blower fuse, cabin air filter, and fan speed control.
- Cold airflow: Check coolant level, heater output, thermostat behavior, and heater core flow.
- Air from the wrong vents: Check the mode door, actuator, linkage, and HVAC control signals.
- Rear glass not clearing: Check the rear defroster fuse, relay, switch, wiring, and grid lines.
- Fog returns quickly: Check for wet floor mats, water leaks, dirty glass, and heater core leaks.
Start With These Quick Defroster Checks
Start with the checks that take the least time and cost the least money. Confirm the fan works on more than one speed, then select the windshield defrost mode. Turn off air recirculation so the system can pull in drier outside air.
If the front defroster still blows cold air, check the coolant level after the engine cools. If the rear defroster does not heat the glass, inspect the fuse, switch, wiring, and grid lines.
Check the Defroster Fuse First
A blown fuse can cut power to the defroster circuit. Check your owner’s manual before you pull a fuse because fuse names and locations can vary by Camry model year.
- Find the fuse box under the dashboard or under the hood.
- Use the diagram on the fuse box cover or in the manual.
- Test the fuse with a multimeter or fuse tester.
- Replace a blown fuse with the same amperage rating.
If the new fuse blows again, stop replacing it and inspect the circuit. Repeated blown fuses can point to a short, damaged wire, or failed component.
Inspect Wiring Connections
Loose, corroded, or damaged wiring can stop the defroster from working even when the fuse looks fine. Check the wiring near the switch, rear glass connectors, and HVAC controls. Look for burnt plastic, green corrosion, loose plugs, or broken insulation.
Use a multimeter to check continuity if you know how to test car wiring safely. If you find damaged wires, repair them with the right connectors and insulation. Don’t twist bare wires together and leave them exposed.
Test Defroster Grid Functionality
Test the rear defroster grid if the rear glass stays foggy or clears in narrow strips. Turn the rear defroster on and use a multimeter to check for voltage at the grid connectors. Many rear defroster circuits show about 12 volts at the feed side, but your exact test point can vary.
Look closely for scratches, cracks, or missing parts of the grid line. Small breaks can stop current from heating part of the glass. You can repair some minor breaks with a rear window defroster repair kit.
Follow these checks in order:
- Confirm the rear defroster switch turns on.
- Check the fuse and relay for the rear defroster circuit.
- Inspect the grid lines for scratches or gaps.
- Test for voltage at the grid connectors.
- Repair small line breaks with a proper conductive repair kit.
Check Electrical Parts and Fuse Power

Electrical problems can affect both front and rear defroster performance. Start with the fuse, then check the switch, relay, ground, and wiring harness. A weak ground or corroded connector can make the system work only part of the time.
Electrical System Inspection
Inspect the electrical system before you replace larger parts. A failed switch, poor ground, or damaged connector can mimic a bad defroster grid or actuator.
- Check the defroster fuse for continuity.
- Test voltage at the rear defroster grid connectors.
- Inspect wiring near the rear glass and dashboard controls.
- Check ground connections for rust, looseness, or corrosion.
If you see melted wiring or smell burnt plastic, stop testing and have the circuit checked. Heat damage can create a fire risk if you keep using the system.
Fuse Testing Procedures
Use the fuse diagram to find the correct defroster fuse. Pull the fuse and inspect the metal strip inside. If the strip has burned or split, replace the fuse with the same rating.
A multimeter gives you a better result than a visual check alone. Set the meter to continuity mode and touch one probe to each fuse blade. If the meter shows no continuity, the fuse has failed.
After you replace the fuse, test the defroster again. If the fuse fails again right away, the circuit needs deeper diagnosis.
Wiring Harness Condition Check
Check the wiring harness for visible wear, rodent damage, loose plugs, and corrosion. Pay close attention to wiring near moving panels, glass connectors, and the lower dashboard. Movement and moisture can break wires over time.
- Look for cracked insulation or exposed wire.
- Check connectors for corrosion or looseness.
- Confirm ground points stay tight and clean.
- Repair damaged wiring before you test the system again.
How to Inspect Your Rear Window Defroster Grid
The rear defroster grid uses electric resistance to warm the rear glass. If one line breaks, that section may stop clearing fog or frost. You can often see the failed spot as a narrow foggy strip.
Clean the inside of the rear glass gently before you test the grid. Do not scrape the lines with sharp tools because you can damage the coating. Use a soft cloth and a cleaner that is safe for automotive glass.
Turn on the rear defroster and test across the grid with a multimeter. If you find a small break, use conductive paint or a repair kit made for defroster lines. Follow the kit directions and let the repair cure before you turn the grid on again.
Note: Avoid scraping the inside of the rear glass because sharp tools can damage the defroster lines.
Troubleshooting the Blower Fan and Heater Core
The front defroster needs airflow and heat to clear the windshield. If the fan does not blow, the system can’t move air across the glass. If the fan blows cold air, the system may not have enough heat from the coolant and heater core.
Check these parts when the front defroster feels weak:
- Check the coolant level after the engine cools.
- Watch the temperature gauge for slow warm-up or overheating.
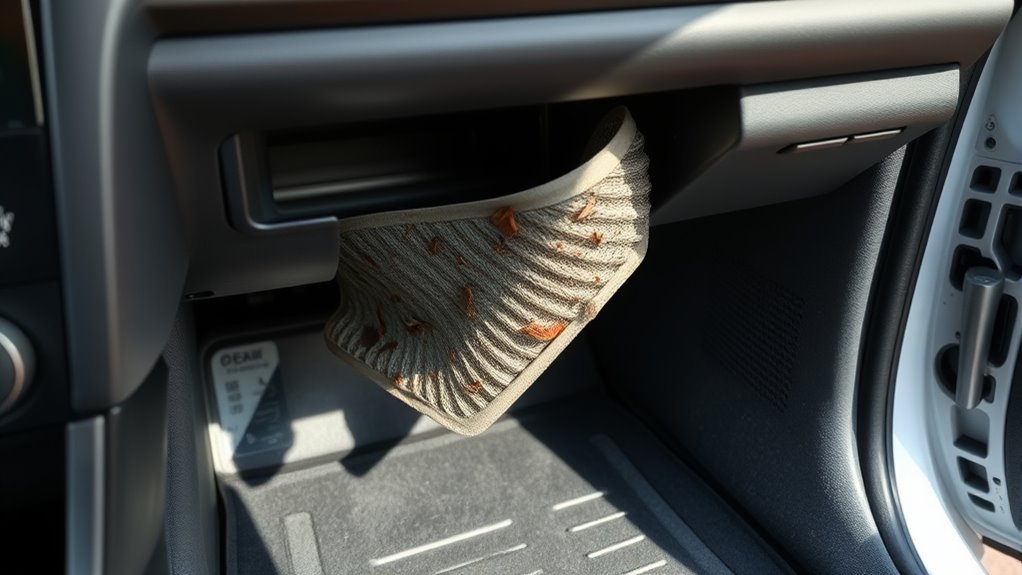
- Inspect the cabin air filter if airflow feels weak.
- Test the blower fan on low, medium, and high speeds.
- Inspect the heater core if heat stays weak.
Low coolant can reduce cabin heat because the heater core uses hot engine coolant to warm the air. A restricted heater core can also cause poor heat, foggy windows, a sweet smell, or damp carpet. If coolant keeps dropping, look for leaks before you keep driving.
Defroster Actuator Replacement: When Is It Necessary?
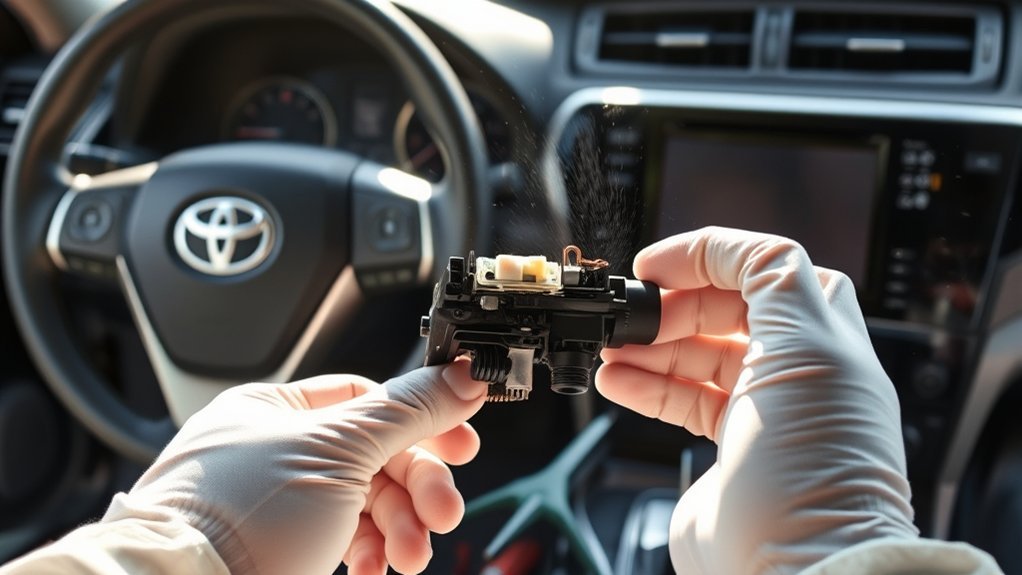
You may need to inspect the defroster actuator if the system makes clicking noises or sends air to the wrong vents. The actuator moves small doors inside the HVAC case. If it fails, warm air may not reach the windshield even when the heater works.
Before you replace the actuator, check the fuse, controls, and wiring first. Some systems may also need recalibration after a battery disconnect or actuator change. A scan tool can help confirm a control or actuator fault on some models.
If testing confirms a failed actuator, replacement usually requires lower dashboard access. Pay close attention to linkage position and alignment during installation. Poor alignment can keep the air door from moving through its full range.
Fix Common Defroster Issues in Order
Fix the easiest and most likely problems first. This order helps you avoid replacing parts before you verify the cause.
- Turn off recirculation and select windshield defrost mode.
- Raise the fan speed and temperature setting.
- Check the defroster fuse and replace it if needed.
- Inspect rear grid lines for breaks or scratches.
- Check coolant level after the engine cools.
- Replace a clogged cabin air filter if airflow feels weak.
- Test the blower fan, switch, and wiring if airflow stops.
- Inspect the heater core and actuator if heat or airflow direction stays wrong.
If the windshield fogs again soon after clearing, moisture may also be building up inside the cabin. Wet floor mats, water leaks, dirty glass, or a leaking heater core can make fog return quickly.
When to Seek Professional Help for Your Defroster
Call a mechanic if basic checks do not restore defroster function. Electrical testing, actuator diagnosis, and heater core work can take tools and experience that most drivers do not have. Guessing can cost more than a proper diagnosis.
Get help right away if the engine overheats, coolant keeps dropping, or the windshield won’t stay clear while you drive. Those signs can point to a safety risk or a cooling system problem. A professional can also read diagnostic trouble codes (DTCs) if your Camry stores climate control faults.
The National Highway Traffic Safety Administration (NHTSA) includes working defrosters and wipers in winter vehicle preparation guidance. Clear glass matters in rain, fog, snow, and cold morning driving.
Frequently Asked Questions
How do you fix a Toyota Camry defroster that is not working?
Start with the fuse, fan speed, airflow mode, and recirculation setting. Then check coolant level, wiring, rear grid lines, and the actuator if the first checks do not solve it. Use your owner’s manual because fuse names and locations can vary by model year.
What can you do if your windshield is fogged up but the defroster does not work?
Pull over safely if you cannot see the road. Crack a window, turn off recirculation, wipe the glass with a clean microfiber cloth, and use ventilation to reduce moisture. Do not keep driving with blocked visibility.
Why does the front defroster blow cold air?
Cold air from the front defroster often points to low coolant, a stuck thermostat, air in the cooling system, a restricted heater core, or a blend door problem. Check the coolant only after the engine cools. If coolant keeps dropping, have the system checked for leaks.
Why does only part of the rear window defroster work?
A partial rear defroster failure often means one or more grid lines have a break. Scratches from cargo, cleaning tools, or old tint removal can damage the lines. A small break may respond to a conductive repair kit.
Can a bad cabin air filter stop the defroster from working?
A clogged cabin air filter can reduce airflow from the defrost vents. It may not stop the whole system, but it can slow fog clearing and make the fan feel weak. Replace it if airflow stays low on higher fan speeds.
Safety Disclaimer: This article is for informational purposes only and does not replace professional vehicle diagnosis or repair. Always consult a qualified mechanic if your defroster, cooling system, wiring, or visibility problem creates a driving risk.
Conclusion
A Toyota Camry defroster usually fails because one part of the system loses power, airflow, heat, or direction control. Start with the fuse, settings, airflow, coolant, and rear grid before you replace major parts. If the car overheats, loses coolant, or the glass won’t stay clear, stop driving and get professional help. A clear windshield gives you safer control in cold, wet, or foggy weather.
References
- How do I operate the heating, ventilation and air conditioning controls? – Toyota Support
- Winter Weather Driving Tips: Prepare Your Vehicle – National Highway Traffic Safety Administration, 2026
- How to Defog Windshield in Any Weather – Allstate
- How to Repair a Rear Window Defroster – MG Chemicals, 2025
- The burning issues of motor vehicle radiator scald injuries – National Library of Medicine, 2016
- Car Heater Not Working: Causes, Symptoms, and What To Do About It – Lancer Service, 2026