If your Toyota Camry defroster is not working, first identify whether the front windshield defroster or the rear window defroster has failed. For the front, check the HVAC mode, fan speed, recirculation setting, cabin airflow, coolant level, and mode-door operation. For the rear, check the switch, fuse, relay, connector tabs, wiring, and grid lines. Stop driving if the glass will not stay clear enough for safe visibility.
By: Auto Review Nest Editorial Team · Last updated: July 15, 2026
Quick Answer
If the front defroster is weak, select windshield mode, raise the fan speed, turn recirculation off, and check whether air is warm and reaches the windshield. If the rear defroster fails, check the indicator light, fuse, relay, connector tabs, and grid lines. A fan that does not run, cold airflow after warm-up, air from the wrong vents, repeated fuse failure, or a rear grid that clears only in strips points to a specific fault that needs further testing.
Key Takeaways
- Start with the HVAC settings, fan speed, and defroster fuse before you replace larger parts.
- Turn recirculation off when you need dry outside air to clear fog faster.
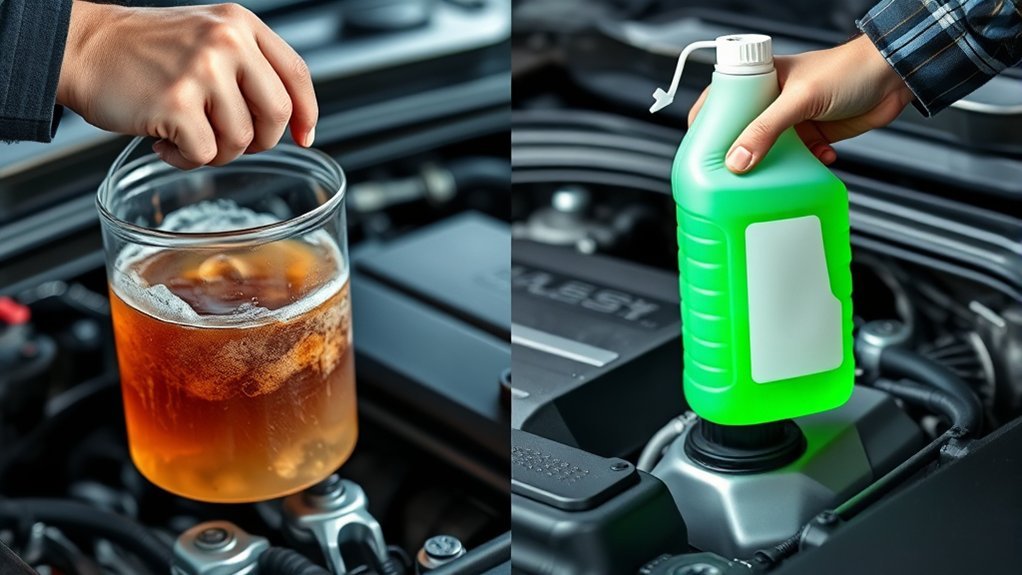
- Check coolant only after the engine cools, especially if the front defroster blows cold air.
- Inspect the rear defroster grid gently because one scratched line can leave a foggy strip.
- Stop driving and get help if fog, frost, overheating, or coolant loss blocks safe visibility.
At a Glance
| Time Required | Basic settings, fuse, filter, and visual checks are usually quick. Electrical diagnosis or rear-grid repair takes longer, and repair products require their full stated cure time. |
| Difficulty | Beginner for settings, fuses, and visual checks; intermediate for multimeter testing and actuator diagnosis. |
| Tools Needed | Owner’s manual, flashlight, fuse puller, matching replacement fuse, multimeter or 12 V test light, microfiber cloth, gloves, and rear defroster repair kit if needed. |
| Cost | Basic checks usually cost nothing. Fuses, filters, repair kits, and professional diagnosis vary by model year, store, and repair shop. |
What’s in This Article
- How Your Camry Defroster Works
- Is the Fog Inside or Outside?
- Before You Start Testing the Defroster
- Symptoms That Point to Defroster Problems
- Symptom Table
- Common Causes of Defroster Failure
- Quick Defroster Checks
- Electrical Parts and Fuse Power
- Rear Window Defroster Grid
- Blower Fan and Heater Core
- Defroster Actuator Replacement
- Common Defroster Fixes
- When to Get Professional Help
- Frequently Asked Questions
How Your Camry Defroster Works
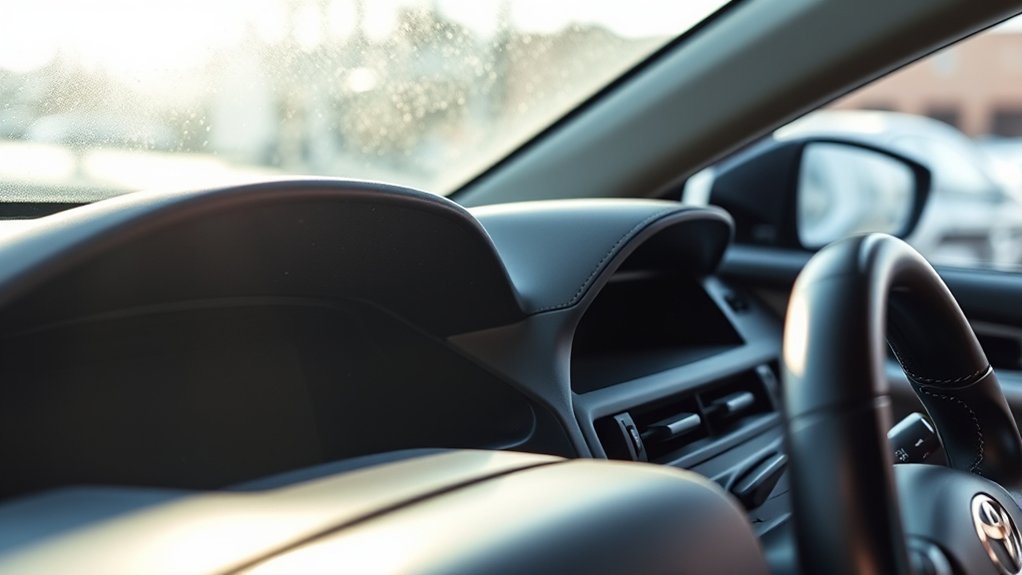
Your Camry uses two separate systems. The front defroster directs HVAC air toward the windshield. The rear defroster sends electrical current through resistive grid lines on or within the rear glass. A front failure is usually an airflow, heat, moisture-control, or air-direction problem. A rear failure is usually an electrical, connector, or grid problem.
For inside windshield fog, select windshield defrost mode, raise the fan speed, use a warm temperature, and turn recirculation off. Air conditioning may run automatically because it removes moisture from the cabin air. Allstate’s April 2026 defogging guidance also recommends outside air and humidity control. Check your Camry owner’s manual because control labels and automatic behavior vary by model year.
Use the failure pattern as a decision rule. No airflow points toward the blower circuit or a blocked filter. Air from the wrong vents points toward the mode door or actuator. Warm airflow with slow clearing points toward glass film or cabin moisture. Cold airflow after the engine warms points toward the cooling system, heater core, thermostat, or temperature door.
Is the Fog Inside or Outside the Windshield?
Inside fog forms when moist cabin air condenses on cooler glass. Use windshield mode, outside air, A/C dehumidification, and a warmer temperature. Remove wet mats or clothing and clean the inside glass. Outside fog forms when warm, humid outdoor air condenses on glass chilled by the A/C. Use the wipers, reduce direct cold airflow to the windshield, and slightly warm the glass until the condensation stops.
The National Highway Traffic Safety Administration reports that snow and sleet conditions were present in 320 fatal crashes and an estimated 22,293 injury crashes in 2023. Clear glass is not a comfort feature. It is a visibility and safety requirement.
Before You Start Testing the Defroster
Park on level ground before you test anything under the hood or near the electrical system. Let the engine cool before you open the coolant reservoir or radiator cap. Hot coolant can spray out and burn you.
Keep a flashlight, owner’s manual, fuse puller, multimeter, clean microfiber cloth, and gloves nearby. You may also need a rear defroster repair kit if you find a small break in the grid line. Use your Camry owner’s manual because fuse names, fuse locations, and HVAC controls can vary by model year.
Note: A Camry fuse label, relay layout, and HVAC control panel can differ across generations. Always match your test to your exact model year before pulling fuses or probing wires.
Warning: Do not drive if fog, frost, coolant loss, or a failed defroster keeps you from seeing the road clearly. Pull over safely and restore visibility before you continue.
Symptoms That Point to Defroster Problems
You can often narrow the problem by watching how the defroster fails. Weak airflow points to an air delivery problem. Cold air points to a heat or coolant problem. A rear glass section that stays foggy often points to a broken grid line.
Look for these common signs:
- Weak airflow from the windshield defrost vents
- Cold or lukewarm air after the engine warms up
- Rear glass that clears in some spots but not others
- A defroster switch that does not light up
- Intermittent operation when you hit bumps or move controls
- Clicking, tapping, or grinding sounds from behind the dashboard
- Fog that returns quickly after the glass clears
- A sweet smell, damp carpet, or unexplained coolant loss
Regular checks help you catch small issues before cold or wet weather makes them harder to handle. Check the settings, fuse, coolant level, cabin air filter, wiring, and rear grid before you assume the system needs a major repair.
Toyota Camry Defroster Symptom Table
| Symptom | Likely Cause | Check Next |
| No air from defrost vents | Blower motor, blower fuse, resistor, fan control, or clogged cabin filter | Fan speeds, blower fuse, cabin air filter, and blower motor power |
| Air blows cold | Low coolant, thermostat issue, air in cooling system, heater core restriction, or blend door fault | Coolant level after cooling, temperature gauge, cabin heat, and leaks |
| Air comes from wrong vents | Mode door, actuator, linkage, or HVAC control signal | Mode selection, actuator noise, scan tool data, and linkage movement |
| Rear glass clears in strips | Broken rear defroster grid line | Grid scratches, voltage at connectors, and continuity across the damaged line |
| Fog returns quickly | Cabin moisture, dirty glass, wet floor mats, water leak, or heater core leak | Floor mats, carpet, glass film, coolant smell, and windshield sealing |
| Rear indicator lights but no glass clears | Open grid feed, loose or broken connector tab, poor ground, wiring fault, or relay problem | Power and ground at both grid connectors, tab condition, relay output, and harness continuity |
| Fog forms on the outside | Warm humid outdoor air condensing on glass cooled by the A/C | Use wipers, reduce direct cold airflow, and warm the glass slightly |
Common Causes of Toyota Camry Defroster Failure
A Toyota Camry defroster can fail for several reasons, and each one leaves a different clue. Match the symptom to the likely cause before you replace parts. This saves time and lowers the risk of a wrong repair.
- No airflow: Check the blower motor, blower fuse, cabin air filter, fan speed control, and blower resistor or control module.
- Cold airflow: Check coolant level, heater output, thermostat behavior, heater core flow, and blend door movement.
- Air from the wrong vents: Check the mode door, actuator, linkage, and HVAC control signals.
- Rear glass not clearing: Check the rear defroster fuse, relay, switch, wiring, connectors, and grid lines.
- Fog returns quickly: Check for wet floor mats, water leaks, dirty glass, blocked cabin ventilation, and heater core leaks.
Start With These Quick Defroster Checks
Start with the checks that separate a control-setting problem from a component failure. Confirm the fan works on more than one speed, select windshield defrost mode, and turn recirculation off. Then note whether air reaches the windshield and whether it becomes warm after the engine reaches normal operating temperature.
- No airflow from any vent: Check the blower fuse, blower motor, fan control, resistor or control module, and cabin air filter.
- Airflow from other vents but not the windshield: Check the mode door, actuator, linkage, and HVAC control signal.
- Good airflow but cold air after warm-up: Check coolant level only after the engine cools, then inspect thermostat behavior, heater-core flow, and the temperature door.
- Rear indicator on but no part of the glass clears: Check power, ground, relay, connector tabs, and the main grid feed.
- Only narrow strips stay foggy: Inspect those rear-grid lines for breaks.
If the front defroster still blows cold air, check the coolant level after the engine cools. If the rear defroster does not heat the glass, inspect the fuse, switch, relay, wiring, connector tabs, and grid lines.
Pro Tip: Clean the inside of the windshield before deep diagnosis. A film from dust, interior cleaners, smoke, or moisture can make glass fog faster and clear slower.
[Products Worth Considering]

The KONNWEI KW208 is a versatile 12V battery tester designed to quickly analyze battery health, cranking performance, and charging system status for cars, trucks, boats, motorcycles, and more. It supports multiple battery types and provides clear guidance on whether a battery should be recharged or replaced, helping you diagnose issues before they become failures. With plug-and-play use, high accuracy, and multilingual support, it offers a convenient way to test batteries in-vehicle or out-of-vehicle.

This automotive circuit tester checks low-voltage DC systems from 3-65V, making it useful for diagnosing headlights, taillights, fuses, sockets, and other vehicle wiring issues. The digital backlit display provides clear voltage readings with fine accuracy, while the bidirectional polarity indicator helps you test from either ground or positive. Built with a durable probe, insulated tip, and extra-long spring wire, it is designed for dependable everyday use in automotive and household electrical work.

The AstroAI S8 is a compact 12V lithium jump starter designed to get gas and diesel vehicles back on the road quickly, even from low or fully drained batteries. It combines powerful starting performance with smart boost mode, built-in safety protections, and a versatile 5-in-1 design that also works as a power bank and flashlight for everyday emergencies and travel.
Check the Defroster Fuse First
A blown fuse can cut power to the defroster circuit. Check your owner’s manual before you pull a fuse because fuse names and locations can vary by Camry model year.
- Find the fuse box under the dashboard or under the hood.
- Use the diagram on the fuse box cover or in the manual.
- Test the fuse with a multimeter or fuse tester.
- Replace a blown fuse only with the same amperage rating.
If the new fuse blows again, stop replacing it and inspect the circuit. Repeated blown fuses can point to a short, damaged wire, wet connector, or failed component.
Inspect Wiring Connections
Loose, corroded, or damaged wiring can stop the defroster from working even when the fuse looks fine. Check the wiring near the switch, rear glass connectors, fuse box, and HVAC controls. Look for burnt plastic, green corrosion, loose plugs, or broken insulation.
Use a multimeter to check continuity only if you know how to test car wiring safely. If you find damaged wires, repair them with the right connectors and insulation. Do not twist bare wires together and leave them exposed.
Test the Rear Defroster Grid
Test the rear defroster grid if the rear glass stays foggy or clears in narrow strips. Turn the rear defroster on and use a multimeter or 12 V automotive test light to check for power at the grid connectors. Many systems show roughly battery voltage at the feed side, but the exact test point can vary.
Look closely for scratches, cracks, or missing parts of the grid line. Small breaks can stop current from heating part of the glass. You can repair some minor breaks with a rear window defroster repair kit, but broken tabs, multiple failed lines, or damaged glass may need professional repair.
Follow these checks in order:
- Confirm the rear defroster switch turns on.
- Check the fuse and relay for the rear defroster circuit.
- Inspect the grid lines for scratches or gaps.
- Test for voltage at the grid connectors.
- Repair small line breaks with a proper conductive repair kit.
Check Electrical Parts and Fuse Power
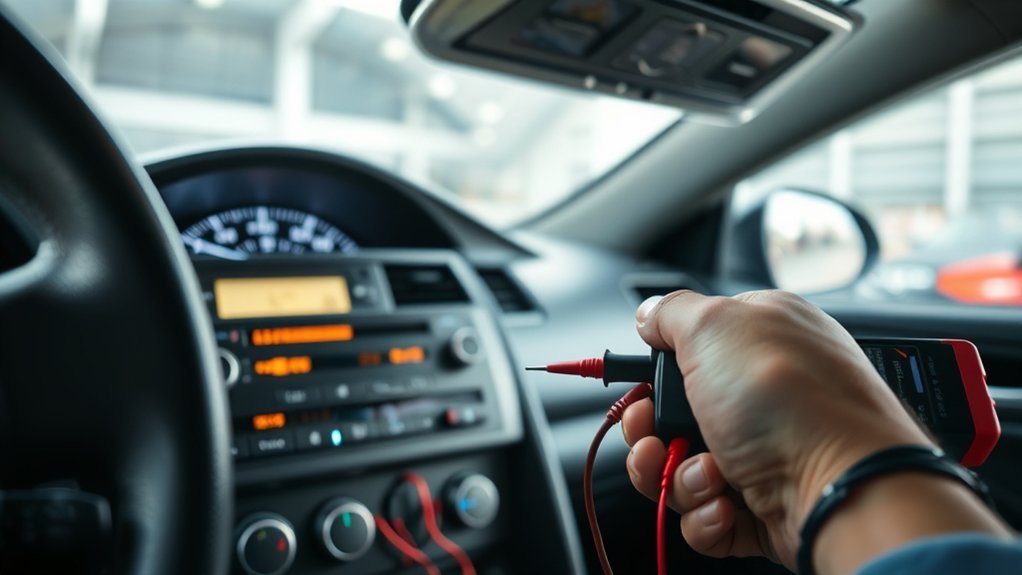
Electrical testing matters when the blower does not run, the rear switch does not light, the rear grid stays cold, or the system works only intermittently. Start with the correct fuse, then follow the circuit through the switch or control module, relay, connectors, grounds, and load.
[Products Worth Considering]

This replacement key fob set is designed for select Toyota RAV4 and XB models with regular key systems, offering lock, unlock, and panic functions in a convenient two-pack. Each remote comes pre-tested with battery and electronics installed, and it must be cut and programmed by a qualified dealer or locksmith for proper use. Built from durable materials and backed by warranty support, it provides a reliable solution when replacing worn or missing remotes.
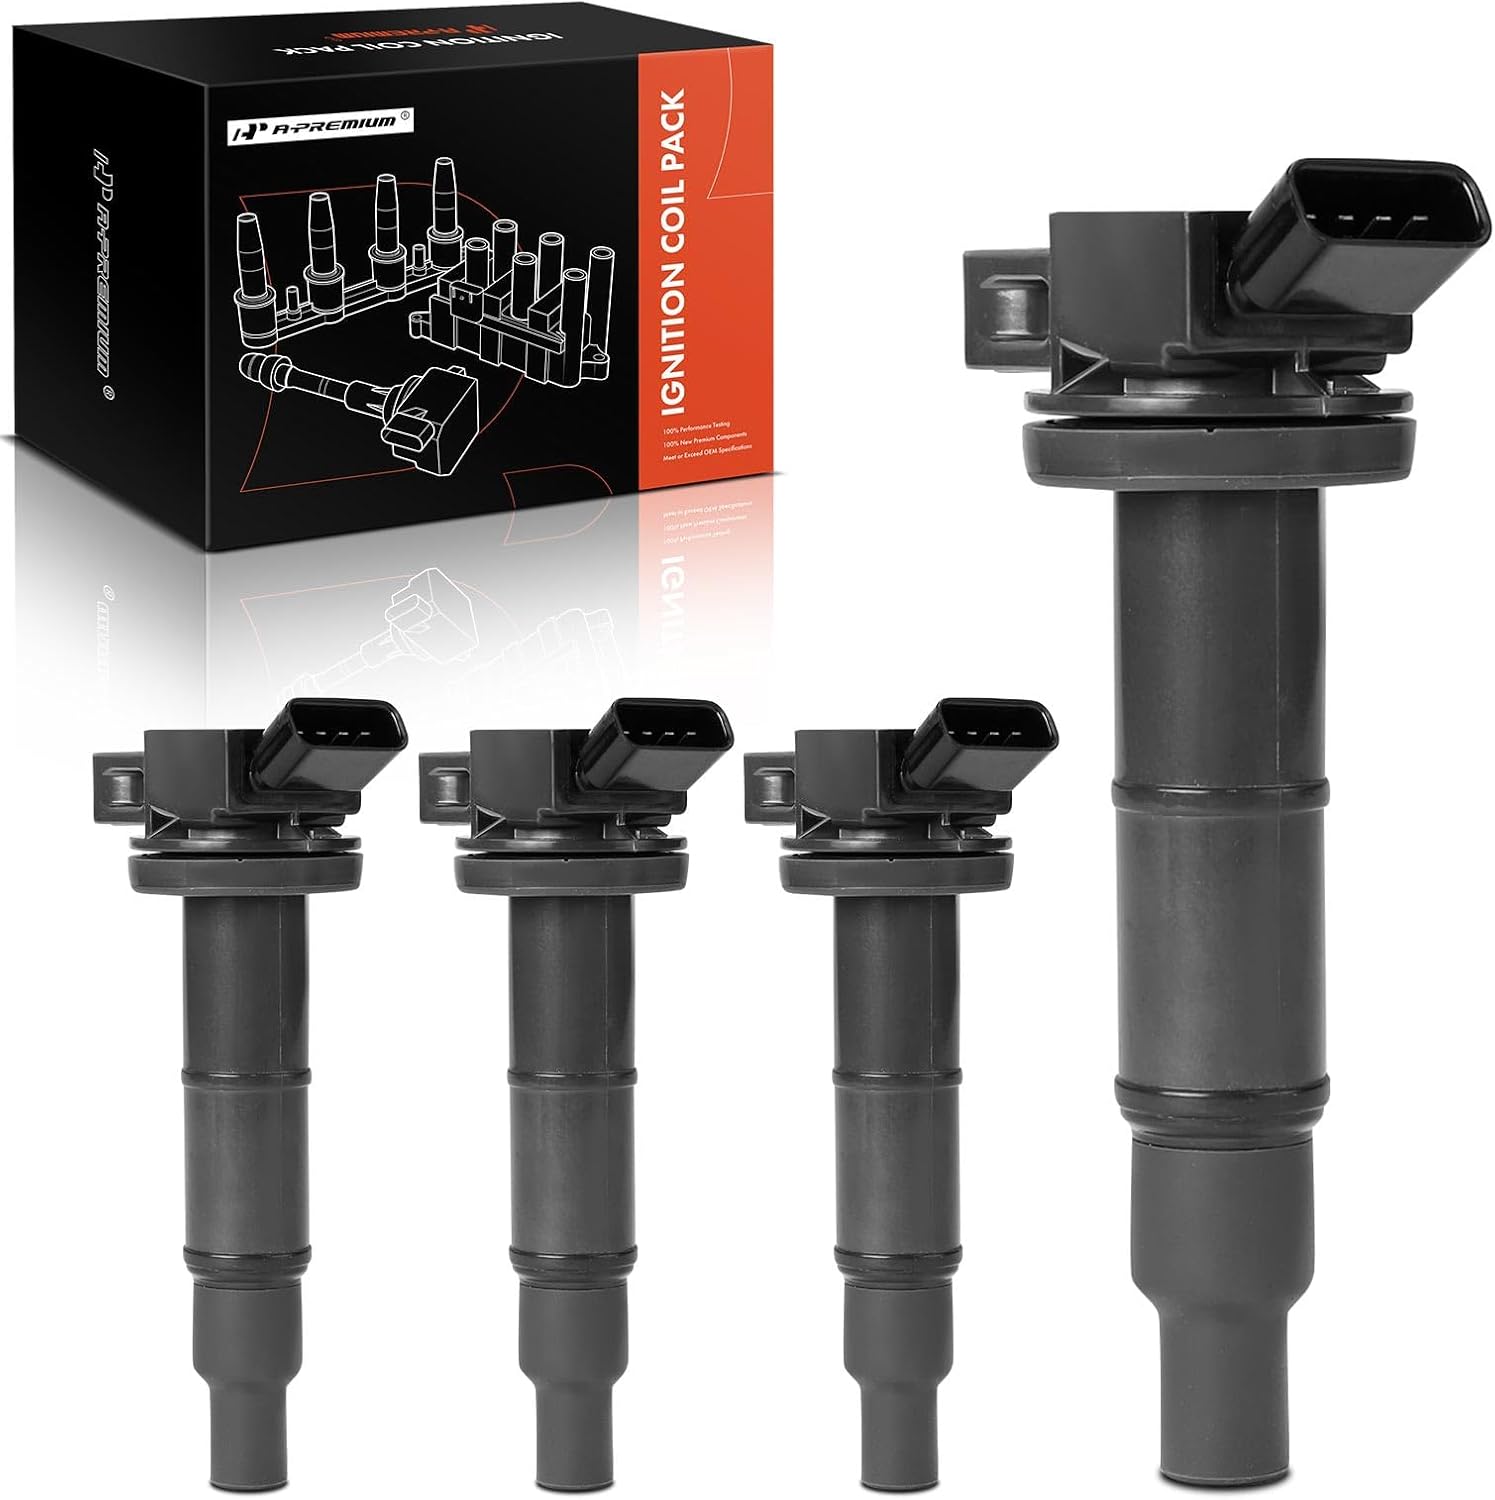
This A-Premium ignition coil pack set helps restore smooth engine performance, reliable starting, and consistent spark delivery for a range of Toyota, Scion, and Pontiac vehicles. Designed for broad fitment across multiple models and engine sizes, it is a practical replacement for worn or failing coils. The set includes four coil packs with OEM-cross reference compatibility and straightforward bolt-on installation.

Nerites Fuse Tester – Ideal for One-Time Fuses The Nerites fuse tester is perfect for checking disposable fuses. It allows quick and easy removal and helps inspect whether a fuse is blown, making it an essential tool for removing and testing fuse arrays.
Electrical System Inspection
Do not replace the rear glass, blower motor, or actuator until you confirm power and ground. A failed switch, poor ground, corroded connector, or broken wire can mimic a larger component failure.
- Check the defroster fuse for continuity.
- Test voltage at the rear defroster grid connectors.
- Inspect wiring near the rear glass and dashboard controls.
- Check ground connections for rust, looseness, or corrosion.
- Watch for intermittent operation when you move the harness or close the trunk.
If you see melted wiring or smell burnt plastic, stop testing and have the circuit checked. Heat damage can create a fire risk if you keep using the system.
Fuse Testing Procedures
Use the fuse diagram to find the correct defroster fuse. Pull the fuse and inspect the metal strip inside. If the strip has burned or split, replace the fuse with the same rating.
A multimeter gives you a better result than a visual check alone. Set the meter to continuity mode and touch one probe to each fuse blade. If the meter shows no continuity, the fuse has failed.
After you replace the fuse, test the defroster again. If the fuse fails again right away, the circuit needs deeper diagnosis before you install another fuse.
Wiring Harness Condition Check
Check the wiring harness for visible wear, rodent damage, loose plugs, and corrosion. Pay close attention to wiring near moving panels, glass connectors, and the lower dashboard. Movement and moisture can break wires over time.
- Look for cracked insulation or exposed wire.
- Check connectors for corrosion or looseness.
- Confirm ground points stay tight and clean.
- Repair damaged wiring before you test the system again.
How to Inspect Your Rear Window Defroster Grid
The rear defroster grid uses electric resistance to warm the rear glass. If one line breaks, that section may stop clearing fog or frost. You can often see the failed spot as a narrow foggy strip.
Clean the inside of the rear glass gently before you test the grid. Do not scrape the lines with sharp tools because you can damage the coating. Use a soft cloth and a cleaner that is safe for automotive glass.
Turn on the rear defroster and set the multimeter to DC voltage, or use a 12 V automotive test light. Reference a known good body ground, then touch the grid lightly without scraping it. Test both connector tabs first. If power and ground are present but one strip stays foggy, move along that line to locate the voltage change near the break. Use only a conductive repair product made for rear defroster grids, and follow its full cure time before retesting.
Note: Avoid scraping the inside of the rear glass because sharp tools can damage the defroster lines.
[Products Worth Considering]

Defroster Tab Repair Solution: Reattach separated tabs on rear window defrosters and defoggers. Defroster tabs are located along the sides of the defroster and frequently become separated from the defroster. A separated tab means complete defroster failure
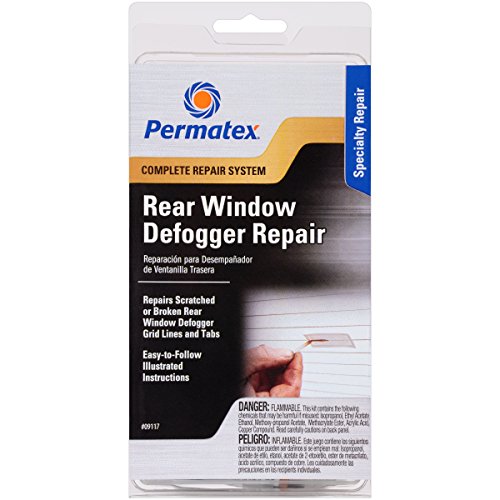
Everything required for making professional-quality repairs in just minutes

Waterproof Adhesive: The Permatex 21351 adhesive is waterproof and suitable for use on glass and rubber surfaces.
Safe Rear Grid Repair Steps
A small grid-line break may be a DIY repair if the glass is not cracked and the damage is easy to reach. A broken connector tab or large damaged area is more delicate. MG Chemicals’ rear-defroster repair guidance says to turn the system off, disconnect the battery before repair work, handle the glass gently, mask the repair area, and allow the conductive material to cure fully before testing.
- Turn the rear defroster off and disconnect the battery before repair work. Check the owner’s manual first because battery disconnection can affect stored settings or system calibration.
- Clean the damaged area gently so the repair material can bond.
- Mask the break so the repaired line stays close to the original width.
- Apply conductive paint or adhesive according to the kit directions.
- Let the repair cure for the full recommended time before reconnecting power.
- Retest the grid with the rear defroster on after the repair has cured.
Warning: Do not use a flame, heat gun, or soldering iron on a rear defroster tab attached to the glass. High heat can crack the window.
Troubleshooting the Blower Fan and Heater Core
The front defroster needs airflow and heat to clear the windshield. If the fan does not blow, the system cannot move air across the glass. If the fan blows cold air, the system may not have enough heat from the coolant and heater core.
Check these parts when the front defroster feels weak:
- Check the coolant level after the engine cools.
- Watch the temperature gauge for slow warm-up or overheating.
- Inspect the cabin air filter if airflow feels weak.
- Test the blower fan on low, medium, and high speeds.
- Inspect the heater core if heat stays weak.
Low coolant can reduce cabin heat because the heater core uses hot engine coolant to warm the air. A restricted or leaking heater core can also cause weak heat, a sweet coolant smell, damp carpet, or a film that keeps returning on the inside of the windshield. If coolant keeps dropping, stop treating the problem as a defroster-only fault and have the cooling system checked for leaks.
The NHTSA winter vehicle guidance also tells drivers to make sure the cooling system has enough coolant, meets manufacturer specifications, and has no leaks. Follow your Camry owner’s manual when choosing coolant type or service procedures.
Defroster Actuator Replacement: When Is It Necessary?
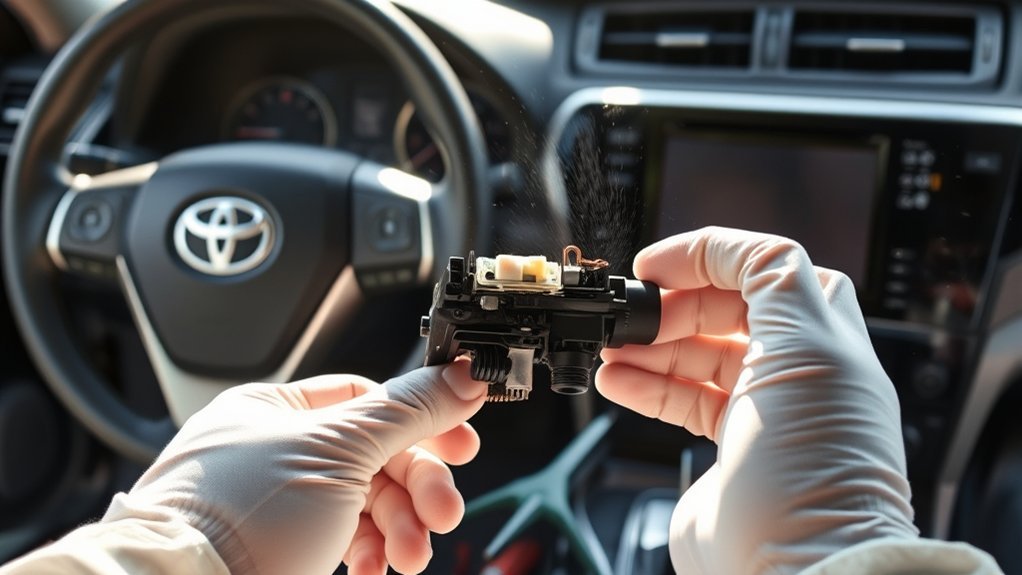
You may need to inspect the defroster actuator if the system makes clicking noises or sends air to the wrong vents. The actuator moves small doors inside the HVAC case. If it fails, warm air may not reach the windshield even when the heater works.
Before you replace the actuator, confirm that the blower works and that air changes direction when you select panel, floor, and windshield modes. Check the fuse, controls, connector, and wiring first. Some Camry HVAC systems may need recalibration after a battery disconnect or actuator change, and model-specific scan data may help confirm the fault.
If testing confirms a failed actuator, replacement usually requires lower dashboard access. Pay close attention to linkage position and alignment during installation. Poor alignment can keep the air door from moving through its full range.
Do not replace the actuator only because the windshield is foggy. Dirty glass, recirculated air, low coolant, weak blower output, and cabin moisture can create similar symptoms. Diagnose the airflow direction first.
Fix Common Defroster Issues in Order
Fix the easiest and most likely problems first. This order helps you avoid replacing parts before you verify the cause.
- Turn off recirculation and select windshield defrost mode.
- Raise the fan speed and temperature setting.
- Clean the inside of the windshield and rear glass gently.
- Check the defroster fuse and replace it if needed.
- Inspect rear grid lines for breaks or scratches.
- Check coolant level after the engine cools.
- Replace a clogged cabin air filter if airflow feels weak.
- Test the blower fan, switch, and wiring if airflow stops.
- Inspect the heater core if heat stays weak or coolant keeps dropping.
- Inspect the mode door or actuator if air goes to the wrong vents.
If the windshield fogs again soon after clearing, moisture may also be building up inside the cabin. Wet floor mats, water leaks, dirty glass, or a leaking heater core can make fog return quickly.
When to Seek Professional Help for Your Defroster
Call a mechanic if basic checks do not restore defroster function. Electrical testing, actuator diagnosis, and heater core work can take tools and experience that most drivers do not have. Guessing can cost more than a proper diagnosis.
Get help right away if the engine overheats, coolant keeps dropping, or the windshield will not stay clear while you drive. Those signs can point to a safety risk or a cooling system problem. A professional can also read diagnostic trouble codes if your Camry stores climate control faults.
The National Highway Traffic Safety Administration includes working defrosters and wipers in winter vehicle preparation guidance. Clear glass matters in rain, fog, snow, and cold morning driving.
Frequently Asked Questions
How do you fix a Toyota Camry defroster that is not working?
Start with the settings, fan speed, airflow mode, recirculation button, and the correct defroster or blower fuse. Then check coolant level after the engine cools, wiring, rear grid lines, connector tabs, and the HVAC actuator if the first checks do not solve the problem. Use your owner’s manual because fuse names and locations vary by model year.
What can you do if your windshield is fogged up but the defroster does not work?
Pull over safely if you cannot see the road. Crack a window, turn off recirculation, wipe the glass with a clean microfiber cloth, and use ventilation to reduce moisture. Do not keep driving with blocked visibility.
Why does the front defroster blow cold air?
Cold air after the engine warms can point to low coolant, a thermostat problem, air in the cooling system, a restricted heater core, or a temperature-door fault. Check coolant only after the engine cools. If the level keeps dropping, have the cooling system checked for leaks.
Why does only part of the rear window defroster work?
A partial rear defroster failure often means one or more grid lines have a break. Scratches from cargo, cleaning tools, or old tint removal can damage the lines. A small break may respond to a conductive repair kit.
Can a bad cabin air filter stop the defroster from working?
A clogged cabin air filter can reduce airflow from the windshield vents. It may not disable the whole system, but it can slow fog clearing and make the fan feel weak. Inspect or replace it if airflow stays low on higher fan speeds.
Why does my Camry defroster work only on high fan speed?
A fan that works only on high can point to a blower resistor, blower control module, switch, or wiring issue. The exact part depends on your Camry model year and HVAC system. Check the blower fuse and wiring first, then diagnose the speed-control circuit.
Why does the windshield fog on the outside when the A/C is on?
Outside fog forms when warm, humid outdoor air touches glass chilled by the air conditioner. Use the windshield wipers, reduce cold airflow aimed at the glass, and raise the temperature slightly until the windshield warms above the outdoor dew point.
Can you drive a Camry with a broken defroster?
Drive only if every required window stays clear enough for safe visibility. If fog, frost, rain, snow, coolant vapor, or moisture blocks your view, pull over and restore visibility before continuing.
Safety Disclaimer: This article is for informational purposes only and does not replace professional vehicle diagnosis or repair. Always consult a qualified mechanic if your defroster, cooling system, wiring, or visibility problem creates a driving risk.
Conclusion
A Toyota Camry front defroster needs airflow, correct vent direction, dry air, and enough heat. The rear defroster needs power, ground, secure connector tabs, and unbroken grid lines. Start with the failure pattern, settings, fan operation, fuse, coolant level after the engine cools, and a careful grid inspection. Stop driving and get professional help if the engine overheats, coolant keeps dropping, wiring overheats, or the glass will not stay clear.
Sources
- Toyota Support: Heating, Ventilation and Air Conditioning Controls: supports model-specific HVAC control guidance.
- National Highway Traffic Safety Administration: Winter Weather Driving Tips: supports visibility, defroster, wiper, coolant, and winter safety guidance.
- Allstate: How to Defog Windshield in Any Weather: supports outside air, A/C dehumidification, and defogging settings.
- MG Chemicals: How to Repair a Rear Window Defroster: supports rear grid testing, conductive repair, and glass-safety precautions.
- National Library of Medicine: Motor Vehicle Radiator Scald Injuries: supports caution around hot coolant and radiator pressure hazards.