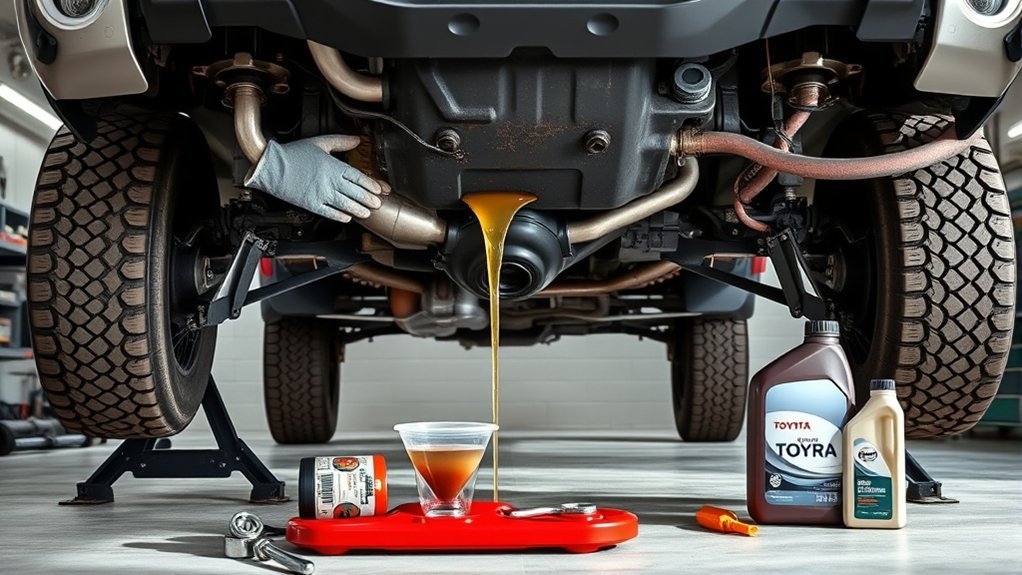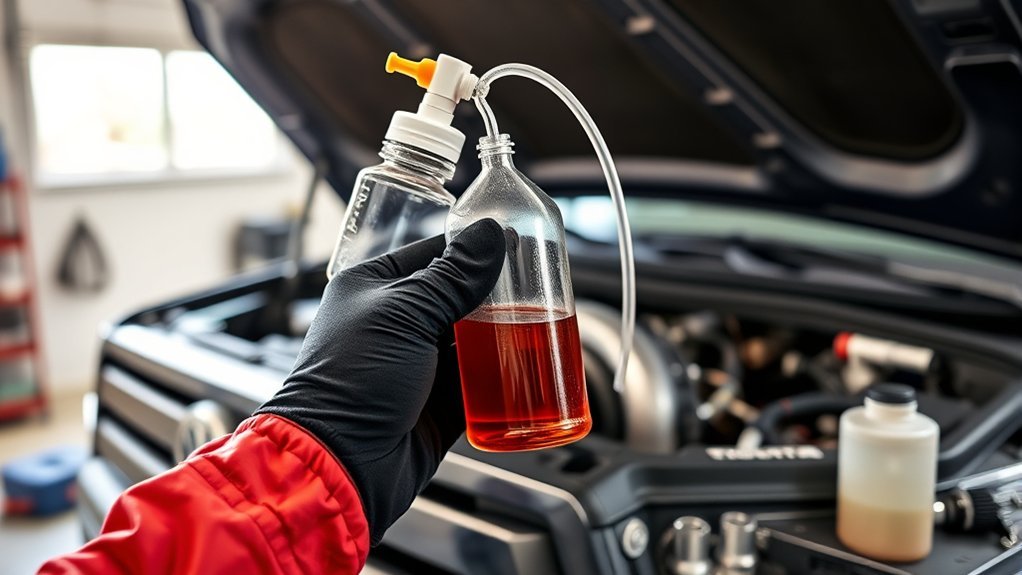
Your Toyota Tundra’s brake fluid does not have one universal answer for every model year and market. Current Toyota U.S. maintenance guidance emphasizes regular inspection of brake-fluid level and condition, while some regional schedules, including Canadian schedules for specific vehicles, may call for replacement at set mileage or time points. The safest approach is to follow your own owner’s manual and replace the fluid when age, moisture, contamination, brake work, or driving conditions make it due.
Quick Answer
For most Toyota Tundra owners, inspect brake fluid at every scheduled service and plan on a flush about every 2–3 years if you want a conservative maintenance rhythm. Replace it sooner if it is dark, contaminated, moisture-tested high, the brake system was opened, or you tow, off-road, or drive in humid or salty conditions.
Key Takeaways
- Current Toyota U.S. Tundra maintenance charts emphasize inspecting brake-fluid level and condition rather than listing one universal brake-fluid replacement interval.
- Newer Tundras may specify FMVSS No.116 DOT 3 / SAE J1703 or FMVSS No.116 DOT 4 / SAE J1704 brake fluid; older models may specify DOT 3 only, so check the reservoir cap and owner’s manual.
- Flush immediately if the fluid is dark, cloudy, gritty, contaminated with the wrong fluid, or if the brake pedal feels spongy after proper diagnosis.
- Towing, mountain driving, humidity, salted roads, off-road use, and long service age all justify shorter intervals.
At a Glance
| Time Required | About 30–90 minutes, depending on tools, rusted bleeders, and whether a scan-tool bleed is required |
| Difficulty | Moderate DIY; safety-critical if air enters the hydraulic system |
| Tools Needed | Correct brake fluid, wrench, clear hose, catch bottle, gloves, eye protection, and preferably a pressure or vacuum bleeder |
| Cost | DIY is mainly fluid and supplies; shop cost varies by region, equipment, and whether extra bleeding or diagnosis is needed |
Toyota Tundra Brake-Fluid Interval: What the Manual Actually Supports
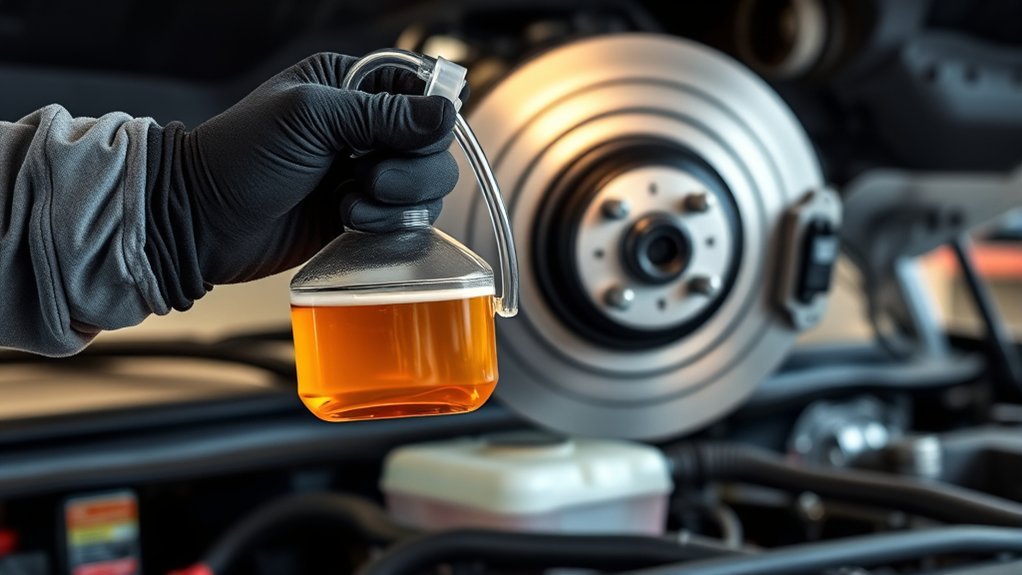
The most accurate answer starts with your model-year owner’s manual, maintenance guide, and market. In the current U.S. Toyota Tundra Warranty & Maintenance Guide, brake fluid is handled through scheduled inspections of fluid level and condition, not a simple universal “replace every X miles” line for every U.S. Tundra. That means a dealer may inspect it at regular services and recommend replacement based on condition, age, moisture, contamination, or local conditions.
That does not mean brake fluid lasts forever. Brake fluid absorbs moisture over time, and Toyota owner material warns that excess moisture can cause a dangerous loss of braking efficiency. The practical maintenance takeaway is simple: inspect it regularly, test it when in doubt, and replace it before degraded fluid affects braking feel, boiling resistance, corrosion protection, or hydraulic-system reliability.
U.S. Tundra Guidance
For U.S.-market Tundras, treat Toyota’s maintenance guide as the baseline: inspect brake-fluid level and condition during scheduled maintenance, then replace the fluid when the inspection or service history justifies it. A 2–3 year flush interval is a conservative owner-maintenance habit, especially for trucks that tow, sit for long periods, see humidity, or operate in harsh conditions, but it should not be described as a universal Toyota U.S. factory replacement requirement for every Tundra.
Canadian and Regional Guidance
Regional schedules can be different. Toyota Canada uses a vehicle-specific maintenance schedule, and Toyota Canada materials note that some 36-month/48,000-km services for specific vehicles may include brake-fluid replacement when required by the Owner’s Manual Supplement. If your Tundra is Canadian-market or serviced under a regional maintenance plan, check the Toyota Canada maintenance schedule or your printed supplement instead of relying on U.S. mileage charts.
Specified Fluid Type
For newer Tundras, Toyota owner material lists FMVSS No.116 DOT 3 / SAE J1703 or FMVSS No.116 DOT 4 / SAE J1704 brake fluid. Older Tundras may specify DOT 3 only, so always check the reservoir cap and owner’s manual before buying fluid. Do not use DOT 5 silicone brake fluid unless your Toyota documentation specifically calls for it.
Note: Use only clean, newly opened brake fluid. Brake fluid absorbs moisture from air, so an old half-used bottle on a garage shelf is not the best choice for a flush.
Why Brake Fluid Matters: Moisture, Corrosion, Boiling Point, ABS and VSC
Your Tundra’s brake system uses hydraulic pressure. When you press the pedal, brake fluid transfers force through the lines to the calipers. Clean fluid helps preserve pedal feel, boiling resistance, and internal corrosion protection.
The problem is that DOT 3 and DOT 4 brake fluids are hygroscopic, meaning they absorb moisture over time. Moisture lowers boiling resistance and can encourage corrosion inside steel lines, calipers, ABS hydraulic passages, and other components. The federal brake-fluid standard, 49 CFR §571.116, defines DOT brake-fluid performance requirements, including dry and wet boiling-point minimums and warnings to keep brake fluid clean and dry.
Brake fluid is cheap compared with ABS modules, calipers, brake lines, and the risk of a soft pedal during heavy braking.
- Clear to light-amber fluid is usually a good sign, but color alone is not a full test.
- Dark, cloudy, gritty, or black fluid points to age, contamination, or internal wear and should be addressed promptly.
- A spongy pedal, delayed brake response, or a brake warning light needs diagnosis immediately; do not assume fluid age is the only cause.
Recommended Interval vs. Real-World Variation
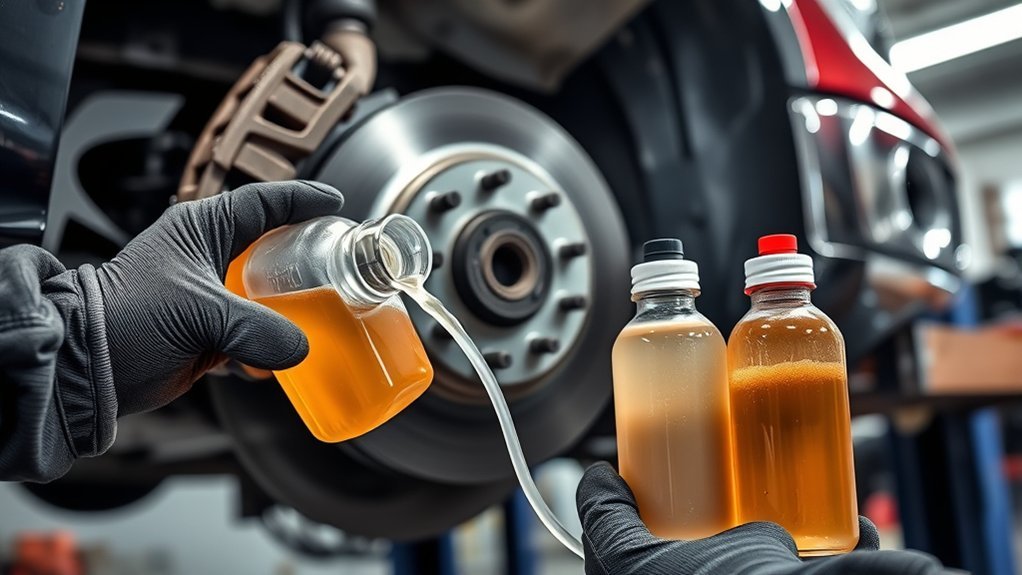
For a lightly used Tundra in a dry climate, brake fluid may test fine beyond two years. For a truck that tows, brakes hard, sees winter salt, sits for months, or lives in humid air, the same fluid can degrade faster. That is why condition matters as much as the calendar.
| Condition | Risk Level | Practical Action |
|---|---|---|
| Dry climate, light use, clear fluid, low moisture test | Low | Inspect at scheduled services; consider a 2–3 year flush as preventive maintenance |
| Humid climate, salted roads, frequent rain, truck sits for long periods | Medium to high | Test moisture yearly and replace sooner if the result trends high |
| Towing, mountain driving, heavy loads, off-road use | High | Inspect more often; a shorter 12–24 month interval may be sensible |
| Dark, cloudy, gritty, wrong-fluid contamination, or hydraulic system opened | Immediate concern | Flush/bleed now and diagnose any pedal or warning-light issue before driving |
Pro Tip: Keep a service note with the date, mileage, fluid type, and test result. It is much easier to decide on the next flush when you are not guessing how old the fluid is.
[Products Worth Considering]

The exact Original Equipment Manufacturer fluid that your vehicle came with; developed for brake and hydraulic clutch systems to reduce vapor lock by providing a higher boiling point

[Perfect Fitment-1] For "Front Side": Compatible with Toyota Tacoma 2005-2011 (Base 4WD Model; Pre Runner Model), Tacoma 2012-2015 (with 4 Piston Calipers, with 6 Lugs), Tacoma 2016-2020, Tundra 2000-2006, 4Runner 1996-2002, Sequoia 2001-2007; For "Rear Side": Compatible with Tercel 1991-1999, Paseo 1992-1999

【Compatible with Toyota】 Brake Fluid Cap compatible with Toyota 4Runner (1996-2001), Avalon (1995-2012), Camry (1992-2011), Celica (1994-1999), Corolla (1993-2013), Highlander (2003-2007), MR2 (1994-1995), RAV EV (1998-2003), Sienna (1998-2004), Solara (1999-2008), T100 (1994-1998), Tacoma (1995-2001); compatible with Scion tC (2005-2010) Brake Master Cylinder Reservoir Cap
How to Tell If You Can Safely Delay a Flush
You can make a better decision by combining three checks: service history, fluid condition, and a moisture test. None of these checks should override a brake warning light, a leak, a sinking pedal, or a spongy pedal. Those symptoms need diagnosis before the truck is driven normally.
- Check the service history: If the fluid has not been changed in several years, replacement is usually smarter than waiting for symptoms.
- Inspect the reservoir: Fresh brake fluid is usually clear to light amber. Dark brown, black, cloudy, or particle-filled fluid is a strong replacement signal.
- Use a moisture tester carefully: Many inexpensive testers show green/yellow/red ranges. Treat around 2% moisture as a “service soon” warning and around 3% or a failed shop test as a “replace now” result.
- Consider recent work: If a caliper, brake hose, master cylinder, ABS hydraulic part, or brake line was opened, the system needs proper bleeding and fresh fluid as part of the repair.
Warning: Do not drive a Tundra with a soft, sinking, or uncertain brake pedal after any brake-fluid service. Recheck the system, bleed it correctly, and get professional help if the pedal does not feel firm and normal.
[Products Worth Considering]

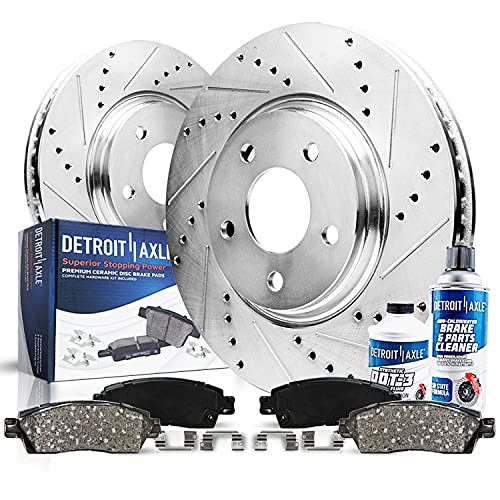
Brake Rotors Brake Pads Replacement for 2016 2017 2018 2019 2020 2021 Lexus LX570 - [2016 2017 2018 2019 2020 2021 Toyota Land Cruiser] - 2008 2009 2010 2011 2012 2013 2014 2015 2016 2017 2018 2019 2020 2021 2022 Toyota Sequoia - [2007 2008 2009 2010 2011 2012 2013 2014 2015 2016 2017 2018 2019 2020 2021 Toyota Tundra (5 Lug Models)]

Measurement: 13.94 inch (354mm) Front / 13.19 inch (335mm) Rear Rotor
What a Shop Does During a Brake-Fluid Flush
A proper brake-fluid exchange removes old fluid from the reservoir and lines, replaces it with the correct DOT-rated fluid, and bleeds the system so no air remains. A shop may use a pressure bleeder, vacuum bleeder, scan tool, or Toyota service-information procedure depending on model year and what work was performed.
For a normal maintenance flush, the technician should keep the reservoir from running dry, bleed each wheel circuit, check for leaks, verify fluid clarity, and confirm a firm pedal before releasing the truck. If air entered the ABS hydraulic unit or certain parts were replaced, a scan-tool ABS bleed may be required. That is one reason a professional flush can be the better choice when the brake system has been opened beyond a simple fluid exchange.
Most routine services take about 30–90 minutes. Rusted bleeder screws, seized fittings, added diagnostics, or ABS bleed procedures can increase the time.
How to Verify a Dealer Actually Flushed Your Brakes
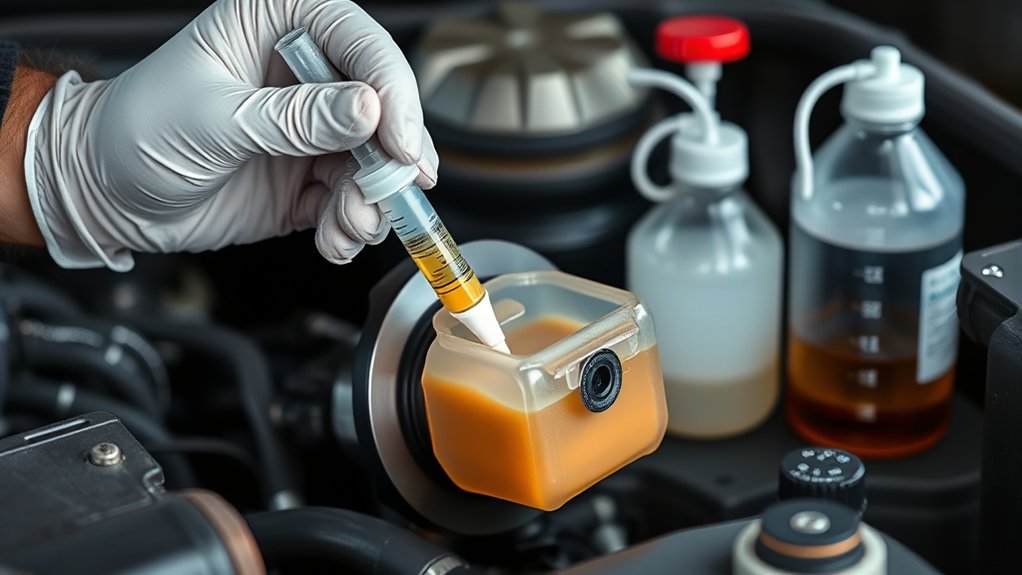
You cannot prove every part of a brake-fluid exchange just by looking at the reservoir, but you can do a few useful checks after service.
Inspect the Master Cylinder Reservoir
After the truck is parked on level ground and the engine bay is cool, look at the fluid in the master cylinder reservoir. The fluid should generally appear clean and clear to light amber. It should not look dark, muddy, or full of particles. The level should also sit within the marked range.
Do not leave the cap off longer than necessary. Brake fluid absorbs moisture, and dirt entering the reservoir can create problems.
Check the Paperwork and Bleeder Area
The repair order should list brake-fluid exchange or brake-system bleed, not just “brake inspection.” It should also list the fluid type used. Fresh fluid residue near bleeder screws can be a clue that the bleeders were opened, but absence of obvious marks does not automatically prove the work was skipped. Clean technicians often wipe the area after bleeding.
- Ask whether the shop used DOT 3 or DOT 4 fluid approved for your Tundra.
- Ask whether all four wheel circuits were bled or exchanged.
- Ask for a before/after moisture reading if the service was sold based on a brake-fluid test.
- After pickup, confirm the brake pedal feels normal before entering traffic.
DIY vs. Pro: Tools, Time, Cost, Checklist and Troubleshooting
A DIY brake-fluid flush can be reasonable if you have the right tools, understand brake bleeding, and can verify the pedal before driving. It is not a good first repair if you are uncomfortable lifting the truck safely, working around brake fluid, or correcting air in the hydraulic system.
[Products Worth Considering]

Brake Drums Brake Shoes Replacement for Toyota 2002 4Runner (Models with 15" or 16" Wheels) - [2003-2004 Tacoma (4WD or PreRunner Models; 6 Lug Wheels)] - 2003 Tundra (with 5.3" or 4.7" Length Pad Plate) - [2004-2006 Tundra (6 Lug Wheels)]
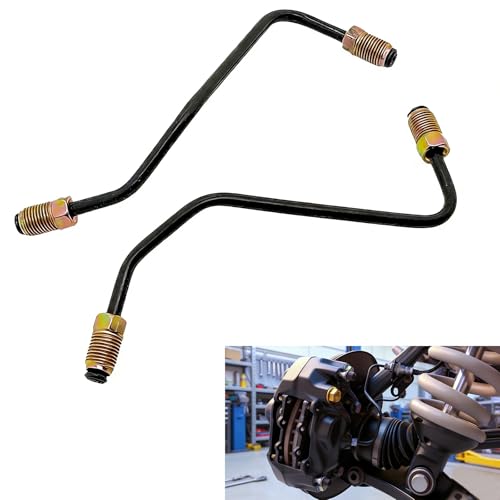
Compatibility: Front brake caliper wiring kit for Toyota Tundra 2007 2008 2009 2010 2011 2012 2013 2014 4WD.

Brake Rotors Brake Pads Front and Rear Replacement for 2016-2021 Lexus LX570 - [2016-2021 Toyota Land Cruiser] - 2008-2021 Toyota Sequoia - [2007-2021 Toyota Tundra (5 Lugs Models)]
Tools and Supplies
- Correct DOT 3 or DOT 4 brake fluid for your model year, verified by the reservoir cap and owner’s manual
- Box-end wrench for bleeder screws
- Clear hose and catch bottle
- Gloves, eye protection, rags, and water for immediate cleanup
- Jack stands and wheel chocks if wheels must be removed
- Pressure bleeder or vacuum bleeder, if available
Basic DIY Checklist
- Confirm the correct brake-fluid specification before opening anything.
- Protect painted surfaces; brake fluid can damage paint.
- Clean around the reservoir cap before opening it.
- Remove old fluid from the reservoir only if you can refill it immediately with fresh fluid.
- Keep the reservoir topped up during the entire process so air does not enter the master cylinder.
- Bleed each wheel circuit using the model-year service procedure or a reliable pressure/vacuum method.
- Continue until clean, bubble-free fluid exits each bleeder.
- Tighten bleeders properly, clean residue, reinstall caps, and check for leaks.
- Confirm the pedal is firm with the truck stationary before a cautious low-speed test.
Warning: If the reservoir runs dry, a bleeder screw breaks, the pedal stays soft, or the ABS system may have taken in air, stop and have the truck serviced by a qualified technician.
Common Troubleshooting
- Pedal still feels soft: Air may remain in the lines, the bleed sequence may be incomplete, or a scan-tool ABS bleed may be needed.
- Fluid stays dark: More exchange volume may be needed, or the system may have internal contamination that deserves professional inspection.
- Bleeder screw is stuck: Do not force it until it snaps. Use penetrating oil, proper tools, and professional help if needed.
- Brake warning light appears: Check fluid level first, then diagnose the warning before driving.
Frequently Asked Questions
How often should you change brake fluid in a Toyota Tundra?
Inspect it at every scheduled service and replace it based on condition, moisture, service history, and driving conditions. A 2–3 year flush is a conservative preventive interval for many owners, but current Toyota U.S. maintenance guidance should be read as inspection-based rather than one universal replacement interval.
Does Toyota recommend a brake-fluid flush every two years?
Not universally for every U.S.-market Tundra in the current maintenance guide. Toyota U.S. charts emphasize inspecting fluid level and condition. Some regional schedules, dealer maintenance menus, and Canadian schedules may include brake-fluid replacement at specific time or mileage points, so check your own owner’s manual, supplement, and market-specific schedule.
What brake fluid does a Toyota Tundra use?
Newer Tundras may allow FMVSS No.116 DOT 3 / SAE J1703 or FMVSS No.116 DOT 4 / SAE J1704 brake fluid. Older Tundras may specify DOT 3 only. Always confirm the specification on the reservoir cap and in your model-year owner’s manual before adding or flushing fluid.
Can I mix DOT 3 and DOT 4 brake fluid?
DOT 3 and DOT 4 glycol-based fluids are generally compatible when the vehicle allows both, but you should still use the fluid type Toyota specifies for your Tundra. Do not add DOT 5 silicone fluid unless the manual specifically calls for it.
Is dark brake fluid always dangerous?
Dark fluid is a warning sign, not a full diagnosis. It often means the fluid is old or contaminated and should be tested or replaced. If the pedal feels soft, the fluid has debris, or the system has been opened, treat it as a safety issue and service the brakes before normal driving.
Conclusion
The best Toyota Tundra brake-fluid interval is the one that combines your official maintenance schedule with real fluid condition. For current U.S. Tundras, do not rely on a blanket claim that Toyota requires a flush every two years; inspect brake-fluid level and condition as scheduled, then replace it when the fluid is old, wet, dark, contaminated, or exposed during brake repairs. For many owners, a 2–3 year preventive flush is a smart habit. For towing, humidity, salt, off-road use, or uncertain history, shorten the interval and test the fluid sooner.
Sources
- Toyota 2026 Tundra Warranty & Maintenance Guide — U.S. maintenance-chart context for fluid inspections and scheduled service items.
- Toyota 2025 Tundra Digital Owner’s Manual: Engine Compartment — brake-fluid specification and moisture warning.
- 49 CFR §571.116, Standard No. 116; Motor Vehicle Brake Fluids — DOT brake-fluid performance, boiling-point, packaging, and clean/dry warnings.
- Toyota Canada Maintenance Schedule — regional, vehicle-specific maintenance schedule reference.
- Toyota Canada Extra Care Protection — Canadian maintenance-plan note about 36-month/48,000-km services for specific vehicles.