What’s in This Article
Your Tundra can show a blinking 4WD light even when the switch and dash seem normal. Start with safe checks first, then move to wiring, the Automatic Disconnecting Differential (ADD) actuator, and the transfer-case actuator. This guide shows you how to narrow the fault before you spend money on parts.
Quick Answer
If your Tundra’s 4WD won’t engage, first follow the correct shift process and check for a blinking 4WD light. Then inspect fuses, wiring, transfer-case fluid, and ADD actuator movement. If the actuator gets near battery voltage but does not move, bench-test it before replacing parts.
Key Takeaways
- Use Neutral and the correct 4Lo shift process before you assume a part failed.
- Check fuses, wiring, connectors, grounds, and fluid level before you buy an actuator.
- A blinking 4WD light often points to a system fault, not just a bad dash switch.
- Bench-test the ADD actuator and position switches when voltage tests look normal.
- Confirm part fitment by VIN because Tundra 4WD parts vary by model year.
Quick Fixes for 4WD Not Engaging (Try These First)
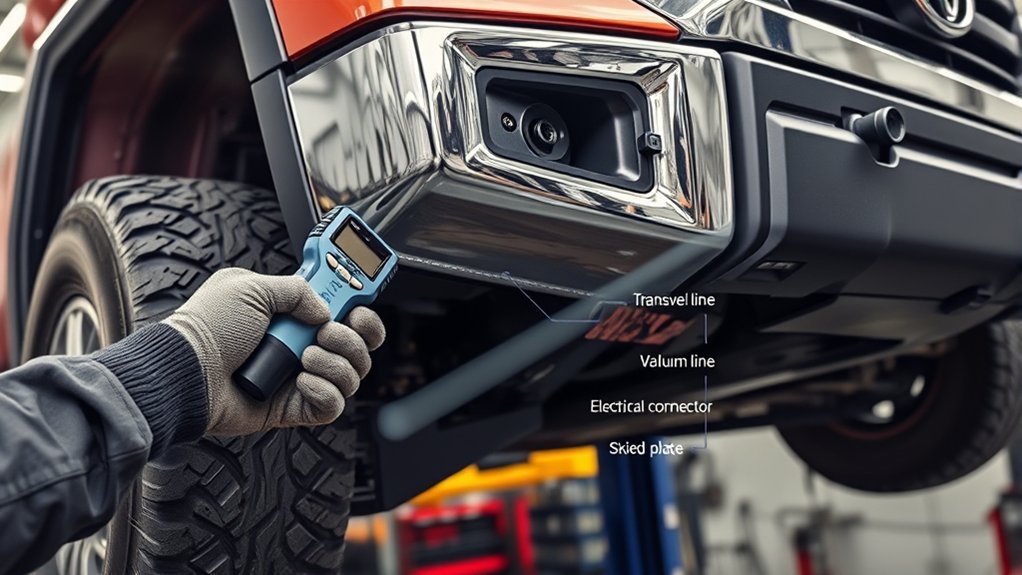
If your Tundra’s 4WD won’t engage, start with simple checks you can finish in minutes. Scan the dash for warning lights, especially a blinking 4WD, 4HI, or 4Lo indicator. A blinking light means the truck has not completed the shift or the system sees a fault.
Before you replace parts, use the correct shift process. Toyota tells owners to stop fully, hold the brake, shift the transmission to Neutral, and then select 4L or 4Lo when they need low range. Your truck may refuse the shift if you skip Neutral.
- Shift between Drive and Neutral, then try 4HI again on a safe, low-traction surface.
- Check 4WD-related fuses with a test light or multimeter, not just your eyes.
- Inspect actuator plugs for corrosion, loose pins, water, or broken wire insulation.
- Check transfer-case fluid level if the system makes noise or shifts slowly.
- Listen for actuator movement when you command 4WD from inside the cab.
These checks help you separate a simple electrical fault from a failed actuator. They also protect you from replacing the most costly part first.
Confirm Symptoms and Safety Before Testing
Before you test anything under the truck, park on level ground and chock the wheels. Use rated jack stands if you lift the Tundra. Never crawl under a truck that sits only on a floor jack.
Warning: Keep your hands, sleeves, hair, and tools clear of tires, shafts, and joints during drivetrain tests.
Confirm the exact symptoms before you probe wires or remove parts. Note whether the dash light blinks, stays solid, or never turns on. Also note whether the truck shifts into 4HI but refuses 4Lo.
Watch the front driveshaft while a helper selects 4WD from the cab. If the transfer case locks but the front wheels still do not pull, focus on the front ADD actuator and front differential. If the front driveshaft never locks, focus on the transfer-case actuator, switch input, fuses, wiring, or control module.
If you feel binding, hear grinding, or smell hot fluid, stop testing. Those signs can point to a mechanical fault that needs a trained technician.
Test 2WD vs 4WD (Wheels-Off-Ground Method)
Use this method only if you can lift and support the truck safely. A professional lift works best. If you use jack stands, set them on solid ground and confirm the truck cannot rock before you start.
Place the transmission in Neutral and command 2WD, 4HI, and 4Lo as your owner’s manual describes. With the key on, many models let you hear or feel actuator movement without running the engine. If your truck requires the engine for a specific test, skip that step unless you have proper equipment and help.
| Mode | What to watch | What it suggests |
|---|---|---|
| 2WD | Front driveshaft spins free | System has not locked the front driveline |
| 4WD | Front driveshaft locks and dash light turns solid | Transfer case likely completed the shift |
| Fault | Front wheels spin independently in 4WD | ADD actuator or front differential may not engage |
Do not rely on one test alone. Match the wheel behavior with dash lights, actuator movement, fuse power, and connector voltage. That full pattern gives you a stronger diagnosis.
Check Wiring, Fuses, and Harness for ADD Actuator Power
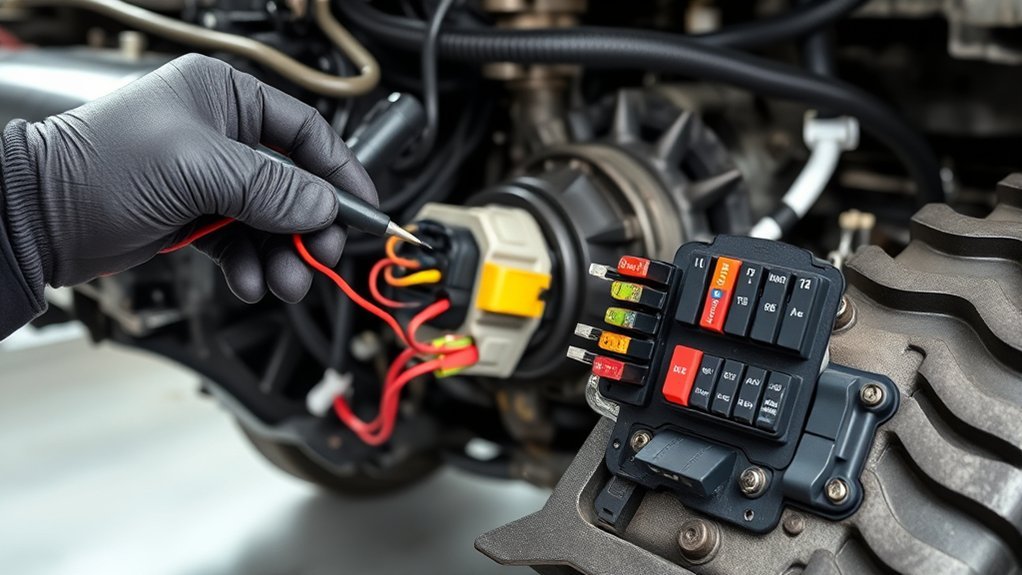
When you check ADD actuator power, start with the harness and fuses. This step rules out simple electrical faults before you condemn the actuator. Look for corrosion, broken insulation, pin damage, loose terminals, and wires stretched near the actuator connector.
Test every 4WD-related fuse with a multimeter or test light. A fuse can look intact and still fail under load. Check both sides of each fuse with the circuit powered.
Next, measure voltage at the actuator connector while a helper commands 4WD. You should see near battery voltage on the correct power circuit during the command. A reading well below 12 volts points to wiring loss, a weak ground, a relay fault, or a control output problem.
Document each damaged wire, connector, and voltage reading. Repair broken sections with proper automotive crimp connectors or solder and heat-shrink. If the wiring and fuses pass but the actuator still does not respond, move to bench testing.
[Products Worth Considering]

This 26-piece terminal removal tool kit is designed to help you depin and service automotive wire connectors with greater speed and accuracy. It supports a wide range of connector types used in cars, trucks, motorcycles, and other equipment, while the organized case keeps each tool easy to find and carry. Built for reliable, damage-free terminal removal, it is a practical choice for professional electrical work and DIY wiring repairs.

This automotive test light combines a bright LED voltage display with quick polarity indication for fast, accurate circuit checks in a wide range of vehicle systems. It helps diagnose battery, charging, lighting, and fuse issues with a sharp stainless probe, long spring wire, and easy-to-use alligator clip for efficient troubleshooting.

These heavy-duty running board side steps are designed to improve access to your Toyota Tundra without reducing ground clearance. Built for Double Cab and CrewMax front door applications, they offer practical convenience for everyday entry, roof loading, and off-road use. The durable iron construction and easy no-drill installation make them a reliable upgrade for rugged driving.
Bench-Test the Front ADD Actuator and Position Switches
You can test some ADD actuator functions on the truck, but bench-testing helps you separate a bad actuator from a wiring fault. Remove the actuator only after you mark its position and confirm the correct service steps for your model year. Use the service manual pinout, not guesswork, before you apply power.
Warning: Applying power to the wrong actuator terminals can damage the motor, switches, or control circuit.
Apply the specified voltage to the correct terminals and watch for smooth movement. Clicking, binding, dead movement, or unusual resistance points to an internal actuator problem. If the motor moves smoothly on the bench, your fault may sit in the harness, ground, switch circuit, or control module.
Test the position switches with a multimeter while you move the actuator through its range. Continuity should change as the actuator reaches each position. If continuity never changes or jumps at random, replace the faulty switch assembly or actuator, based on your service manual and part design.
When to Replace the Actuator, Transfer-Case Actuator, or 4WD Module
Replace the front ADD actuator when it fails bench testing, refuses to move with proper voltage, or gives inconsistent position-switch readings. If the transfer case does not lock the front driveshaft, shift focus to the transfer-case actuator and its control circuit. If several circuits act up at once, test the 4WD control module before you replace more parts.
Front differential actuator listings for some 2007 to 2017 Tundra 4WD models show AISIN SAT-011 as a fitment option, but you must confirm the part by VIN. Prices also change by seller and model year. Do not order by a forum post or photo alone.
| Symptom | Likely Action |
|---|---|
| No front engagement | Test and replace the ADD actuator if it fails |
| Blinking 4WD light | Check codes, fuses, wiring, switches, and module inputs |
| Low switch voltage | Inspect grounds, harness, transfer-case actuator, and module output |
Start with the cheapest confirmed failure, not the cheapest guess. A good test sequence saves money and prevents repeat teardown work.
[Products Worth Considering]

These heavy-duty running boards are designed to improve access to your Toyota Tundra CrewMax while maintaining ground clearance for off-road use. Built from durable aluminum with a high weight capacity, they provide stable step-up support for daily driving, cargo loading, and outdoor adventures. The no-drill installation makes setup simple, and the included customer support adds extra peace of mind.

This steering clock spring is designed to restore reliable steering wheel controls across a wide range of Toyota models. It supports audio, cruise control, and other multifunction commands while matching OEM part numbers for confident replacement fitment. Built for dependable signal transfer and straightforward installation, it is an effective solution for repairing steering column control issues.

This automotive circuit tester checks low-voltage DC systems from 3-65V, making it useful for diagnosing headlights, taillights, fuses, sockets, and other vehicle wiring issues. The digital backlit display provides clear voltage readings with fine accuracy, while the bidirectional polarity indicator helps you test from either ground or positive. Built with a durable probe, insulated tip, and extra-long spring wire, it is designed for dependable everyday use in automotive and household electrical work.
Tools, Costs, and Step-by-Step Actuator Replacement Checklist
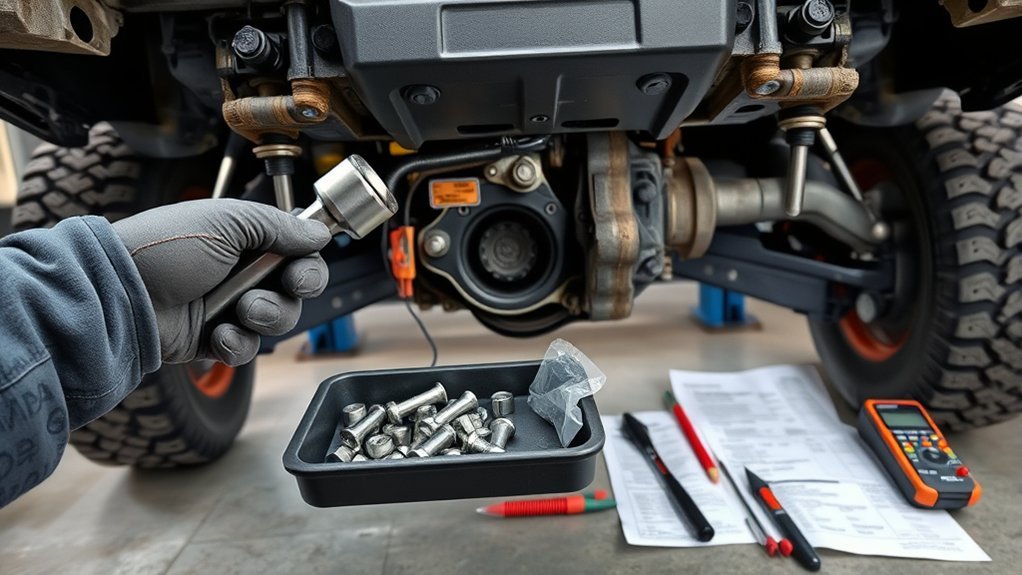
Gather the right tools and parts before you start. You may need a model-specific ADD actuator, a 10mm hex bit for fill or drain plugs, a drain pan, transfer-case fluid, a torque wrench, and Toyota-approved Formed In Place Gasket (FIPG) or the sealant your service manual calls for.
Confirm the actuator type, connector shape, mounting pattern, and part number before installation. If you use AISIN SAT-011, confirm that your exact Tundra year, submodel, and drivetrain match the listing. Bench-test the replacement before you seal it in place.
- Verify the old actuator failed with voltage, ground, and bench tests.
- Drain fluid only if your service steps require it for actuator removal.
- Remove the faulty actuator without forcing the shaft or gear position.
- Compare the old and new actuators for connector, travel, and mounting match.
- Clean the mating surface without dropping debris into the housing.
- Apply the correct sealant in a thin, even bead if the design requires FIPG.
- Tighten fasteners to the factory torque spec for your exact model year.
- Refill fluid to the correct level and cycle 4WD after the sealant cures.
Do not reuse a random torque value from another model or forum thread. Use your factory service manual or a trusted repair database for torque, fluid type, and sealant cure time.
Pro tip: Take photos before removal so you can match connector routing, vent hose position, and actuator clocking during reassembly.
[Products Worth Considering]

This hydraulic floor jack combines aluminum and steel construction for dependable strength, smooth mobility, and easier lifting in garage or roadside use. Its dual-pump design helps raise vehicles faster, while the low-profile build works well with lower-clearance cars, SUVs, and trucks. Safety-focused details like a rubber saddle, handle bumper, and overload protection add confidence during operation.

This plug-and-play OBD2 scanner helps drivers quickly read and clear engine error codes while providing live data, freeze frame information, I/M readiness, and MIL status for more confident troubleshooting. It adds a built-in voltage test and clear status indicators to support electrical checks and faster diagnostics, making it a practical choice for home users, car enthusiasts, and repair professionals. Compatible with most OBDII vehicles since 1996 and designed with an easy-to-use interface, it offers broad coverage and simple operation in one compact tool.

This Deutsch connector kit provides a complete solution for creating secure, weather-resistant wiring connections in automotive and other demanding environments. It includes multiple DT-series connector sizes, a closed-barrel crimp tool, and a pin removal tool for easy installation and maintenance. Built for reliable performance, it helps protect electrical connections from moisture, dust, vibration, and corrosion.
Frequently Asked Questions
What causes 4WD to not engage on a Toyota Tundra?
Common causes include a failed ADD actuator, a transfer-case actuator fault, low transfer-case fluid, damaged wiring, blown fuses, or poor grounds. A blinking 4WD light gives you a strong clue that the system has not completed the shift.
How do I tell if my 4WD actuator is bad?
A bad actuator may not move when you command 4WD, even when it receives proper voltage and ground. Bench testing can confirm the fault if the motor does not move, binds, clicks, or gives poor position-switch readings.
Why won’t my truck shift into 4Lo?
Your Tundra may refuse 4Lo if you skip the correct shift steps. Stop fully, hold the brake, shift the transmission to Neutral, and then select 4Lo as Toyota describes for on-demand 4WD systems.
How can you tell if the 4WD switch is bad?
A bad switch may fail to send the correct command, cause intermittent mode changes, or show poor continuity during testing. Test the switch circuit before you replace it because wiring, grounds, and the control module can mimic switch failure.
Can you drive with a blinking 4WD light?
You can usually move the truck carefully if it drives normally, but you should avoid hard towing, deep mud, and harsh off-road use until you diagnose the fault. A blinking light means the system has not confirmed the requested 4WD mode.
Safety Disclaimer: This article gives general information only and does not replace professional repair advice. Always consult a qualified mechanic before lifting a vehicle, testing live circuits, or replacing drivetrain parts.
Conclusion
A Tundra that won’t engage 4WD needs a clear test path, not random parts. Start with the shift process, dash lights, fuses, wiring, fluid level, and actuator movement. Then bench-test the ADD actuator and position switches if the basic checks pass.
If the actuator, transfer-case unit, or module fails testing, replace the confirmed bad part and verify 4WD operation before you call the job done. A careful diagnosis helps you regain traction, control, and confidence when the road gets rough.
References
- How do I operate the On-Demand 4 Wheel Drive in my vehicle? — Toyota Customer Service, accessed 2026
- Front Differential Shift Actuator – 2007-2017 Toyota Tundra 4WD – Aisin SAT-011 — PartsGeek, accessed 2026
- Toyota Tundra Transfer Case Actuator Issues Explained — Newparts, 2024