Your Tacoma’s intercooler cools compressed turbo air to raise density and reduce knock, letting the engine burn fuel more completely and stay reliable under boost. You’ll get better throttle response, steadier combustion, and potential 10–30% power gains when you upgrade, though placement (front vs top), core design, and piping affect heat rejection and lag. Watch intake temps, boost leaks, and fin damage for failures, and follow proper bleed and torque procedures — continue for detailed install, troubleshooting, and selection guidance.
What an Intercooler Does and Why Tacomas Benefit
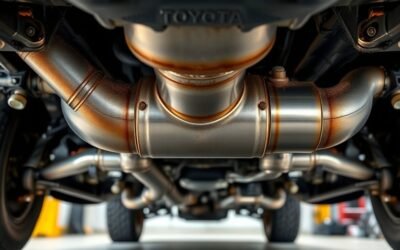
Think of the intercooler as the engine’s air temperature regulator: it cools compressed air from the turbocharger, raising density and oxygen content before combustion. You’ll see intercooler performance translate directly into turbocharger efficiency and usable power in a Tacoma: cooler, denser charge reduces knock risk, stabilizes combustion, and lets you run more aggressive timing or boost without compromising reliability. That improved charge density also tightens fuel use—better mixing and more complete burn yield measurable fuel-economy gains under load. Design and placement matter: front-mount air-to-air units typically deliver superior airflow and sustained cooling at speed, while air-to-water variants can offer packaging benefits and quicker transient response. When you upgrade to a high-quality intercooler, you’re reducing charge temperatures under sustained stress, preserving turbocharger efficiency and enabling horsepower gains in modified Tacomas. The net effect is liberation from thermal limits—consistent power, longer engine life, and predictable performance when you demand it.
How Intercoolers Cool Intake Air : Simple Science
An intercooler acts as a compact heat exchanger that drops the temperature of compressed intake air by transferring thermal energy from the pressurized charge to either ambient air or a liquid coolant; this heat transfer raises air density and lets more oxygen enter the cylinders for a given volume. You’ll see two core cooling techniques: air-to-air, which exposes charge air to ambient flow across fins, and liquid-based systems that route coolant through a core to absorb heat. Both aim to maximize intercooler efficiency by increasing thermal conductivity and minimizing pressure drop; you want high surface area, short conductive paths, and restrained flow restrictions. In practice, ambient-dependent air cooling is simpler and lighter, while liquid cooling gives steadier performance under repeated, high-load cycles. Design choices—core geometry, fin density, and end-tank shaping—determine how effectively heat leaves the charge without choking airflow. Apply these principles to release the Tacoma’s potential: reduce charge temps, raise oxygen mass, and unleash more reliable power under demand.
Air-to-Air vs Air-to-Water Intercoolers for the Tacoma
Curious which intercooler suits your Tacoma best? You’ll weigh trade-offs: air-to-air is simpler, lighter, and demands less upkeep, so it frees you from complex servicing routines. Its performance impact is tied to vehicle speed and ambient temperature, making it ideal for everyday liberation on roads where simplicity and reliability matter.
Air-to-water delivers superior heat rejection under sustained high boost, so it’s the rational choice for racing, heavy towing, or extreme climates. You’ll accept added system complexity: pumps, heat exchangers, and coolant routing increase installation challenges and maintenance tasks, but they yield consistent intake temperatures and tighter performance margins.
Choose air-to-air if you prioritize low maintenance, weight savings, and straightforward installation. Choose air-to-water if you demand repeatable cooling, compact packaging, and maximum thermal control despite greater upkeep and installation challenges. Decide based on your Tacoma’s mission profile and your willingness to maintain a more intricate system.
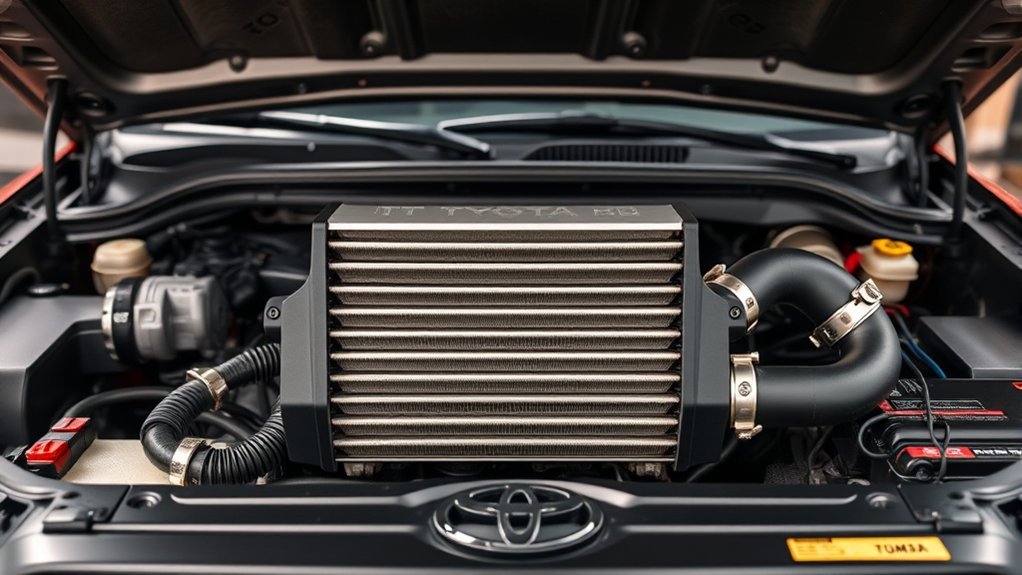
Best Intercooler Placement for Tacomas: Front‑Mount vs Top‑Mount
Which intercooler placement suits your Tacoma depends on how you balance airflow efficiency against packaging and response. You’ll weigh a clear performance comparison: front-mount intercoolers (FMIC) maximize intercooler efficiency by accessing unobstructed airflow and superior heat dissipation at speed, making them the logical choice for racing and sustained high-load runs. Conversely, top-mount intercoolers (TMIC) shorten piping, cut volume, and yield quicker throttle response with reduced turbo lag—advantages for street and liberated daily drivers who prize immediacy.
Analyze trade-offs: FMICs introduce longer charge piping that can delay boost onset, penalizing low-speed drivability. TMICs sit near heat sources and can suffer heat soak in traffic or hot climates, reducing charge density under repeated pulls. Your decision should map intended use to these characteristics: choose FMIC when peak cooling and sustained power matter; choose TMIC when transient response and packaging simplicity govern your build.
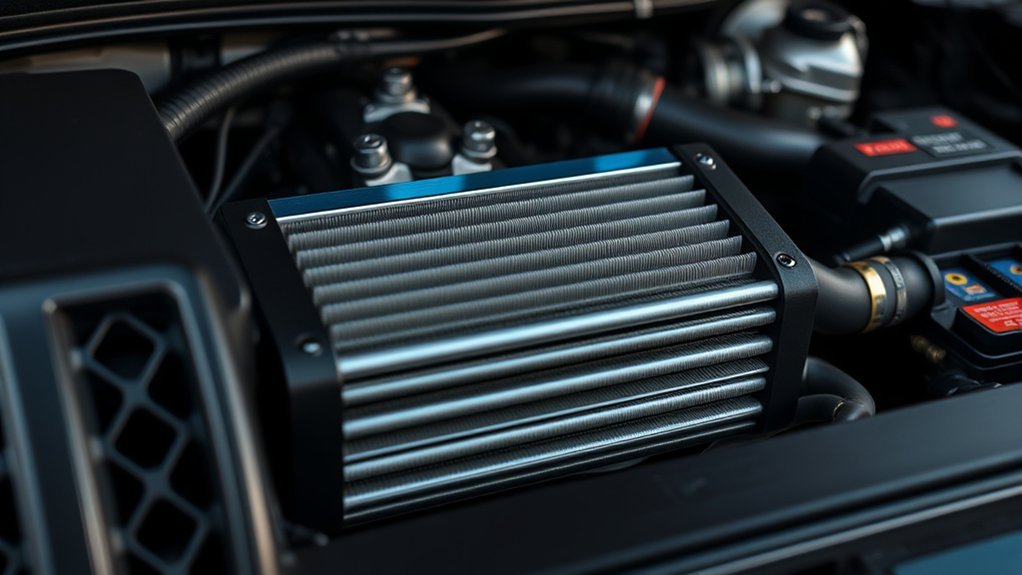
How Core, Fins, and Piping Change Boost and Throttle Response
After choosing FMIC or TMIC for your Tacoma, the next question is how the intercooler’s internals and plumbing will shape boost delivery and throttle feel. You’ll find core efficiency is primary: a larger, high-efficiency core reduces intake temperatures, raises air density, and sustains power under repeated pulls. That delivers firmer, more consistent boost.
Fin design dictates heat transfer rate and airflow resistance. Denser, well-shaped fins increase surface area and cooling but can raise pressure drop; you want a balance that frees airflow without sacrificing heat rejection.
Piping layout affects lag directly. Shorter, straighter runs with correct diameter minimize volume and pressure loss, so the turbo’s spool translates to immediate throttle response. Longer, convoluted runs delay boost and soften transient response.
Material quality ties it together: high-conductivity aluminum improves thermal transfer and resists fatigue, preserving core efficiency and piping integrity. Optimize these elements and you liberate the Tacoma’s responsiveness without compromise.
When to Upgrade Your Tacoma Intercooler: Signs, Uses, and Costs
If you regularly push boost levels, tow heavy loads, or do spirited off‑road driving, you’ll want to evaluate an intercooler upgrade to control intake temperatures and protect engine health. You should upgrade when you see engine knock, sustained reduced power, or elevated intake air temperatures—these are direct indicators your stock unit can’t meet heat management demands under increased thermal load. Performance driving, towing, and off‑road use all increase duty cycle and boost-induced heat; a higher-capacity intercooler stabilizes charge temps, reducing detonation risk and preserving timing advance. Expect costs between $300 and $1,200 depending on air‑to‑air versus air‑to‑water designs and brand choice. A correctly sized, quality intercooler yields measurable performance enhancement—typically 10–30% horsepower gains when paired with complementary mods—and more consistent throttle response under load. Choose based on heat rejection capability, flow efficiency, and packaging that aligns with your liberation-focused use case: sustained power, fewer thermal limits, and confidence to push the Tacoma beyond stock constraints.
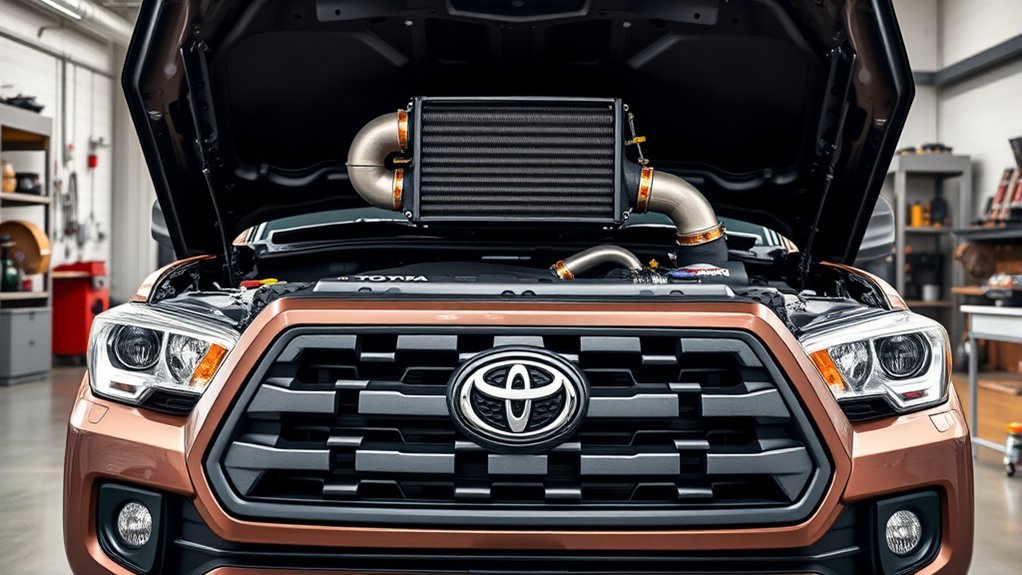
Front‑Mount Intercooler Install: Step‑by‑Step Overview
Before you start, prep the Tacoma by securing the vehicle, draining coolant, and removing bumper and fender for full access to the intercooler bay. Follow a controlled removal sequence: disconnect intake ducts, electrical and sensor connectors, transmission cooler and vacuum lines, then unbolt and extract the stock intercooler. Install the Mishimoto unit by transferring the temperature sensor, pre‑installing bushings, mounting with factory bolts, reconnecting lines, reassembling bodywork, refilling coolant, and pressure‑checking for leaks.
Prep And Vehicle Access
While the vehicle’s cooled and secure, start by draining the coolant system and removing the radiator to gain unhindered access to the front end for the intercooler install. Place the truck on a vehicle lift for clear workspace and safety. Remove the engine under tray by unscrewing the four 12mm bolts. Detach the bumper: remove eight push clips from the radiator support panel and three 10mm bolts from the top. Disconnect bumper electrical connectors, including the front camera, to prevent damage. These steps free the front aperture so you can proceed without obstruction.
| Task | Fastener | Note |
|---|---|---|
| Drain coolant system | Drain plug | Capture and recycle |
| Remove radiator | Hose clamps | Label hoses |
| Engine under tray | 4 × 12mm bolts | Keep hardware |
| Bumper clips | 8 push clips | Pry gently |
| Top bolts | 3 × 10mm | Disconnect wiring |
Intercooler Removal Steps
Start by confirming the engine is cool and the coolant has been drained, then remove the bumper and undertray to expose the intercooler; this lets you work without fluid leaks or obstructions. You’ll detach push clips, bolts and electrical connectors methodically, keeping fasteners sorted. Disconnect the lower intercooler duct, charge pipes and all hoses to free the core. Unhook the coolant reservoir and any nearby brackets that restrict extraction. Carefully extract the stock intercooler, watching for trapped clips or wiring. Inspect mounting points and hoses for damage; document sensor and fitting locations. Prepare the replacement by transferring sensors and fittings to match the Toyota Tacoma system. Keep intercooler types and installation tips in mind to choose compatible components for liberated, reliable performance.
Reassembly And Leak Check
Once you seat the front‑mount intercooler and radiator assembly into position, secure the core with the six 12mm bolts torqued to 13 ft‑lb and fasten the AC condenser to the radiator using the specified 10mm nuts and bolts to confirm correct alignment before reattaching side ducts and the core support. Next, reconnect the transmission oil cooler and lines, retorquing the three 10mm bolts to 49 inch‑pounds to maintain a leak‑free joint. Reinstall charge pipes and electrical connectors until you hear a positive click for proper seating and sealing. Use a coolant vacuum filler to bleed and refill the system, eliminating air pockets. Perform a pressured leak check and run the engine to verify no leaks. These installation tips support reliable performance tuning outcomes and vehicle freedom.
Common Intercooler Problems on Tacomas and How to Troubleshoot
Because intercoolers directly affect intake air temps and boost pressure, you should know the common failure modes on Tacomas and how to spot them quickly. You’ll prioritize intercooler maintenance whether you seek reliability or plan performance upgrades; routine inspection prevents diminished efficiency from heat soak. Monitor intake air temps after hard runs—rising baseline temps signal reduced cooling. Listen for hissing under boost and pressure loss during a smoke or pressure test to catch hose or connection leaks. Visually inspect fins and cores for physical damage or debris blockage; restricted airflow amplifies heat soak and robs power.
- Check for heat soak: elevated IATs after sustained load indicate reduced thermal transfer.
- Test for leaks: pressure or smoke tests reveal hose/clamp failures dropping boost.
- Inspect airflow: bent fins, packed debris, or crushed core restrict cooling.
- Track performance: consistent power loss under boost suggests intercooler inefficiency.
Act decisively—addressing faults frees your Tacoma to perform without constraint.
Maintenance, Warranties, and Choosing the Right Aftermarket Unit
While regular cleaning and leak checks keep intercooler performance predictable, selecting and installing the right aftermarket unit determines how your Tacoma responds under sustained boost. You’ll prioritize intercooler maintenance: fin cleaning, pressure/leak tests, and corrosion inspection. That routine preserves flow, reduces heat soak risk, and extends service life. For aftermarket warranties, compare coverage periods (1–5 years), defect inclusions, and installation conditions to assess true value.
| Factor | Guidance |
|---|---|
| Core size | Match to target boost and flow |
| Material | Prefer aluminum for conduction/durability |
| Design | Air-to-air vs. air-to-water per use-case |
| Fitment | Verify OEM clearances; avoid piping stress |
| Reviews/Warranty | Use field data and warranty terms to choose |
Choose brands with proven reliability in Tacoma setups. Guarantee correct piping routing and torque specs during install to avoid turbo lag and leaks. You’ll gain predictable performance and autonomy when technical choices and warranty coverage align with your liberation-focused goals.
Frequently Asked Questions
How Does the Intercooler Work?
You cool compressed intake air to boost intercooler efficiency: the intercooler performs heat exchange, lowering air temperature and raising density, so you get stronger, cleaner combustion and freer engine performance with reduced knock and better fuel use.
What Is the Point of an Upgraded Intercooler?
You gain performance benefits: an upgraded intercooler cuts intake heat, boosts air density, raises horsepower and torque, reduces turbo lag, and lowers thermal stress—so you’ll liberate engine potential and enhance reliability under demanding conditions.
Conclusion
You’ve learned the cold logic: an intercooler cuts intake temps, boosts power, and preserves engine life. Yet under the hood it’s quiet, humble — metal and airflow doing invisible work while you chase speed. When performance meets practicality, choices matter: core size, placement, and piping trade instant response for peak boost, cost for longevity. Decide based on use, symptoms, and budget, and your Tacoma will repay that calculus with reliable, measurable gains.