How to Replace a Toyota Tacoma Thermostat
What’s in This Article
- Quick Answer: Replacing a Toyota Tacoma Thermostat
- Safety Notes Before You Start
- Tools & Parts: 12mm Socket, Gasket, New Thermostat
- Remove the Thermostat Housing Safely
- Test the Old Thermostat (Boil Test) and Check the Water Pump
- Install the New Thermostat (Correct Orientation)
- Refill, Bleed, and Test the Cooling System
- Troubleshooting: Leaks, Overheating, and Poor Heater Flow
- Frequently Asked Questions
A bad thermostat can make your Toyota Tacoma run hot, warm up too slowly, or send weak heat into the cabin. The repair looks simple, but one wrong gasket, trapped air pocket, or loose housing bolt can create another cooling problem.
You’ll drain only enough coolant to lower the level, remove the thermostat housing, check the old thermostat, and install the new part in the correct direction. You’ll also refill and bleed the cooling system so the engine can hold a stable temperature.
Quick Answer: Replacing a Toyota Tacoma Thermostat
Let the engine cool fully, drain enough coolant to drop the level below the thermostat housing, and remove the housing bolts with the correct socket. Lift the housing gently, remove the old thermostat and seal, then clean the mating surfaces without gouging them.
Install the new thermostat in the same direction as the old one. If your thermostat has a jiggle pin or bleeder valve, place it at the top unless your Tacoma service manual says otherwise. Fit a new gasket or O-ring, hand-start the bolts, tighten them evenly to the factory torque spec, refill the coolant, bleed air, and check for leaks.
Key Takeaways
- Let the engine cool before you open any part of the cooling system.
- Confirm the correct thermostat, gasket, coolant, and torque spec for your Tacoma year and engine.
- Match the old thermostat orientation, and place the jiggle pin at the top when the design uses one.
- Clean sealing surfaces carefully so the new gasket can seal well.
- Bleed trapped air after refilling because air pockets can cause overheating and weak heater flow.
Safety Notes Before You Start
Plan about 2 to 4 hours if you’re new to this repair. Work on a cold engine, park on level ground, set the parking brake, and keep pets and children away from used coolant.
Warning: Never remove the radiator cap or open the cooling system while the engine is hot because pressurized coolant can spray and burn you.
Disconnect the negative battery cable if your repair path places your tools near the fan, belt, or electrical connectors. Use a drain pan, store used coolant in a sealed container, and take it to a local recycling or hazardous waste site. The EPA says you should not pour antifreeze into sewers, onto the ground, or into floor drains.
Before you buy parts, match them to your Tacoma’s model year, engine, and production details. Tacoma thermostat shape, seal type, and housing layout can vary, so your factory service manual or trusted parts catalog should guide the final choice.
Tools & Parts: 12mm Socket, Gasket, New Thermostat
Many Tacoma thermostat housings use three bolts that take a 12mm socket, but you should confirm your exact setup before you start. Keep a ratchet, short extension, drain pan, clean rags, scraper-safe plastic trim tool, torque wrench, and fresh coolant nearby.
You’ll also need a replacement thermostat and the correct gasket or O-ring. Toyota thermostat listings commonly show an 82°C to 95°C wax element range for several Tacoma applications, but you should follow the part label or service manual for your exact truck.
Pro tip: Take a photo of the old thermostat before removal so you can match its position during installation.
Required Socket Sizes
Use a snug 6-point 12mm socket if your housing bolts match that size. A loose socket can round the bolt heads and make a simple repair harder.
- Use a 6-point socket for better grip on small housing bolts.
- Use a short extension so the ratchet stays straight on the bolt.
- Use a low-range torque wrench for final tightening.
Clean the socket and ratchet before you begin. Dirt inside the socket can reduce contact and raise the risk of damaged fasteners.
Thermostat And Gasket
Buy the thermostat and seal before you remove the old one. Some Tacoma engines use a gasket, while others use an O-ring, so don’t assume one style fits every truck.
Inspect the new thermostat before installation. Check the temperature rating, compare the shape to the old part, and make sure the seal sits flat without twists or cracks.
Note: Many thermostats seat with the spring toward the engine, but you should match the old part and your service manual.
Quality Tool Suggestions
Use clean hand tools that fit well. Worn sockets, long wobble extensions, and oversized ratchets can damage bolts or crack a housing.
- Keep a spare gasket or O-ring ready in case the first seal tears.
- Use a calibrated torque wrench that can read low torque values accurately.
- Choose plastic or soft scraping tools to protect aluminum sealing surfaces.
A small funnel and spill-free coolant fill kit can also help. These tools reduce mess and make bleeding trapped air easier.
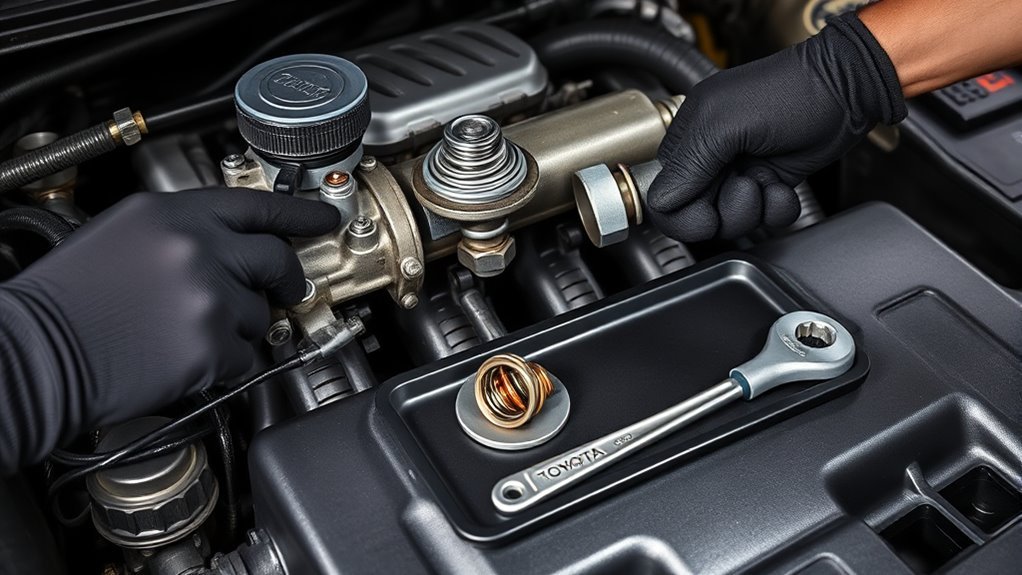
Remove the Thermostat Housing Safely
Place a drain pan under the cooling system and drain enough coolant to lower the level below the thermostat housing. You do not need to drain the whole system for most thermostat swaps, but you must prevent coolant from spilling onto belts, wiring, and the ground.
Loosen the housing bolts with steady pressure. Remove them by hand once they turn freely, and place them in a tray so you don’t lose them.
Gently separate the thermostat housing from the engine. Do not force the housing sideways because nearby hoses, brackets, and fittings can crack or bend.
Lift the old gasket or O-ring away from the sealing surface. Clean the mating surfaces with a plastic scraper and a clean rag, but do not gouge the metal.
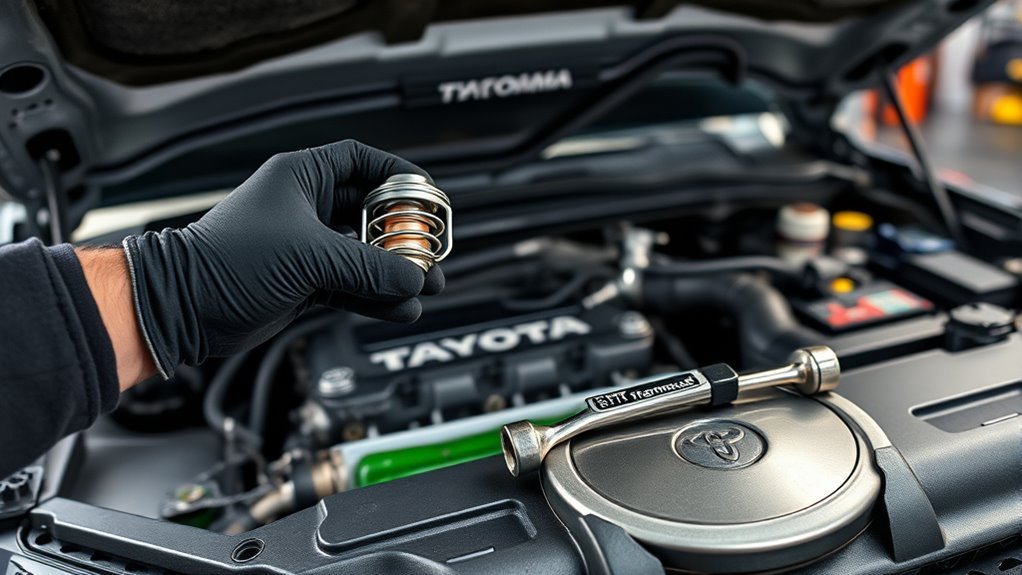
Look at the old thermostat before you remove it completely. Note which side faces the engine, where the seal sits, and whether the thermostat has a jiggle pin.
Test the Old Thermostat (Boil Test) and Check the Water Pump
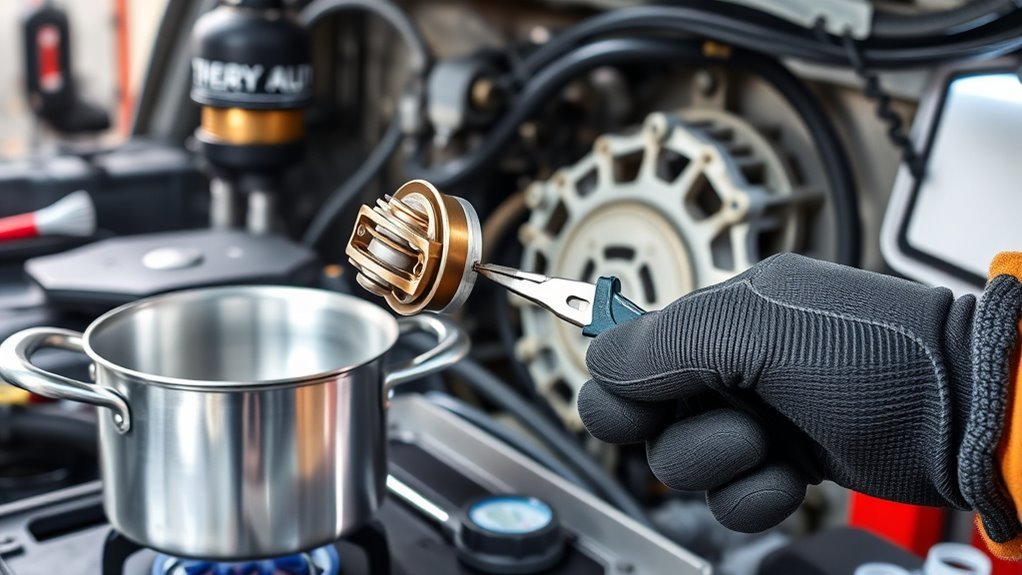
You can test the old thermostat in hot water if you want to confirm the failure. Place it in a pot of water with a thermometer, heat the water slowly, and watch when the valve starts to open.
With the housing off, test the thermostat and inspect nearby parts so you can fix related cooling issues before reassembly.
Compare the opening behavior with the temperature marked on the thermostat or listed in the service manual. Replace the thermostat if it stays closed, opens late, sticks, or looks corroded.
- Boil test: Watch the valve movement and compare it with the correct opening range.
- Water pump check: Look for coolant stains, corrosion, pulley wobble, or bearing noise.
- Seal check: Replace a flattened, torn, hardened, or swollen gasket.
A weak water pump can reduce coolant flow even when the thermostat works. If you see leaks or pulley play, inspect the pump more closely before you close the system.
Install the New Thermostat (Correct Orientation)
- Match the old orientation. Hold the new thermostat next to the old one and confirm the spring side, flange shape, and seal location.
- Place the jiggle pin correctly. If the thermostat has a jiggle pin or bleeder valve, set it at the top unless the service manual gives a different position.
- Seat the seal. Install a new gasket or O-ring, and make sure it sits flat without twists, gaps, or pinched edges.
- Fit the thermostat squarely. Place the thermostat into the housing or engine seat without tilting it.
- Hand-start the bolts. Thread each bolt by hand first so the housing does not shift or cross-thread.
- Tighten evenly. Snug the bolts in a crisscross pattern, then tighten them to the factory torque spec for your engine.
- Recheck the housing. Make sure the housing sits flush and the gasket does not squeeze out.
Do not over-tighten the housing bolts. Too much force can crack a plastic or aluminum housing, distort the seal, or damage the threads.
Do not reuse old seals unless the service manual clearly allows it and the seal looks perfect. A fresh gasket or O-ring gives the repair a much better chance of staying dry.
Refill, Bleed, and Test the Cooling System
Refill the cooling system with the correct coolant mix for your Tacoma. Add coolant slowly so air can rise out of the fill point instead of staying trapped in the engine.
Start the engine with the heater set to hot, then let the truck warm up while you watch the temperature gauge. Follow your service manual’s bleed procedure, because some systems need a special fill point, bleed valve, or scan-tool routine.
Watch for bubbles, falling coolant level, and heater temperature changes. Add coolant as needed, then install the cap once the system finishes bleeding and the level stays stable.
After the engine reaches normal temperature, inspect the thermostat housing seam, nearby hose ends, drain plug, and water pump area. Shut the engine off, let it cool, and recheck the overflow reservoir level.
Troubleshooting: Leaks, Overheating, and Poor Heater Flow
Check the housing seam first if you see coolant after the repair. A drip usually points to a pinched seal, dirty mating surface, loose bolt, cracked housing, or wrong gasket.
If the engine overheats after replacement, shut it down and let it cool. Recheck coolant level, thermostat orientation, trapped air, hose condition, radiator cap condition, and water pump operation.
Weak heater output often means the system still has air inside or coolant flow remains poor. Bleed the system again, confirm the thermostat opens, and inspect the heater hoses once the engine reaches operating temperature.
- Check for seepage around the thermostat housing.
- Confirm the thermostat faces the correct direction.
- Bleed air from the cooling system again if heat stays weak.
- Inspect the water pump, hoses, radiator cap, and coolant level if overheating continues.
Stop driving if the temperature gauge climbs into the danger range. A short drive with severe overheating can damage head gaskets, hoses, and engine parts.
Frequently Asked Questions
How Long Does the Thermostat Replacement Take for a Beginner?
A careful beginner should plan about 2 to 4 hours. The work can take longer if bolts stick, the old gasket leaves residue, or the cooling system traps air during refill.
Do I Need to Drain the Entire Cooling System?
No, most thermostat replacements only need a partial drain. Drain enough coolant to lower the level below the thermostat housing, then capture and store the coolant safely.
Can I Reuse the Old Gasket if It’s Intact?
You should install a new gasket or O-ring unless your service manual clearly allows reuse. Old seals can harden, flatten, or tear after removal, even when they look usable.
Will Replacing the Thermostat Affect My Vehicle’s Warranty?
A DIY repair or aftermarket part does not automatically void your vehicle warranty. The FTC says a dealer or manufacturer must prove a faulty part or poor installation caused the related damage before denying warranty coverage.
Are There Temperature-Specific Thermostat Options for Tacomas?
Yes, thermostat temperature ratings can vary by engine, part number, and design. Use the rating listed for your Tacoma, because the wrong thermostat can affect warm-up time, heater performance, and cooling control.
Safety Disclaimer
Safety Disclaimer: This article is for general information only. Always follow the factory service manual for your exact Tacoma year and engine, and contact a qualified mechanic if you are not comfortable working with hot coolant, belts, fans, or pressurized cooling parts.
Conclusion
A clean thermostat replacement depends on correct part fit, correct orientation, a fresh seal, and careful bleeding. Take your time, confirm the factory torque spec, and watch the first warm-up closely.
If the housing stays dry, the heater blows warm air, and the temperature gauge stays stable, your Tacoma is ready for normal driving. Recheck the coolant level after the next full cool-down so you can catch any small air pocket or seep early.
References
- Toyota Tacoma Thermostat Parts and Replacement Guidance – ToyotaPartsDeal, accessed 2026
- Thermostat Replacement: Jiggle Pin and Bleeder Valve – Gates TechZone, 2021
- Auto Warranties and Auto Service Contracts – Federal Trade Commission, 2025
- How Do I Dispose Of Used Antifreeze? – U.S. Environmental Protection Agency