
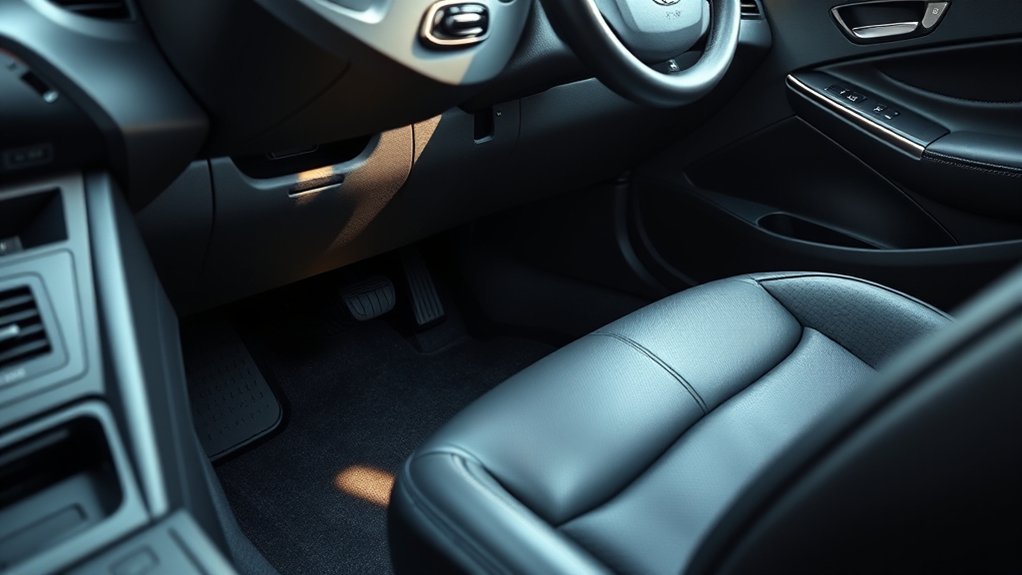
The 2011 Hyundai Sonata has two fuse boxes: one in the instrument panel on the driver’s side (left of the steering column), and one in the engine compartment on the left side near the battery. Use the fuse/relay label inside each cover, match the exact amperage rating, and stop troubleshooting if the same fuse blows again.
Last updated: June 23, 2026
Quick Answer
The 2011 Hyundai Sonata has two fuse panels: one in the driver’s-side panel bolster/lower dash area and one in the engine compartment near the battery. Turn the ignition and all switches off, read the label inside the cover, then replace a blown fuse only with the same amperage rating.
Key Takeaways
- The interior fuse panel is in the driver’s-side panel bolster; the second panel is in the engine compartment.
- Use the fuse/relay label on your own fuse-panel cover because equipment and trim can change the exact layout.
- Always replace a blown fuse with the same amperage rating—never a higher-rated fuse, wire, foil, or a random spare.
- If the replacement fuse blows again, stop using that circuit and have the electrical system checked.
At a Glance
| Time Required | 5–15 minutes for a standard blade fuse; longer if diagnosis is needed |
| Difficulty | Easy for normal blade fuses; professional help recommended for multi fuses or repeated failures |
| Tools Needed | Fuse puller, flashlight, same-rating replacement fuse, and optional multimeter |
| Cost | Low for a replacement fuse; diagnostic cost varies if the fuse keeps blowing |
Why the Fuse Box Matters in Your Sonata
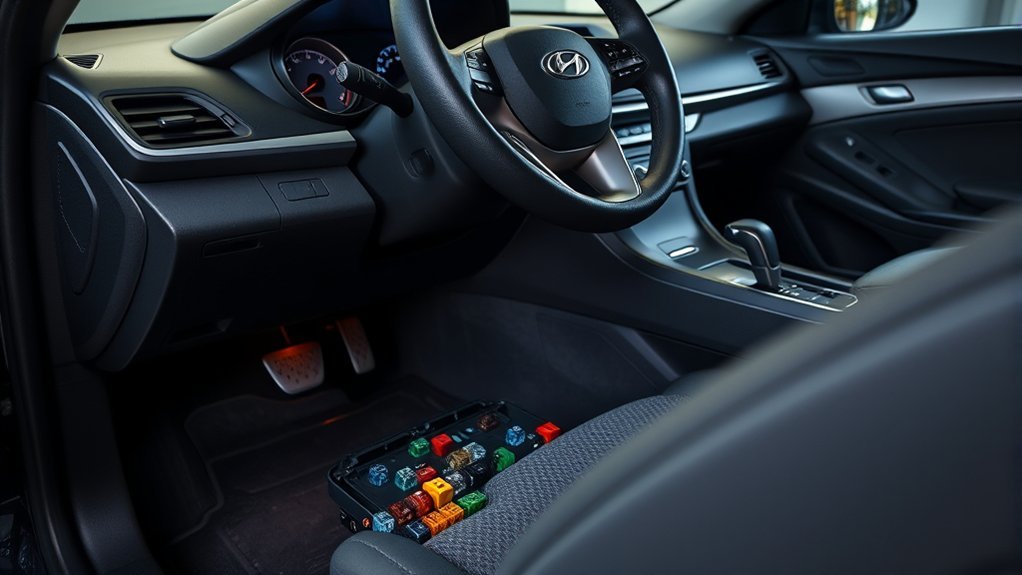
The fuse box protects your Hyundai Sonata’s electrical circuits from overload damage. If a light, accessory, outlet, radio, wiper, or control suddenly stops working, a blown fuse is one of the first simple checks to make.
Hyundai’s owner information for the Sonata explains that the vehicle uses fuses to protect the electrical system from overload damage. It also notes that if a replacement fuse blows again, that points to an electrical problem, so the affected system should not be kept in use until the problem is repaired. You can verify the fuse section in the 2011 Sonata maintenance chapter or through the Hyundai USA Manuals & Warranties resources page.
Warning: Never replace a fuse with a higher-rated fuse, wire, foil, or any improvised substitute. A wrong fuse can damage wiring and may create a fire risk.
Where to Locate the Fuse Boxes in Your 2011 Hyundai Sonata
Your 2011 Hyundai Sonata has two main fuse panels: the interior fuse panel and the engine compartment fuse panel. The exact fuse names and ratings are printed on the label inside the fuse/relay panel cover, so always check the label on your own car before removing anything.
The interior panel isn’t just a fuse holder — it also functions as the Sonata’s Smart Junction Box (SJB), a body-control module that handles functions like central locking and interior lighting alongside the fuses themselves. That’s why a fault in this panel can sometimes cause several unrelated systems to act up at once, not just a single blown circuit. `[VERIFY: confirm SJB scope/terminology against a 2011-specific Hyundai service reference before treating as universal across all 2011 Sonata trims]`
| Fuse Box Location | Where to Look | Best For Checking |
|---|---|---|
| Driver’s-side panel bolster | Lower dash area on the driver’s side, behind the small fuse-panel cover | Cabin accessories, power outlets, audio, windows, seats, locks, and small control circuits |
| Engine compartment | Under the hood, near the battery/engine-room junction area; press the tab and lift the cover | Higher-current circuits, relays, cooling fan, blower, ignition, fuel pump, and engine-control circuits |
| Fuse/relay labels | Inside the panel covers | Fuse name, fuse capacity, and protected circuit |
Note: Not every fuse-panel description applies to every Sonata. Options such as smart key, seat warmers, navigation, amplifier, and engine type (2.4L, 2.4 GDI, or 2.0T) can change what appears in your car, including exact fuse names and slot positions. Use the label inside your fuse-panel cover as the final guide. `[VERIFY: confirm exact label differences across 2011 Sonata trims/engines]`
Before You Start: Safety and Tools
For a normal blade-fuse check, keep the job simple and controlled. Park the Sonata safely, set the parking brake, turn the ignition off, and switch off lights, the radio, climate control, and accessories before opening either fuse panel.
- Use the fuse puller stored in the engine compartment fuse panel when available.
- Use only a same-rating replacement fuse.
- Do not use a screwdriver or other metal object to pry fuses out.
- Do not touch high-current wiring or exposed terminals.
- Disconnect the negative battery cable before multi-fuse work or deeper electrical work, and consider leaving multi-fuse replacement to a professional.
Pro Tip: Take a clear phone photo of the fuse-panel label before you pull a fuse. It saves time if you need to confirm the exact slot, circuit name, or amperage later.
[Products Worth Considering]

This 6-way fuse block helps organize and protect low-voltage wiring in vehicles, boats, and RVs while making blown fuses easy to spot with red LED indicators. It is built from fire-resistant PBT material for dependable insulation, heat resistance, and added safety. With included blade fuses, labels, and mounting hardware, it offers a clean, convenient solution for electrical repairs and upgrades.
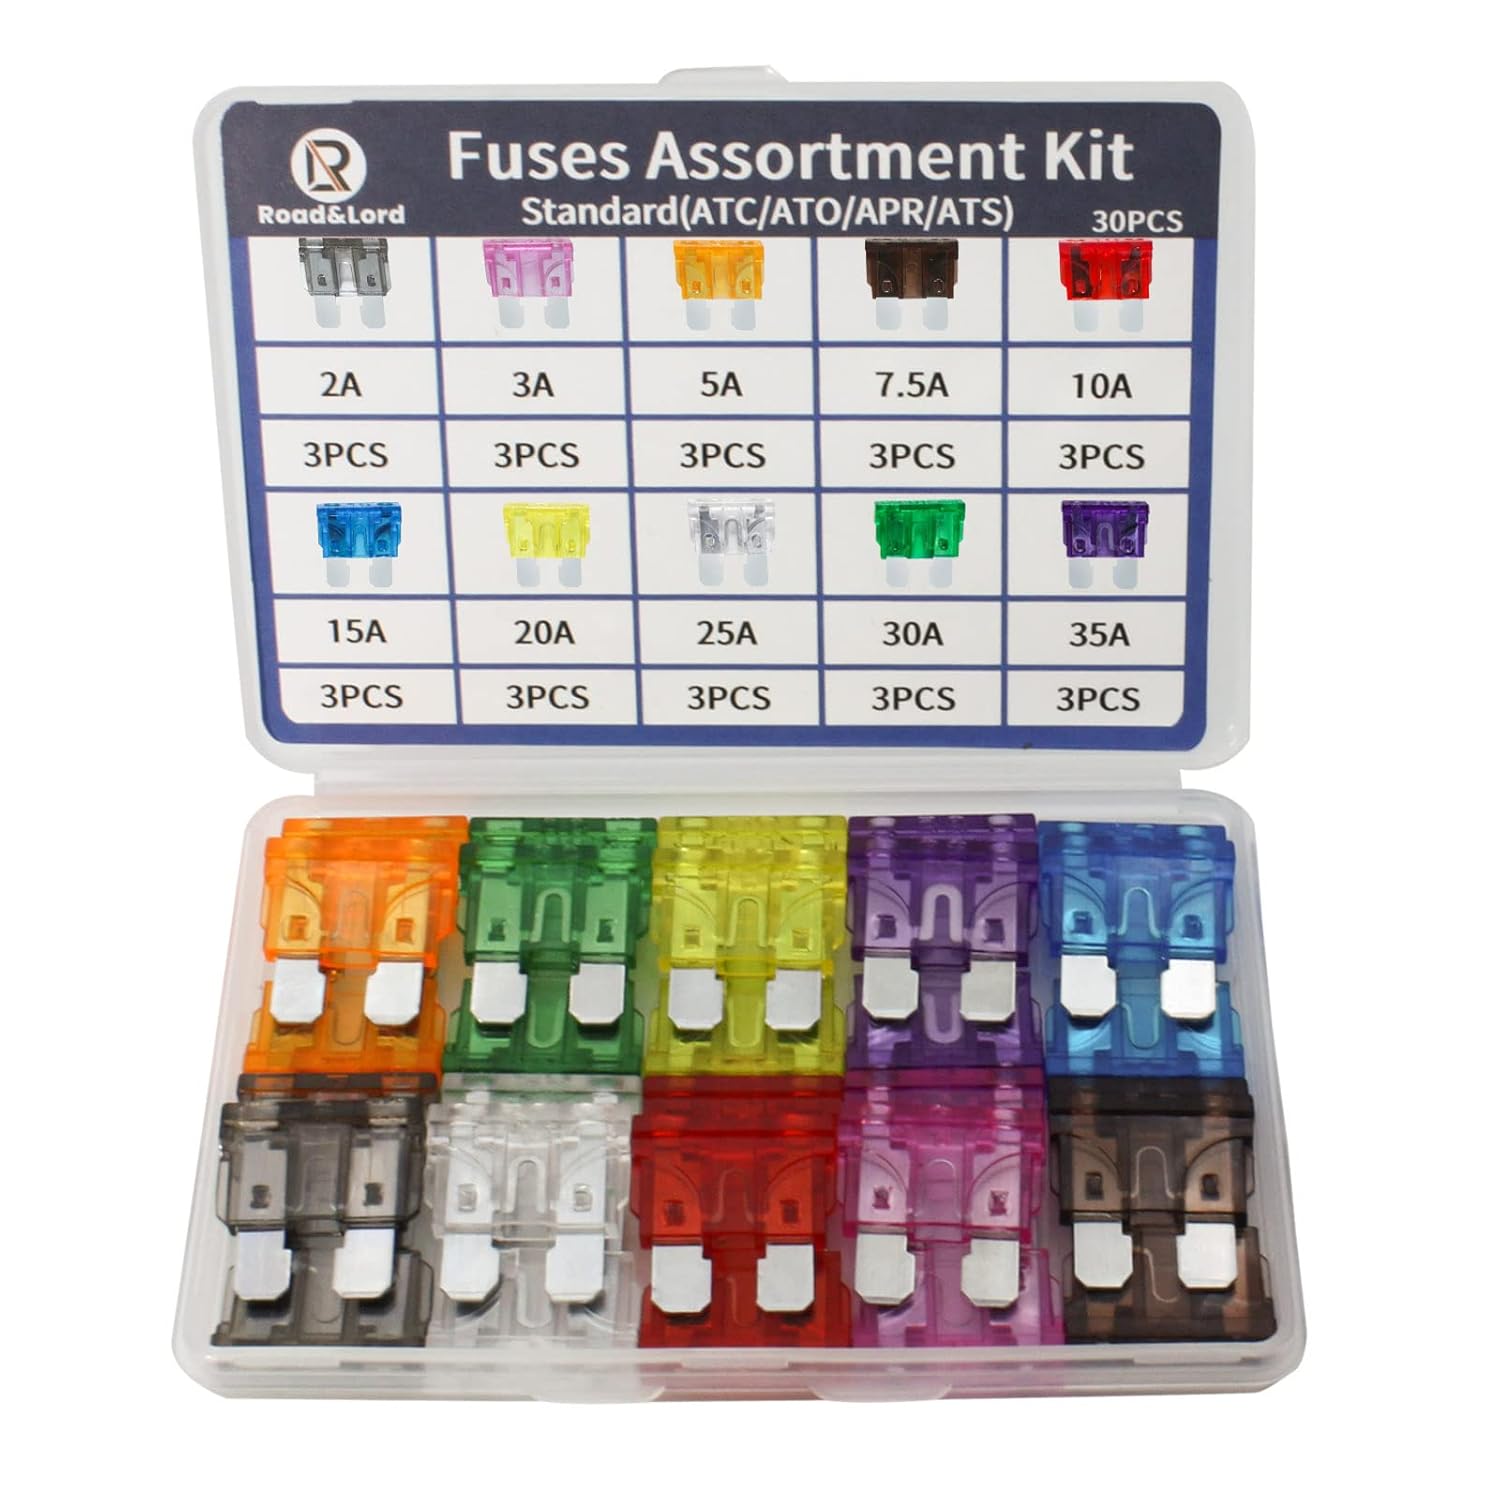
This standard blade fuse assortment kit provides a convenient selection of common amp ratings to help protect vehicle electrical systems from overloads, short circuits, and wiring damage. With transparent, color-coded housings and clearly marked ratings, it makes blown fuse replacement fast and easy for cars, trucks, boats, RVs, and other DC applications. The durable compact case keeps the fuses organized for reliable storage and quick access when needed.

This 6-way marine fuse block helps protect branch circuits from short circuits and overloads while keeping automotive and marine wiring organized. It includes LED blown-fuse indicators, a transparent cover, and label stickers for easier circuit identification. Designed for 12V to 36V systems, it supports dependable use in boats, cars, trucks, and other electrical setups.
How to Identify Fuse Functions and Their Ratings
Open the fuse-panel cover and look for the fuse/relay label. The label lists the fuse name, rating, and protected component. Match the name on the label to the system that stopped working.
The 2011 Sonata owner information lists blade-type fuses for lower-amperage circuits, cartridge-type fuses, and multi fuses for higher-amperage circuits. If the fuse element inside the fuse is melted or broken, the fuse is blown.
Most blade fuses are also color-coded by amperage, which lets you narrow things down before you even read the tiny print on the label: blue is typically 15A, yellow is 20A, red is 10A, and brown is 7.5A. `[VERIFY: confirm this exact color-to-amperage mapping against the physical fuses in a 2011 Sonata, as color coding is an industry-wide blade-fuse convention rather than Sonata-specific documentation]`
| Fuse Label Example | Typical Rating Listed | Protected Area |
|---|---|---|
| AUDIO | 15A | Audio, navigation head unit, or amplifier-equipped audio circuits |
| POWER OUTLET 1 | 15A | Front power outlet circuits |
| WIPER | 25A in the interior panel; 10A listed in the engine compartment for related control | Front wiper motor, wiper relay, or related control circuits |
| P/WDW, P/WDW LH, P/WDW RH, SAFETY POWER WINDOW | 20A or 25A depending on the circuit | Passenger, left, right, or safety power-window circuits |
| A/CON | 7.5A or 10A depending on panel and equipment | Air-conditioning control circuits |
| BLOWER | 40A | Blower relay / fan circuit |
These examples help you recognize the label format, but they are not a substitute for the label on your own fuse panel. Fuse names can vary slightly between the 2.4L, 2.4 GDI, and 2.0T Sonata variants. If the cover label and a printed or online chart disagree, follow the label on the vehicle.
[Products Worth Considering]

This 12V relay box provides six organized relay slots and six fuse positions, helping you build cleaner, safer electrical setups for vehicles and marine systems. Pre-wired, color-coded 12 AWG wiring simplifies installation while the sealed cover and gasket help protect against dust and splashing water in demanding environments. It is a versatile solution for controlling lights, pumps, motors, and other accessories in automotive, truck, RV, or boat applications.

This 12-way blade fuse block provides organized, reliable circuit protection for automotive, marine, RV, and other 12V or 24V electrical systems. The built-in LED indicator helps quickly identify blown fuses, while the protective cover and included terminals support a clean, secure installation. With multiple fuse ratings included, it offers a convenient all-in-one solution for managing and protecting your wiring.

This car fuse assortment kit provides a handy mix of micro, mini, and standard blade fuses to help replace blown fuses across a wide range of vehicles and equipment. With multiple current ratings, color-coded identification, and an included puller, it is designed to make emergency repairs and routine maintenance faster and easier. It is a practical backup solution for cars, RVs, trucks, boats, motorcycles, and more.
How to Safely Check and Replace Blown Fuses
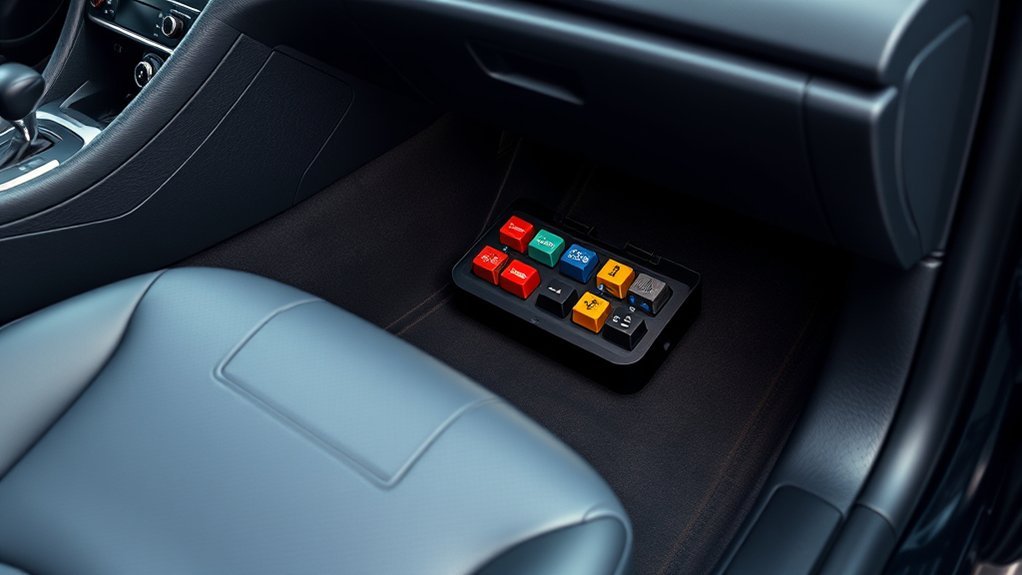
Use this process for standard blade fuses in the driver’s-side panel or the engine compartment fuse panel:
- Park safely, set the parking brake, and turn the ignition and all switches off.
- Open the correct fuse-panel cover.
- Use the cover label to find the fuse for the failed component.
- Pull the suspected fuse straight out with the fuse puller.
- Inspect the fuse. A melted or broken internal element means the fuse is blown.
- Install a new fuse with the exact same amperage rating.
- Press it in fully and make sure it fits tightly in the clips.
- Test the component. If the new fuse blows again, stop using that circuit and have the vehicle inspected.
Warning: If a fuse fits loosely, if the same fuse blows again, or if the issue involves air bags, ABS, steering, engine-control circuits, burning smells, or melted plastic, stop DIY troubleshooting and contact a qualified technician or Hyundai dealer.
[Products Worth Considering]

This waterproof 6-circuit fuse block helps keep automotive and marine wiring neat, protected, and easy to troubleshoot. Built for 12V-32V DC systems, it includes a negative bus, LED blown-fuse indicators, and corrosion-resistant busbars for dependable performance in cars, boats, RVs, and trucks. The flame-retardant base and damp-proof cover add an extra layer of safety for demanding electrical installations.

This cabin and engine air filter kit is designed for compatible Hyundai Sonata gas models from 2015 to 2019 with a 2.4L engine. It helps improve airflow, capture dust and impurities, and support cleaner cabin air and efficient engine performance. The kit is engineered for long service life and simple installation, making routine maintenance easier.

This filter combo is designed for Hyundai Sonata gas models from 2015 to 2019, including non-hybrid 2.4L vehicles, and replaces both the engine and cabin air filters in one convenient set. It helps improve engine airflow while also refreshing the cabin environment with activated carbon odor control and high-efficiency particle filtration for cleaner, quieter driving.
What About the Memory Fuse and Multi Fuse?
The 2011 Sonata includes a memory fuse in the driver’s-side panel. Pulling up the memory fuse can reduce battery drain during long storage, but it can also disable items such as the warning chime, audio, clock, and interior lamps until it is returned and some settings are reset.
The engine compartment panel may also contain multi fuses for higher-current circuits. Hyundai’s procedure for a blown multi fuse includes turning off the engine, disconnecting the negative battery cable, removing the engine compartment fuse panel, removing the retaining nuts, and reinstalling in reverse order. Because this involves high-current circuits and panel removal, it is safer for most owners to have a Hyundai dealer or qualified mechanic handle it.
Troubleshooting Common Electrical Issues With Fuses
When a component stops working, start with the simplest checks. Confirm the switch is on, check whether more than one related component failed, then inspect the correct fuse panel.
| Symptom | First Fuse Area to Check | What to Do Next |
|---|---|---|
| Power outlet does not work | Driver’s-side panel, POWER OUTLET label | Replace only with the same rating; check the plugged-in device if the fuse blows again. |
| Radio or navigation is dead | AUDIO, ROOM LP, CLOCK, or related power connector labels | Check the cover label and remember some settings may reset after fuse or battery work. |
| Power window does not work | P/WDW, P/WDW LH, P/WDW RH, or SAFETY POWER WINDOW | If only one window fails, also suspect the switch, motor, or regulator. |
| Wipers do not work | WIPER fuse in the driver’s-side panel and related engine-compartment fuse/relay | If fuses are good, the wiper motor, relay, switch, or wiring may need diagnosis. |
| Blower fan or A/C control issue | A/CON, BLOWER, and related relay labels | A blower issue may involve a high-current circuit, resistor, relay, or fan motor. |
| Several unrelated systems fail at once | Main engine compartment fuses, multi fuses, battery, and grounds — or the interior SJB itself | Stop replacing fuses repeatedly and get a proper electrical diagnosis. |
A blown fuse is a symptom, not always the root cause. If the new fuse fails again, the circuit needs diagnosis before more parts are replaced.
When to Check Recalls or Get Professional Help
For one isolated blown fuse, a same-rating replacement may be all you need. For repeated electrical failures, burning smells, melted fuse slots, warning lights, starting issues, or failures in safety-related systems, do not keep testing with more fuses.
You can check safety recalls and service campaigns by VIN through the Hyundai Safety Recalls and Service Campaigns page or the NHTSA recall lookup tool. A recall lookup does not replace electrical diagnosis, but it is a smart step when a problem may relate to a known safety campaign.
Frequently Asked Questions
How often should I check my Sonata’s fuse box?
Hyundai does not require a special fuse-box inspection interval for every owner. Check the fuse box when a light, accessory, outlet, wiper, audio unit, window, or control stops working. A quick visual check during routine maintenance is also reasonable, especially if the car has moisture, corrosion, or previous electrical repairs.
Can I use any fuse for replacement?
No. Replace a blown fuse only with a fuse of the same amperage rating listed on the fuse-panel label. A higher-rated fuse can allow too much current through the circuit and may damage wiring or create a fire risk.
What tools do I need to access the fuse box?
For most standard fuse checks, you only need a flashlight and the fuse puller stored in the engine compartment fuse panel. A multimeter can help confirm continuity, but do not use screwdrivers or other metal tools to pry out fuses.
Are there signs of a blown fuse?
Common signs include one electrical component suddenly not working, such as a power outlet, radio, wiper, light, or window. When you remove the fuse, a broken or melted metal element inside the fuse usually means it is blown. A multimeter continuity test can confirm it.
Should I disconnect the battery before replacing a fuse?
For standard blade fuses, turn the ignition and all switches off before removal. Disconnect the negative battery cable for multi-fuse work or deeper electrical work. If you are not comfortable doing that safely, have a mechanic handle it.
Why does the same fuse keep blowing?
A fuse that blows again after replacement usually means the circuit has an overload, short, faulty component, damaged wiring, or a problem with an accessory plugged into the circuit. Do not keep installing new fuses. Stop using that system and get the circuit diagnosed.
Can I install additional fuses or use empty slots in my Sonata?
Do not randomly add fuses to empty slots. Empty slots may not be powered, may be reserved for optional equipment, or may be tied to circuits you should not modify. For dash cams, chargers, lighting, or other accessories, use a correctly rated add-a-circuit installed on a suitable non-safety circuit, or have the accessory professionally wired.
Sources
- Hyundai Canada 2011 Sonata Maintenance Chapter — fuse panel locations, fuse replacement procedure, fuse ratings, memory fuse, multi fuse, and safety warnings.
- Hyundai Canada 2011 Sonata Foreword — modification and owner-manual caution language.
- Hyundai USA Manuals & Warranties — official Hyundai owner resources and manual lookup.
- Hyundai Safety Recalls and Service Campaigns — VIN-based Hyundai recall and campaign lookup.
- NHTSA Recalls — federal recall lookup and safety-defect reporting information.
Conclusion
Locating the fuse boxes in your 2011 Hyundai Sonata is simple: check the driver’s-side panel bolster first, then the engine compartment panel if needed. The important part is using the cover label, pulling the fuse safely, and replacing it only with the same amperage rating. If the same fuse blows again, the fuse did its job—now the circuit needs proper diagnosis.




[…] owners first look near the fuse panel. That area is worth checking, but the OBD2 connector itself is the trapezoid-shaped diagnostic […]
[…] the new bulb does not work, check the bulb orientation, socket condition, fuse, and brake-light switch before replacing more […]