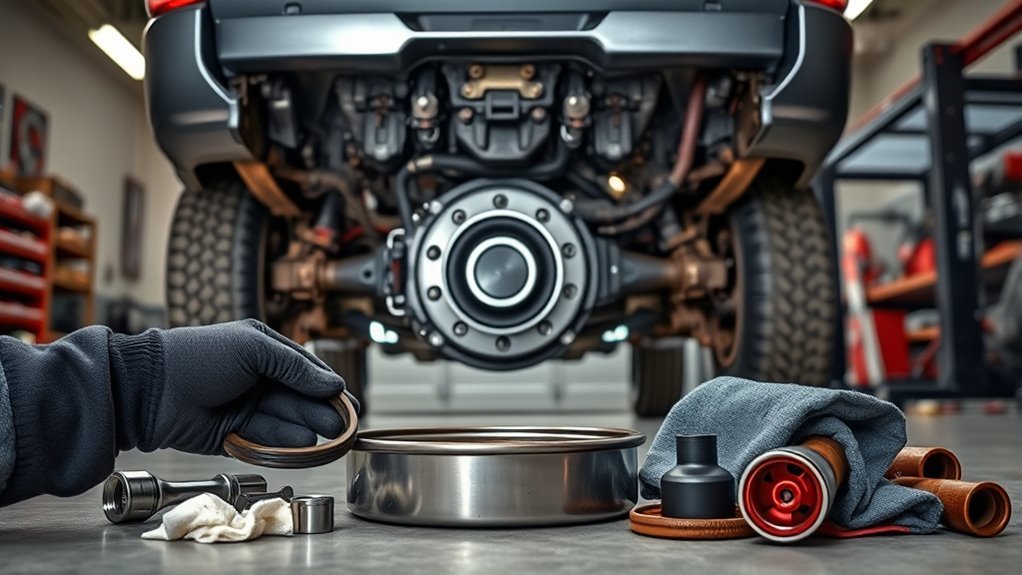
You can replace a leaking Toyota Tacoma rear differential seal yourself in an afternoon if you’ve got basic mechanical skills, common hand tools, a seal driver or 20-ton press, and a safe workspace. Start by locating the leak, checking axle runout and the vent, then remove the drum, pull the axle, press out bearings, install the new seal and tone ring, torque to spec, refill 80W-90 gear oil, and bleed brakes; continue for detailed tips and troubleshooting.
What This Guide Covers : Who Can DIY and When to Hire a Shop
Wonder whether you can tackle Tacoma rear axle seal replacement yourself? This guide gives clear DIY Considerations and when to seek Professional Assistance. You’ll need basic mechanical skills, a 20-ton press, seal driver kit, common hand tools, and a safe workspace. Follow stepwise procedures here to remove hubs, press out old seals, inspect shafts, and install new seals to factory specs. Doing it yourself saves $150–$300 in labor, and you keep control of timing and quality. Don’t proceed if you lack tools, feel unsure about disassembly, or encounter bent components; that’s when you get Professional Assistance to avoid costly mistakes. Always inspect for causes of failure—bent axle, misalignment, or prior improper installation—and address them before fitting new seals. If you stay methodical, verify tolerances, and use proper presses and drivers, you’ll restore leak-free performance and reclaim autonomy over your vehicle maintenance.
Diagnose the Leak: Axle Seal, Bent Axle, or O‑Ring?
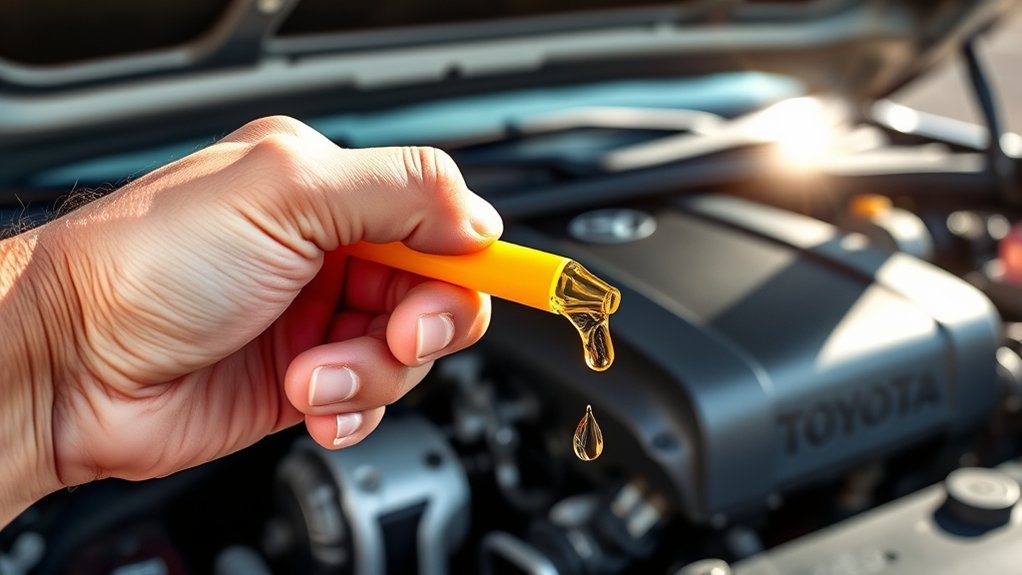
When you spot gear oil on the axle or under the truck, start by isolating whether the seal, a bent axle, or a failing O‑ring is to blame; each has distinct signs and a different fix. First, clean the area and run the truck briefly to locate fresh seepage. Check the axle vent plug—if it’s blocked, pressure buildup will push fluid past seals. Inspect the seal lip: concentric wear, cracking, or metal scoring indicates seal wear or incorrect installation (too deep or misaligned). Rotate the axle slowly; lateral wobble or uneven seal contact suggests a bent axle—measure runout with a dial indicator. Remove the hub if needed to verify axle straightness. Finally, examine O‑rings in the housing for hardening or splits; replace any that show deterioration. Document what you find, then choose the targeted repair: vent and O‑ring swap, seal replacement, or axle straightening/replacement.
Time, Difficulty & Estimated Cost to Replace a Tacoma Rear Differential Seal
Plan on about 4–6 hours to replace the Tacoma rear differential seal, though that can vary with your experience and tools. The job is moderately difficult and needs a seal puller, bearing press, and basic mechanical skill. Parts typically run $50–$150 and pros charge $100–$300 in labor, so total cost ranges widely depending on OEM vs aftermarket parts and whether you do the work yourself.
Time Required
Because replacing a Tacoma rear differential seal involves both disassembly and careful reassembly, expect to spend about 4 to 6 hours total if you have basic mechanical experience and the right tools. You’ll start by draining the differential fluid, removing brake components and the axle, then using a bearing puller and seal driver to extract and install seals. Difficulty is moderate: you must control torque specs, cleanliness, and seal seating to avoid leaks. Follow seal maintenance tips: clean mating surfaces, inspect bearings, and replace any damaged components before reassembly. After installation, refill differential fluid and torque fasteners to spec. Monitor axle seals for leaks during the first few hundred miles to confirm repair integrity and maintain freedom from repeat work.
Cost Breakdown
Now that you know the steps and time involved, let’s break down what the repair will cost in time, difficulty, and money. You’ll spend 3–6 hours depending on skill and tools; difficulty is moderate—mechanical knowledge plus a seal puller and bearing press. Parts vary by seal types (OEM vs aftermarket): $100–$300. Labor runs $80–$150/hr, so expect $240–$900 professional labor. Factor extra costs for brake shoes or differential fluid if needed. Use the table to compare options and plan.
| Item | Typical Range |
|---|---|
| Time | 3–6 hours |
| Difficulty | Moderate |
| Parts (seal types) | $100–$300 |
| Labor (cost comparison) | $240–$900 |
| Extras | Fluid, bearings, brakes (variable) |
Parts Checklist for Tacoma Differential Seals (OEM P/Ns & Fluids)
Parts checklist: before you start the seal replacement, gather two dust seals (90313-48001 or 90313-54001), two inner axle housing seals (90310-50006), and two axle bearings (90363-40020-77 or 90363-40068); also have DOT3 or DOT4 brake fluid on hand and plan to refill the differential with 80W-90 gear oil after reassembly.
You’ll want optional ABS tone rings (43517-35010) and a brake shoes kit (04495-35230) if you’re doing extra maintenance. Verify part compatibility with your Tacoma’s year and axle type. Choose quality seal materials and follow proven installation techniques: clean mating surfaces, inspect bearings, and replace any worn components to free yourself from recurring leaks.
- Confirm OEM P/Ns and match seals to your model year.
- Stock DOT3/DOT4 brake fluid and 80W-90 gear oil; top off after bleed/inspection.
- Inspect/install axle bearings and consider ABS/brake kits for complete renewal.
Stay precise, follow steps, and don’t skip verification—liberation comes from reliable, repeatable work.
Tools Checklist: Must‑Have vs. Specialty Gear (Press, Seal Drivers)

Start by gathering essential hand tools—ratchets, torque wrench, snap ring pliers, seal picks—and confirm you have axle-specific press plates that match the seal diameter. Use a 20-ton press and a rear wheel axle bearing puller for bearing removal/installation, and bring an OTC 4507 seal driver kit (or correctly sized driver) to seat new seals without deforming them. For removal and tricky seating, keep specialty items like the OTC 4579 slide hammer/seal puller and a 3″ ABS cleanout with cap on hand to control alignment and avoid damage.
Essential Hand Tools
Although you can remove some covers with basic hand tools, replacing a Tacoma differential seal calls for a precise checklist: follow differential maintenance tips and proven seal installation techniques to free yourself from recurring leaks. You’ll need basic and specialty hand tools organized and ready.
- Lug nut wrench, socket set, pliers, and torque wrench — for disassembly, reassembly, and tightening to spec.
- Axle bearing puller and OTC 4507 Seal Driver Kit — specialty hand tools to extract bearings and install seals without damage.
- 20-ton press (or access to one) — essential for bearing removal/installation; guarantees correct fit and long-term reliability.
Collecting these items first lets you work efficiently, safely, and with the confidence of a self-reliant technician.
Pressing And Seating Gear
Gather the right pressing and seating gear before you lift a differential housing: a 20-ton press for bearing removal/installation, the OTC 4507 seal driver kit (or equivalent) for damage-free seal seating, and a rear wheel axle bearing puller to grip and extract the axle assembly. You’ll use the press for controlled, centered force—critical in proper pressing techniques to avoid race distortion. Use the OTC drivers to seat seals evenly; pick the driver that matches the seal OD to preserve seal integrity and guarantee seal alignment. A 3” ABS cleanout with cap can act as a spacer/sleeve for accurate bearing positioning. Keep press sleeves, pullers, and workspace organized so each operation is deliberate, repeatable, and frees you from guesswork.
Seal Driver Selection
1. You’ll choose a seal driver that’s slightly smaller than the seal diameter (about 0.002″) to seat without deformation, matching seal types to driver face profile and material. Use proven installation techniques**: even, concentric force and a press sleeve** to spread pressure.
1. OTC 4507 or similar kits give multiple diameters so you can pick the nearest match, reducing improvisation and leaks.
1. For heavy-duty work, bring a 20-ton press and axle bearing puller; they’re specialty gear but speed removal/installation and protect seals.
Select a clean 3″ ABS cleanout cap as a press sleeve when needed. Proper tool choice frees you from repeat failures, simplifies the job, and guarantees consistent, leak‑free seating.
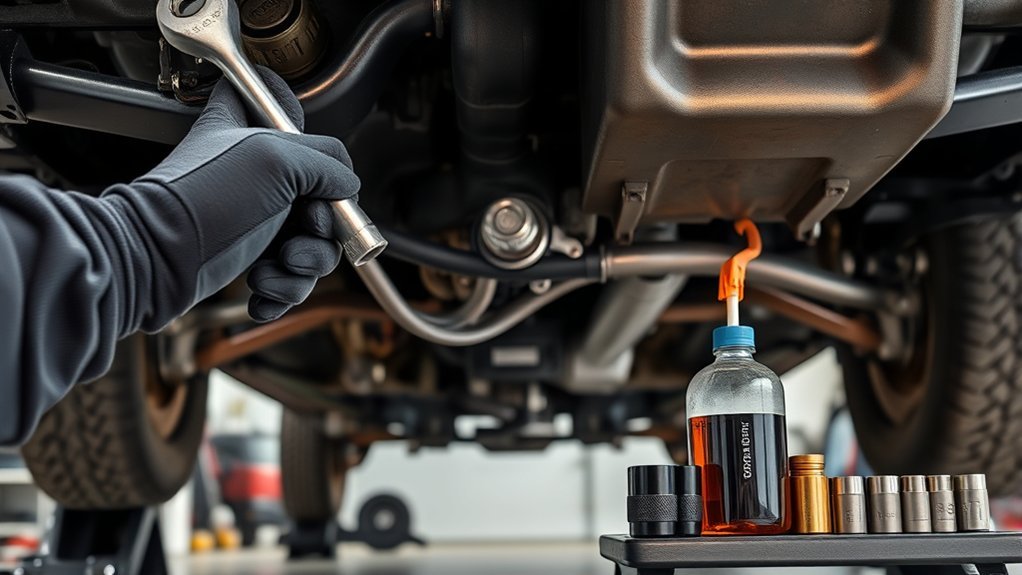
Step‑By‑Step Removal: Jack, Remove Drum, Prep ABS & Brake Line
Start by safely lifting the rear of the Tacoma and supporting it on 6‑ton jack stands so the axle sits stable and both rear wheels can be removed; check wheel chocks and work with intent. Remove the rear wheels with a lug nut wrench to expose the drums. Before you pull the drum, perform brake adjustment checks and release the parking brake to avoid tension. If the drum sticks, tap evenly around its face until it breaks free, then slide it off the hub.
Locate the rear brake line at the axle and use a 10mm flare nut wrench to carefully loosen the fitting; cap the line immediately to prevent fluid loss and contamination. Detach the parking brake assembly by removing the inner bolts with a 12mm socket, then use needle‑nosed pliers to pop out the parking brake spring for further disassembly. Label parts as you remove them so reassembly stays straightforward and liberating.
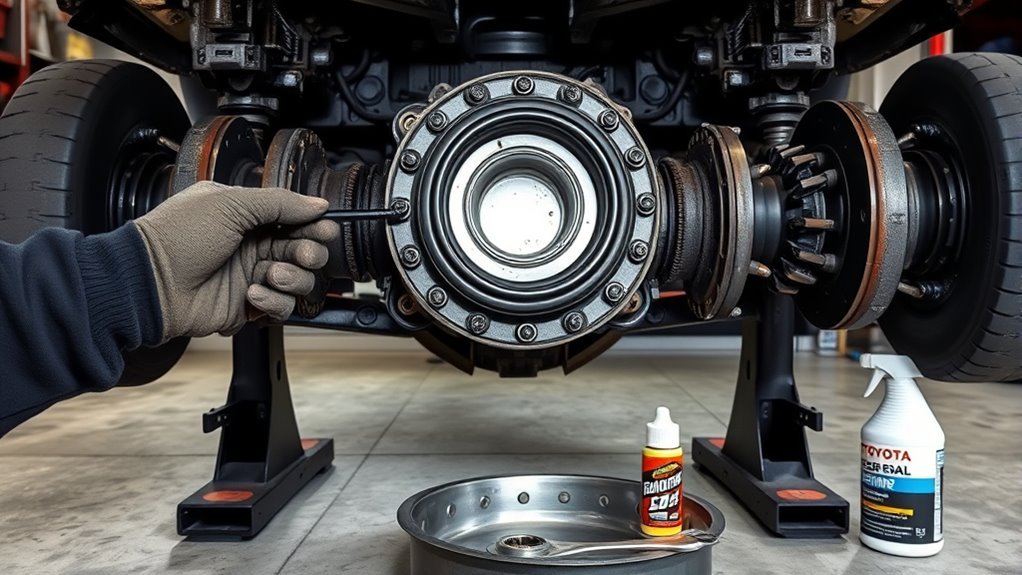
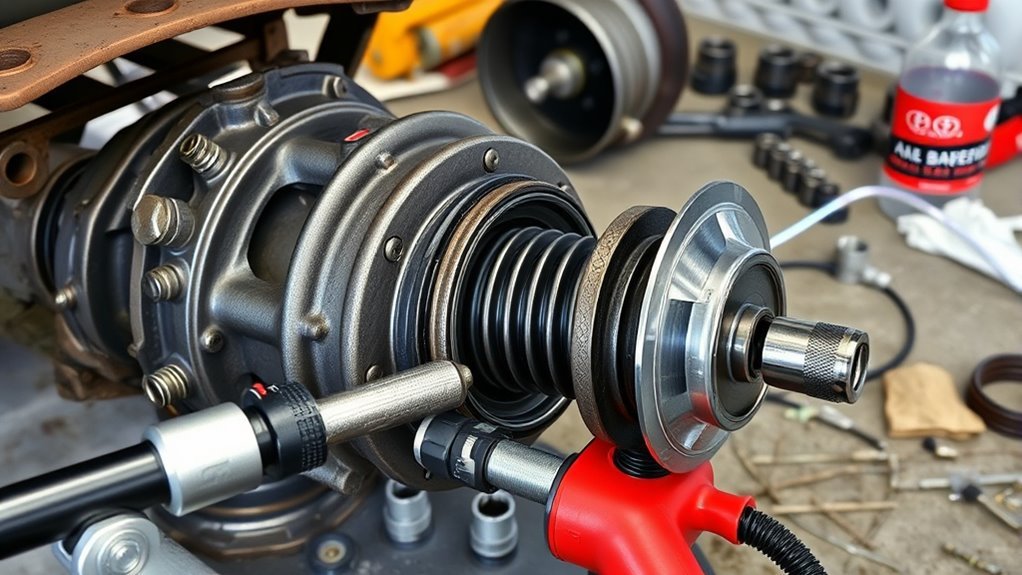
Bearings, Tone Ring & Seal Replacement: Press, Install, and Alignment Tips
Press the bearings out and new ones in using a 20‑ton press to avoid damaging the hub, then grease the outer race of each new bearing before seating it into the drum; install the ABS tone ring with the solid side facing up, confirm the polished axle protrudes about 3mm past the inner retainer, and use the correct OTC 4507 seal driver to press the new axle seal flush with the differential housing to guarantee proper engagement and leak prevention. You’ll choose bearing types by OEM spec — tapered or roller — and follow installation techniques that protect races and races’ fit. Use steady, centered press force; never contact the cup. Seat bearings until they’re fully flush, then inspect the tone ring runout and clearance. Verify the polished axle lip is exposed ~3mm so the seal rides correctly. Drive the seal squarely with the OTC 4507 driver that matches diameter. Final checks: spin the hub by hand, listen for drag, and confirm the tone ring registers with the ABS pickup before moving to reassembly.
- Use correct bearing types and press adapters.
- Grease outer race; seat fully.
- Press seal flush with OTC 4507.
Reassembly, Fluid Fill, Brake Bleed, and Post‑Repair Troubleshooting
Reinsert the axle shaft carefully, seating it fully before reinstalling the drum or rotor, then torque any retaining hardware to spec; refill the differential with manufacturer‑recommended 80W‑90 gear oil until the level reaches the fill hole and tighten the fill plug securely to prevent leaks. Use reassembly tips: clean mating surfaces, apply threadlocker where specified, and torque fasteners in the proper pattern to maintain alignment and avoid binding. Confirm fluid compatibility—only use OEM‑approved 80W‑90 gear oil to protect bearings and seals. With the wheels off, bleed the brakes in sequence: passenger rear, driver rear, passenger front, driver front, watching for steady, air‑free fluid. Reinstall wheels, lower the truck, and perform a short, controlled test drive. Immediately inspect the new seal and differential housing for leaks. Over the next few days monitor the axle seal area for weepage or seepage; address any loss of fluid, abnormal noise, or vibration promptly. These procedural checks secure longevity and your freedom from repeat repairs.
Frequently Asked Questions
How Much Does It Cost to Replace the Rear Axle Seal on a Toyota Tacoma?
You’ll pay about $150–$300 for seal replacement at a shop, or $30–$70 for parts DIY; factor tool rentals and possible extra repairs raising costs above $500—stay proactive with Tacoma maintenance to avoid escalation.
How Much Does It Cost to Replace a Differential Seal?
You’ll pay about $300–$600 professionally or $50–$150 parts DIY; choose differential seal types (OEM or aftermarket), gather seal replacement tools, follow steps precisely, and reclaim control by avoiding overpriced labor and surprises.
Can You Drive With a Leaking Rear Axle Seal?
No — don’t drive; like a ticking clock, rear axle issues worsen rapidly. You’ll face seal leakage effects: fluid loss, contaminated brakes, bearing damage. Stop, tow, and replace the seal to regain freedom and safety.
Conclusion
You’ve stripped the drum, pressed out the bearing, and set the new seal in place—now the last steps whisper through your checklist. Reassemble carefully, top the locker with fresh gear oil, bleed the brakes, torque to spec, then lower the truck. Start it, back out, listen for the sigh of a quiet axle. If a drip or wobble returns, stop—recheck bearings and axle fitment. When it’s right, the road will tell you.